¶ Preparation
Tools: brand-new origin photoelectric sensor, hex key wrench Operating Steps.
¶ Operating Steps
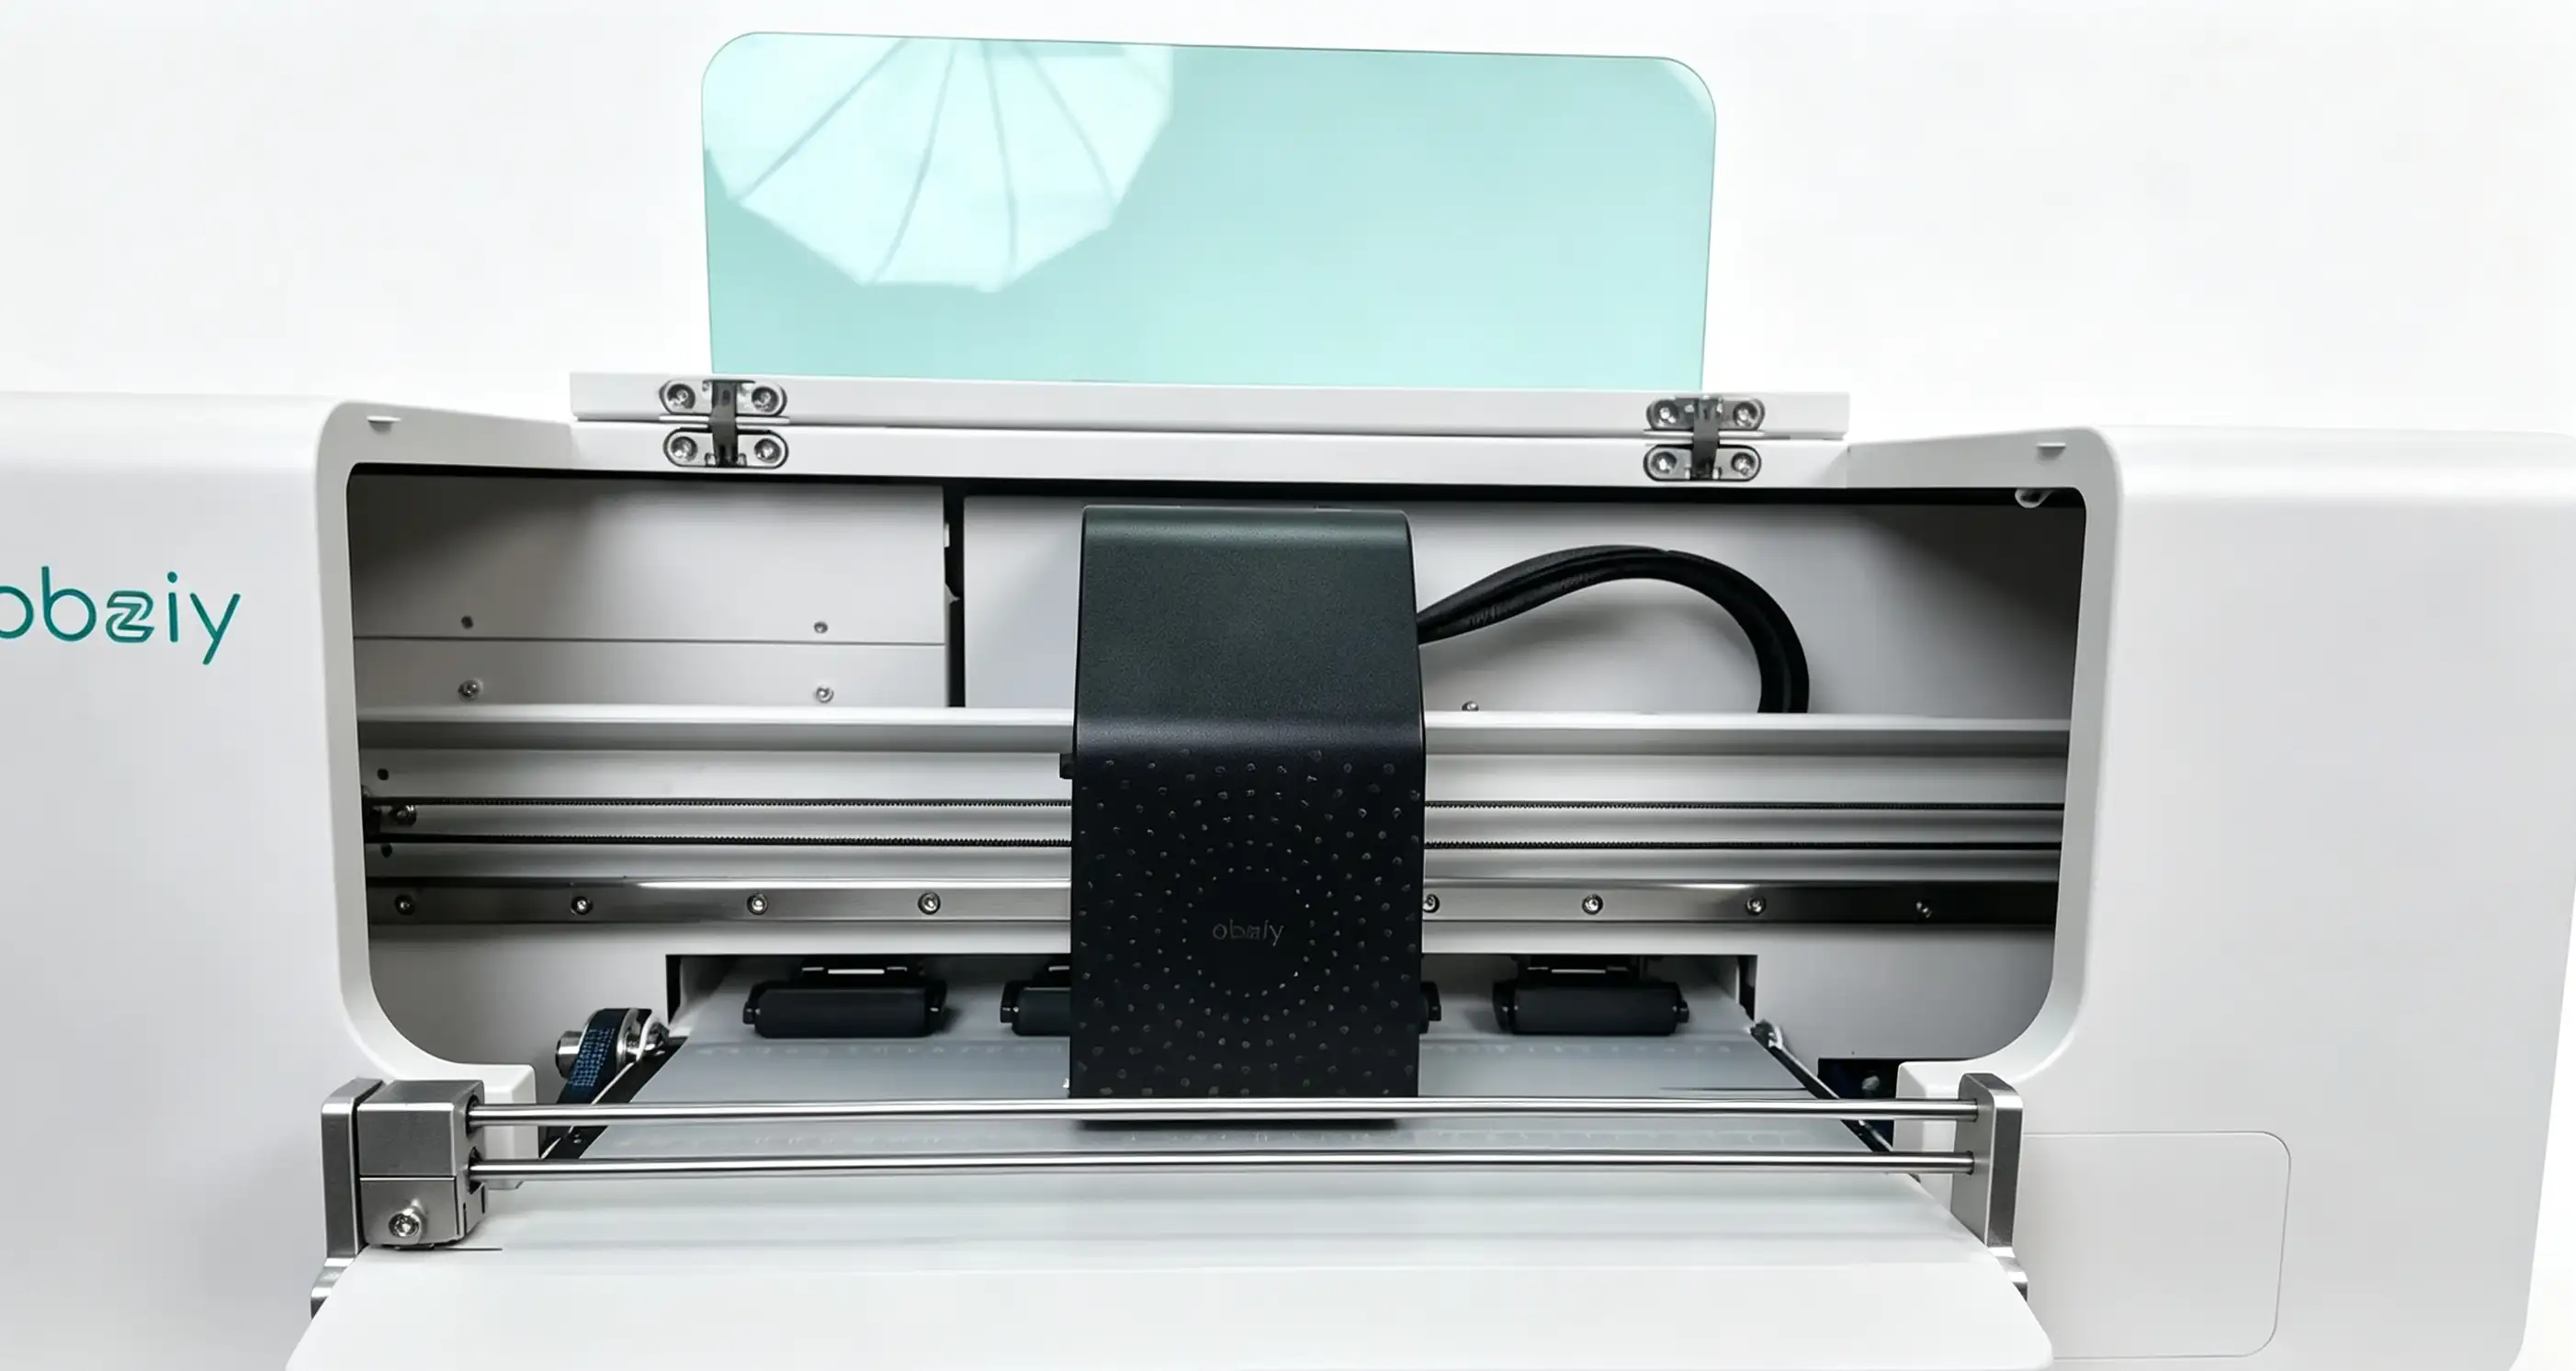
Step 1: The print head moves to the center
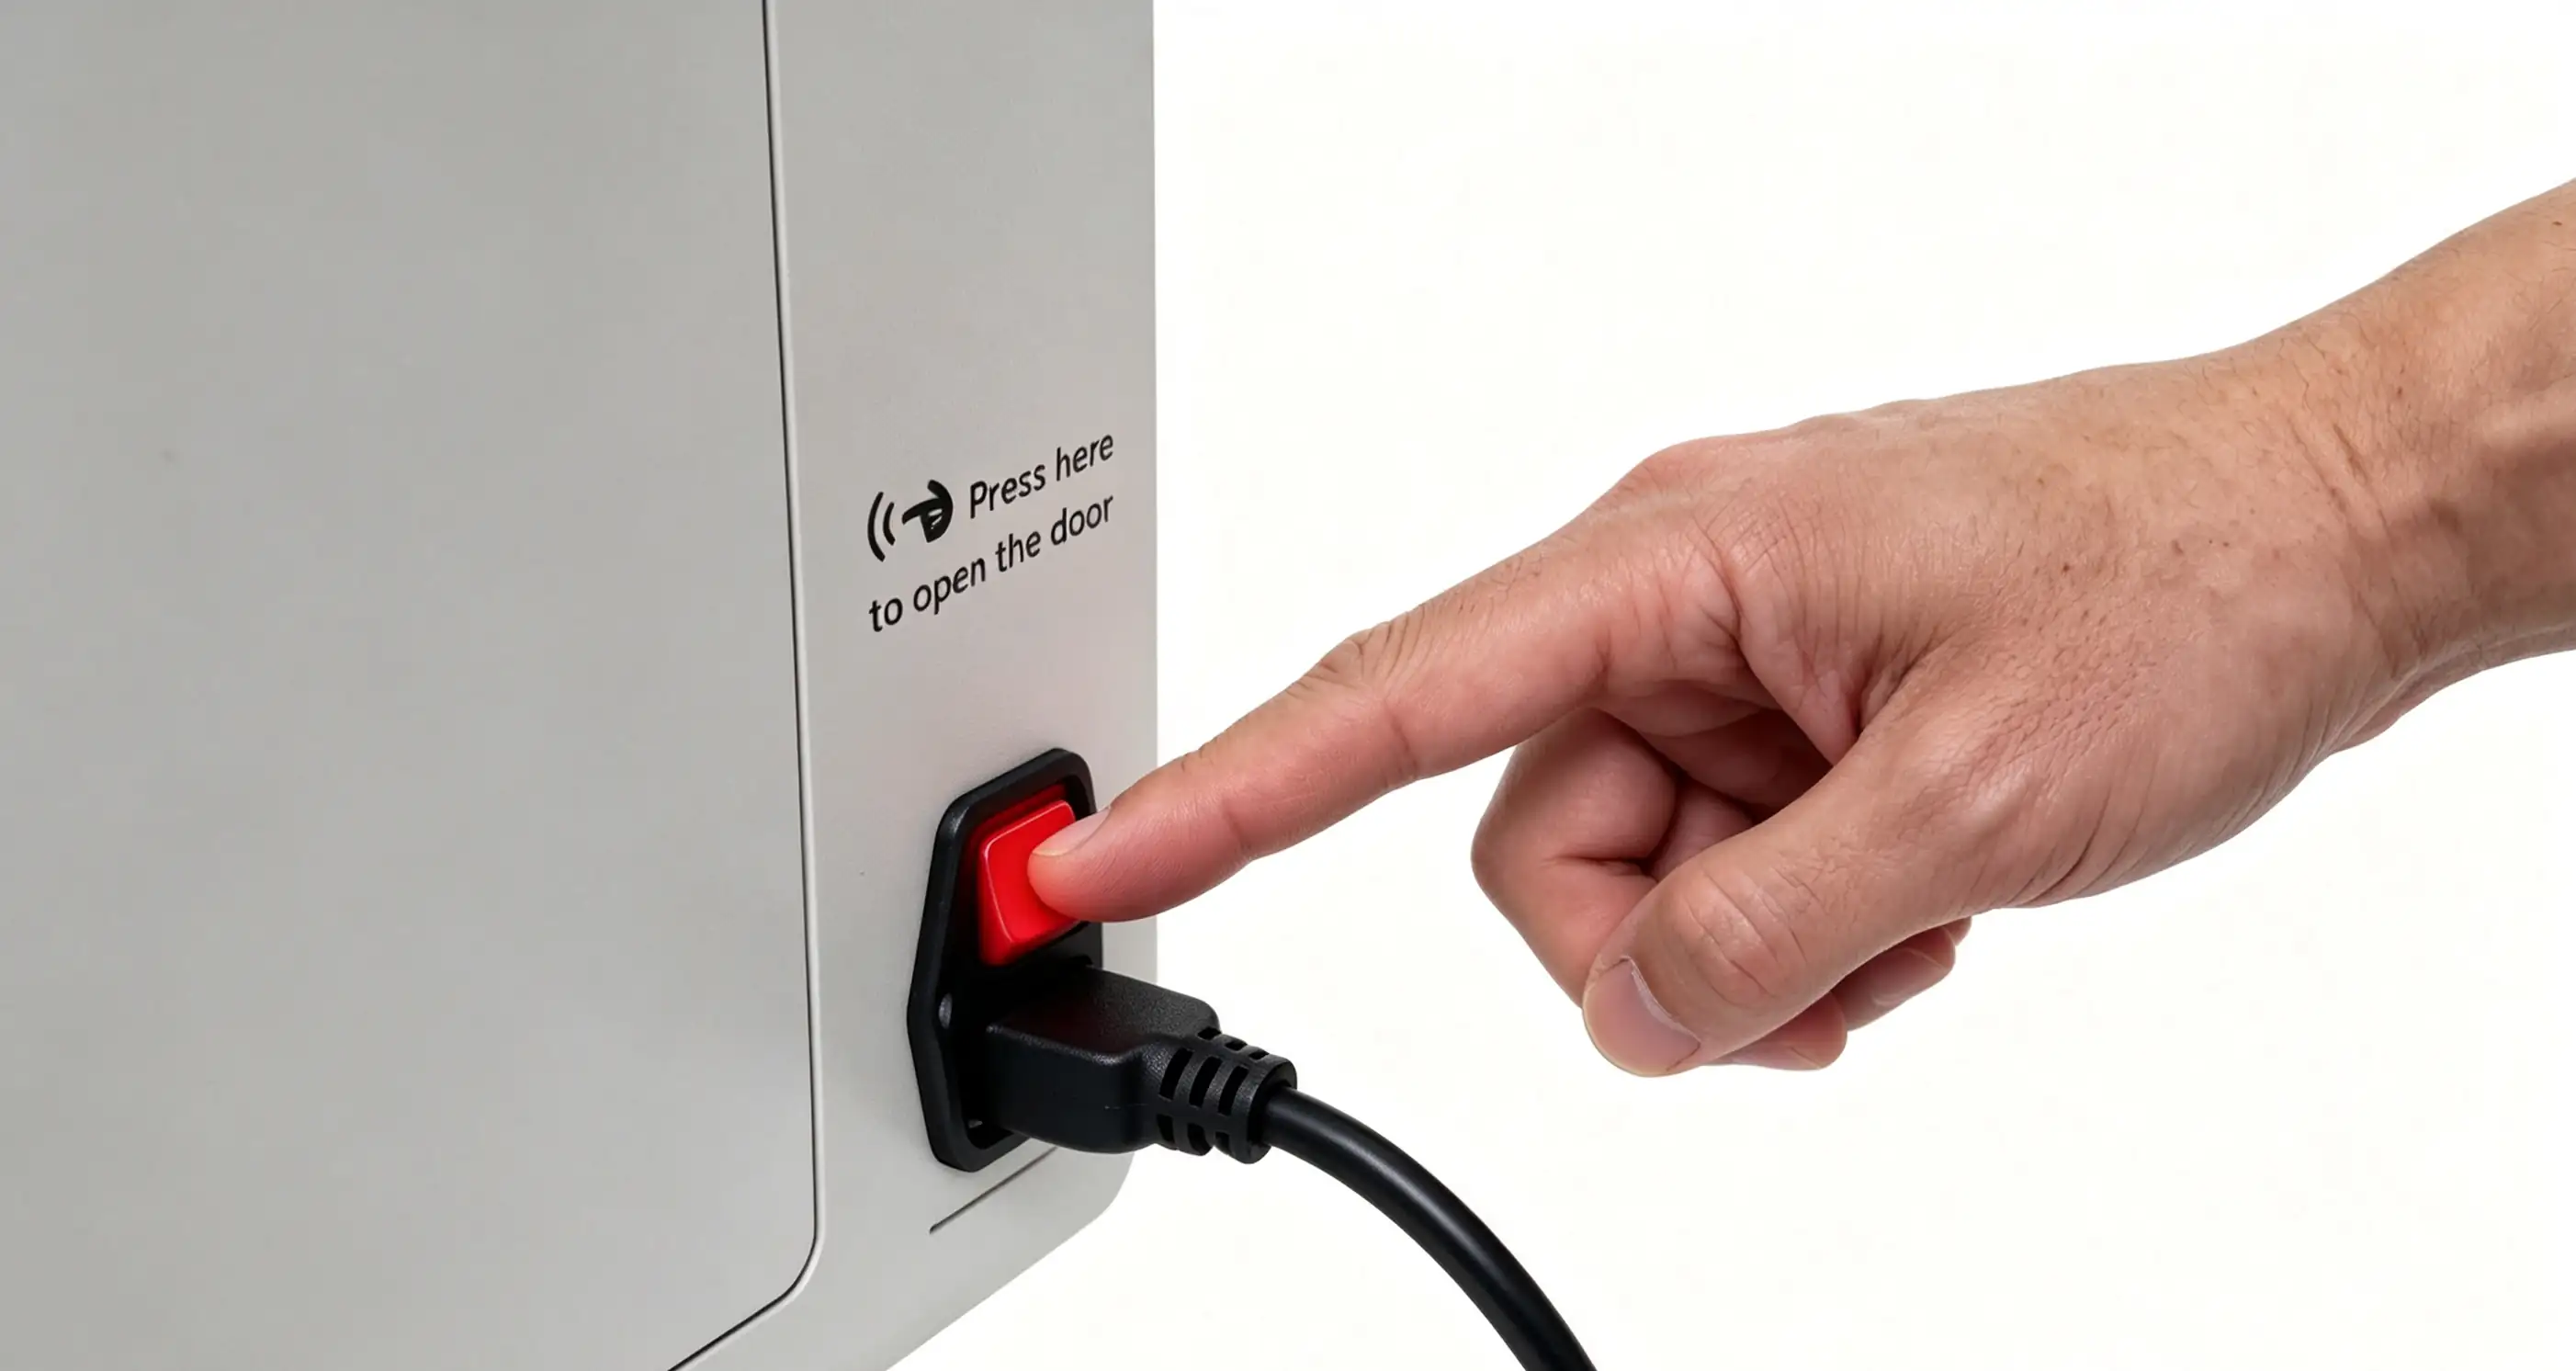
Step 2: Turn off the power switch
- Adjust position: First, move the print head to the center of the sliding rail, then disconnect the printer power supply to leave sufficient space for subsequent operations.
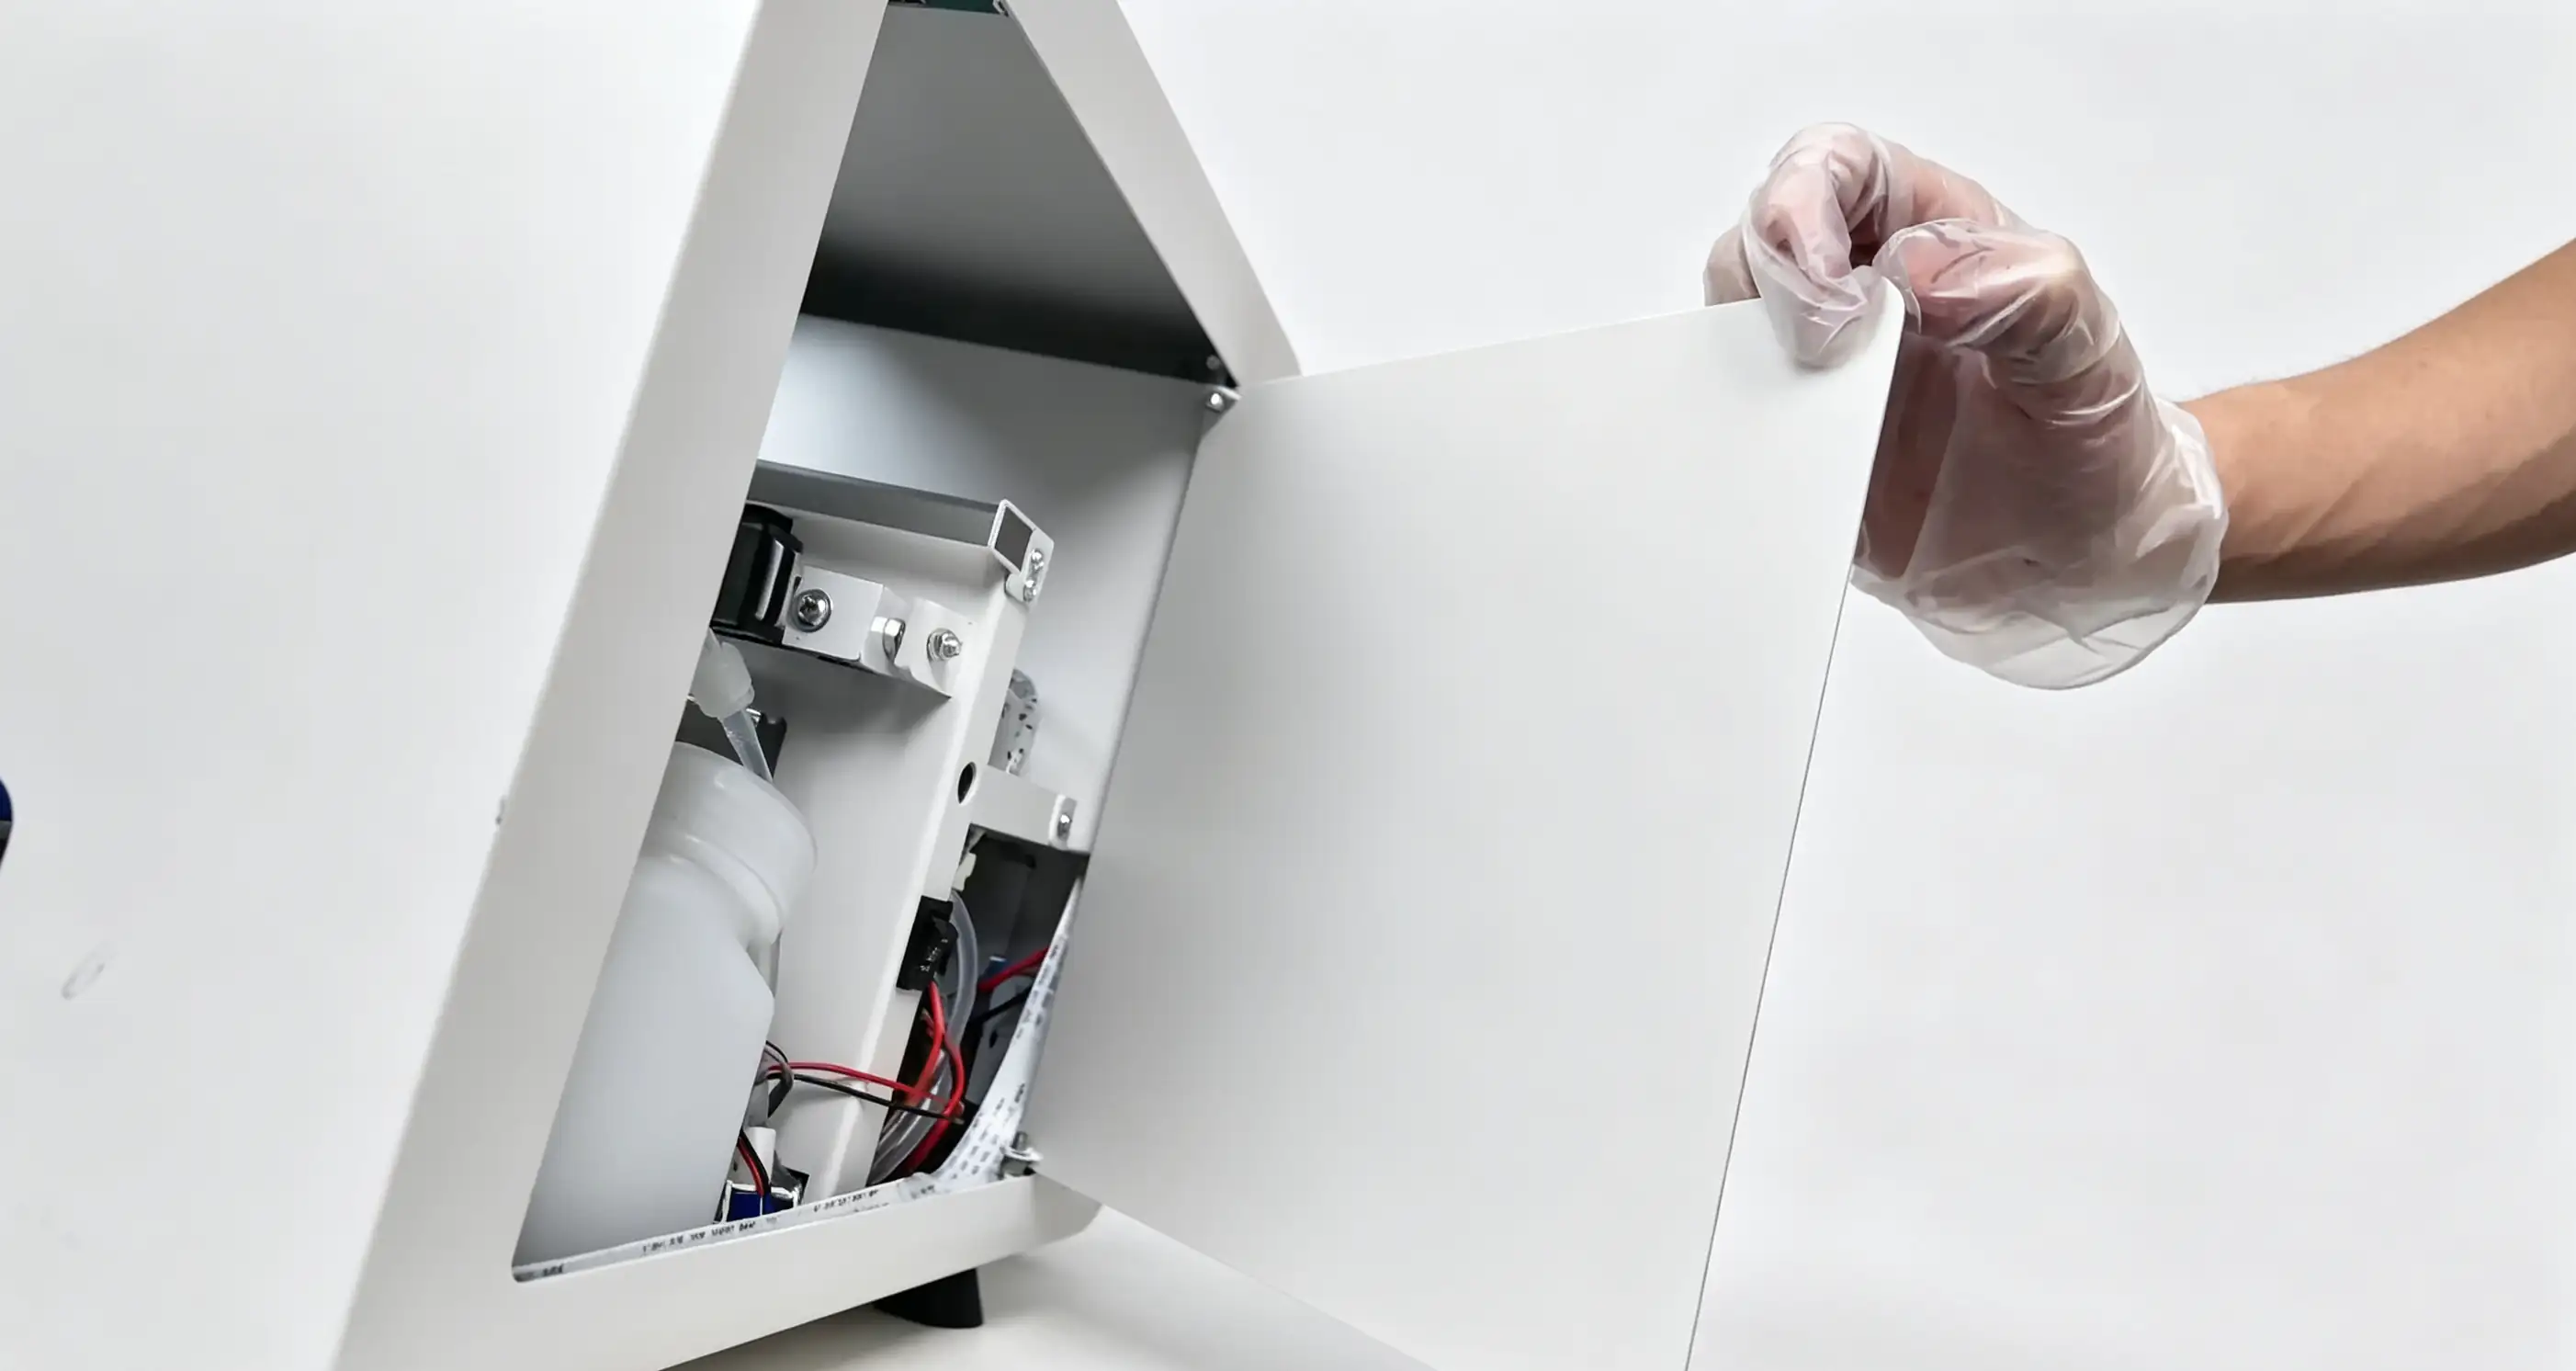
- Open the inspection door on the right side of the printer.
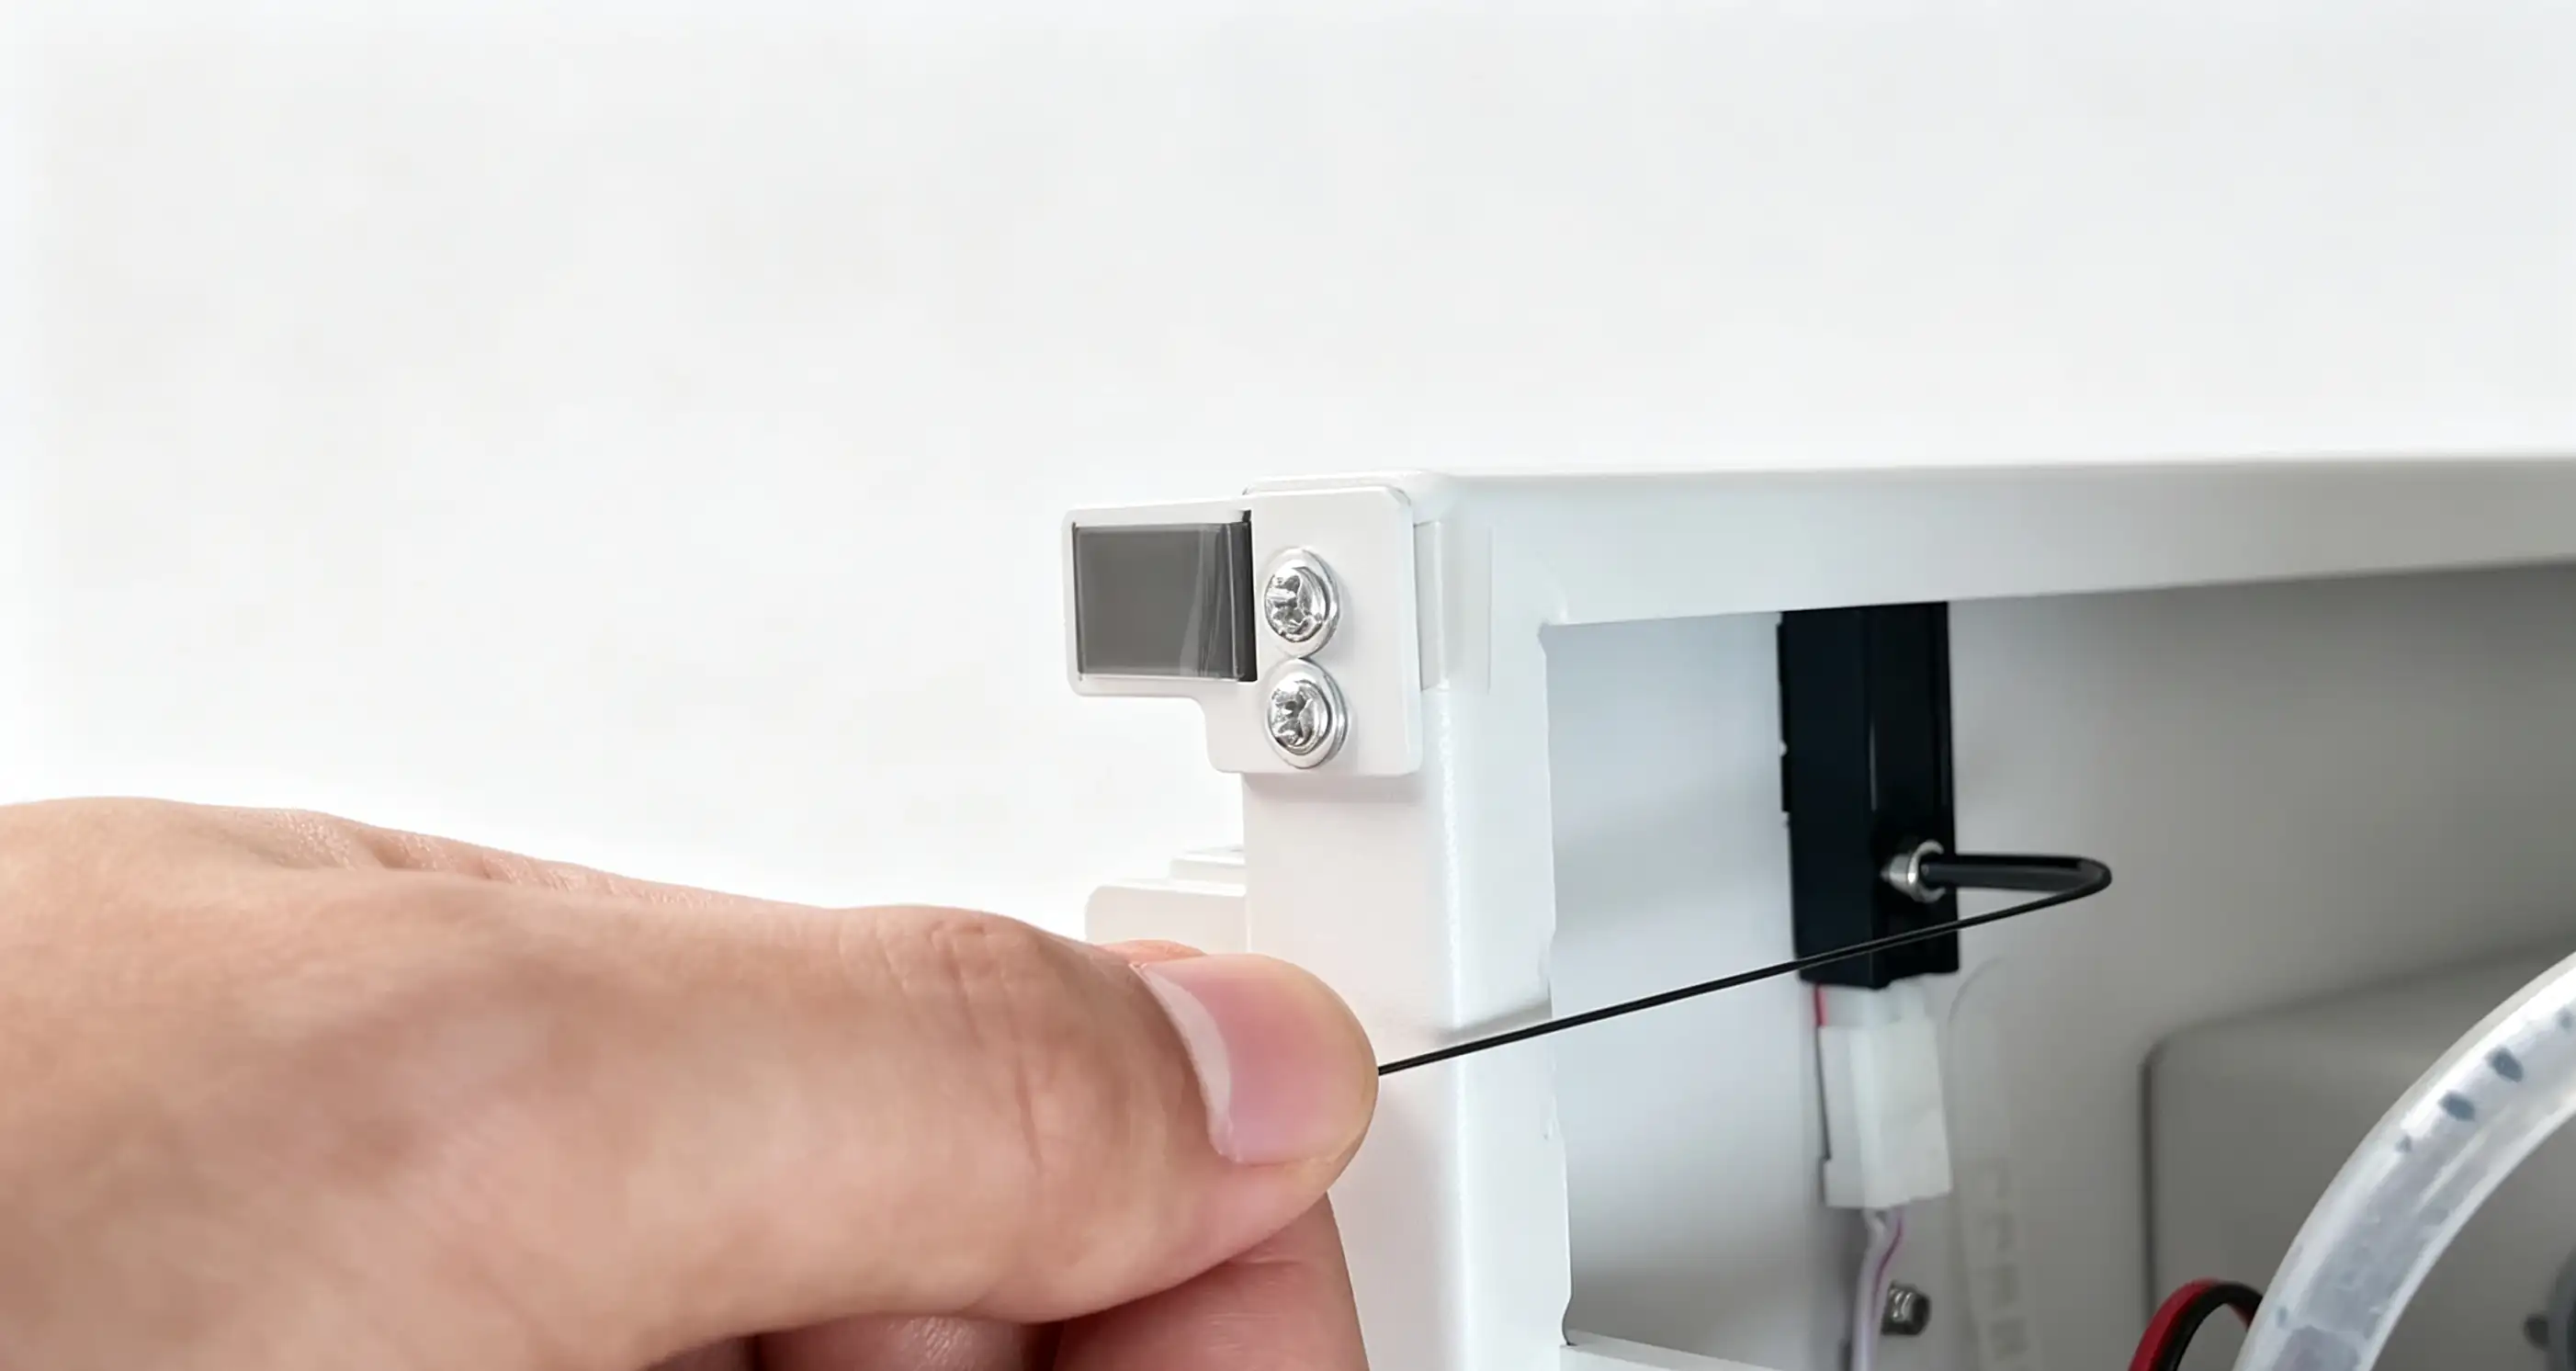
Step 1: Loosen the fixing screw
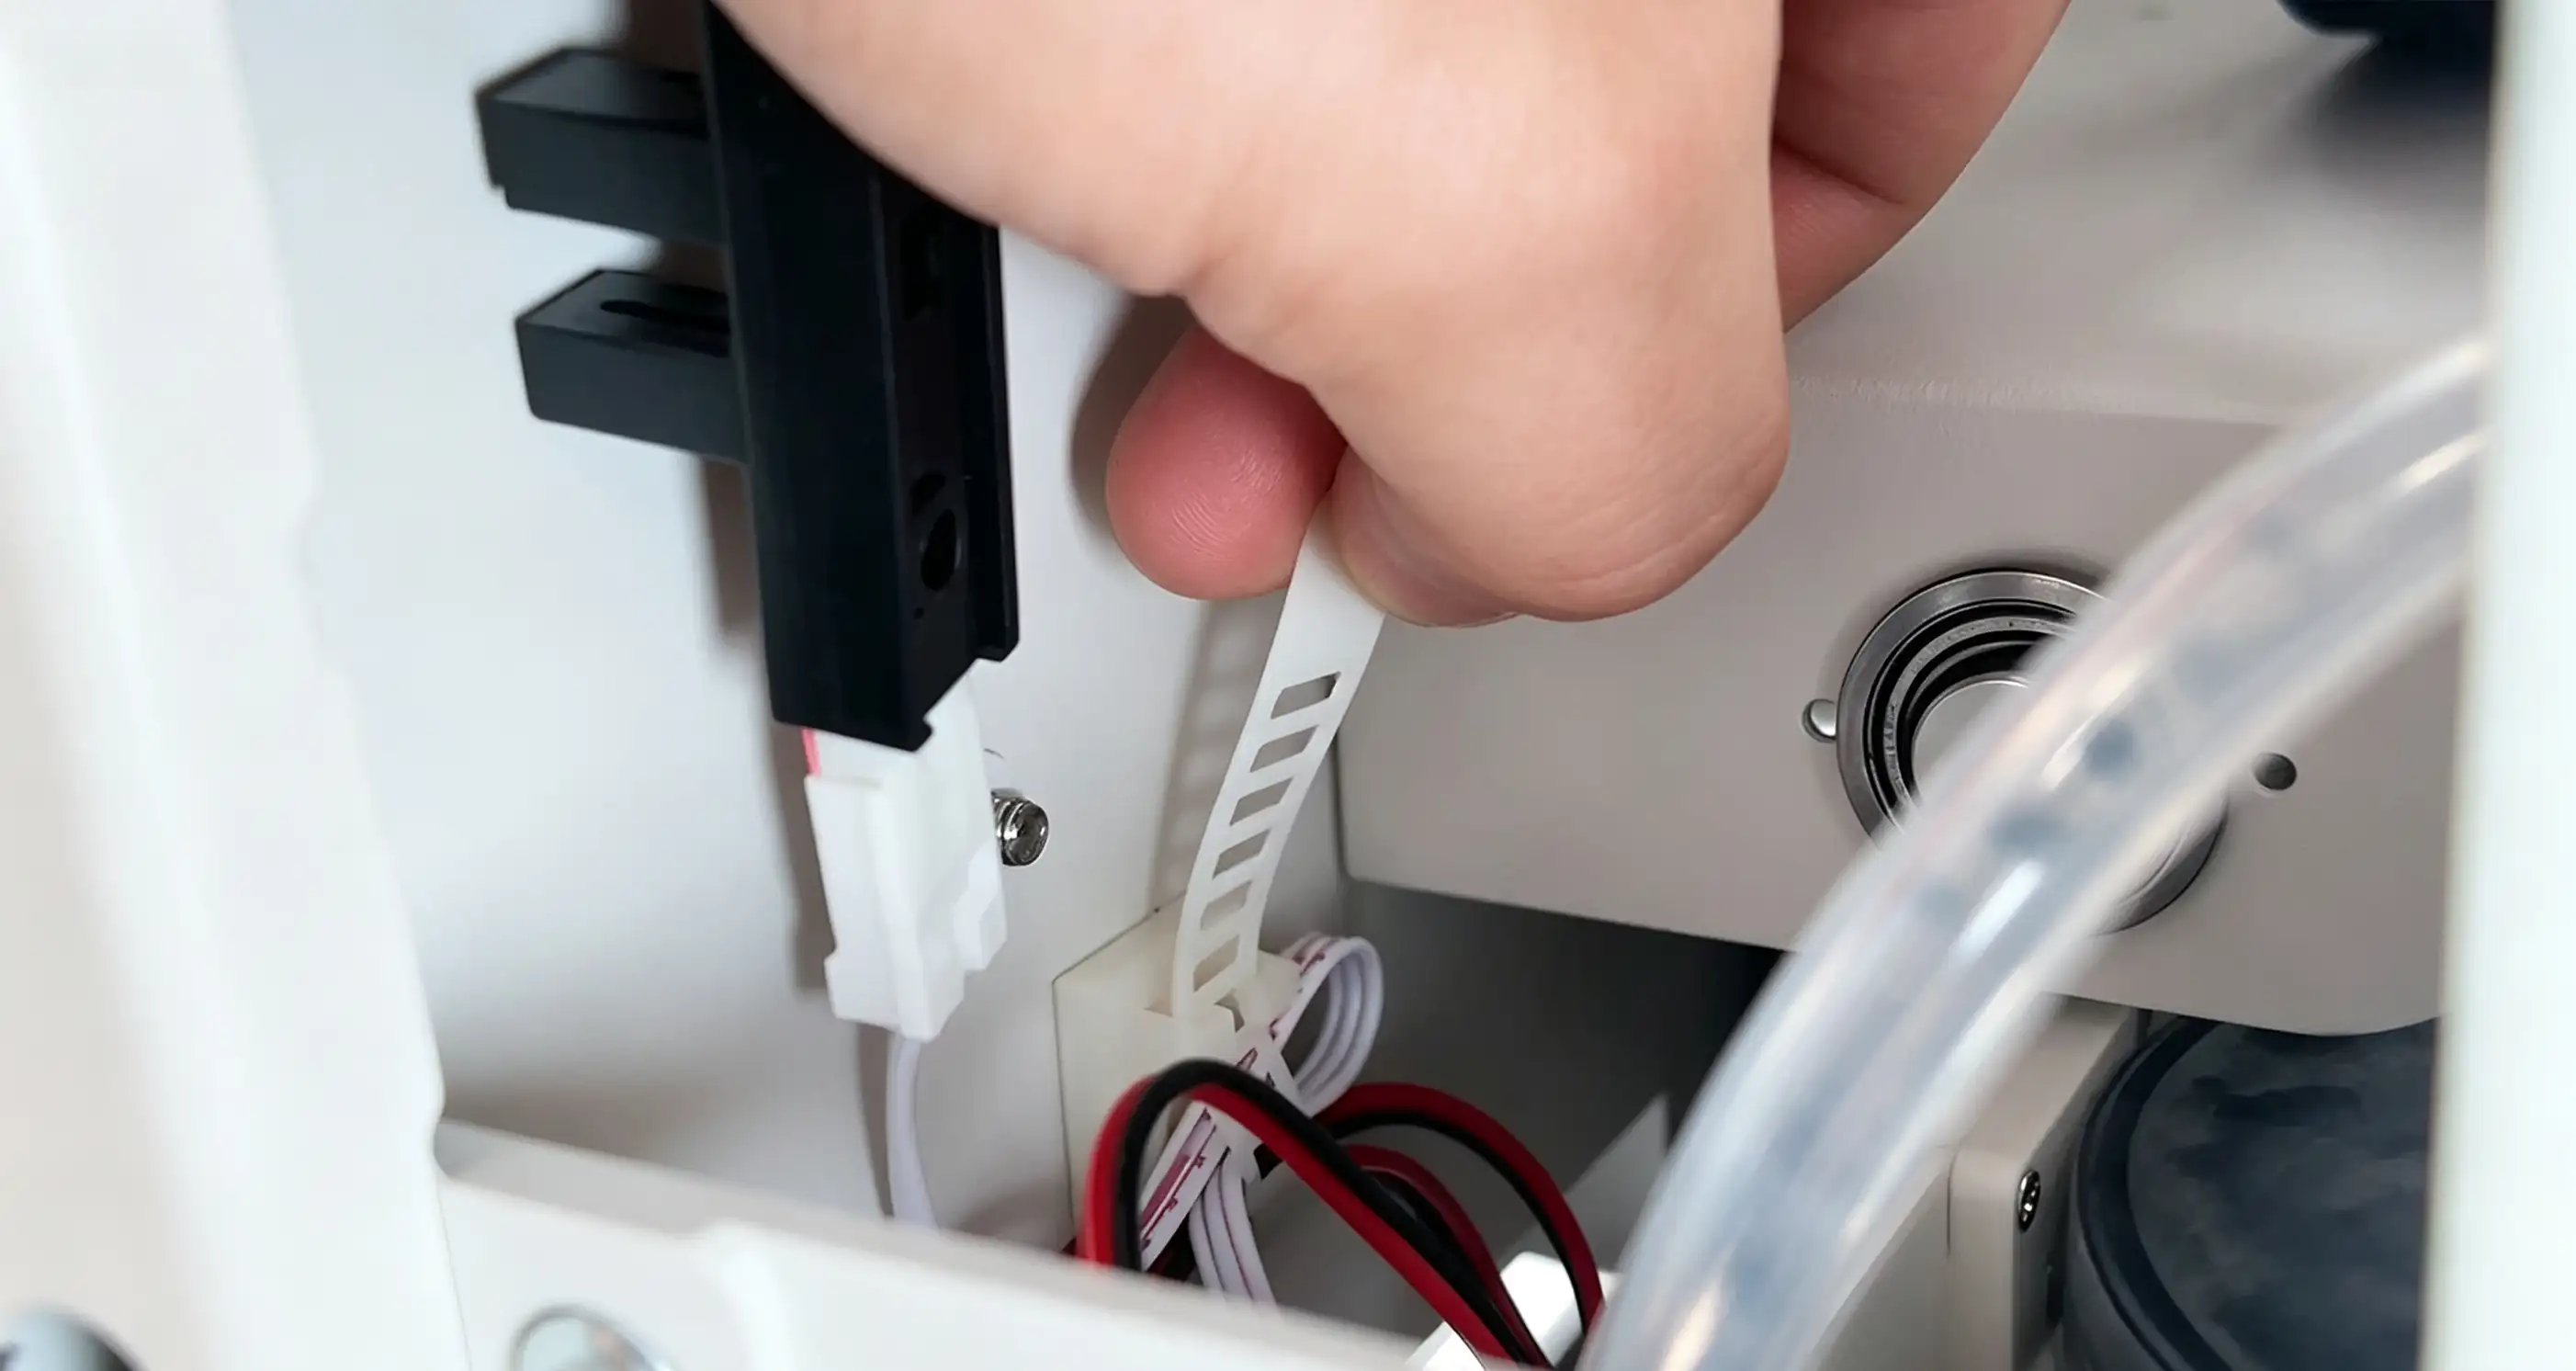
Step 2: Loosen the wire tie securing the cable
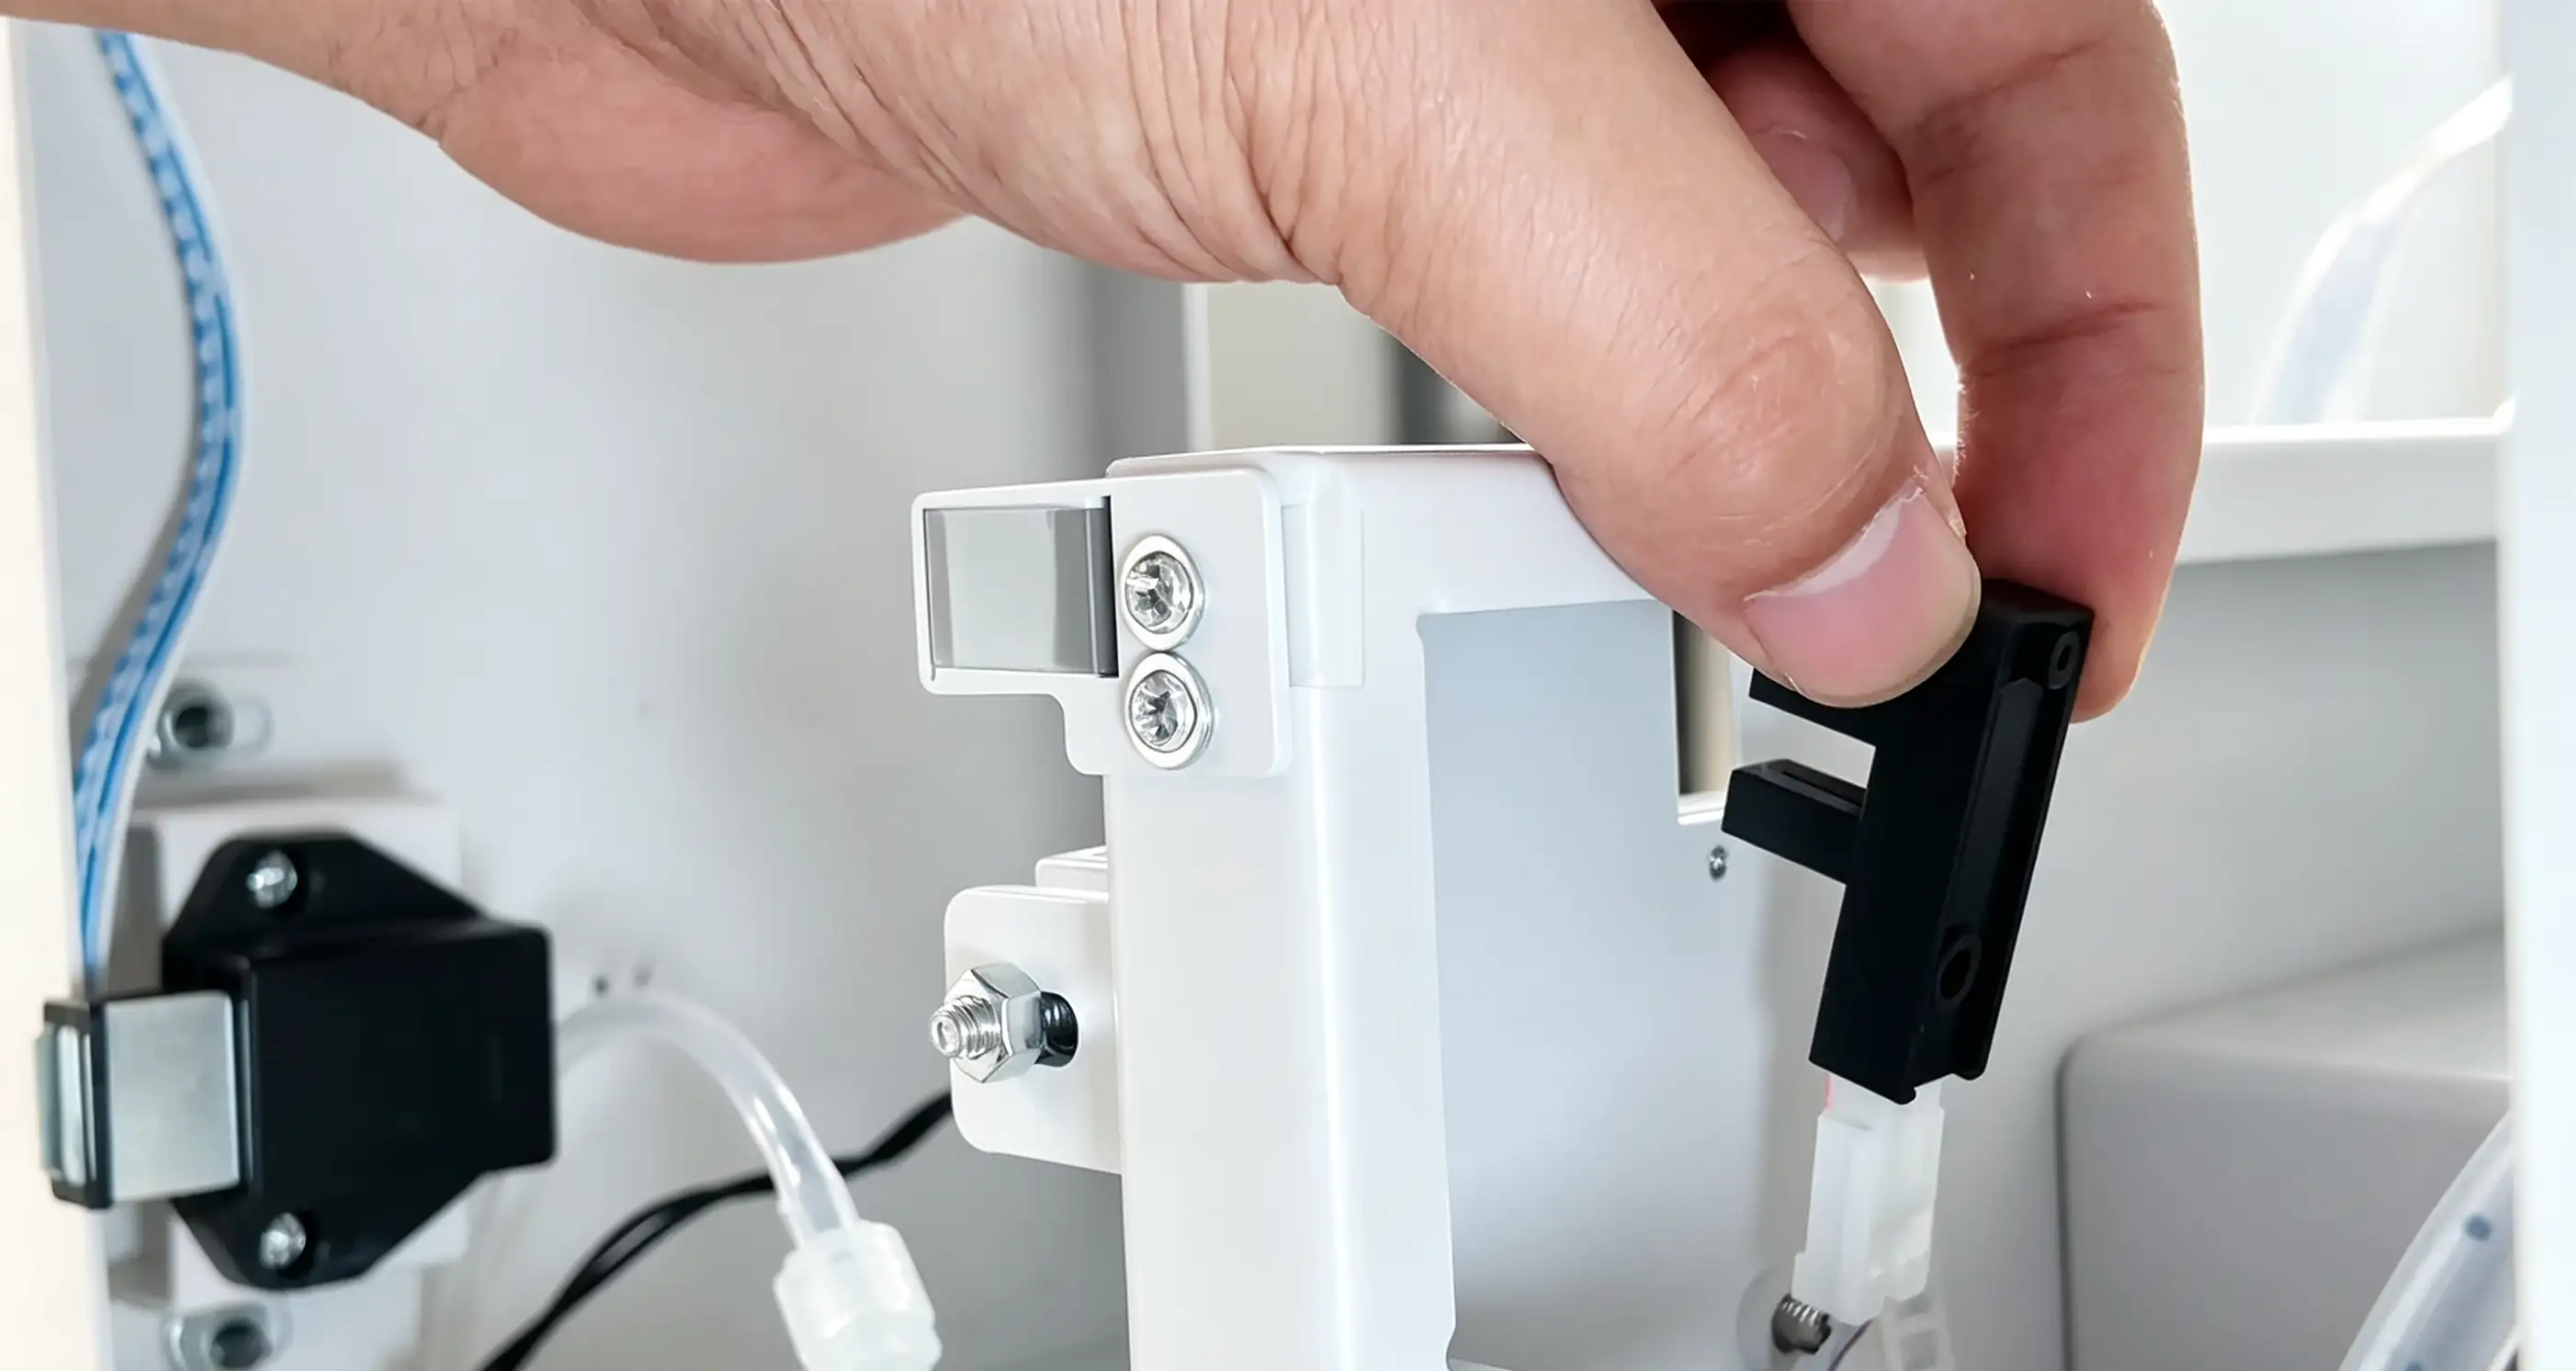
Step 3: Remove the origin sensor
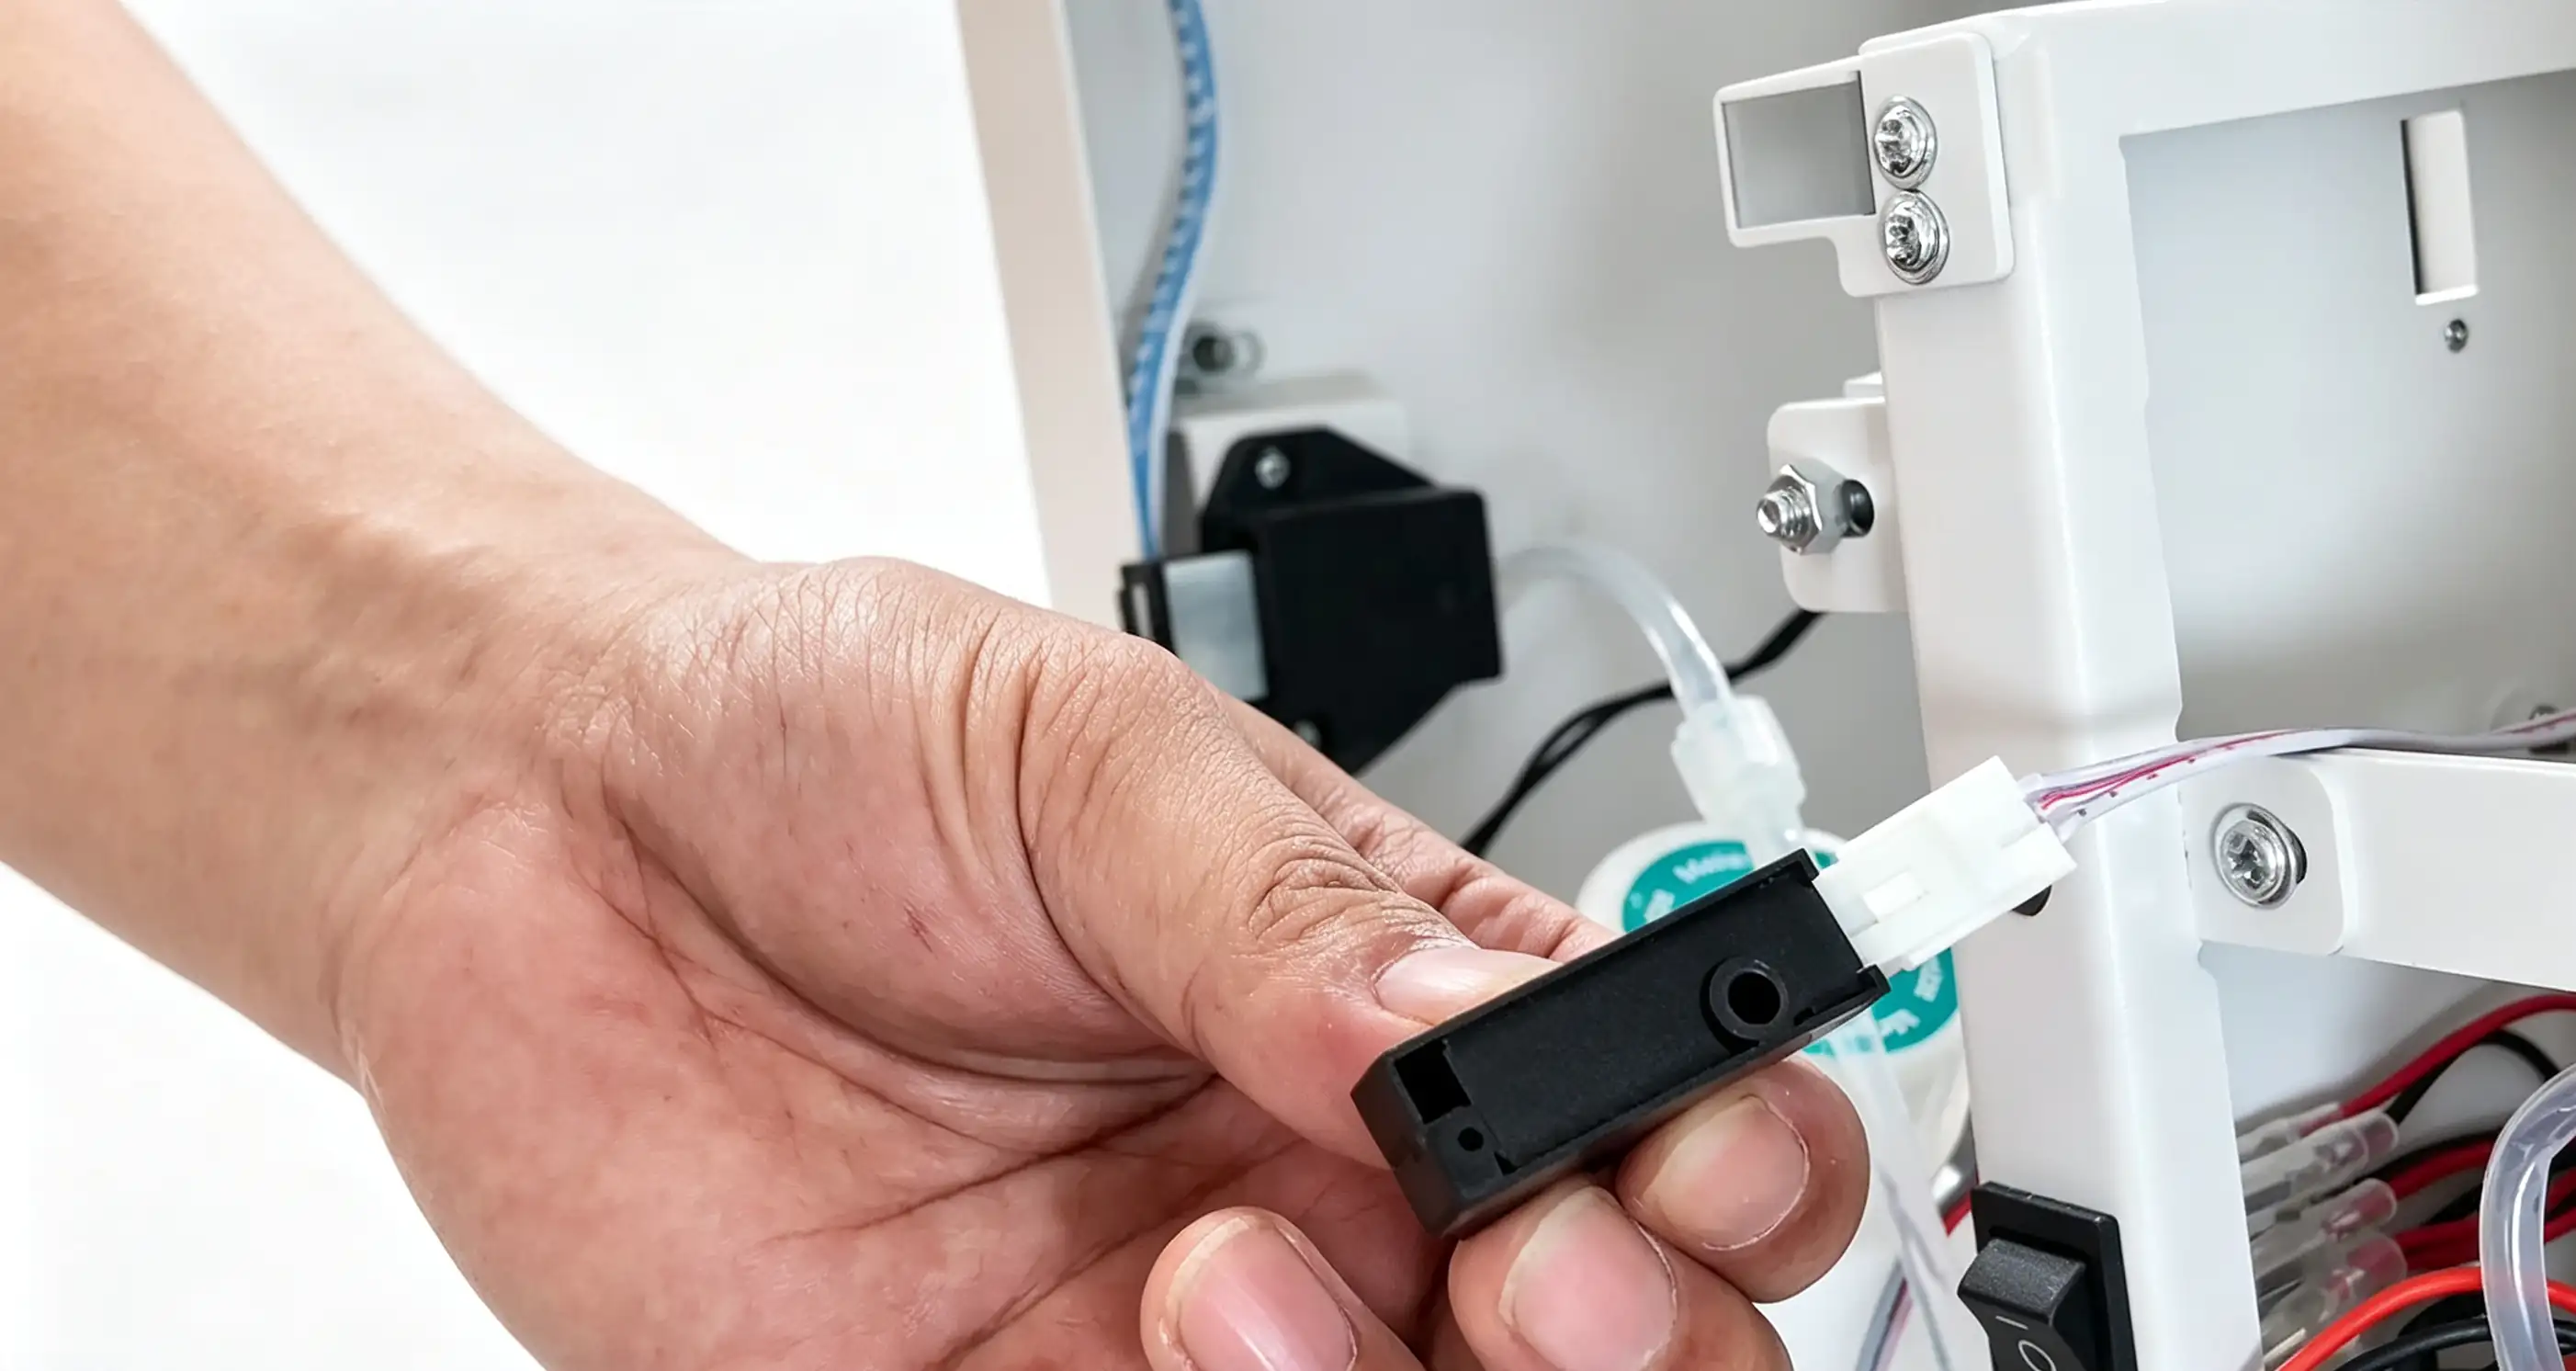
Step 4:Remove the origin sensor
- Use an Allen wrench to loosen the fixing screw, then use an Allen screwdriver to remove the screw, take off the sensor, and disconnect the sensor plug. Insert the new sensor properly.
¶ Installing the New Origin Photoelectric Sensor
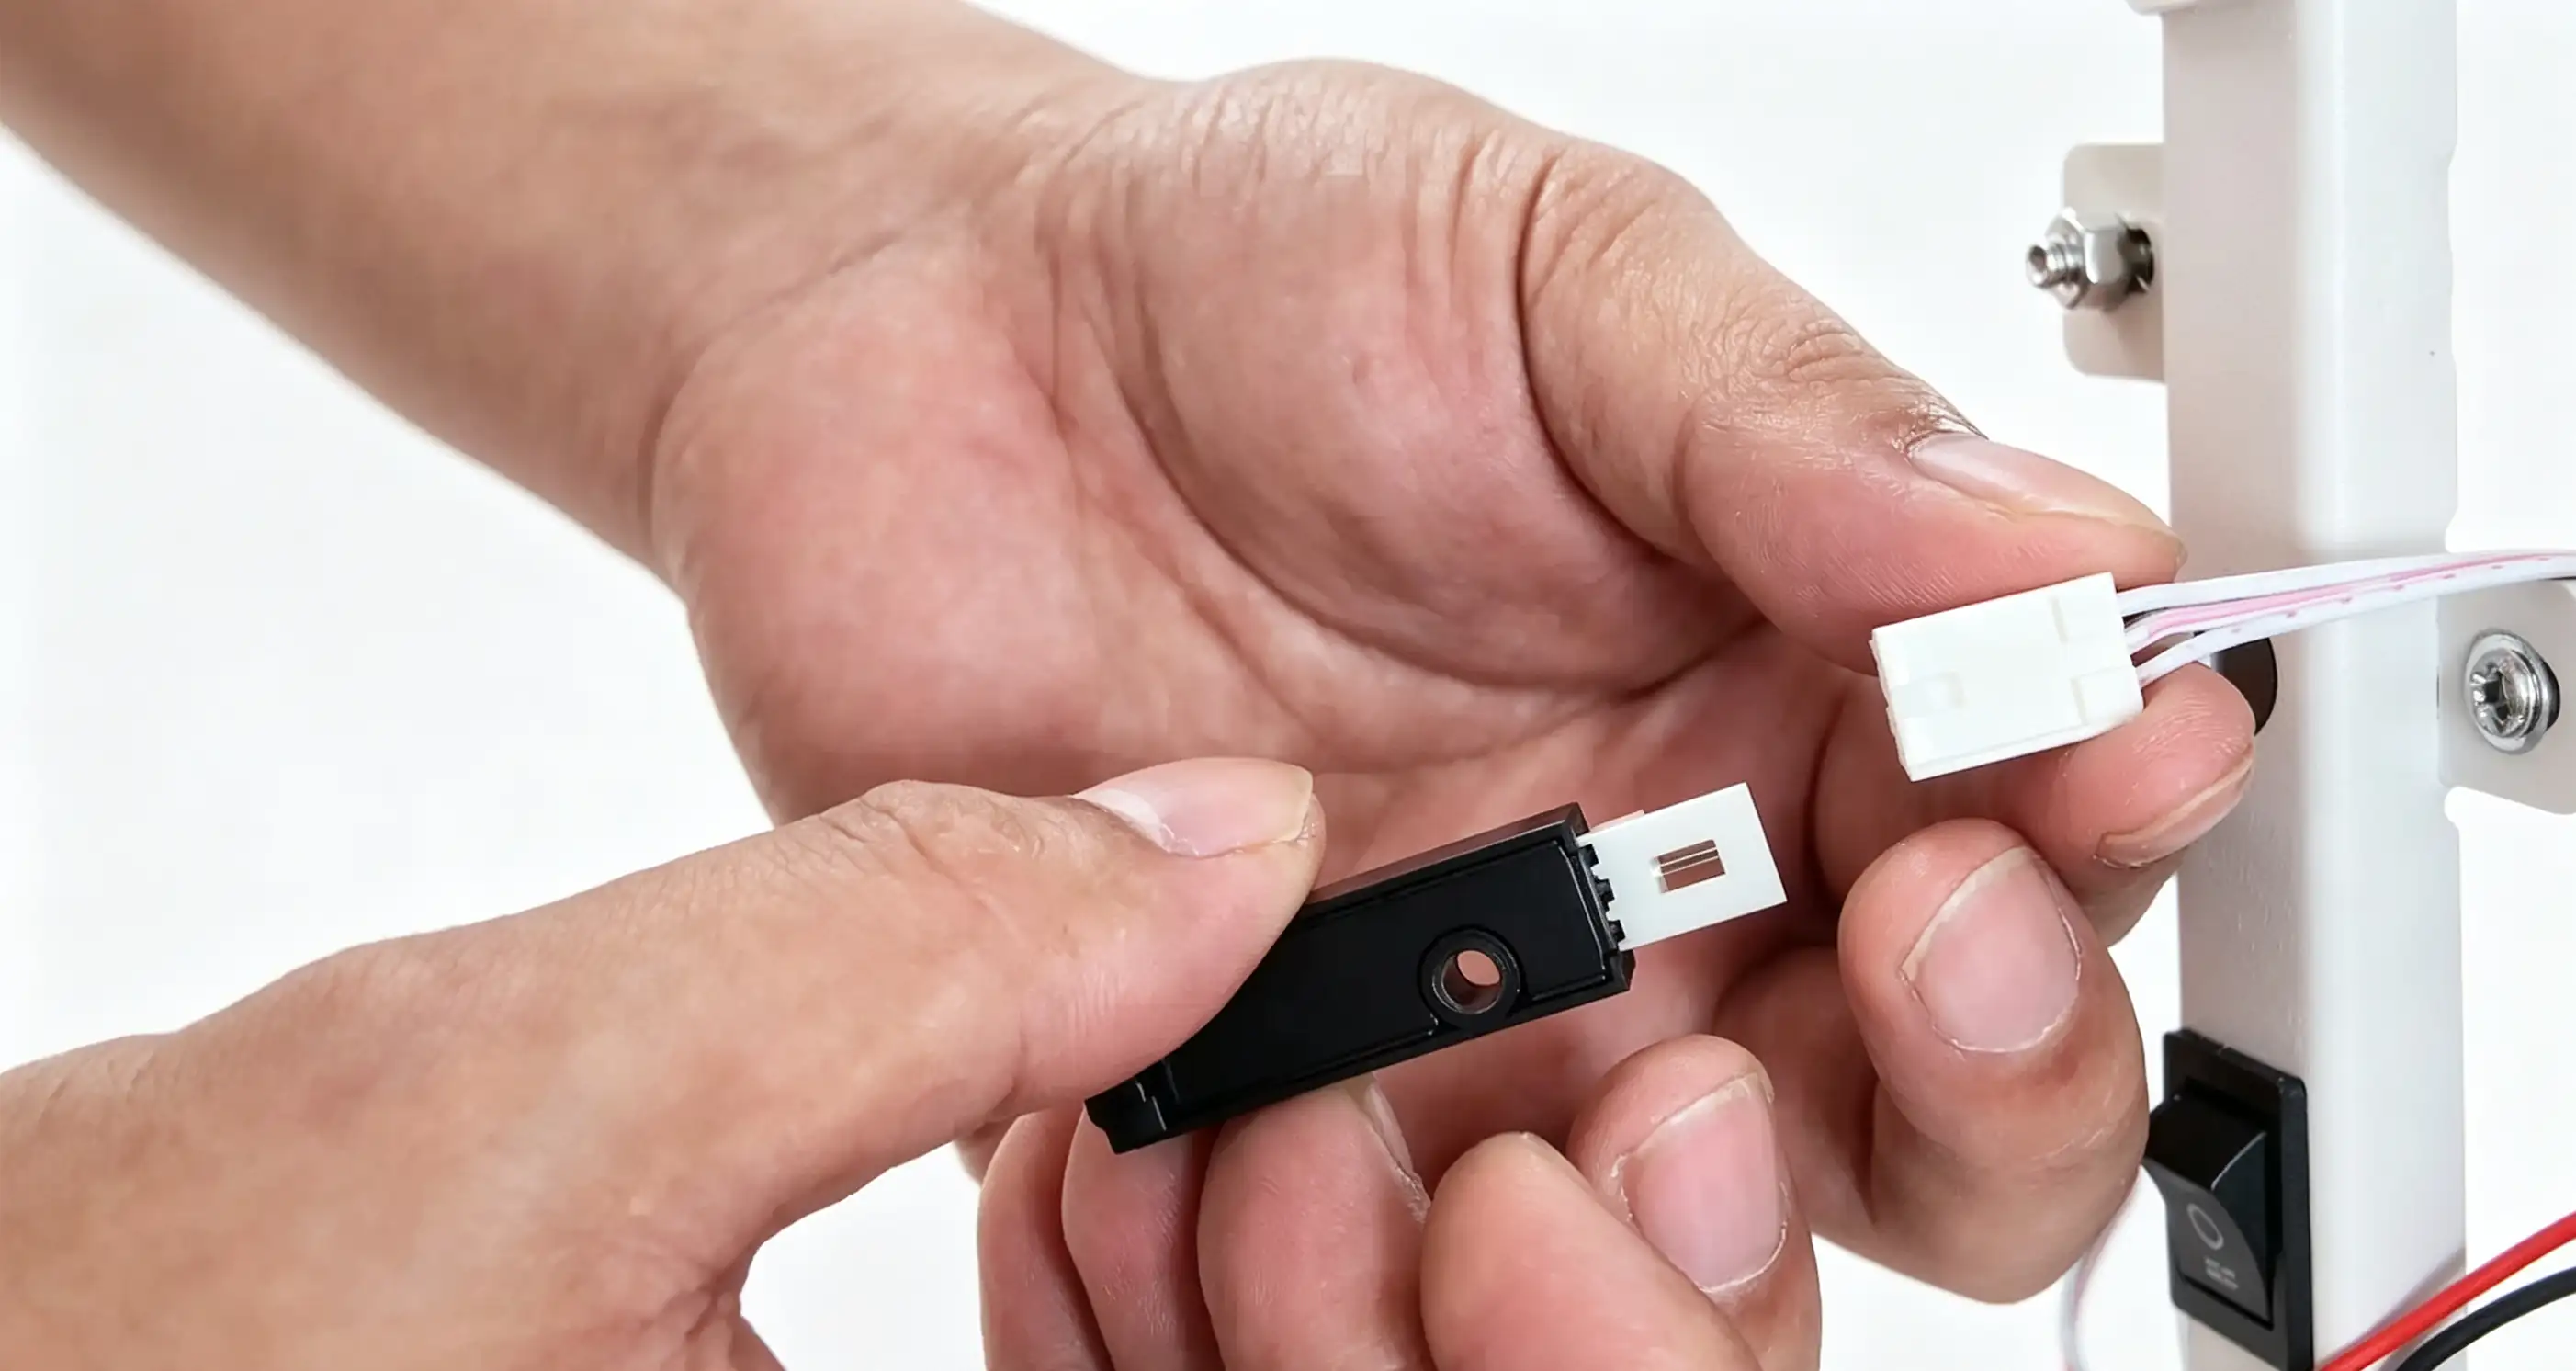
- Insert the wire plug into the sensor
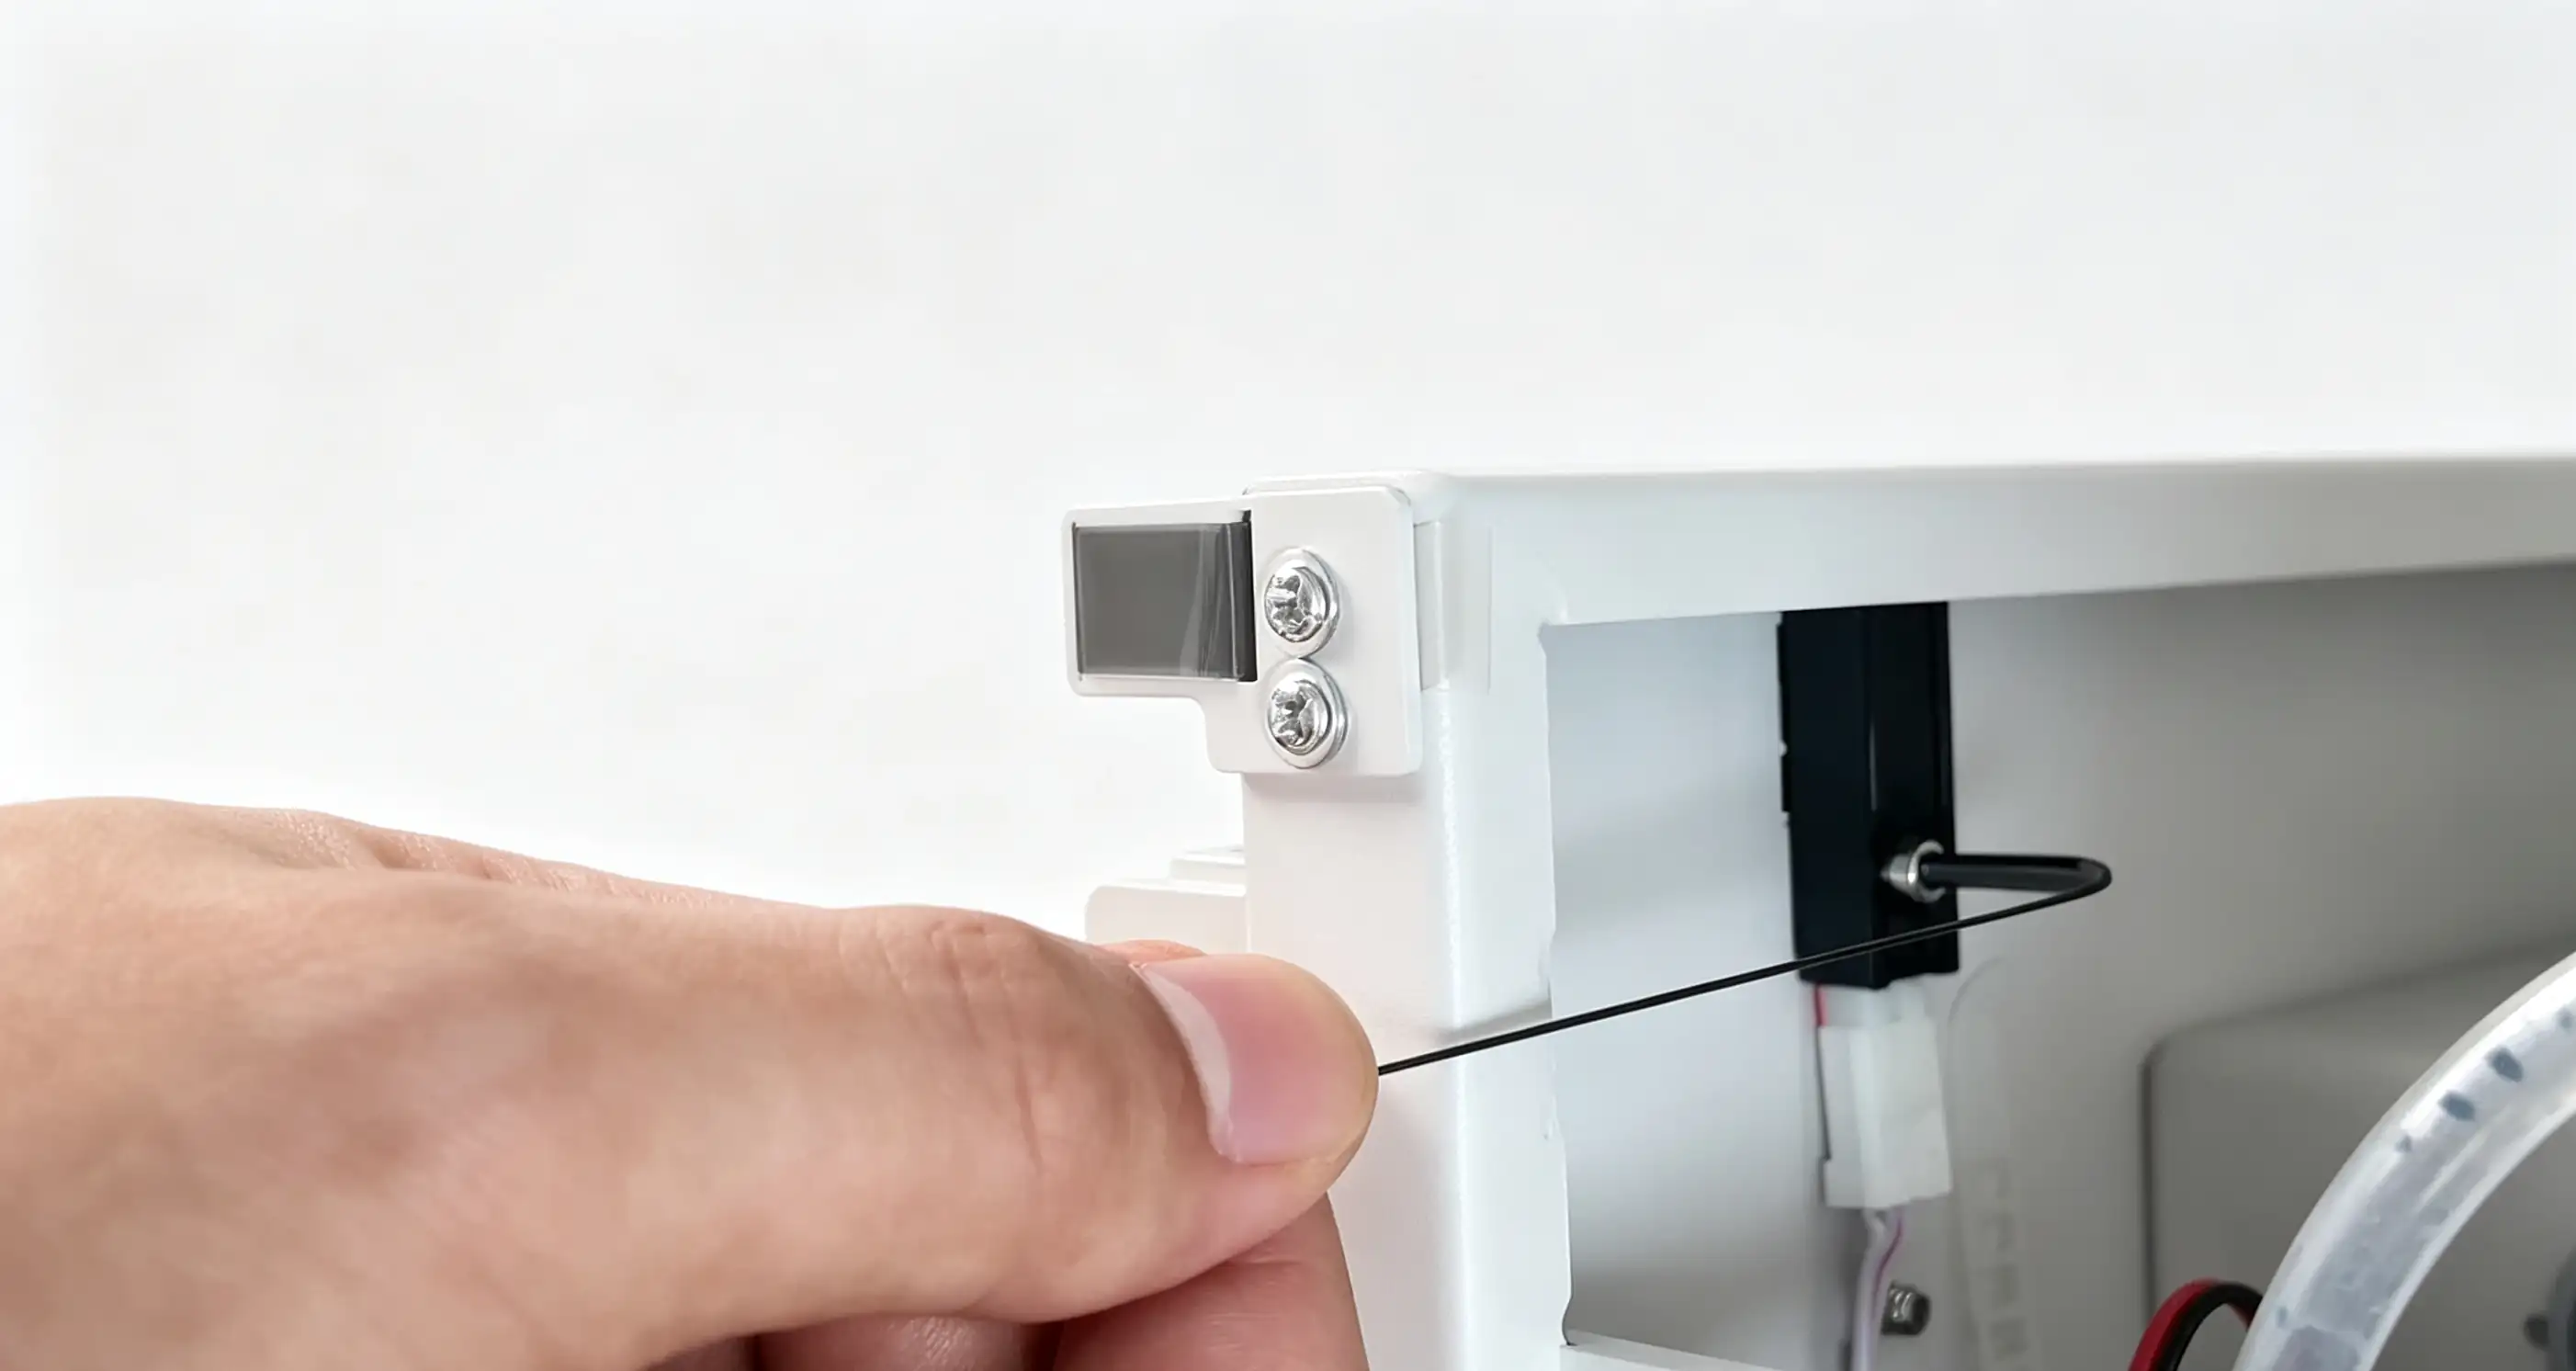
- Position the new sensor properly, insert the protruding part into the body, and secure the sensor with screws.
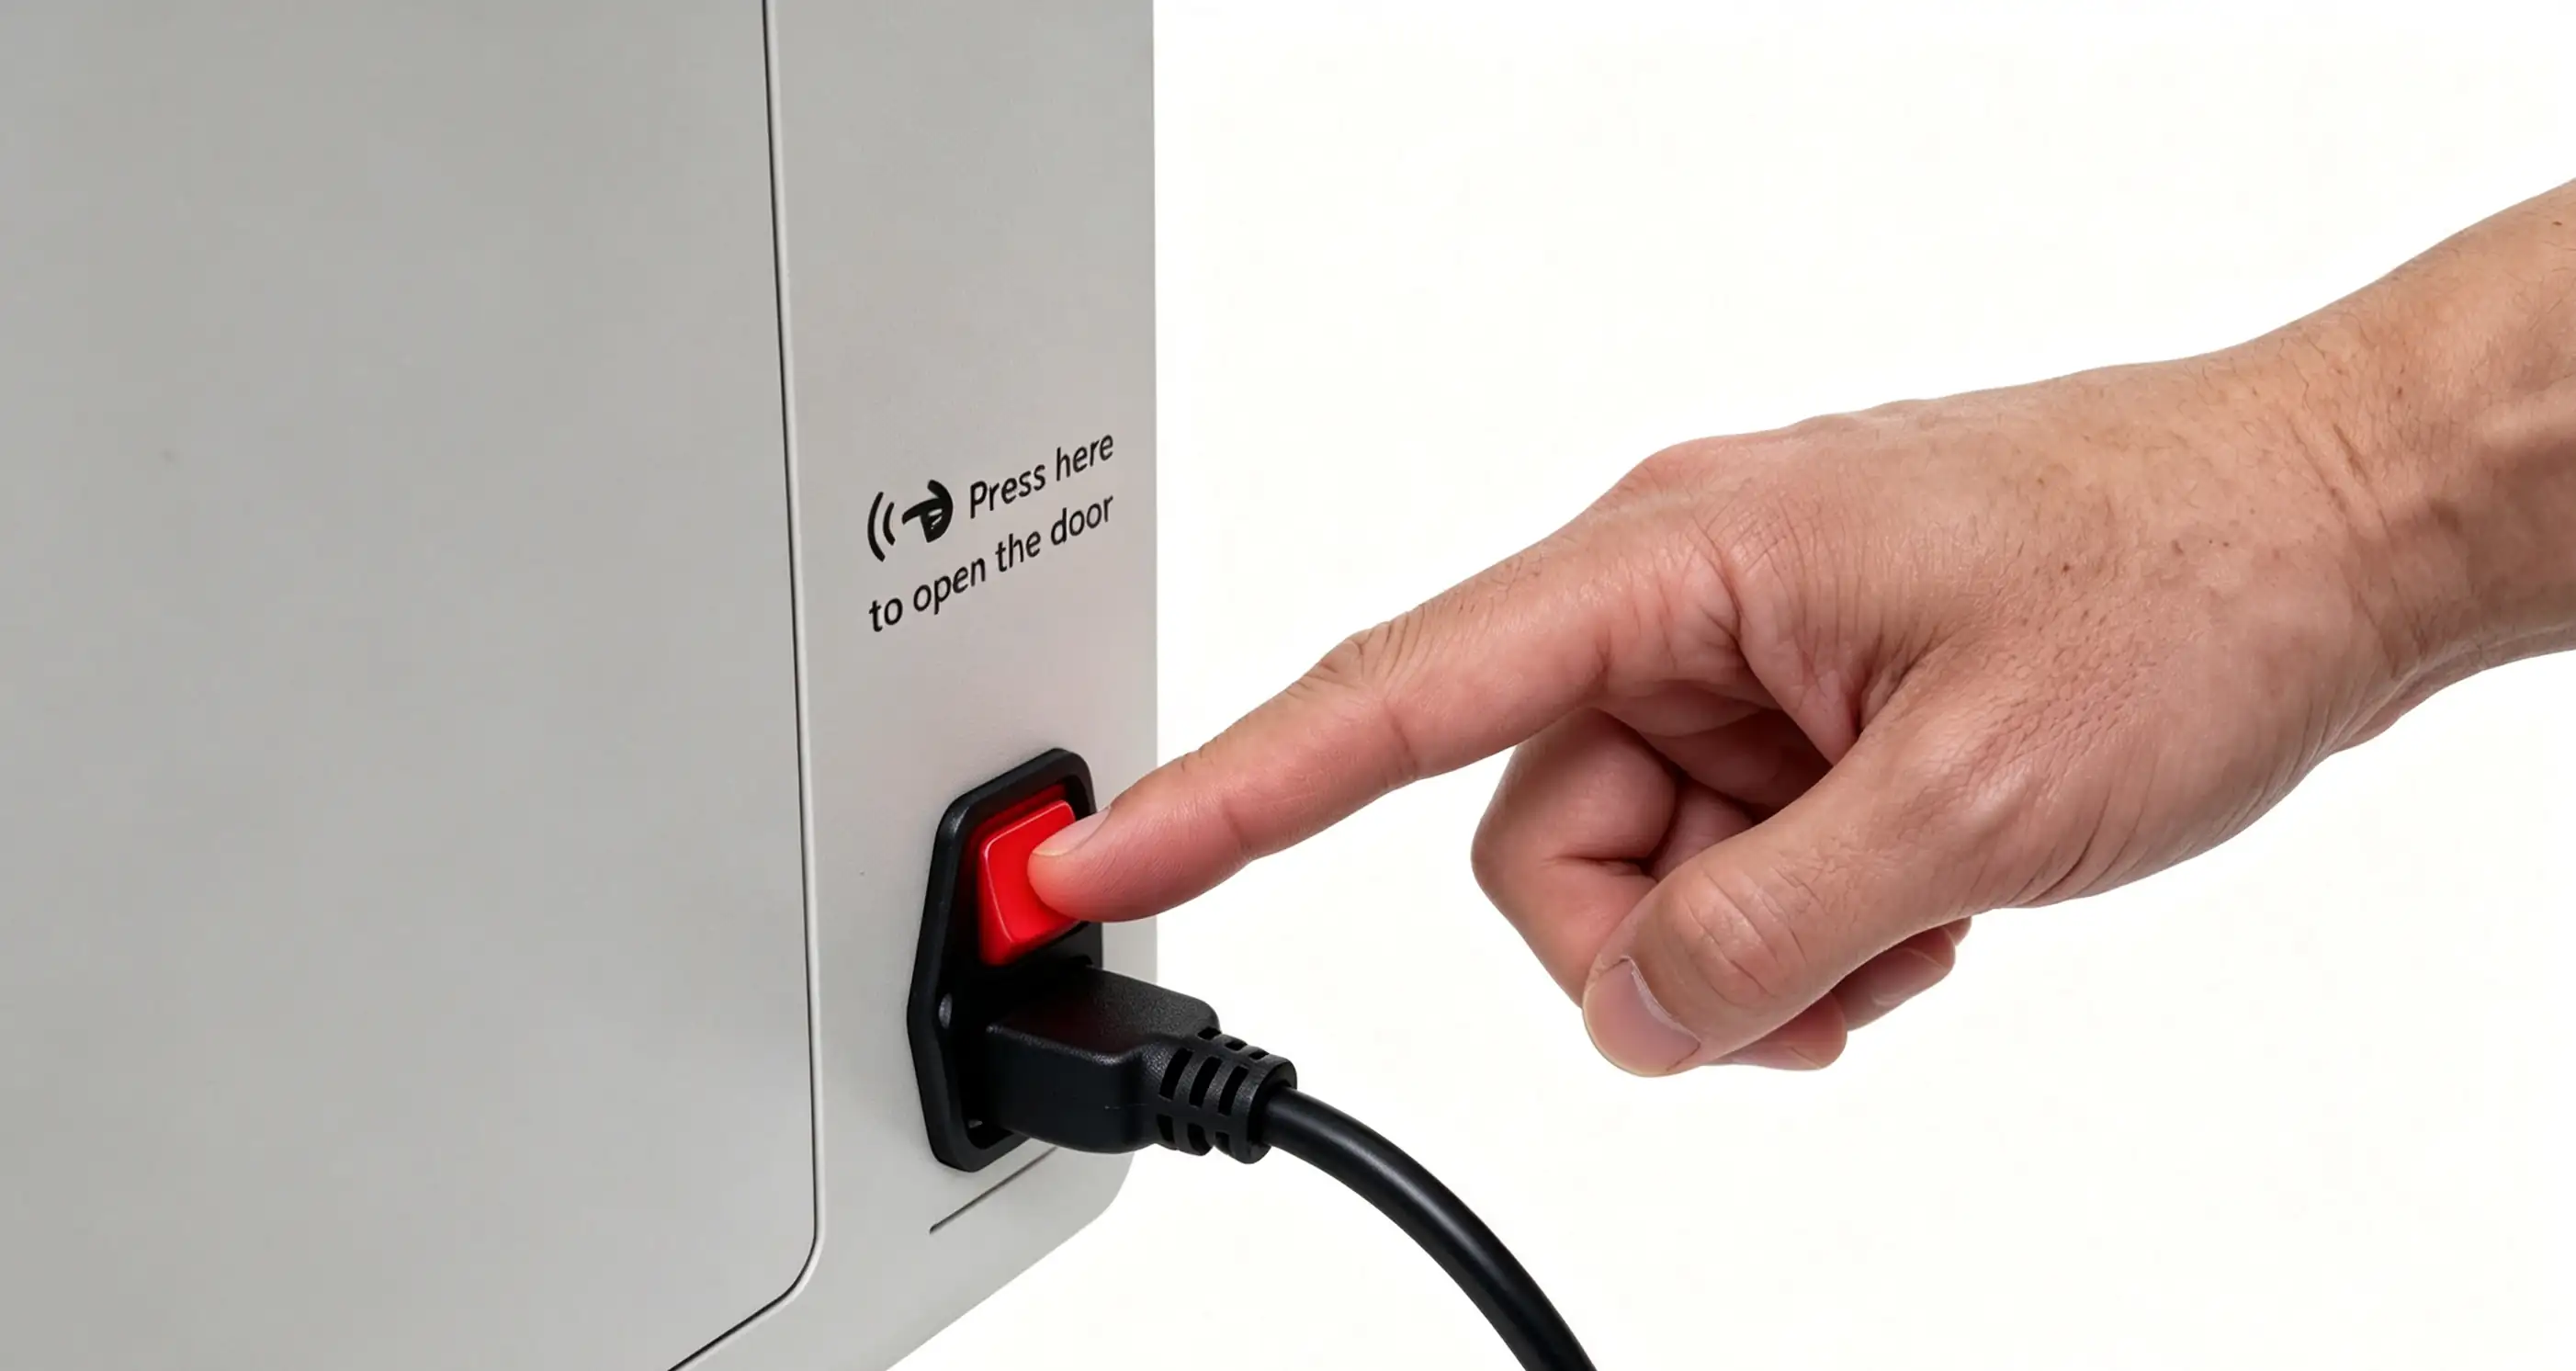
- Turn on the printer power; the print head assembly will automatically reset. Check whether the print head returns to the preset position correctly.