¶ Preparation
Tools: brand-new grating bar photoelectric sensor, Phillips screwdriver, PVC gloves.
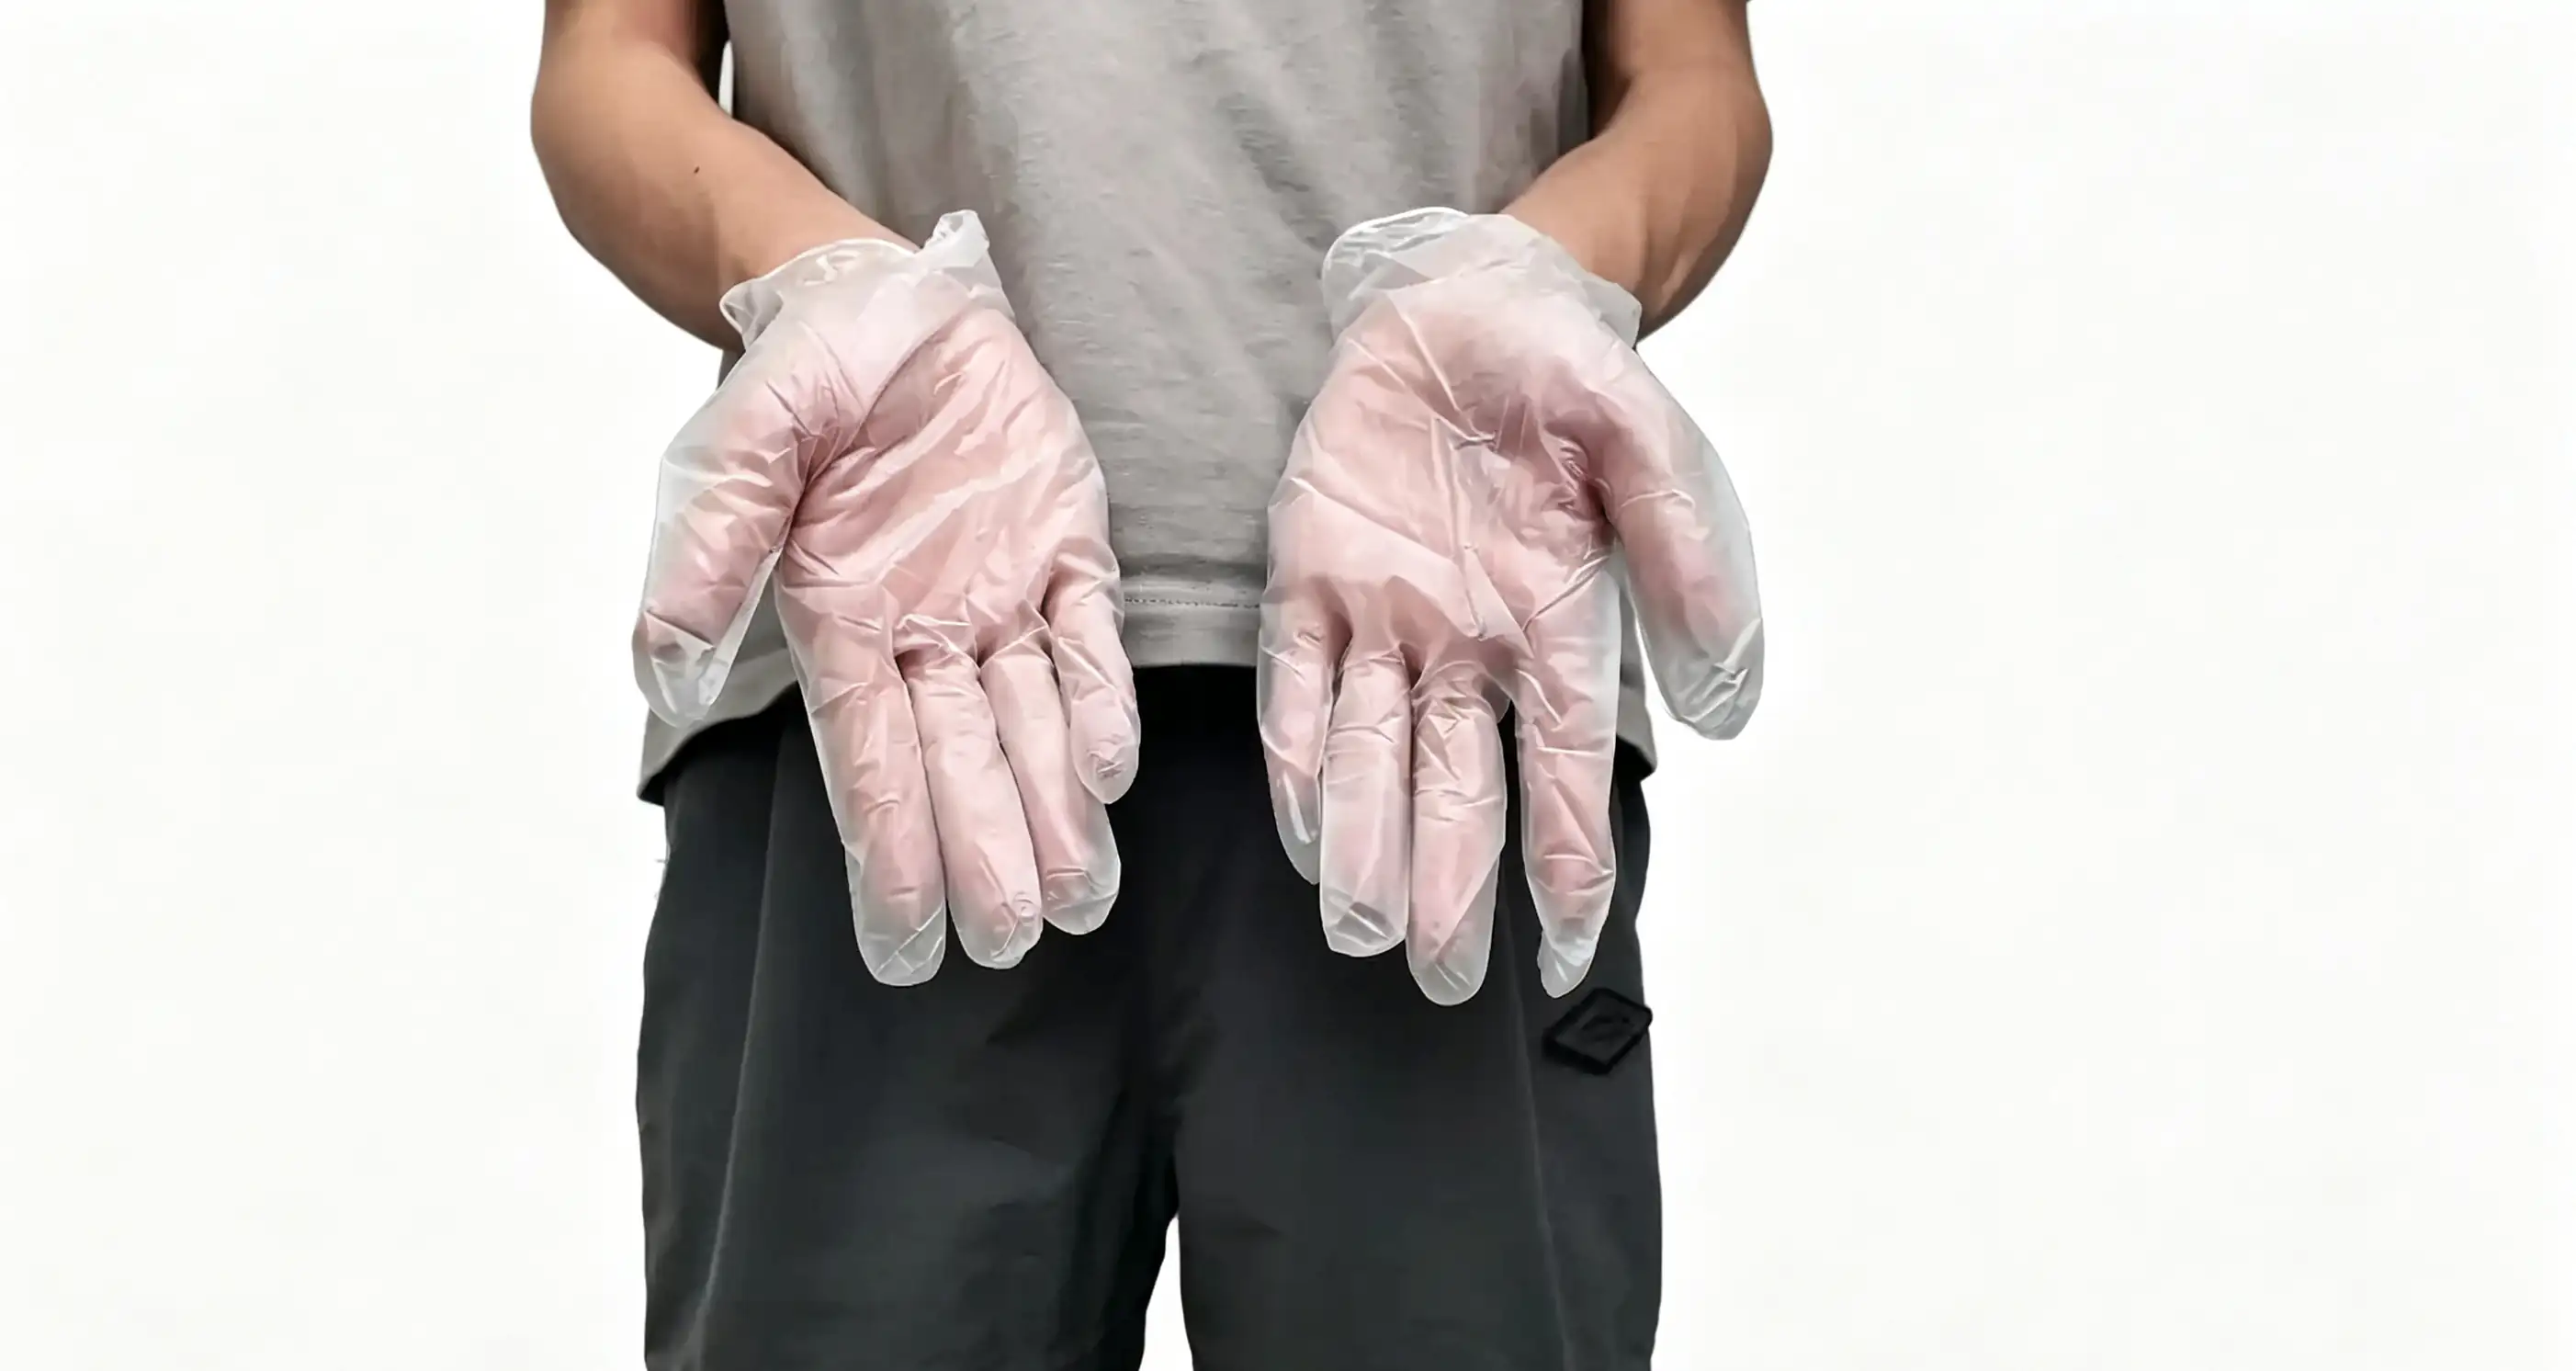
Safety precautions: It is recommended to wear PVC gloves before operation to prevent oil or sweat from contaminating equipment components.
¶ Operating Steps
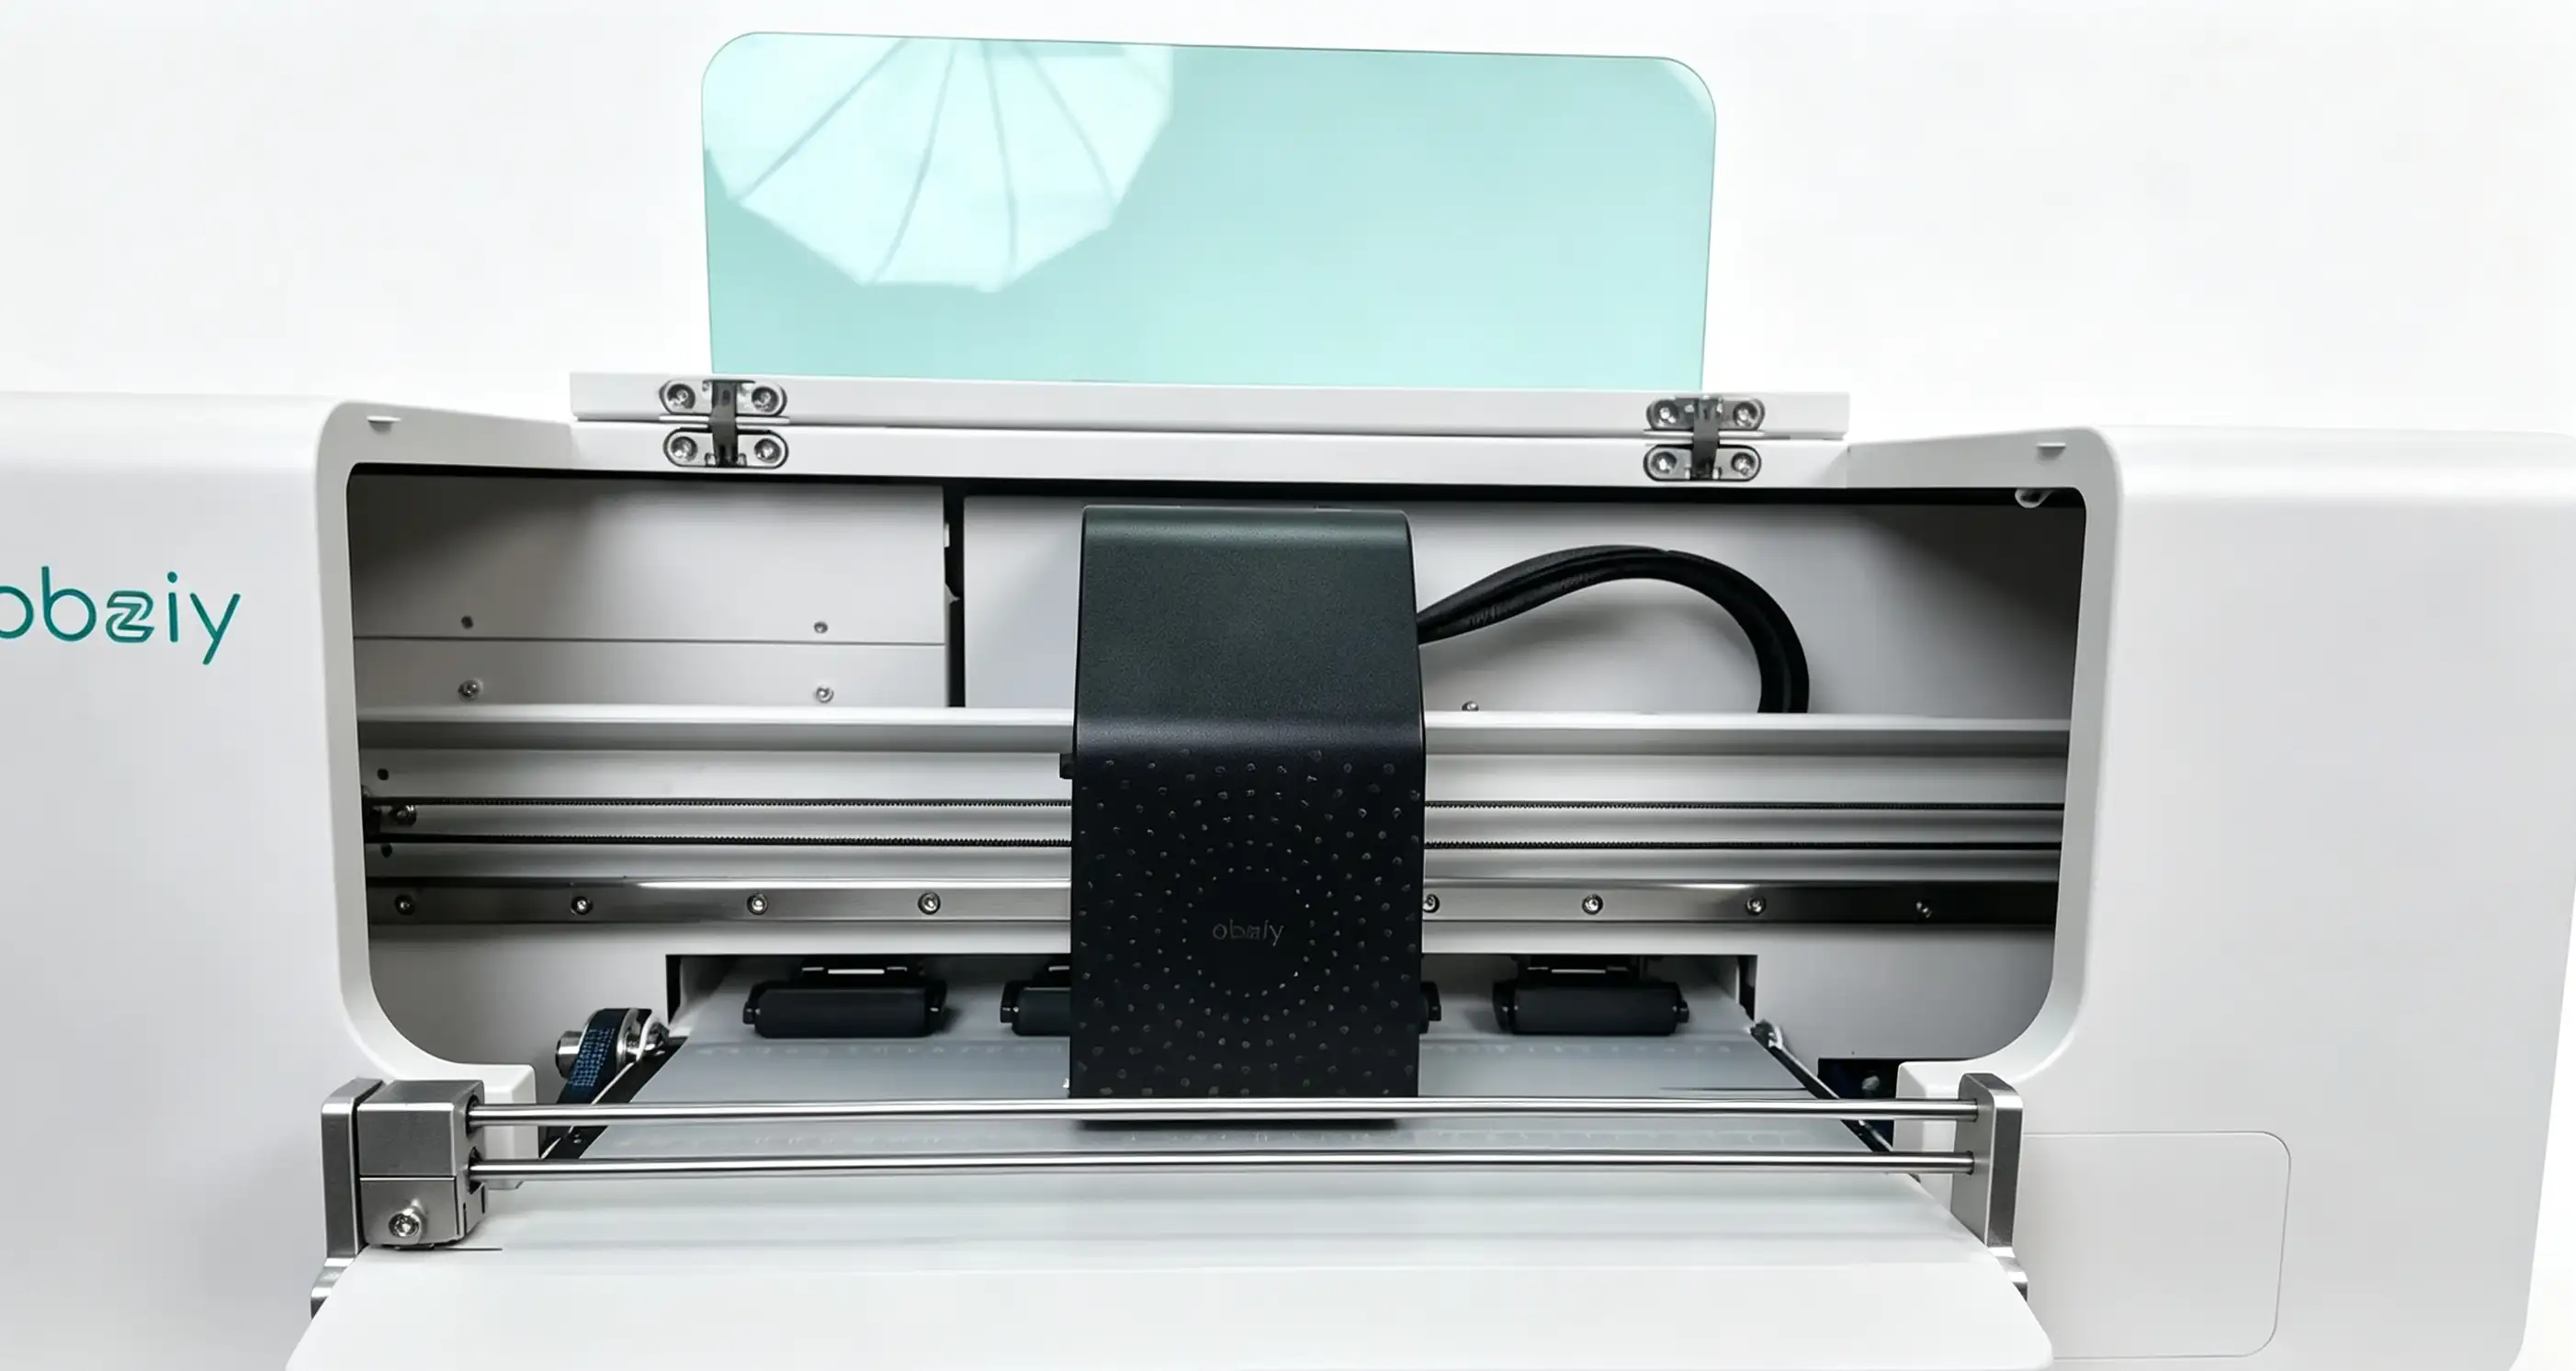
Step 1: The print head moves to the center
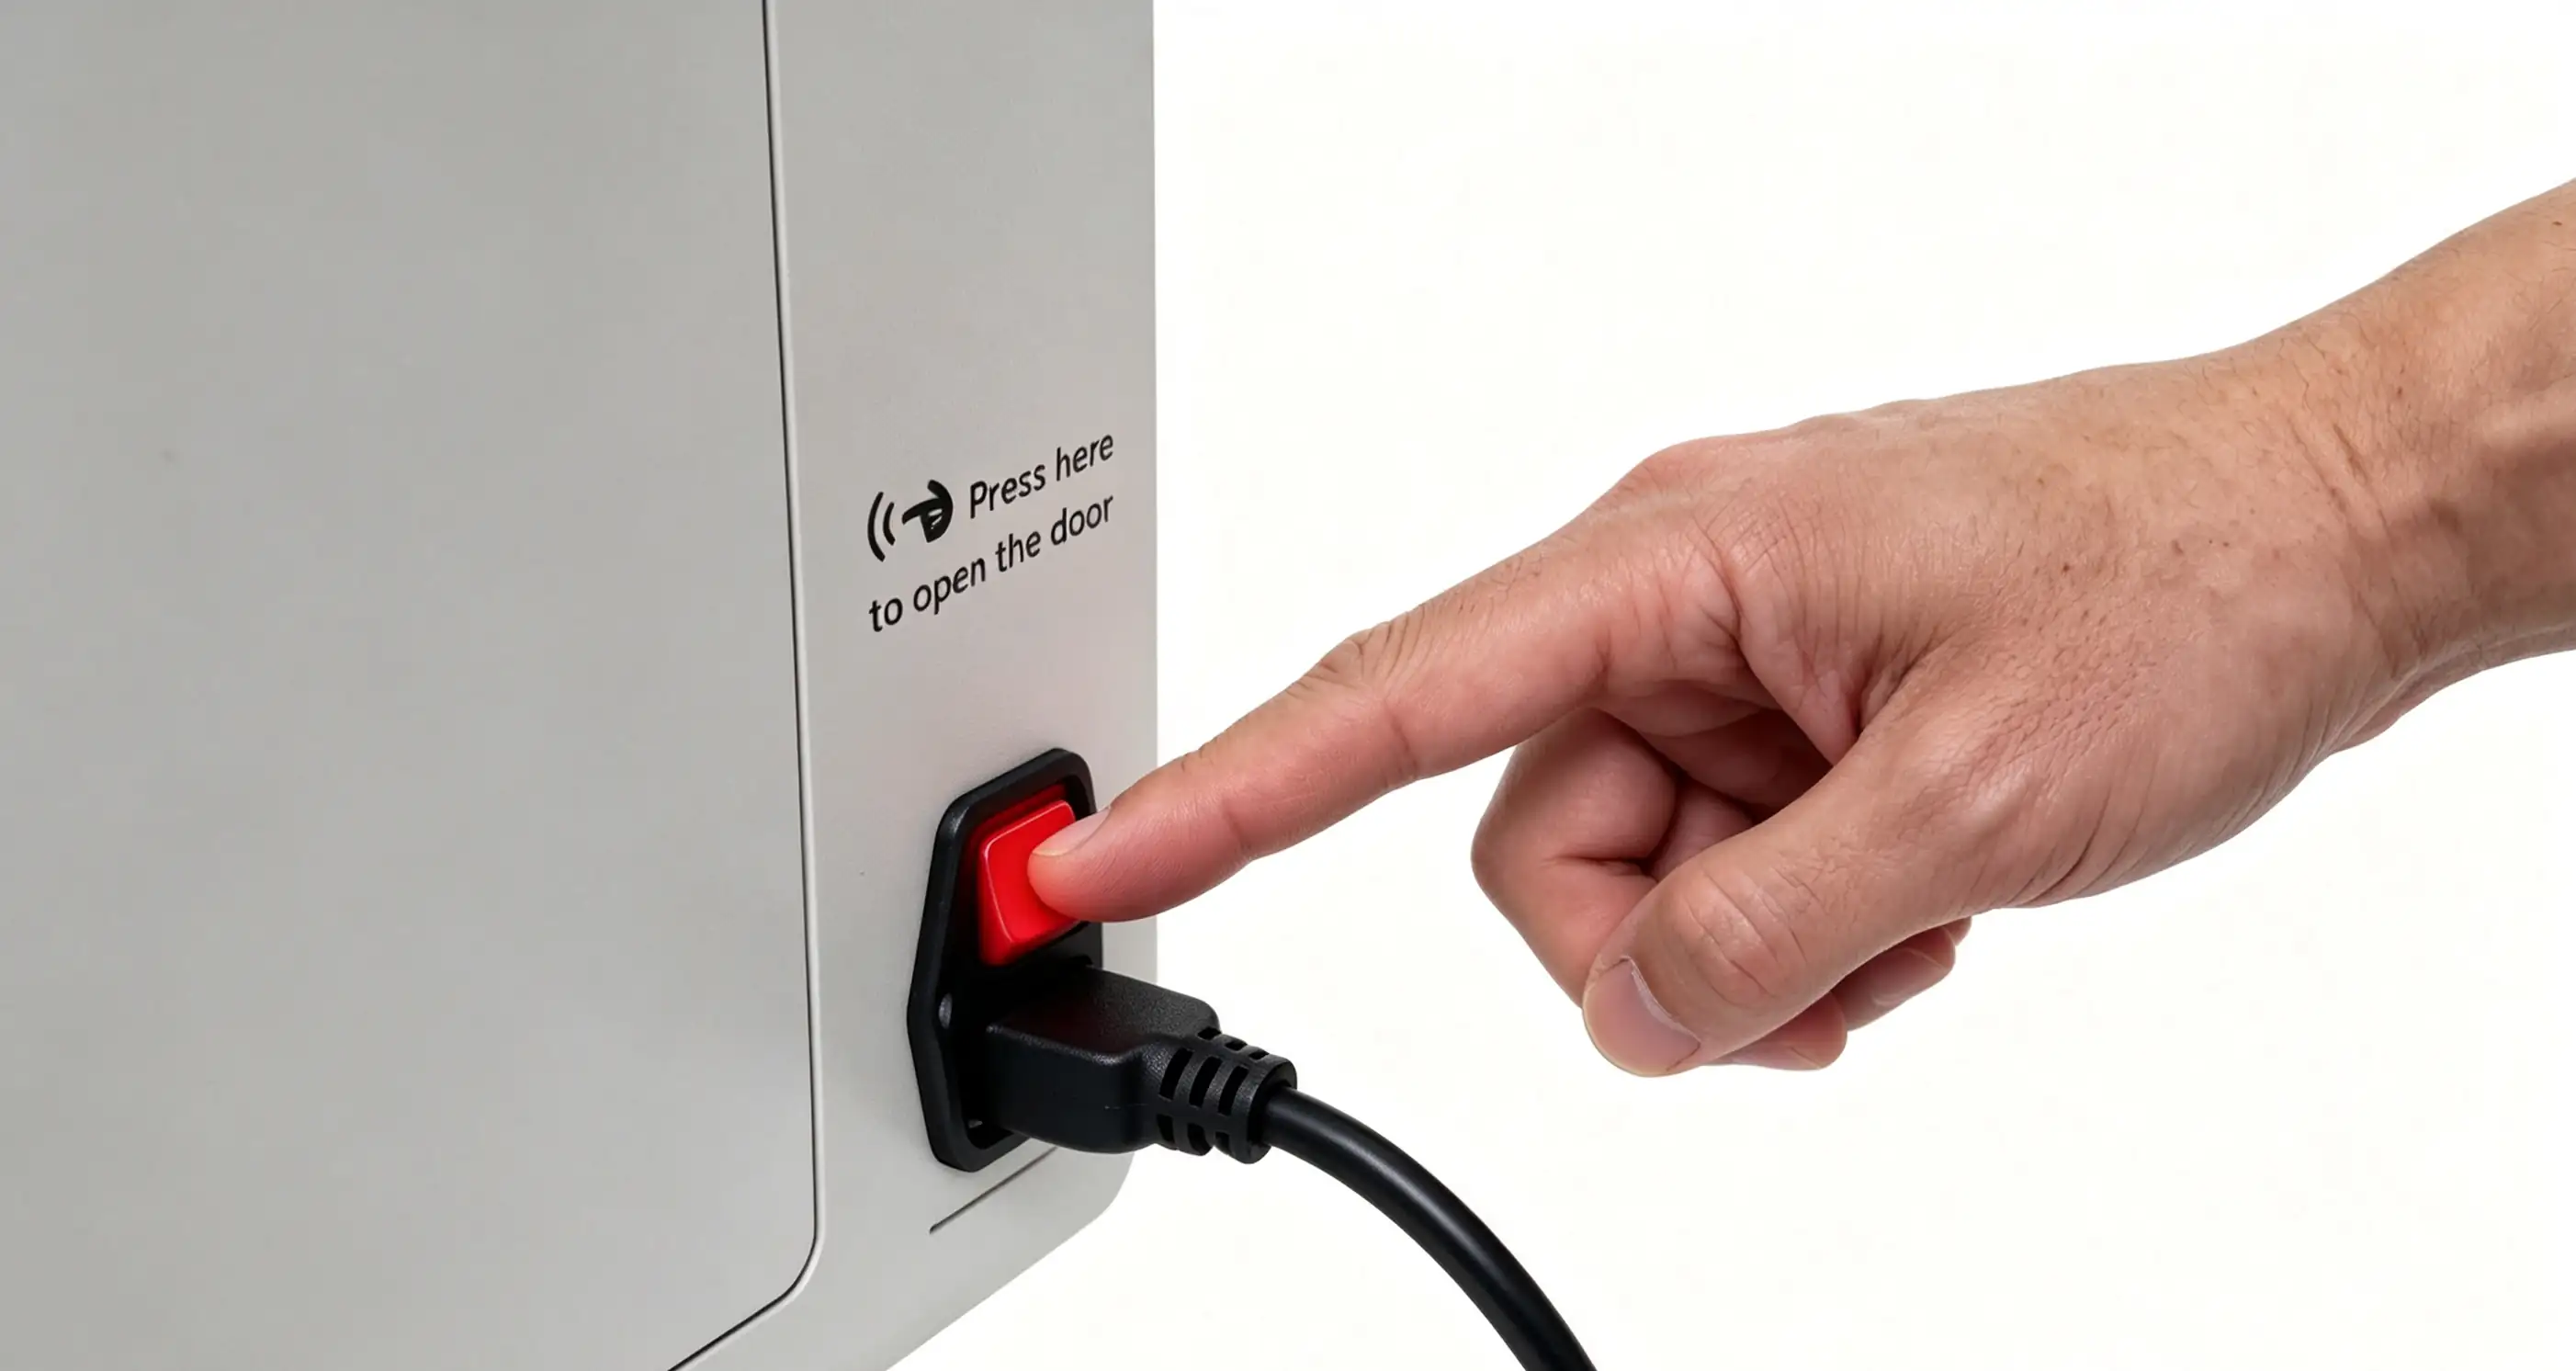
Step 2: Turn off the power switch
- Adjust position: First, move the print head to the center of the sliding rail, then disconnect the printer power supply to leave sufficient space for subsequent operations.
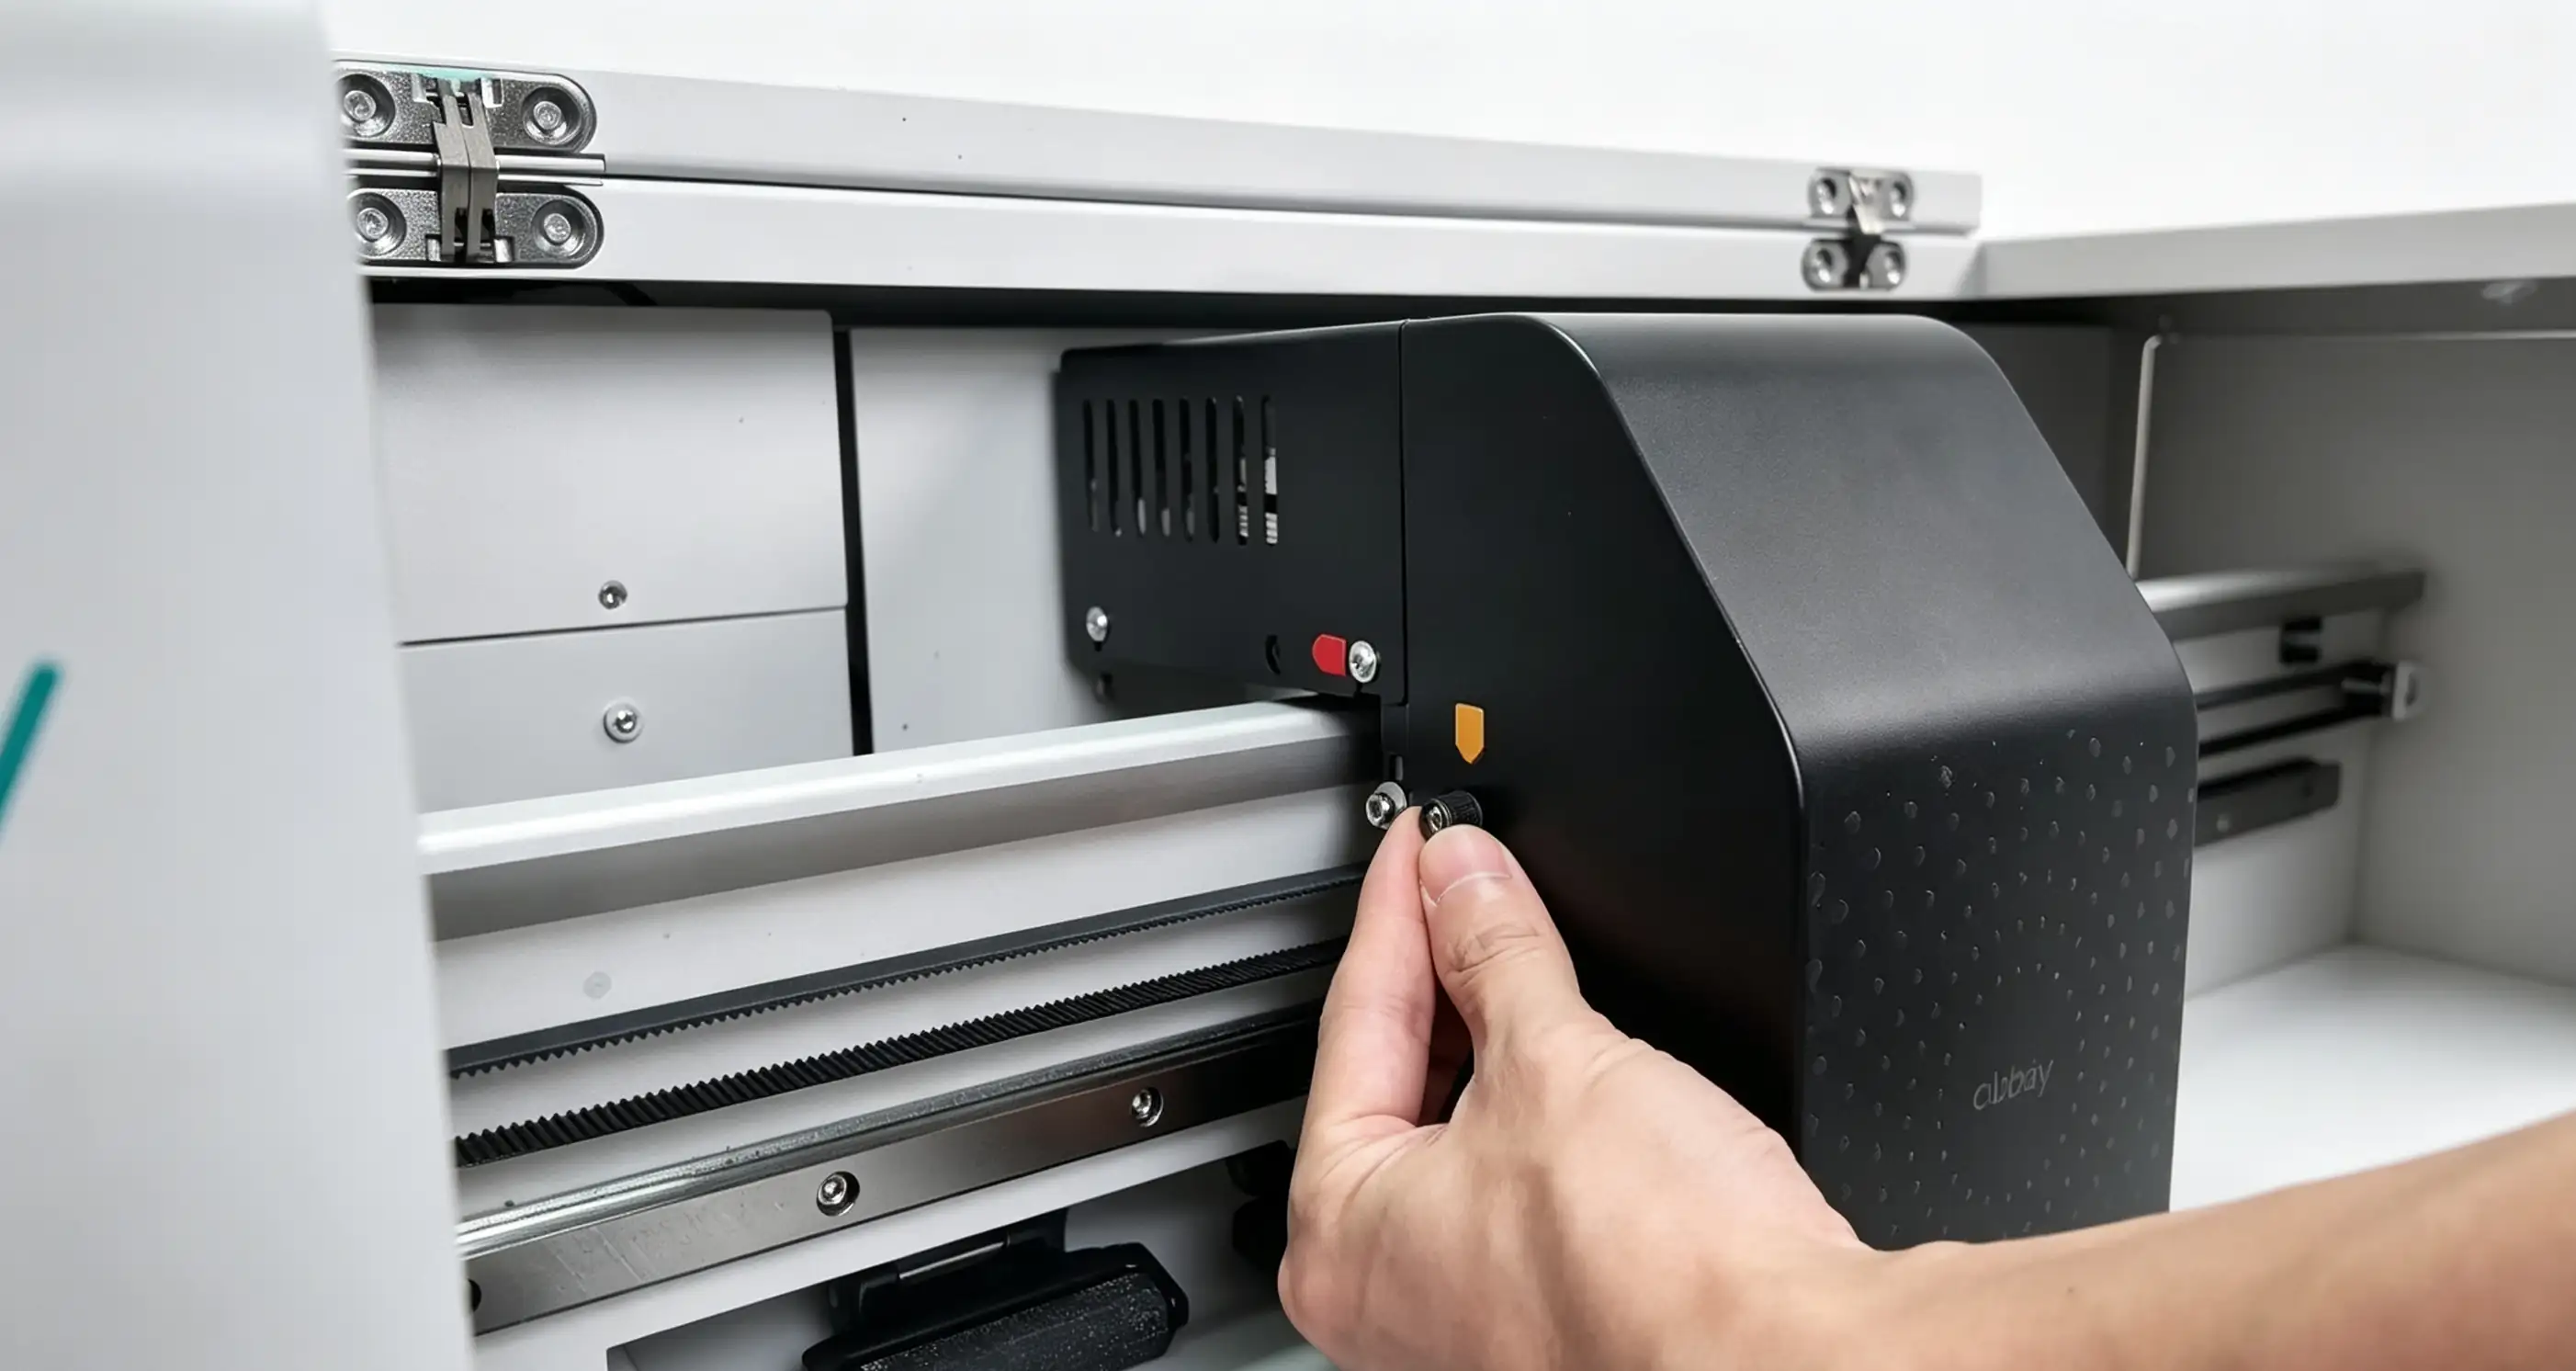
Step 1: Remove the printer carriage cover plate
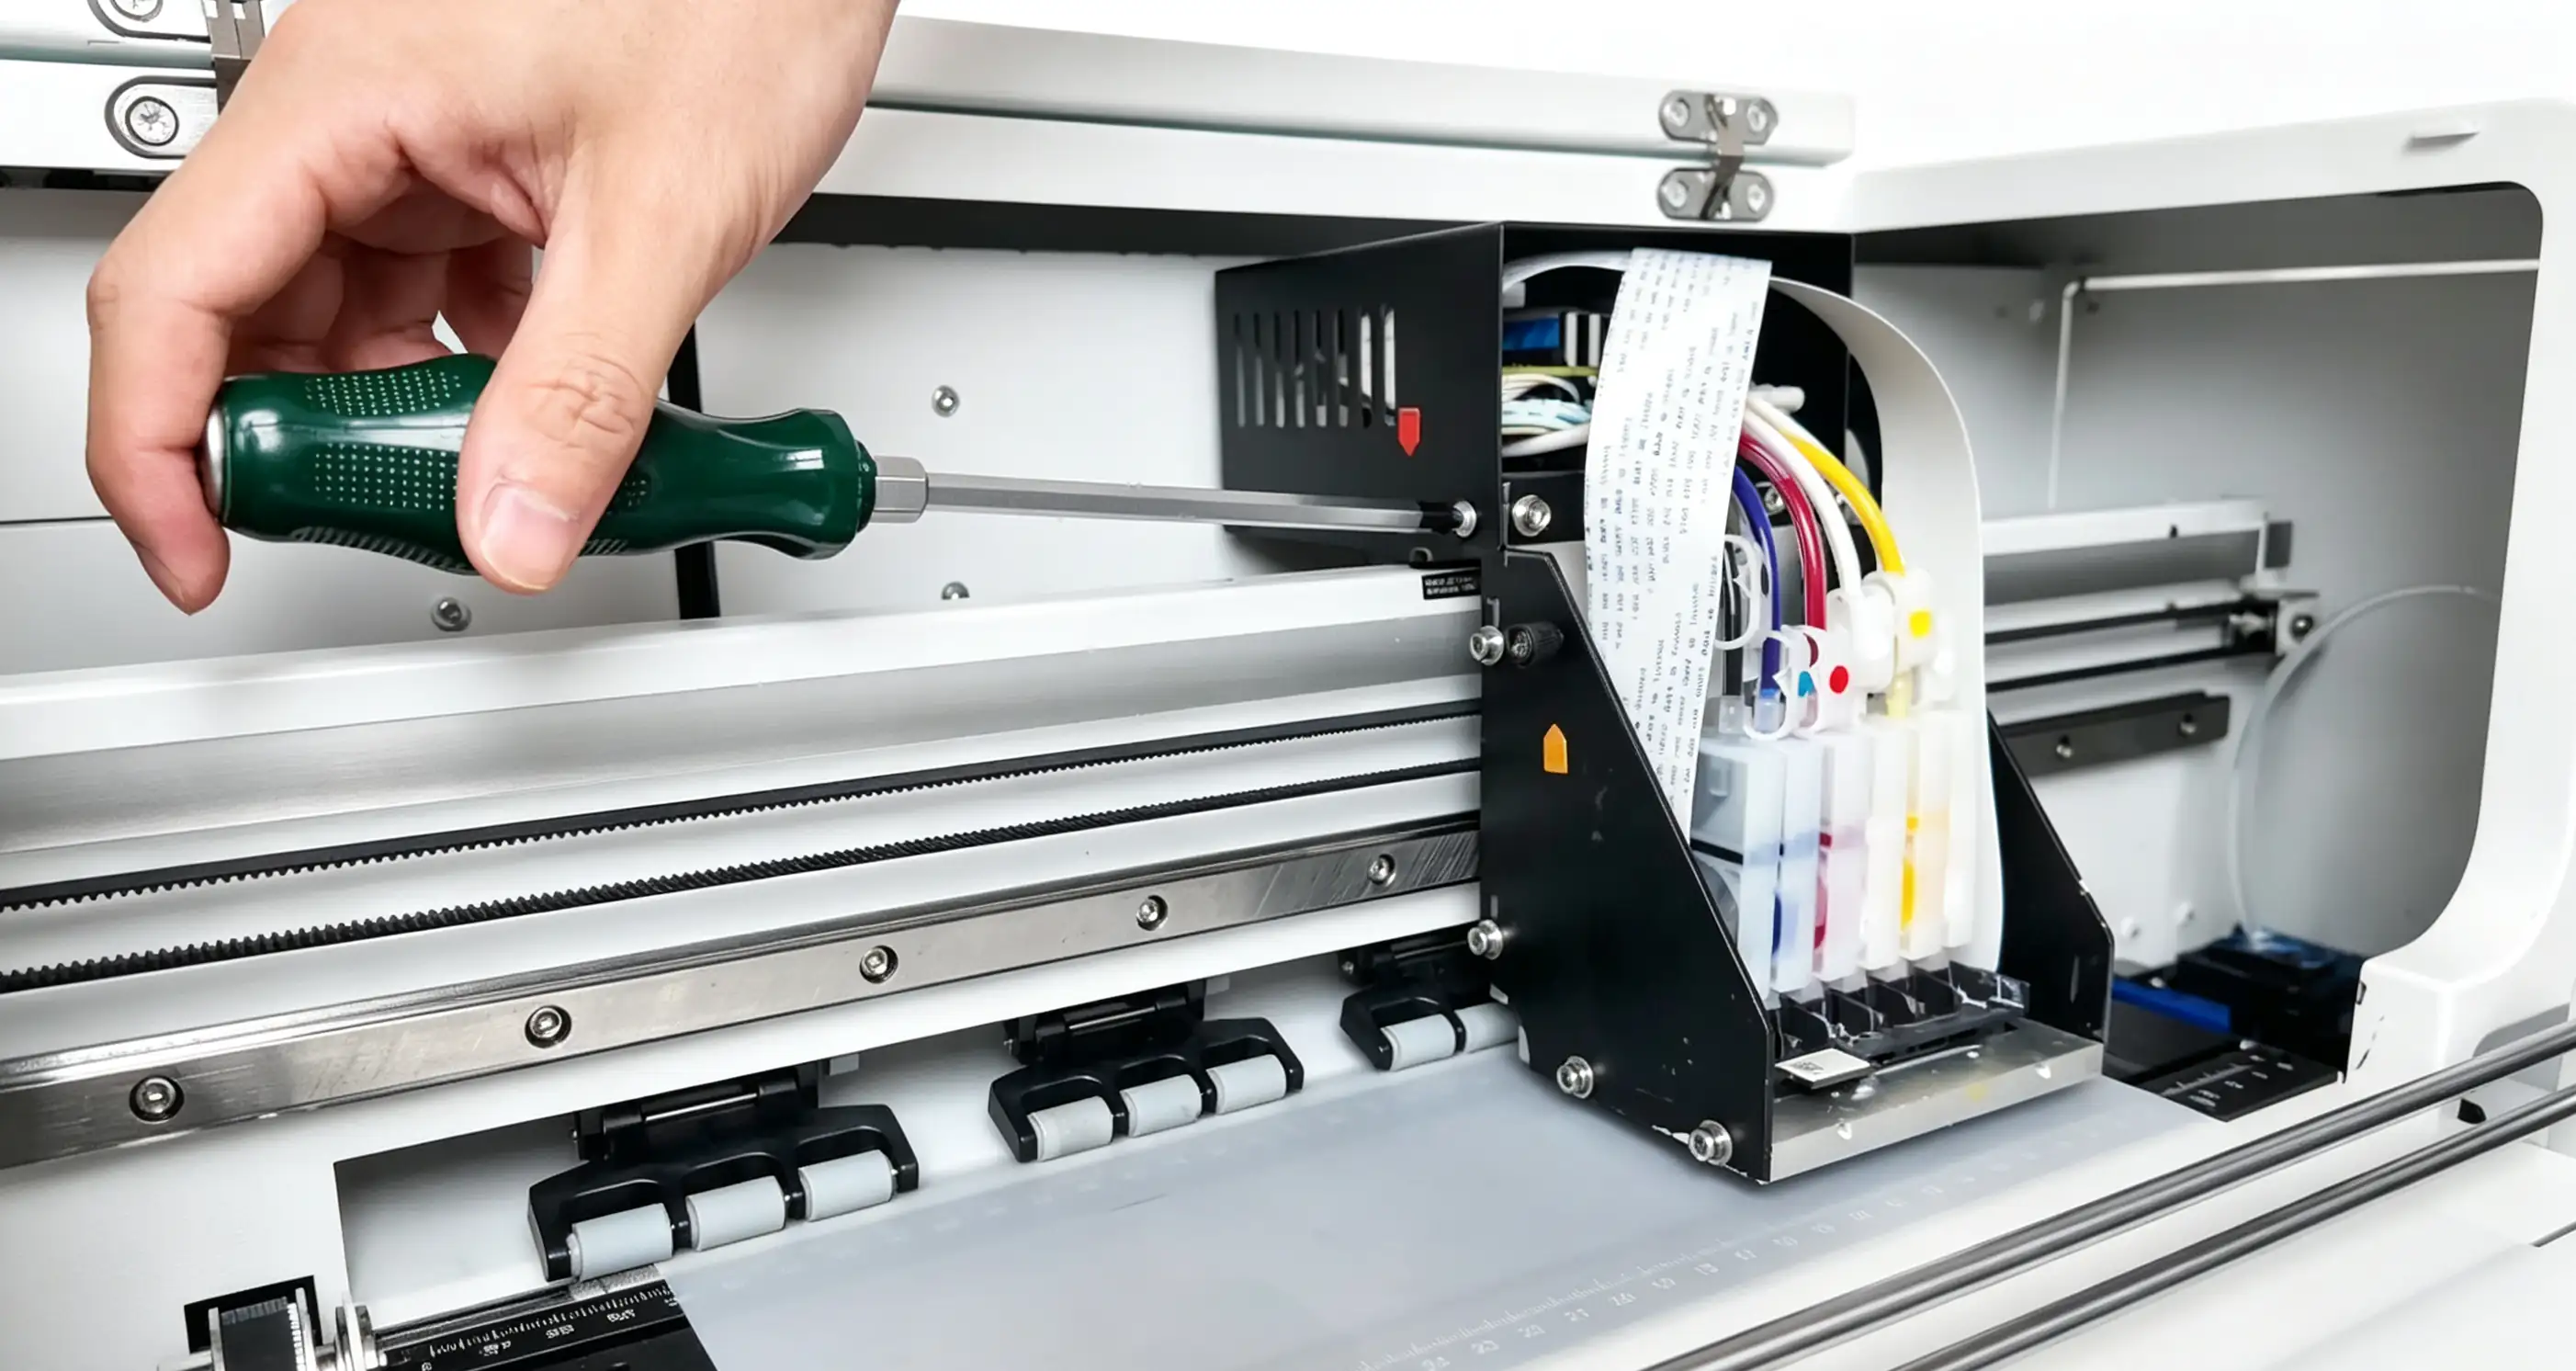
Step 2: Loosen the screws on the top cover of the printer
- Remove the cover: Loosen the nuts on both sides of the carriage and remove the carriage cover. Use a Phillips screwdriver to loosen the two screws securing the cover above the print head board, one on each side, then remove the protective cover.
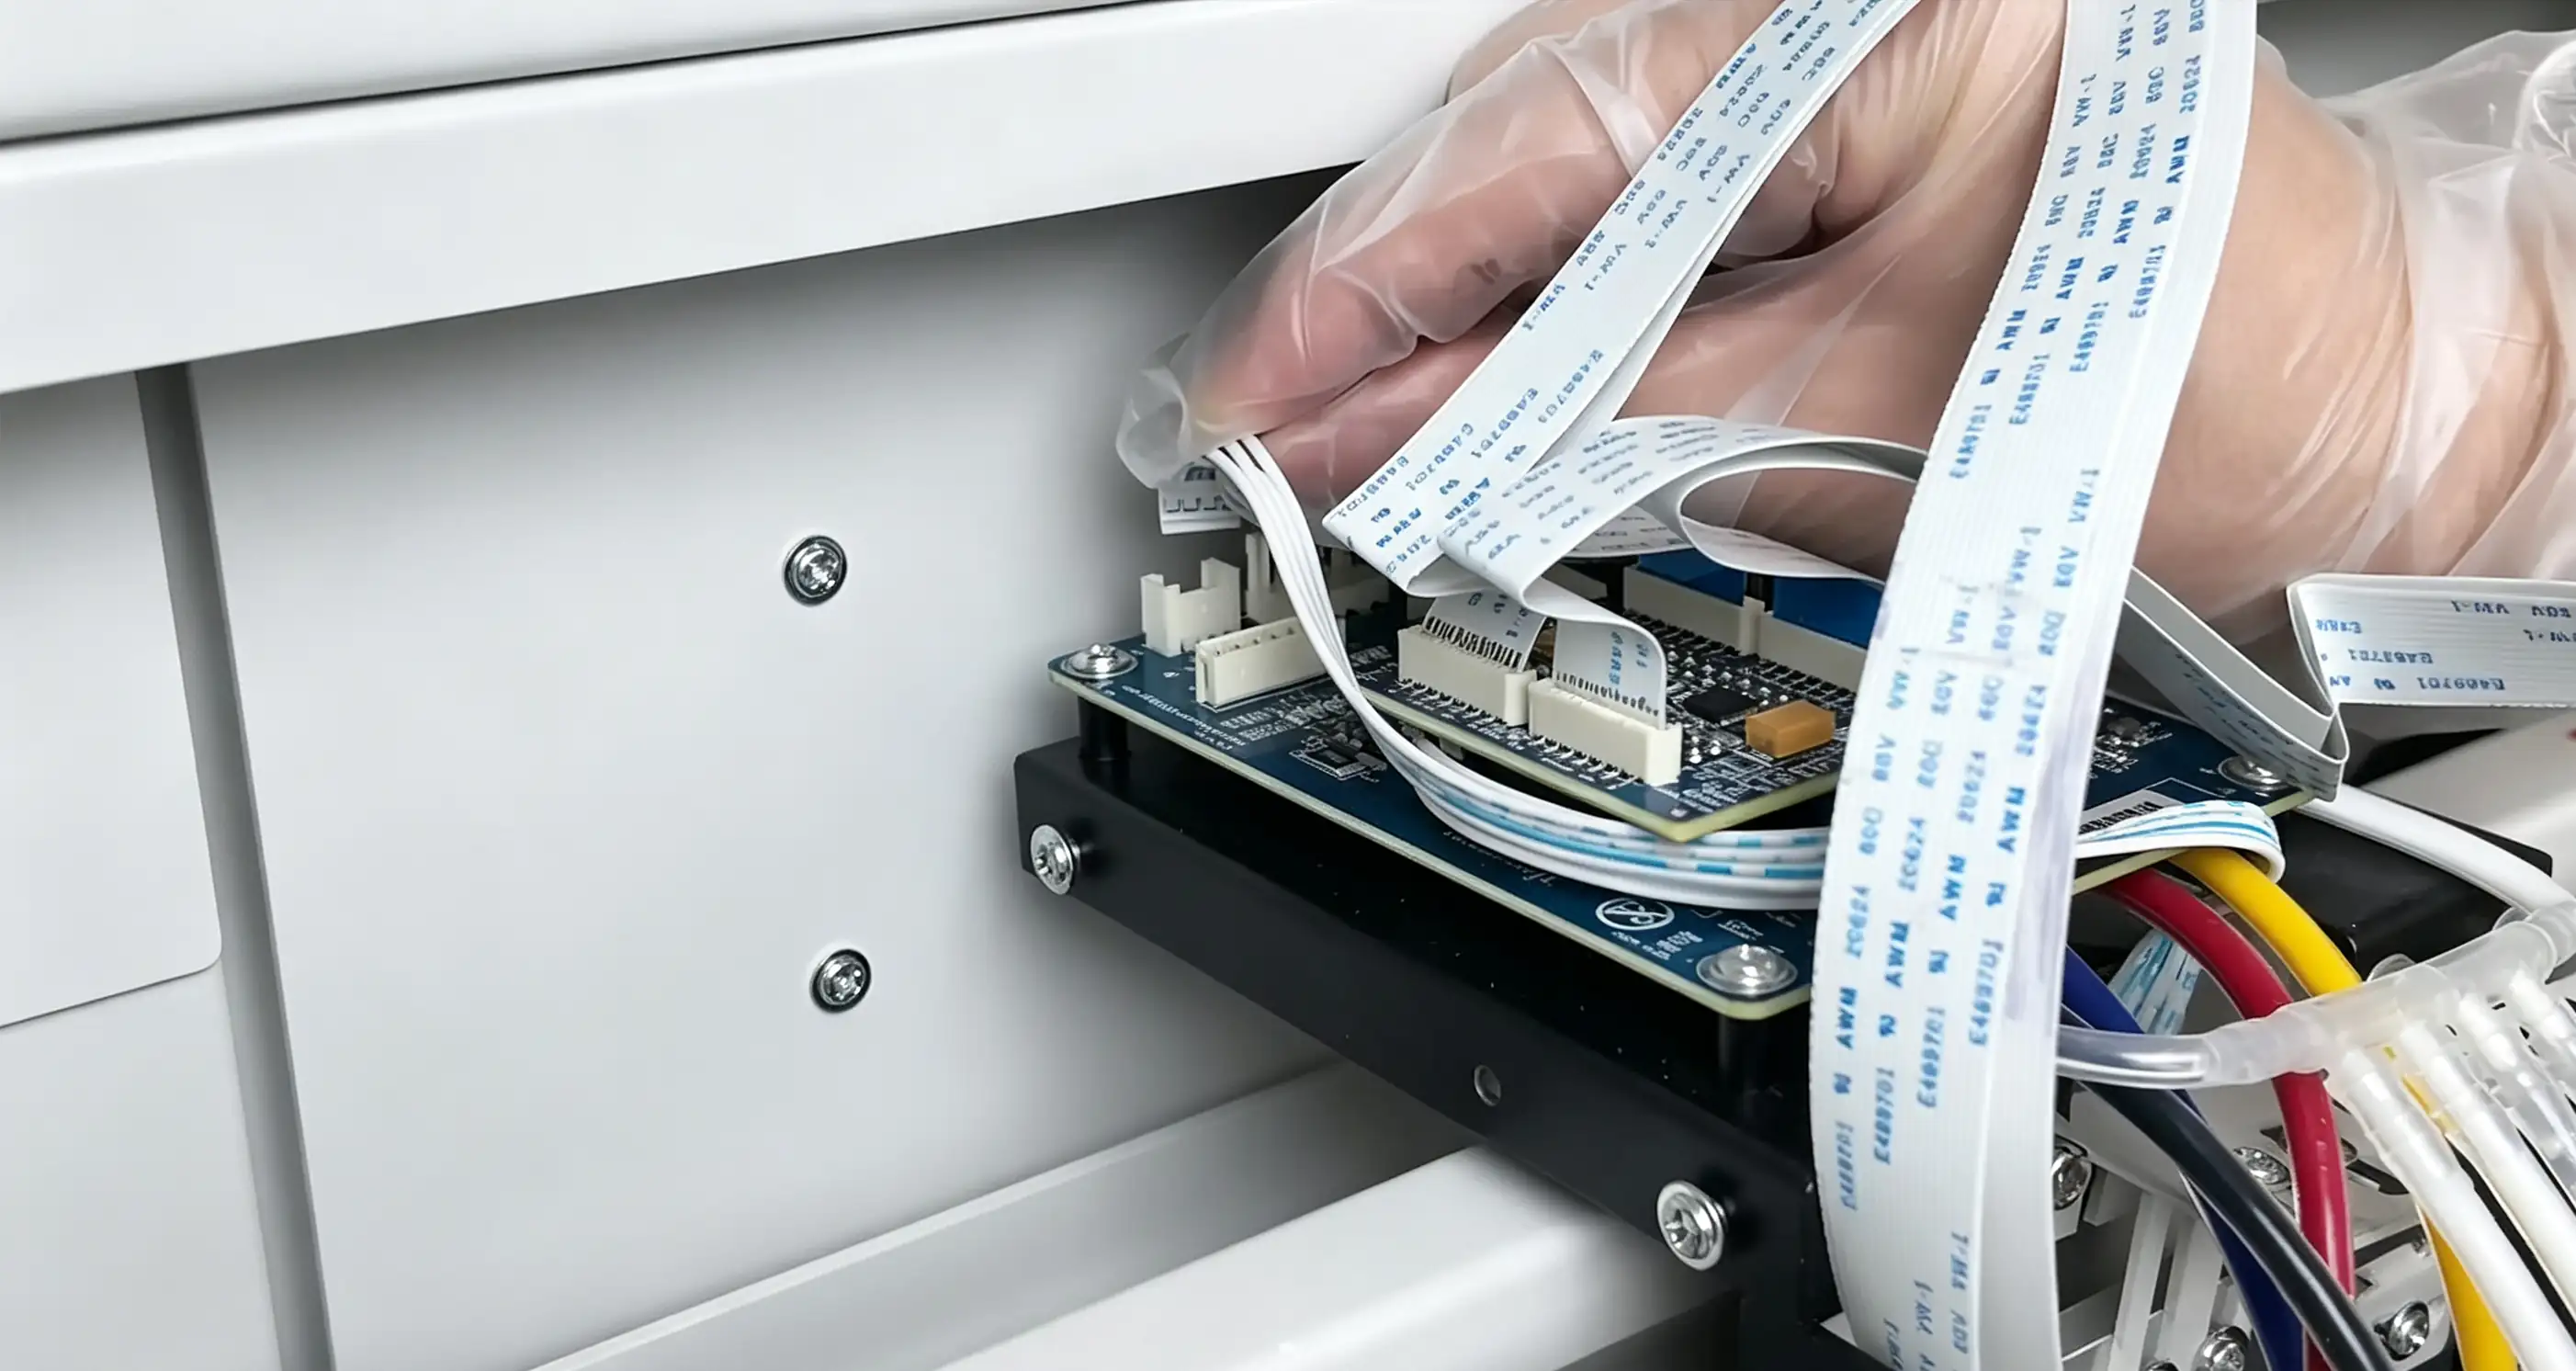
Step 1: Unplug the photoelectric sensor wire
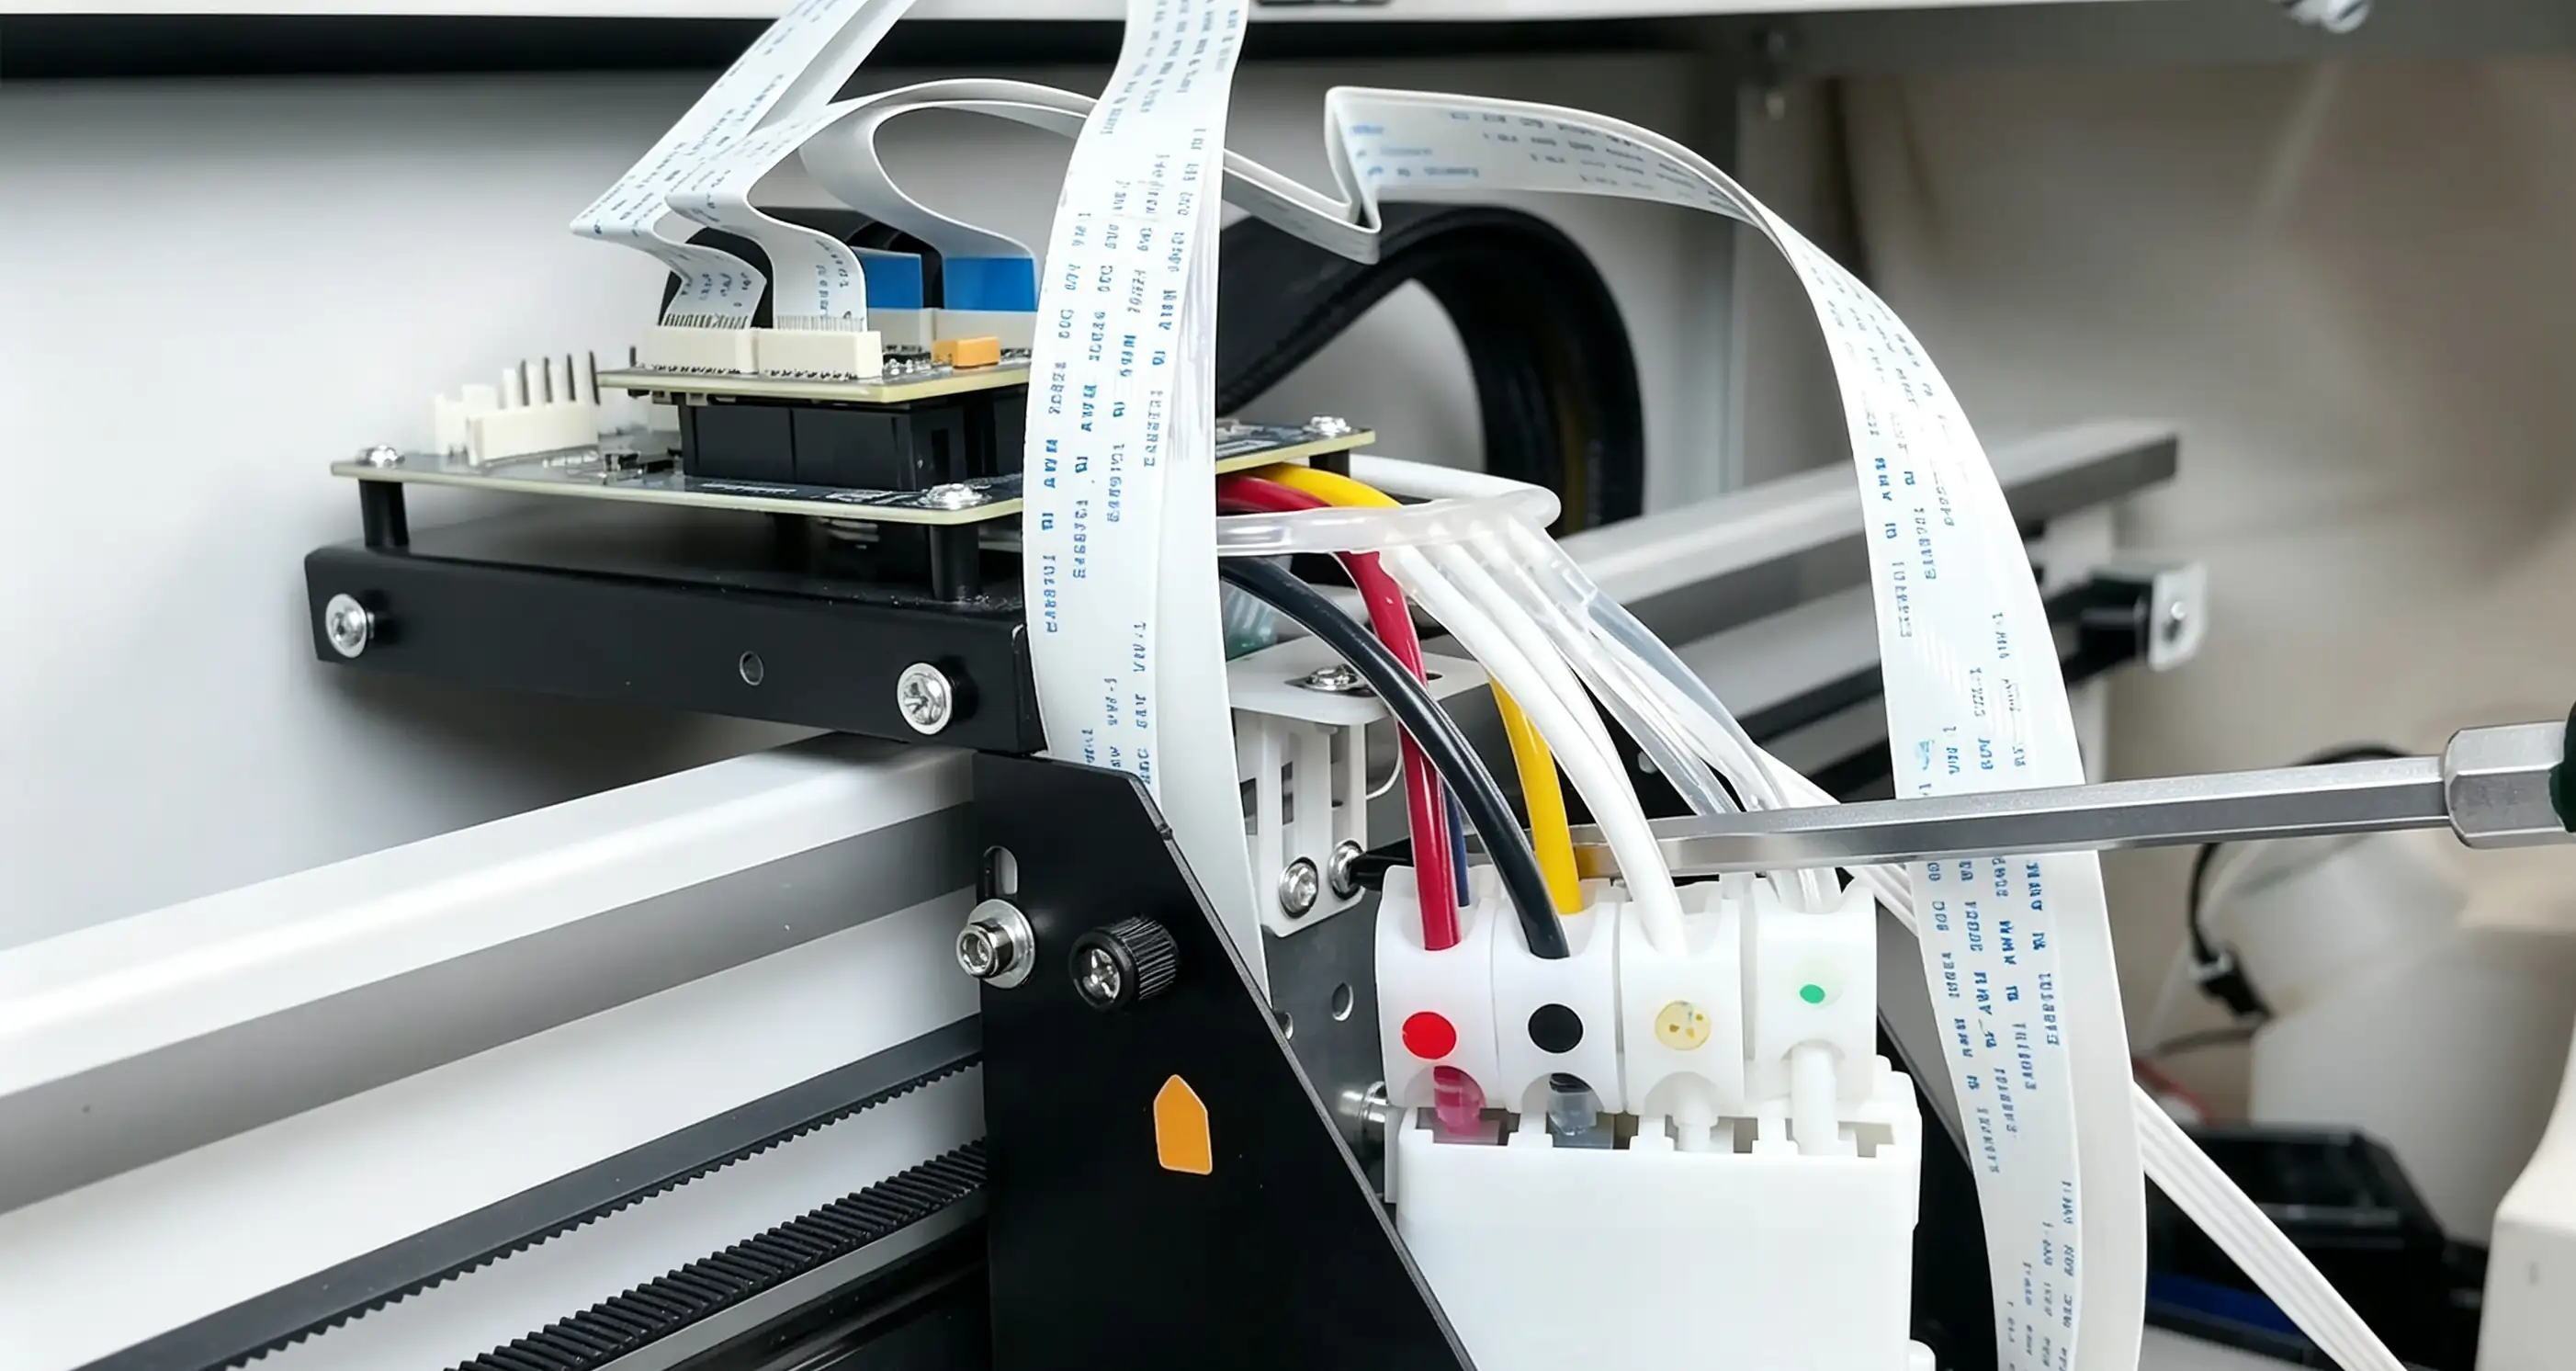
Step 2: Loosen the fixing screw
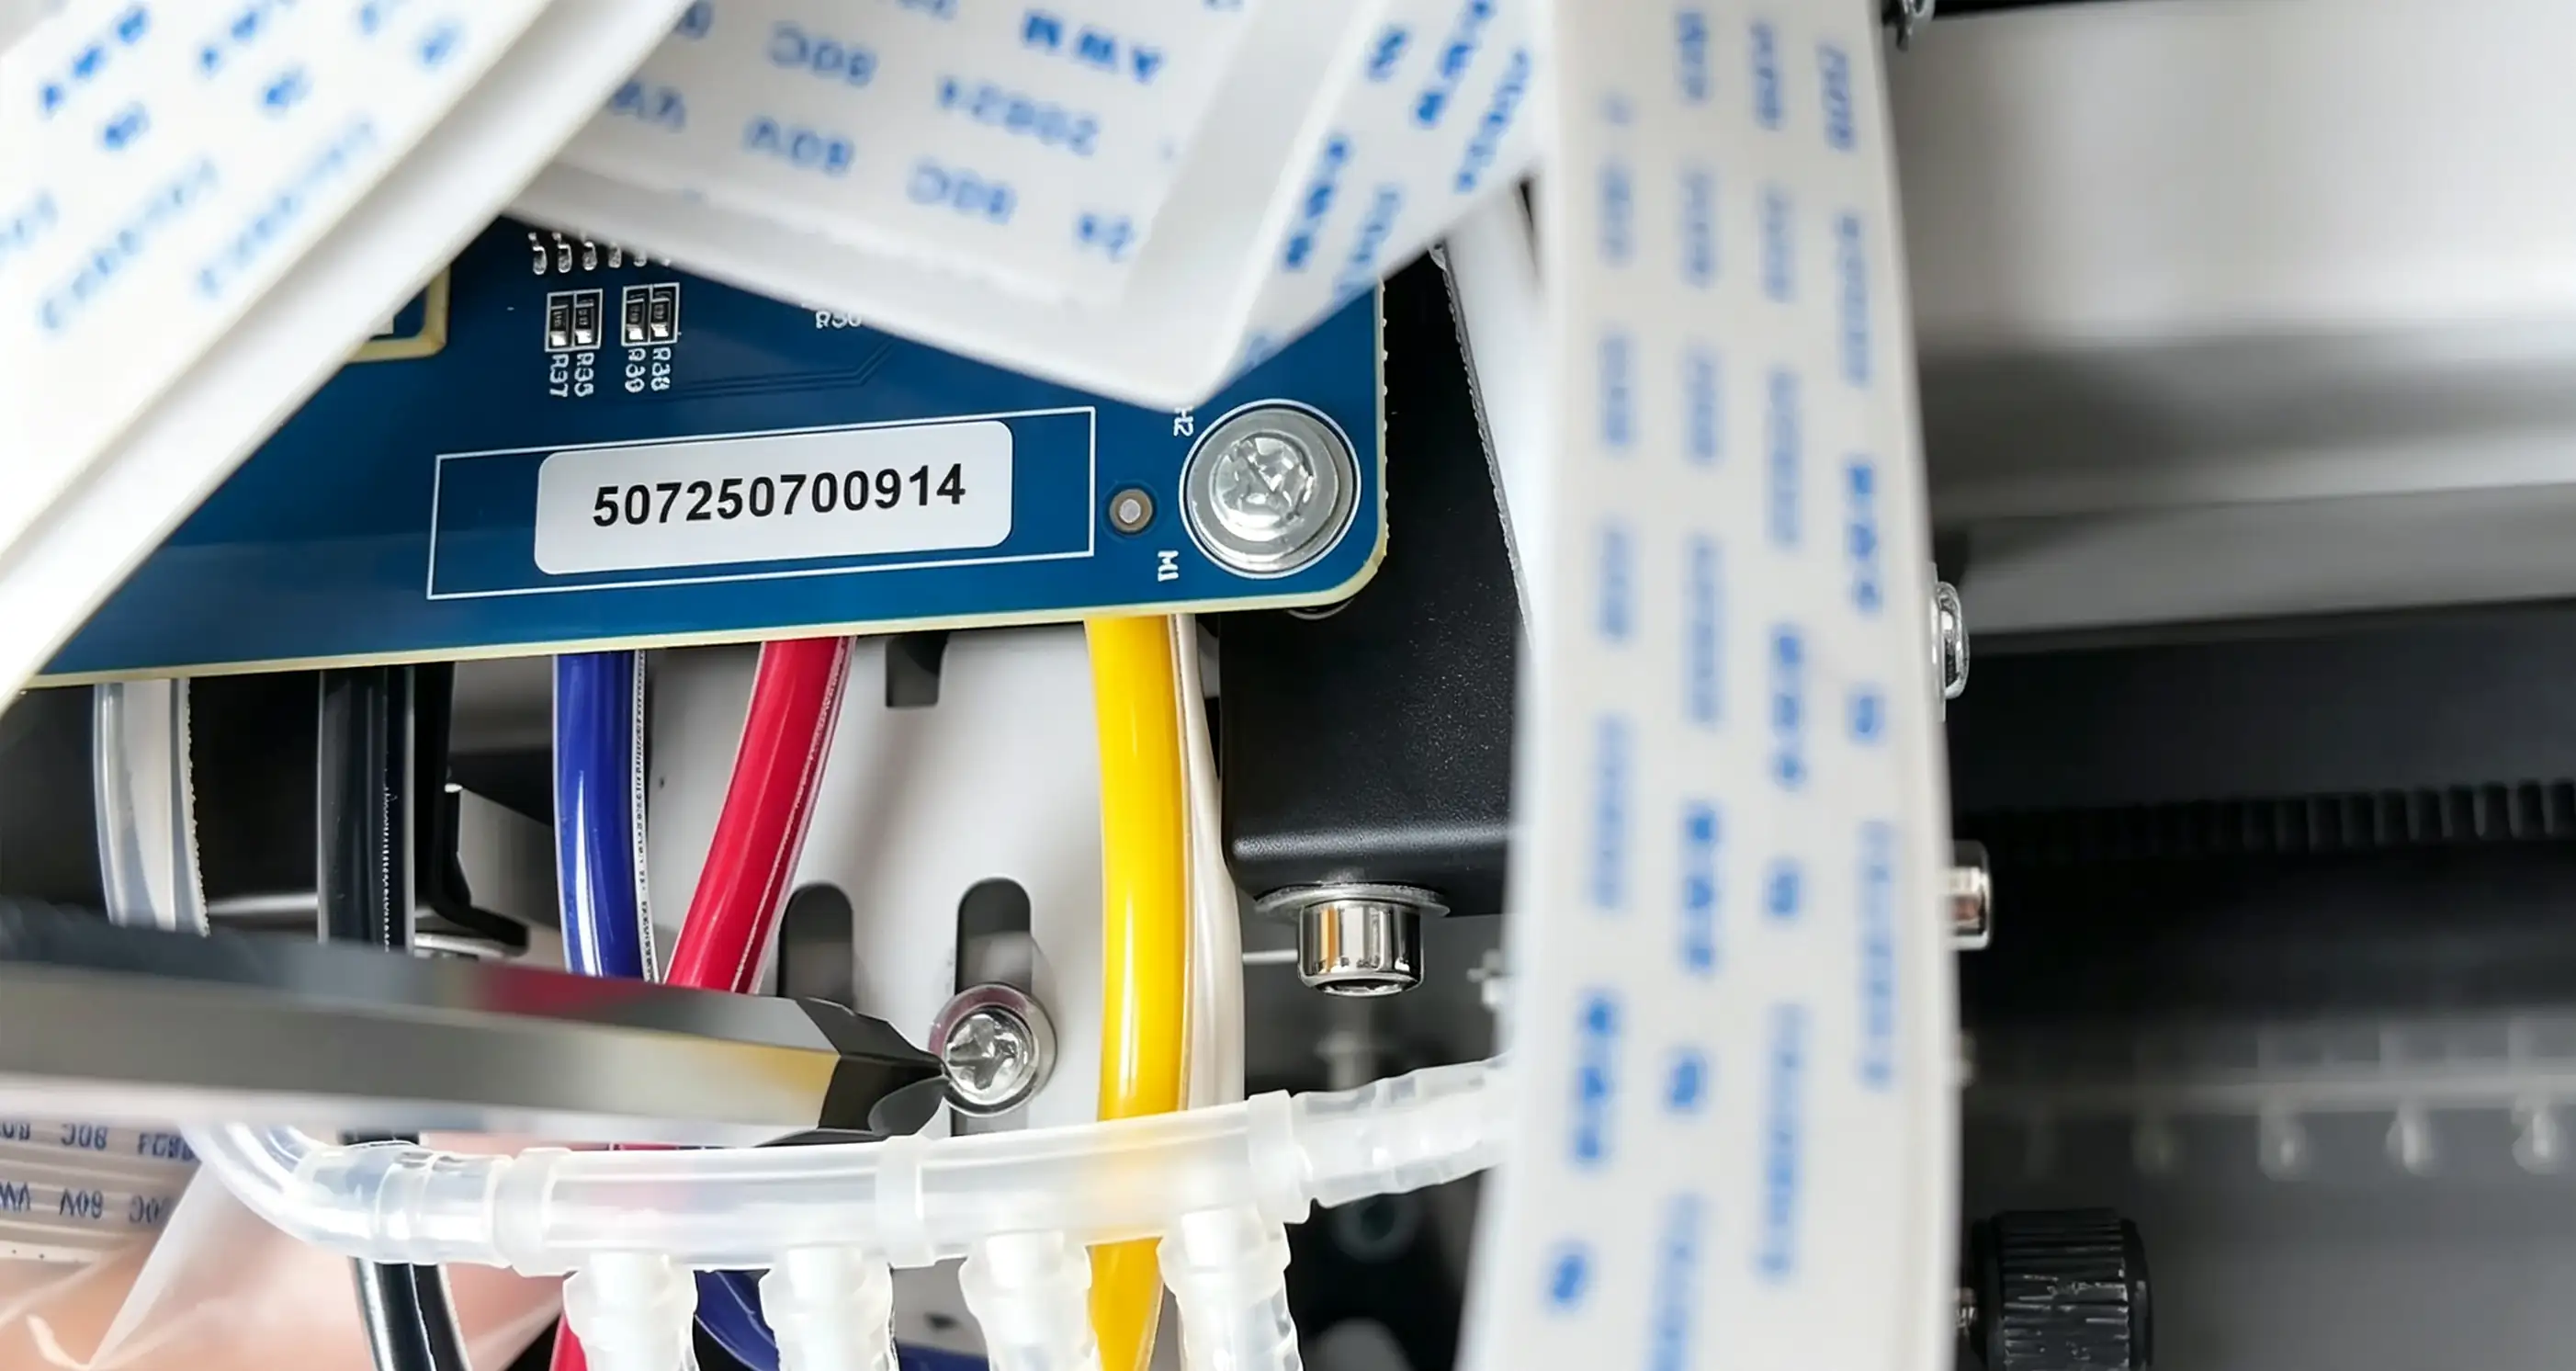
Step 3: Loosen the fixing screw
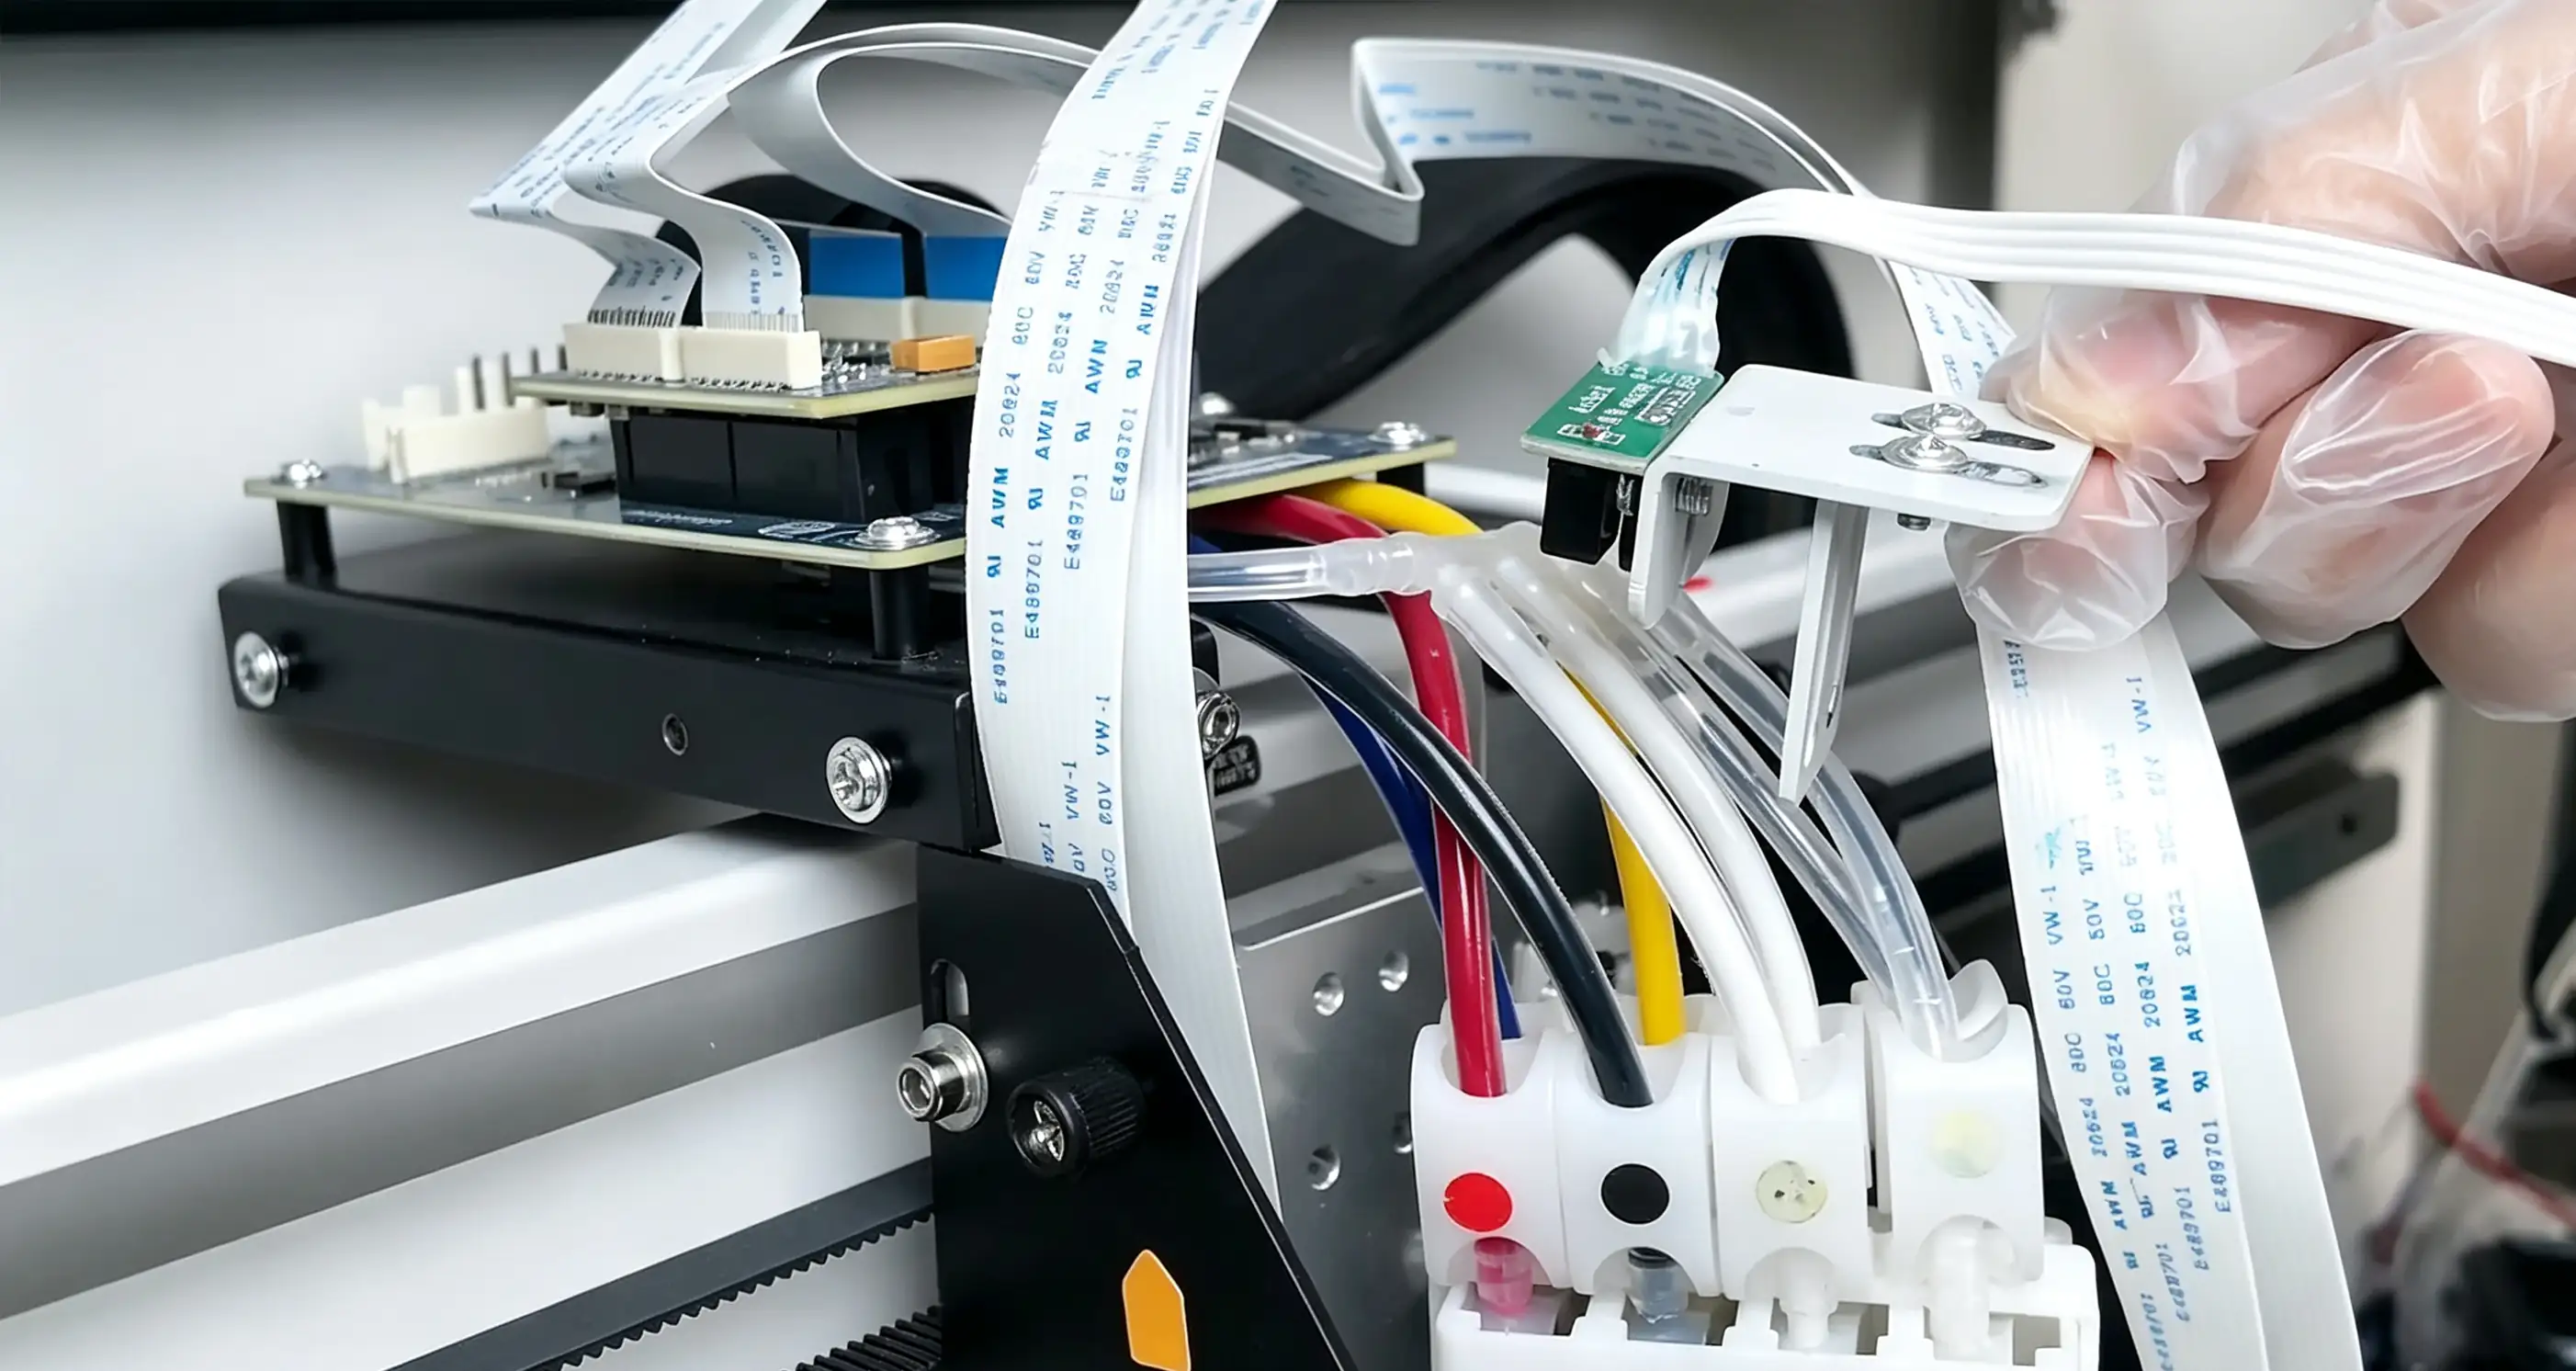
Step 4: Remove the sensor
- Unplug the wire connected to the sensor on the print head chip board, use a screwdriver to remove the screws securing the sensor, and gently take out the sensor.
¶ Installing the New Grating Bar Photoelectric Sensor
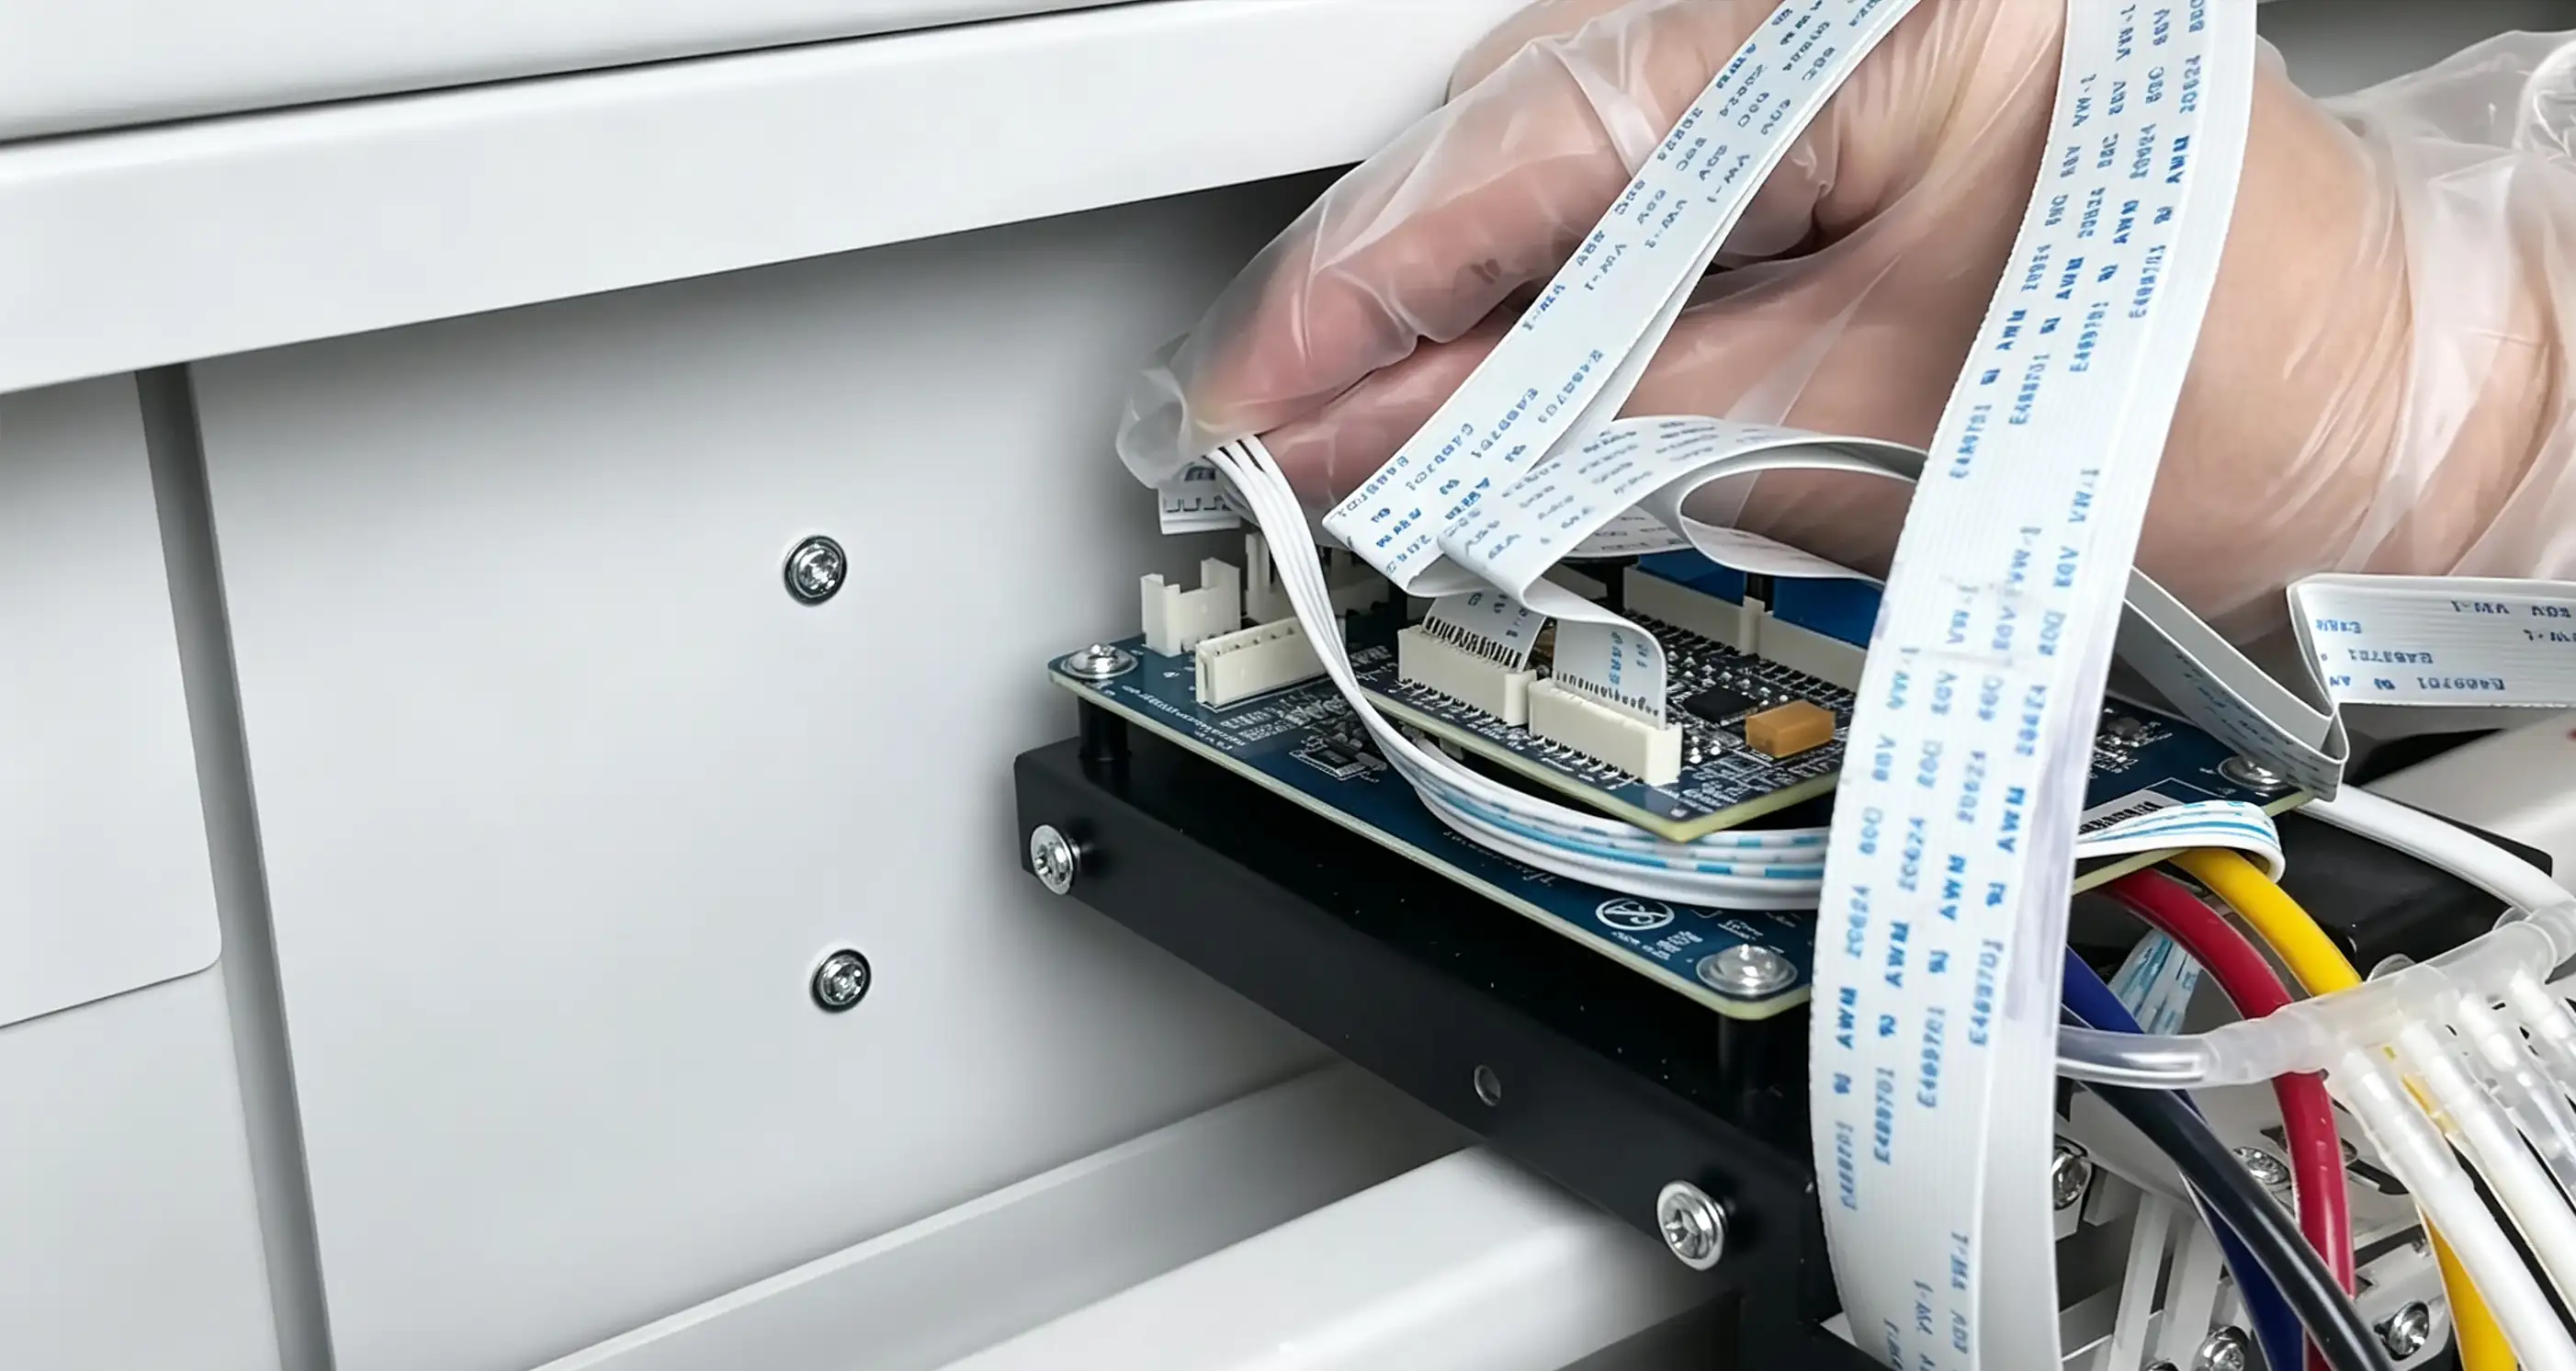
- Reinstall the new sensor into its original position and insert the sensor wire into the print head board.
Step 1: Insert the photoelectric sensor
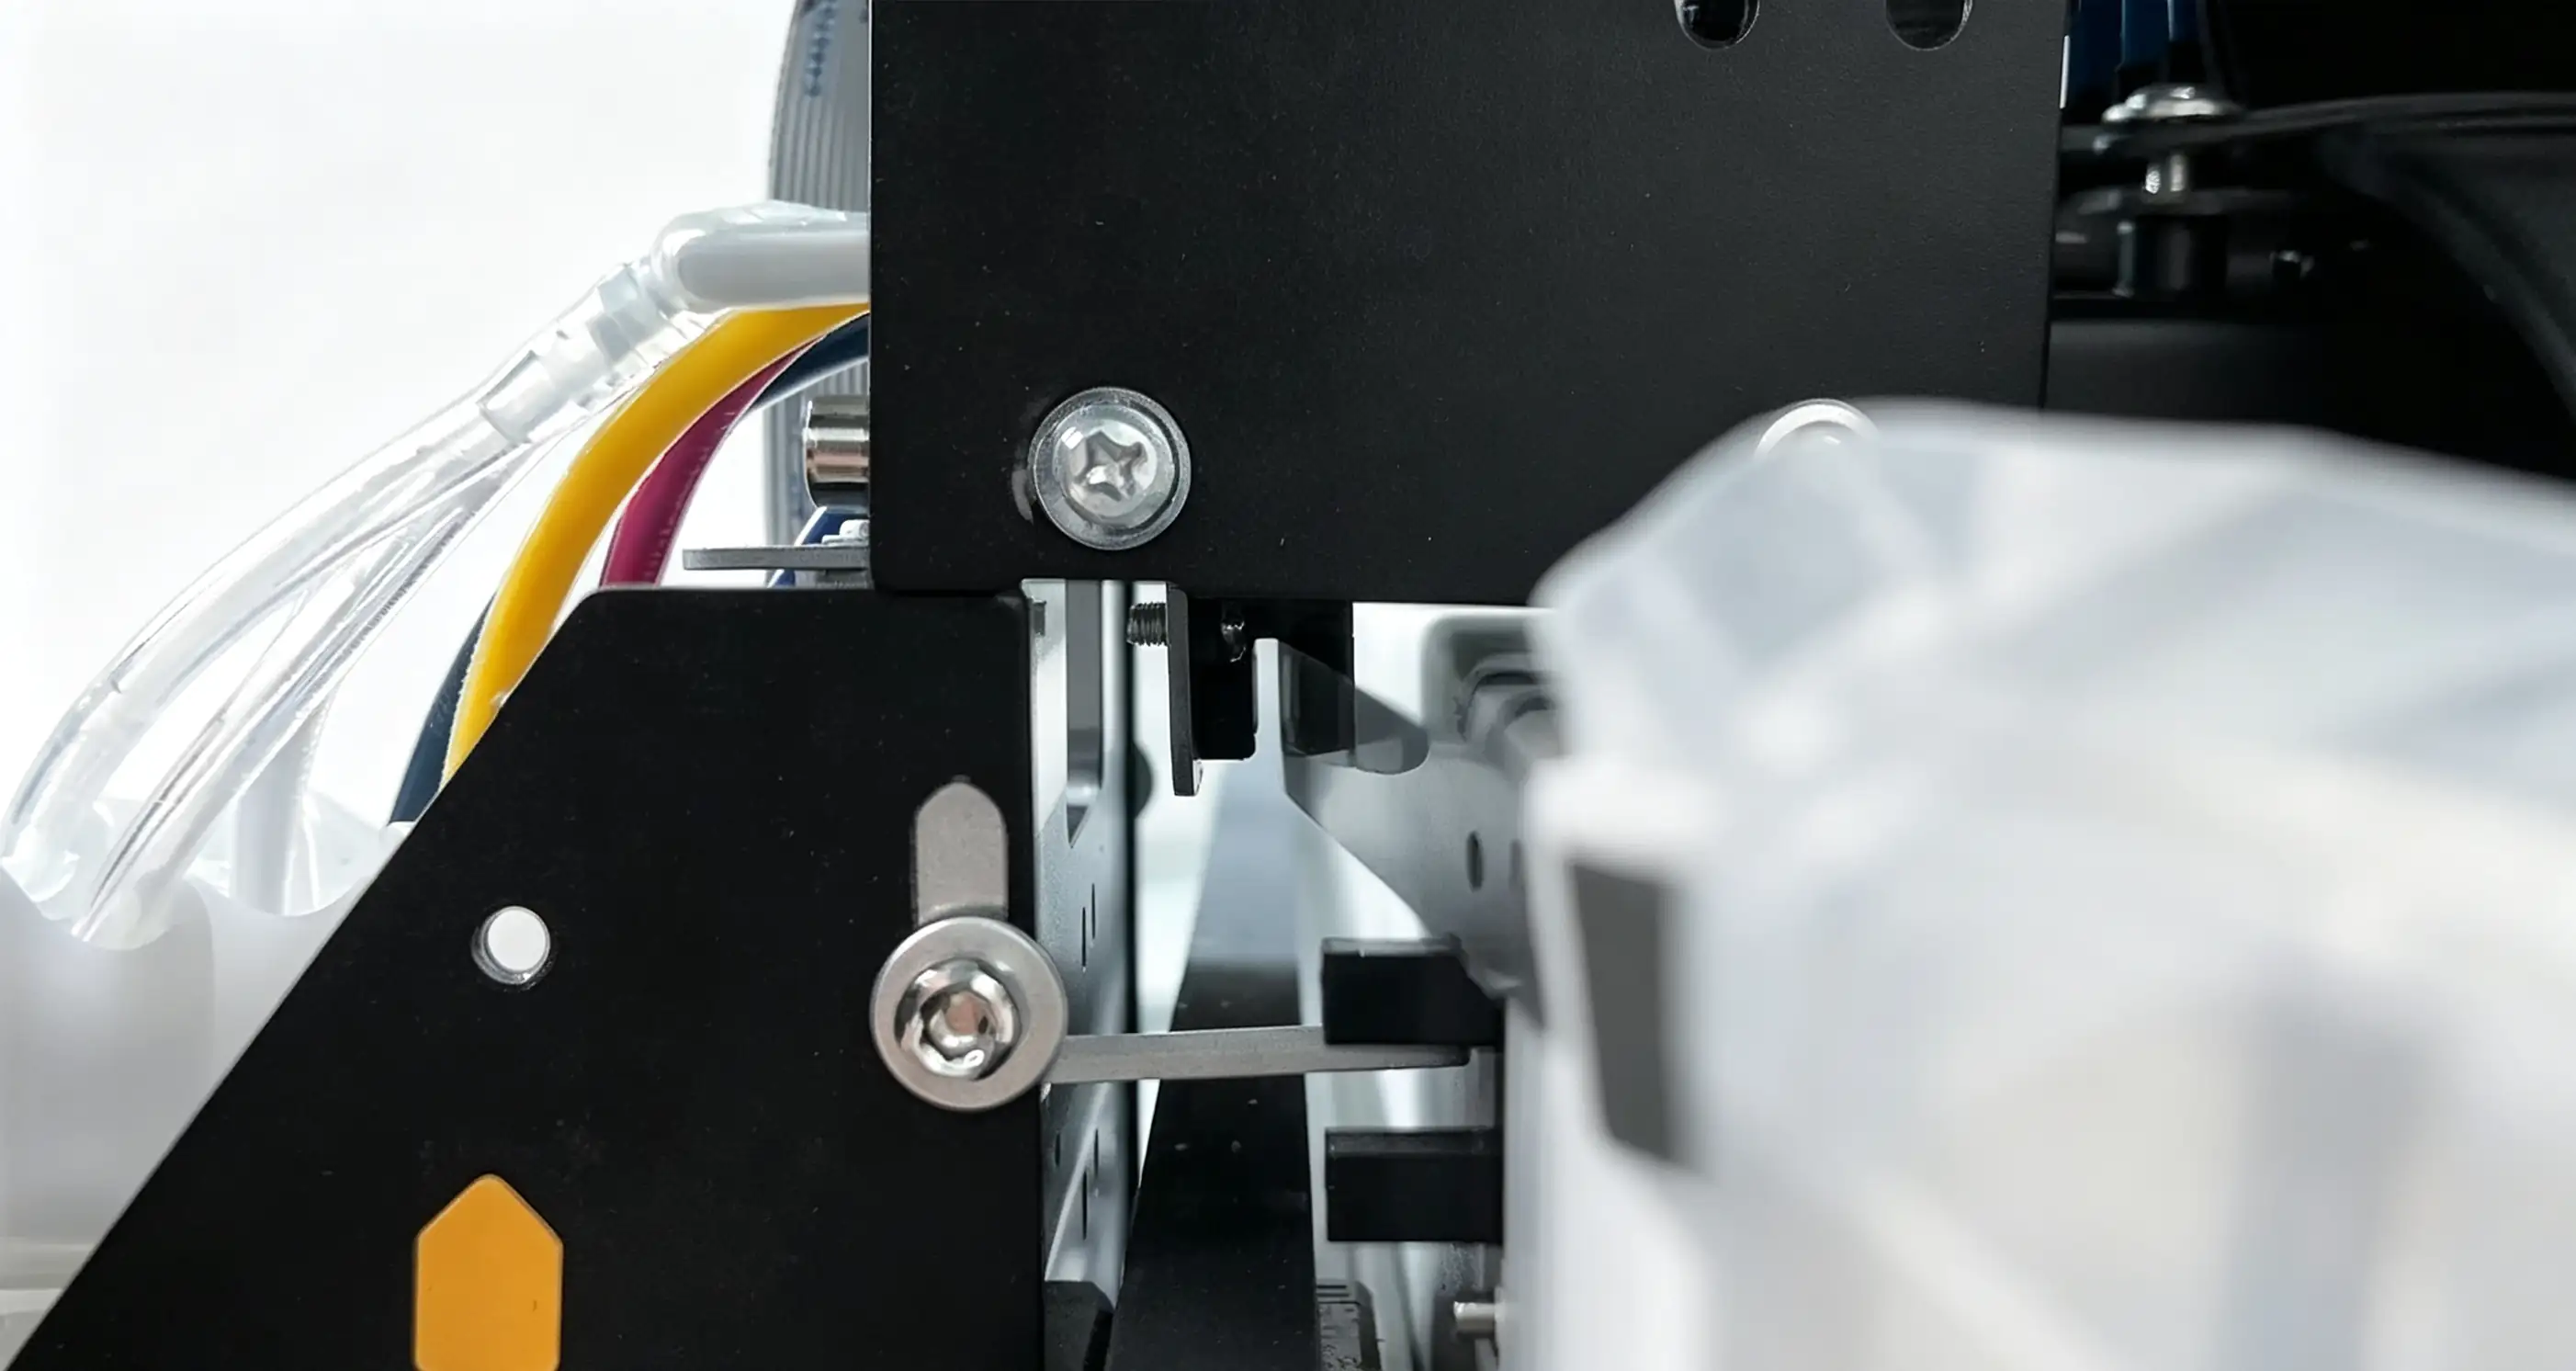
Step 2: Center the grating bar
Step 3: Retaining screw
- Secure the sensor, gently insert the grating strip into the center of the sensor, and use a screwdriver to tighten the sensor's screws.
Step 1: Fixed top cover plate
Step 2: Secure the front cover panel
- Reinstall and securely fasten the car cover plate and the print head board cover plate.
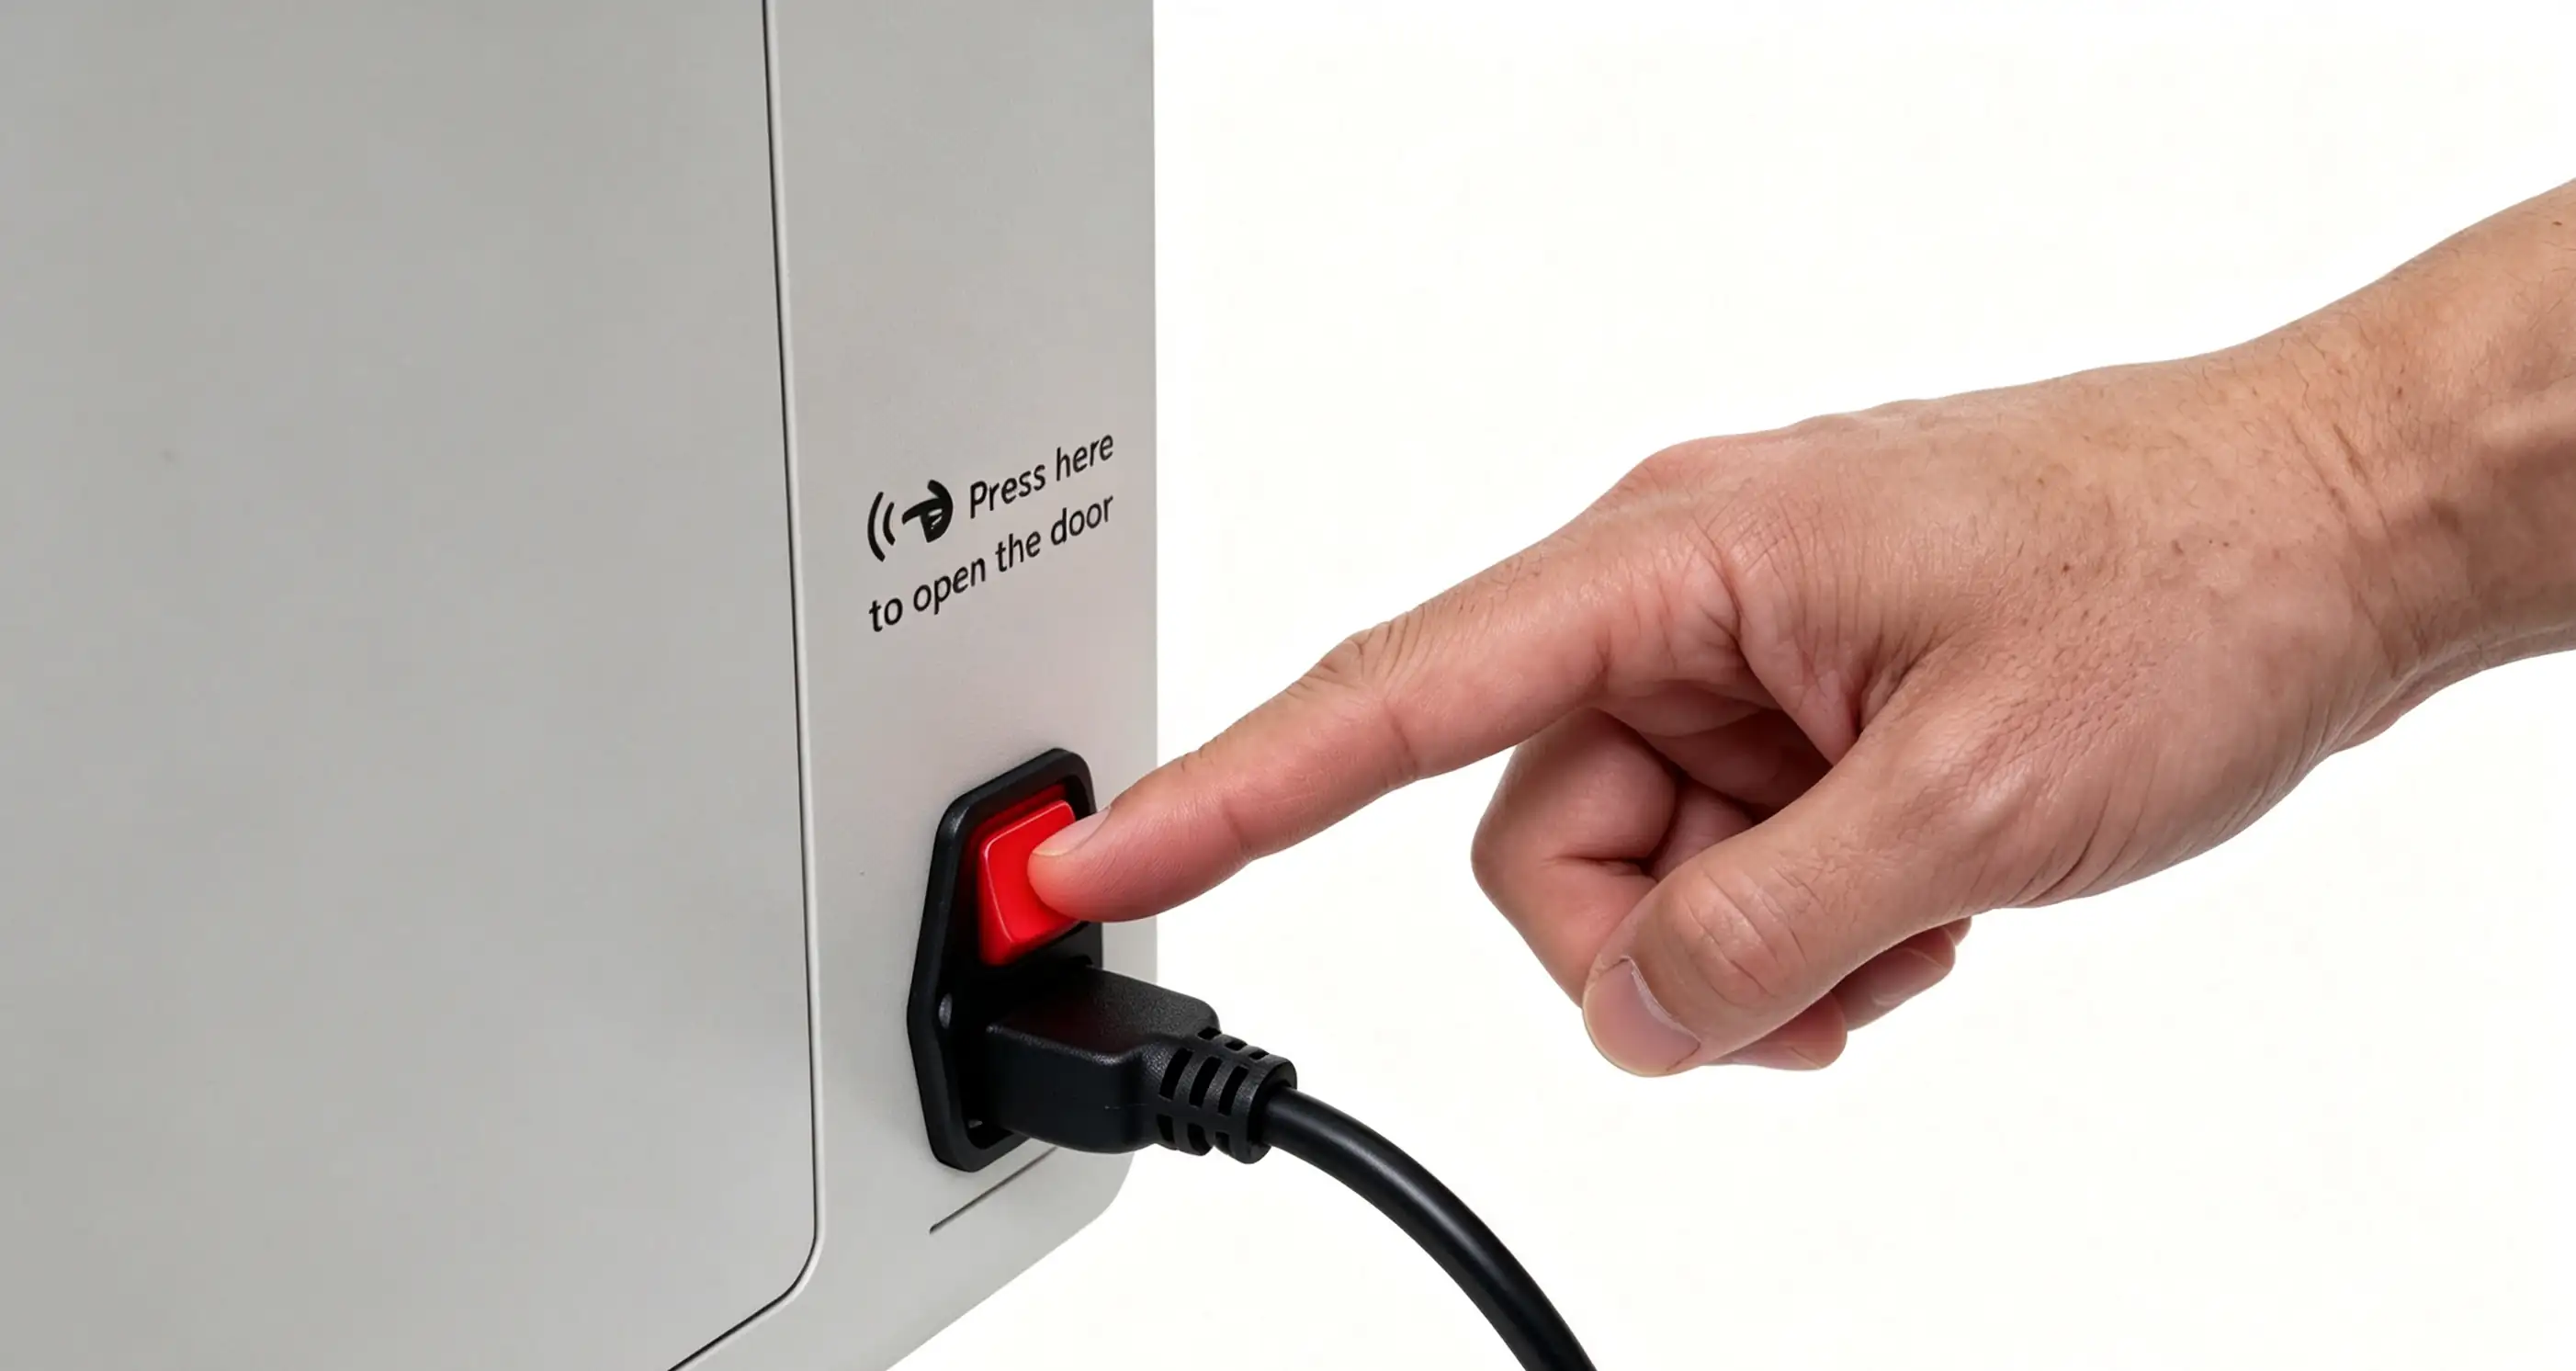
- Turn on the printer power, and the print head will automatically reset.