¶ DP1 Print head ribbon cable replacement
¶ Preparation
- Tools and accessories: Phillips screwdriver, print head ribbon cable
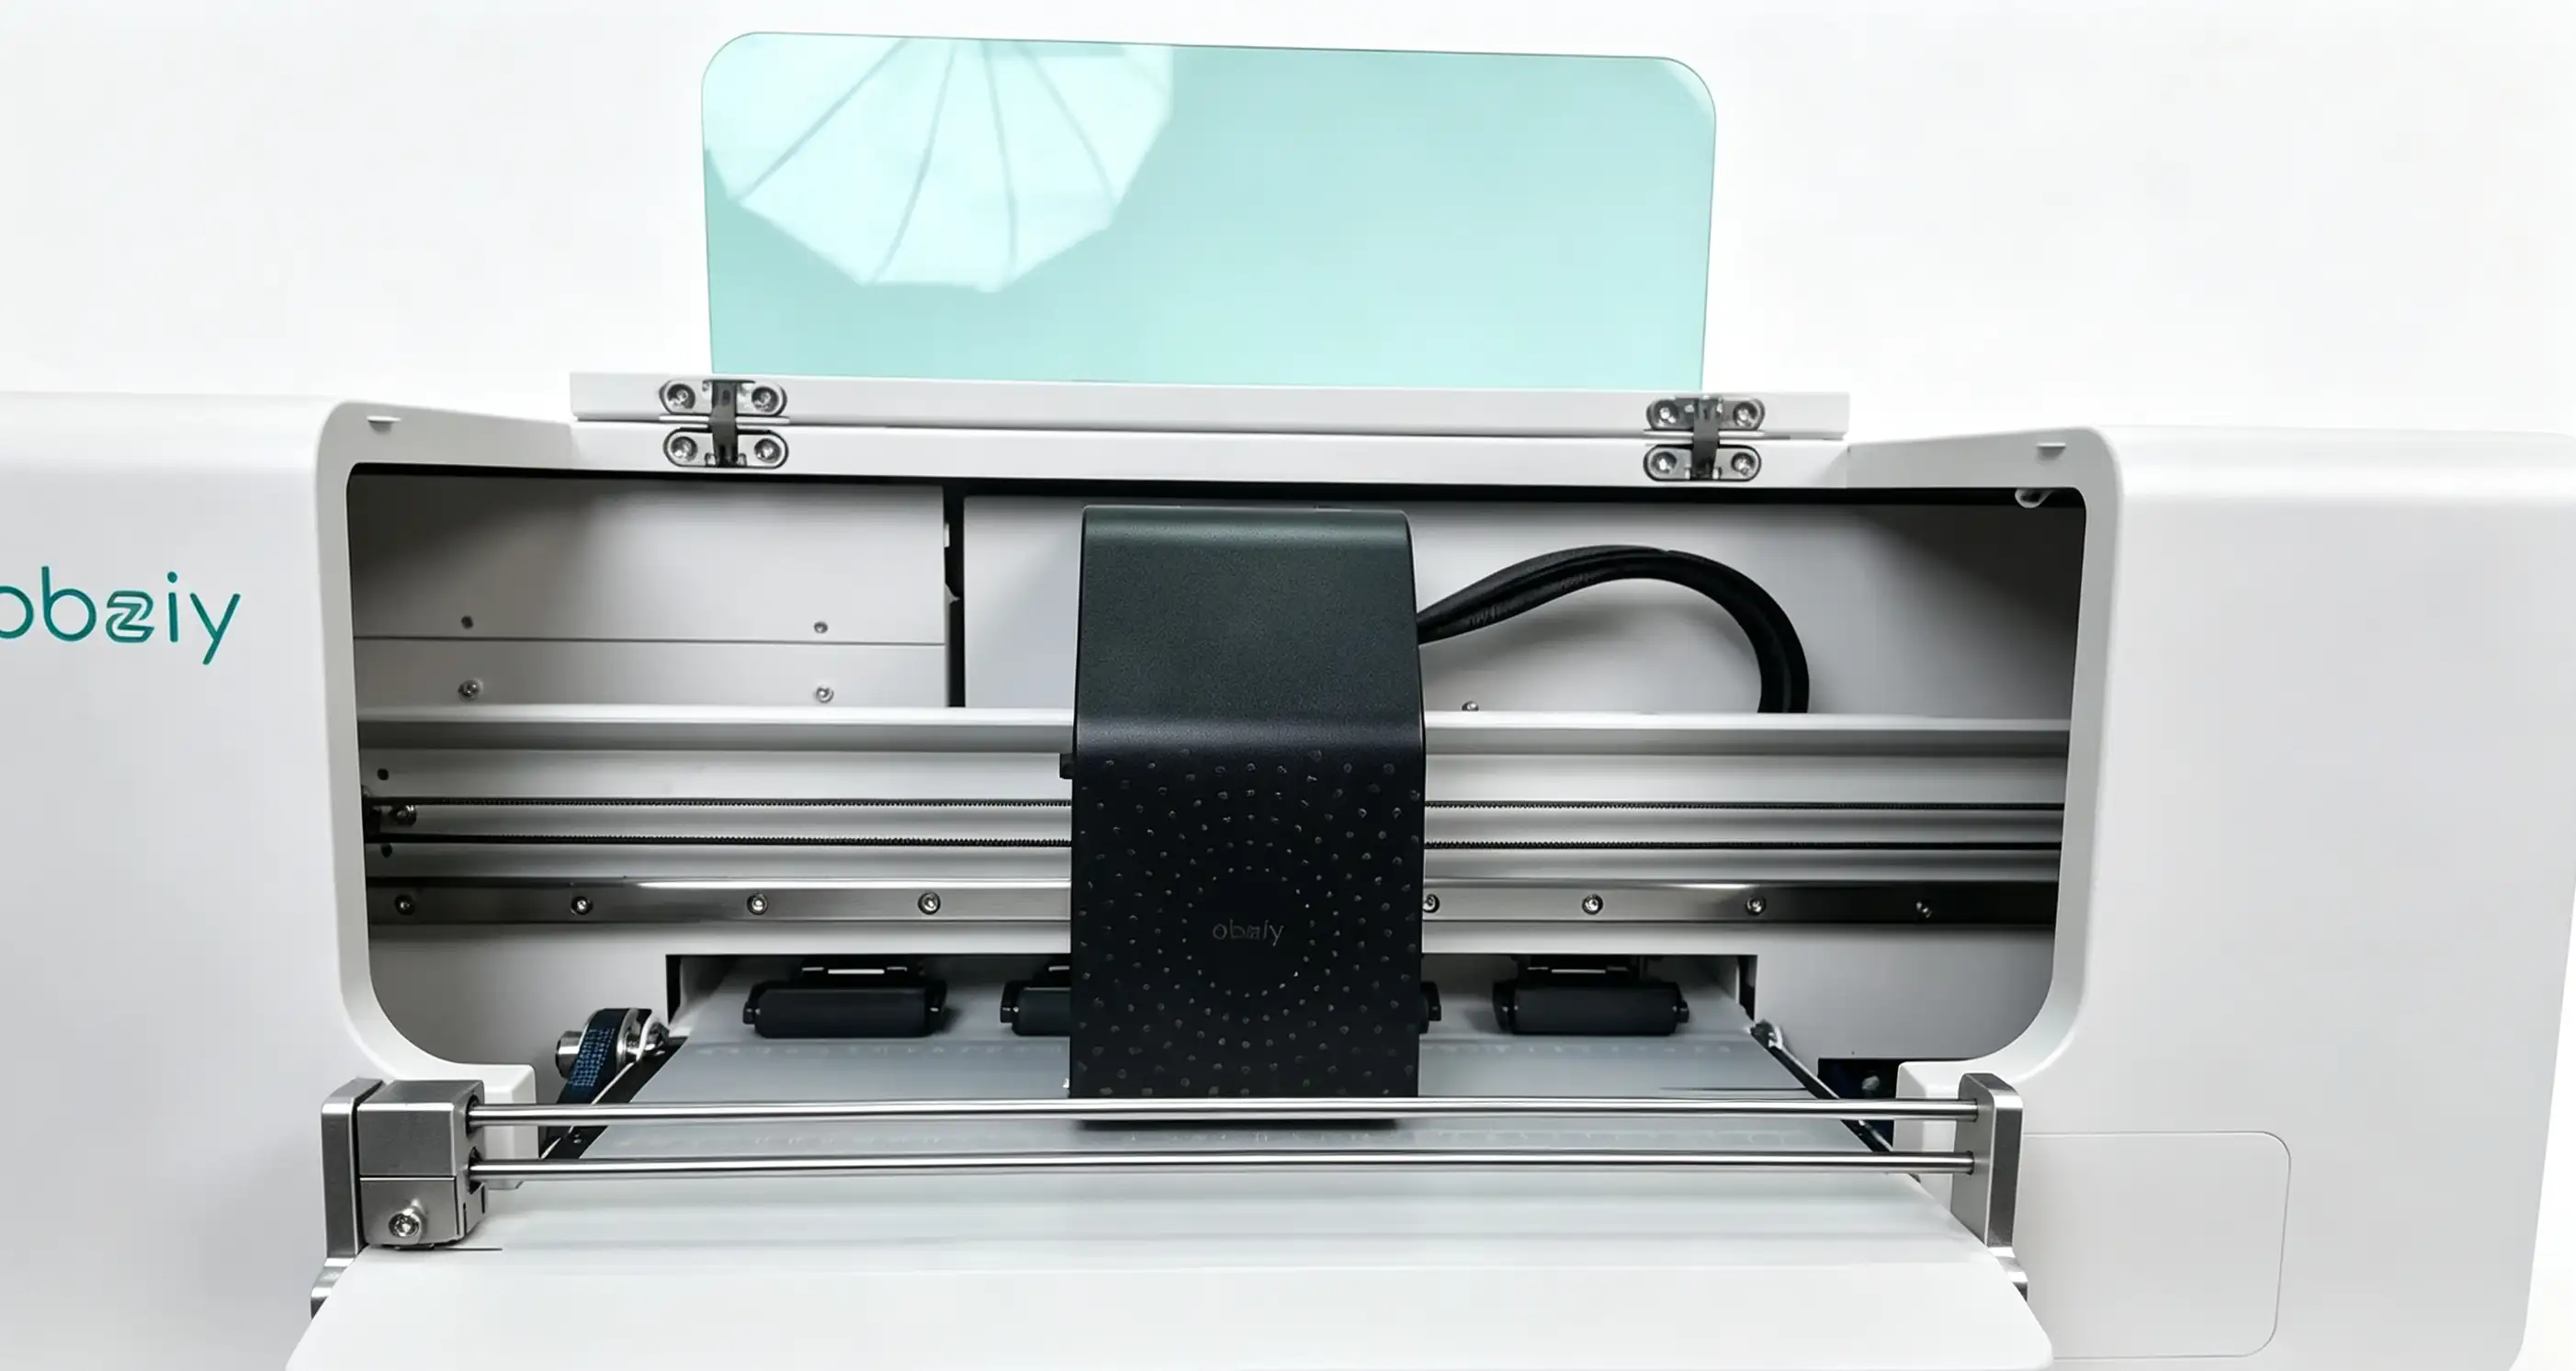
Step 1: Moving the print head to the center position
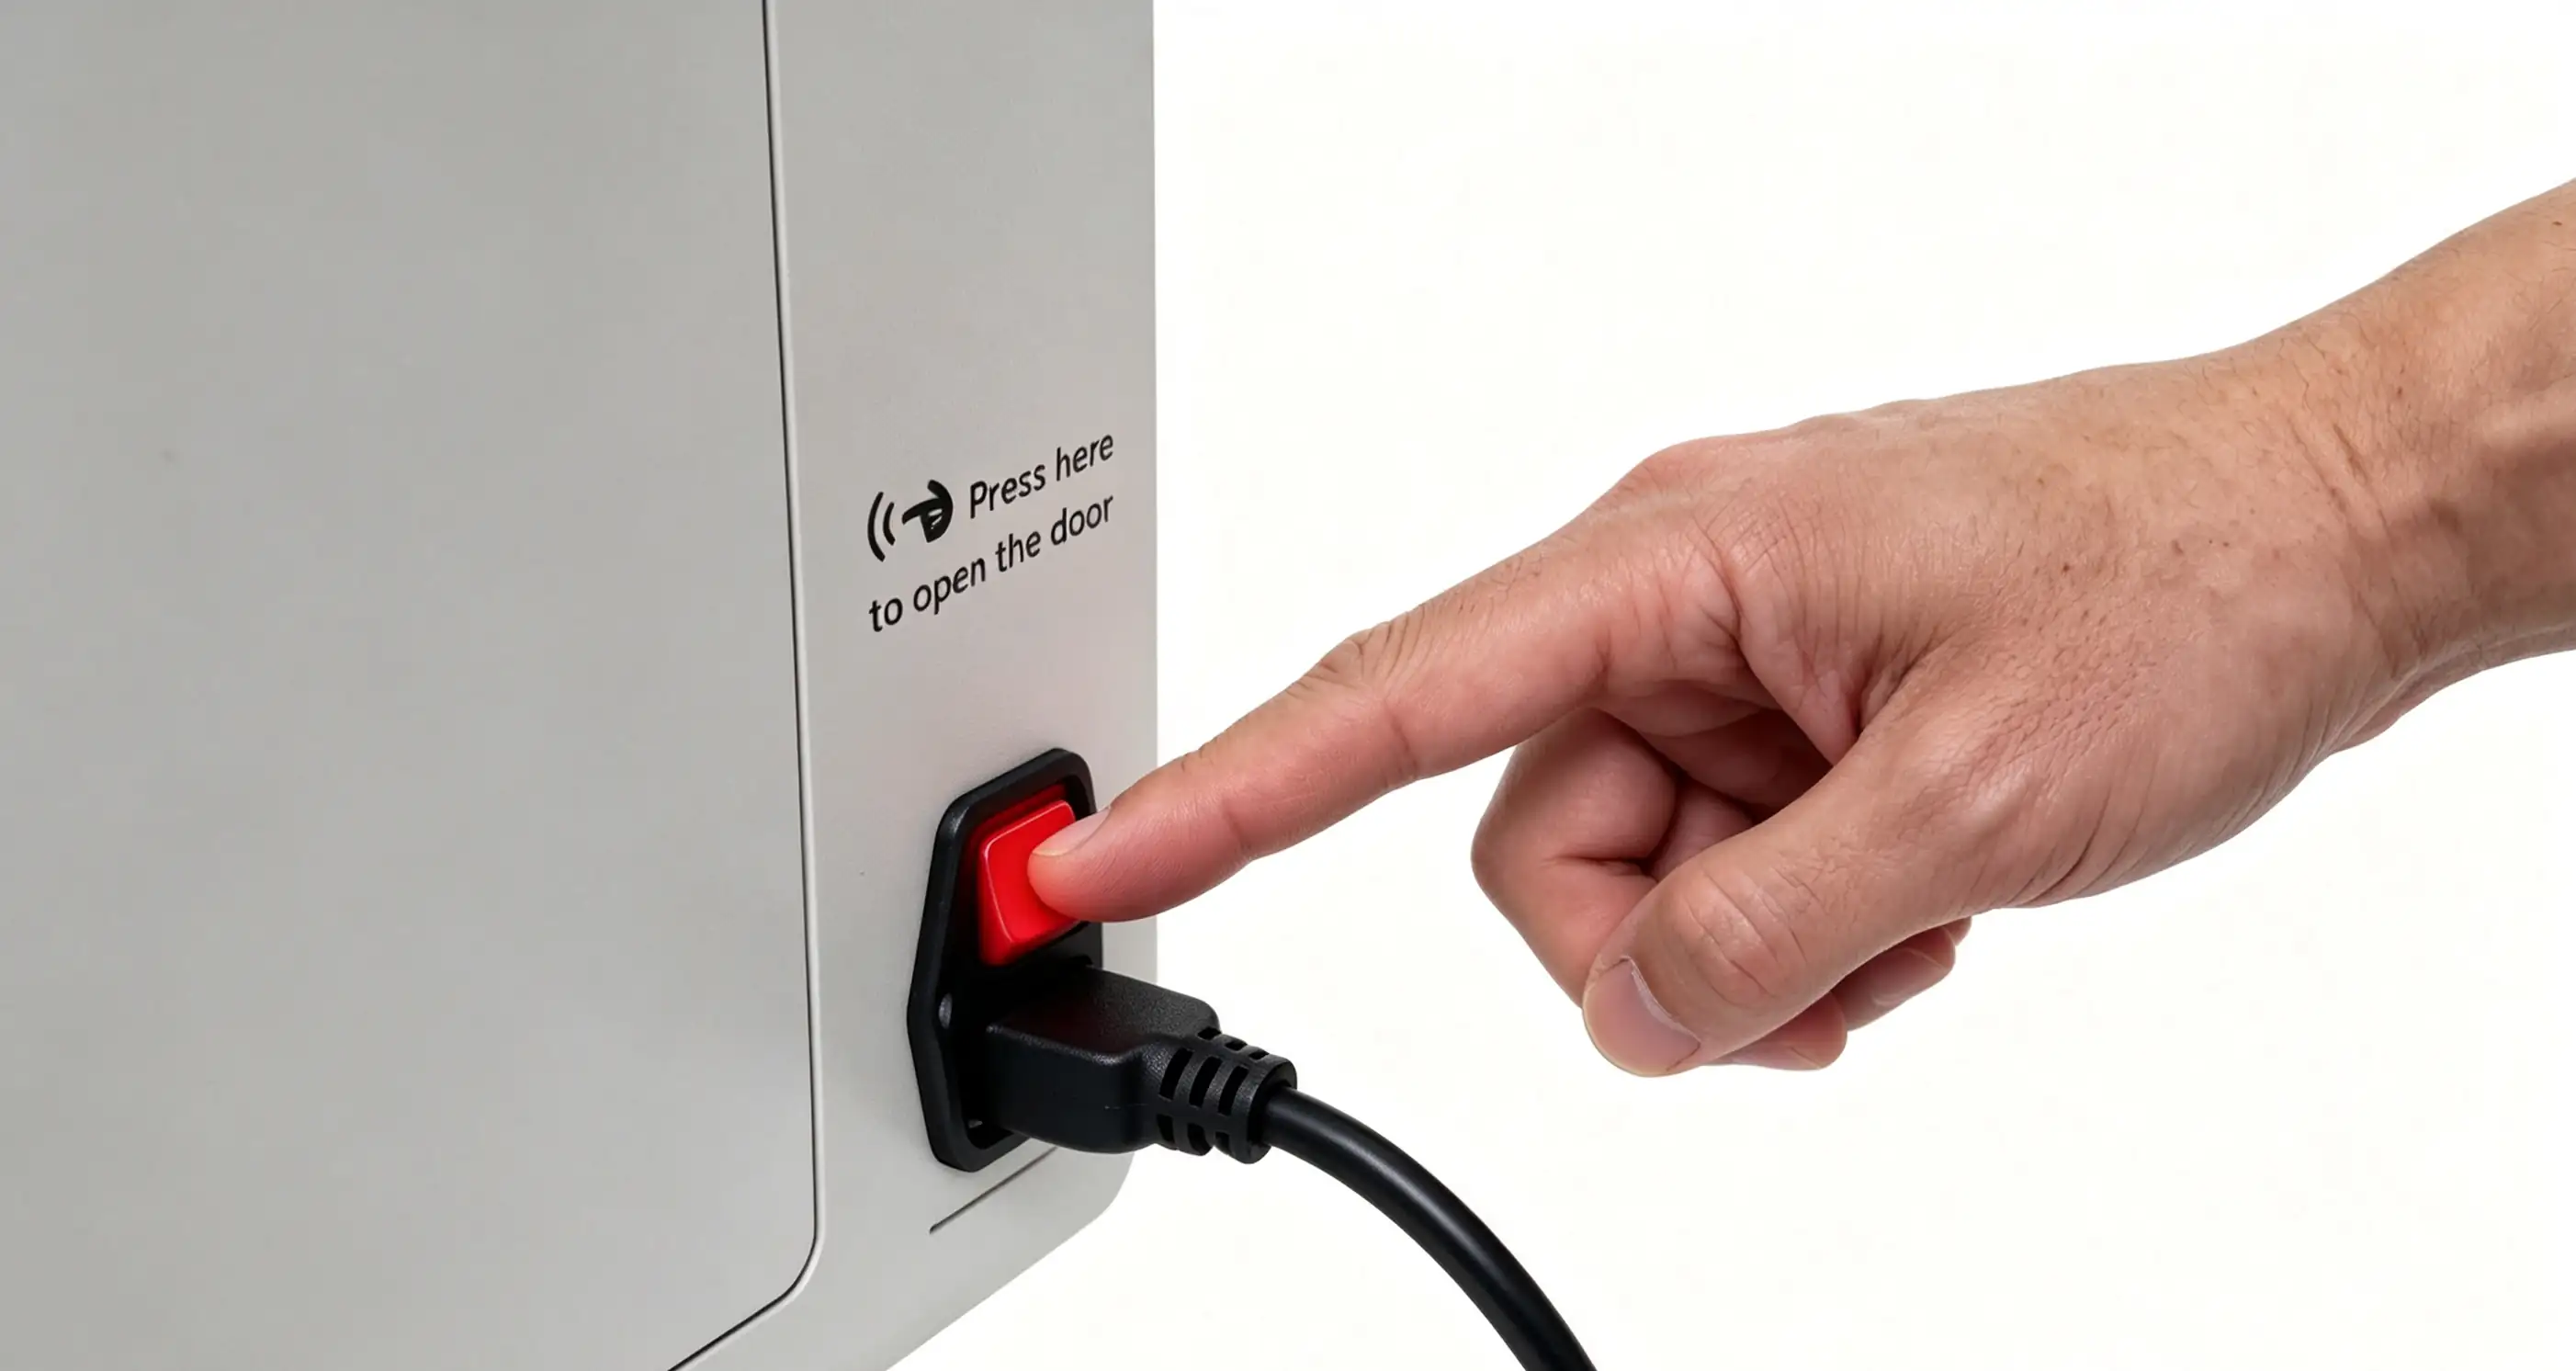
Step 2: Turn off the device power
- Safety precautions: After moving the print head to the center position, always turn off the printer power and unplug the power cord to ensure the device is completely powered down.
¶ Replacing the ribbon cable
- Move the print head: Before turning off the power, first move the print head to the center position on the slide rail for subsequent operations.
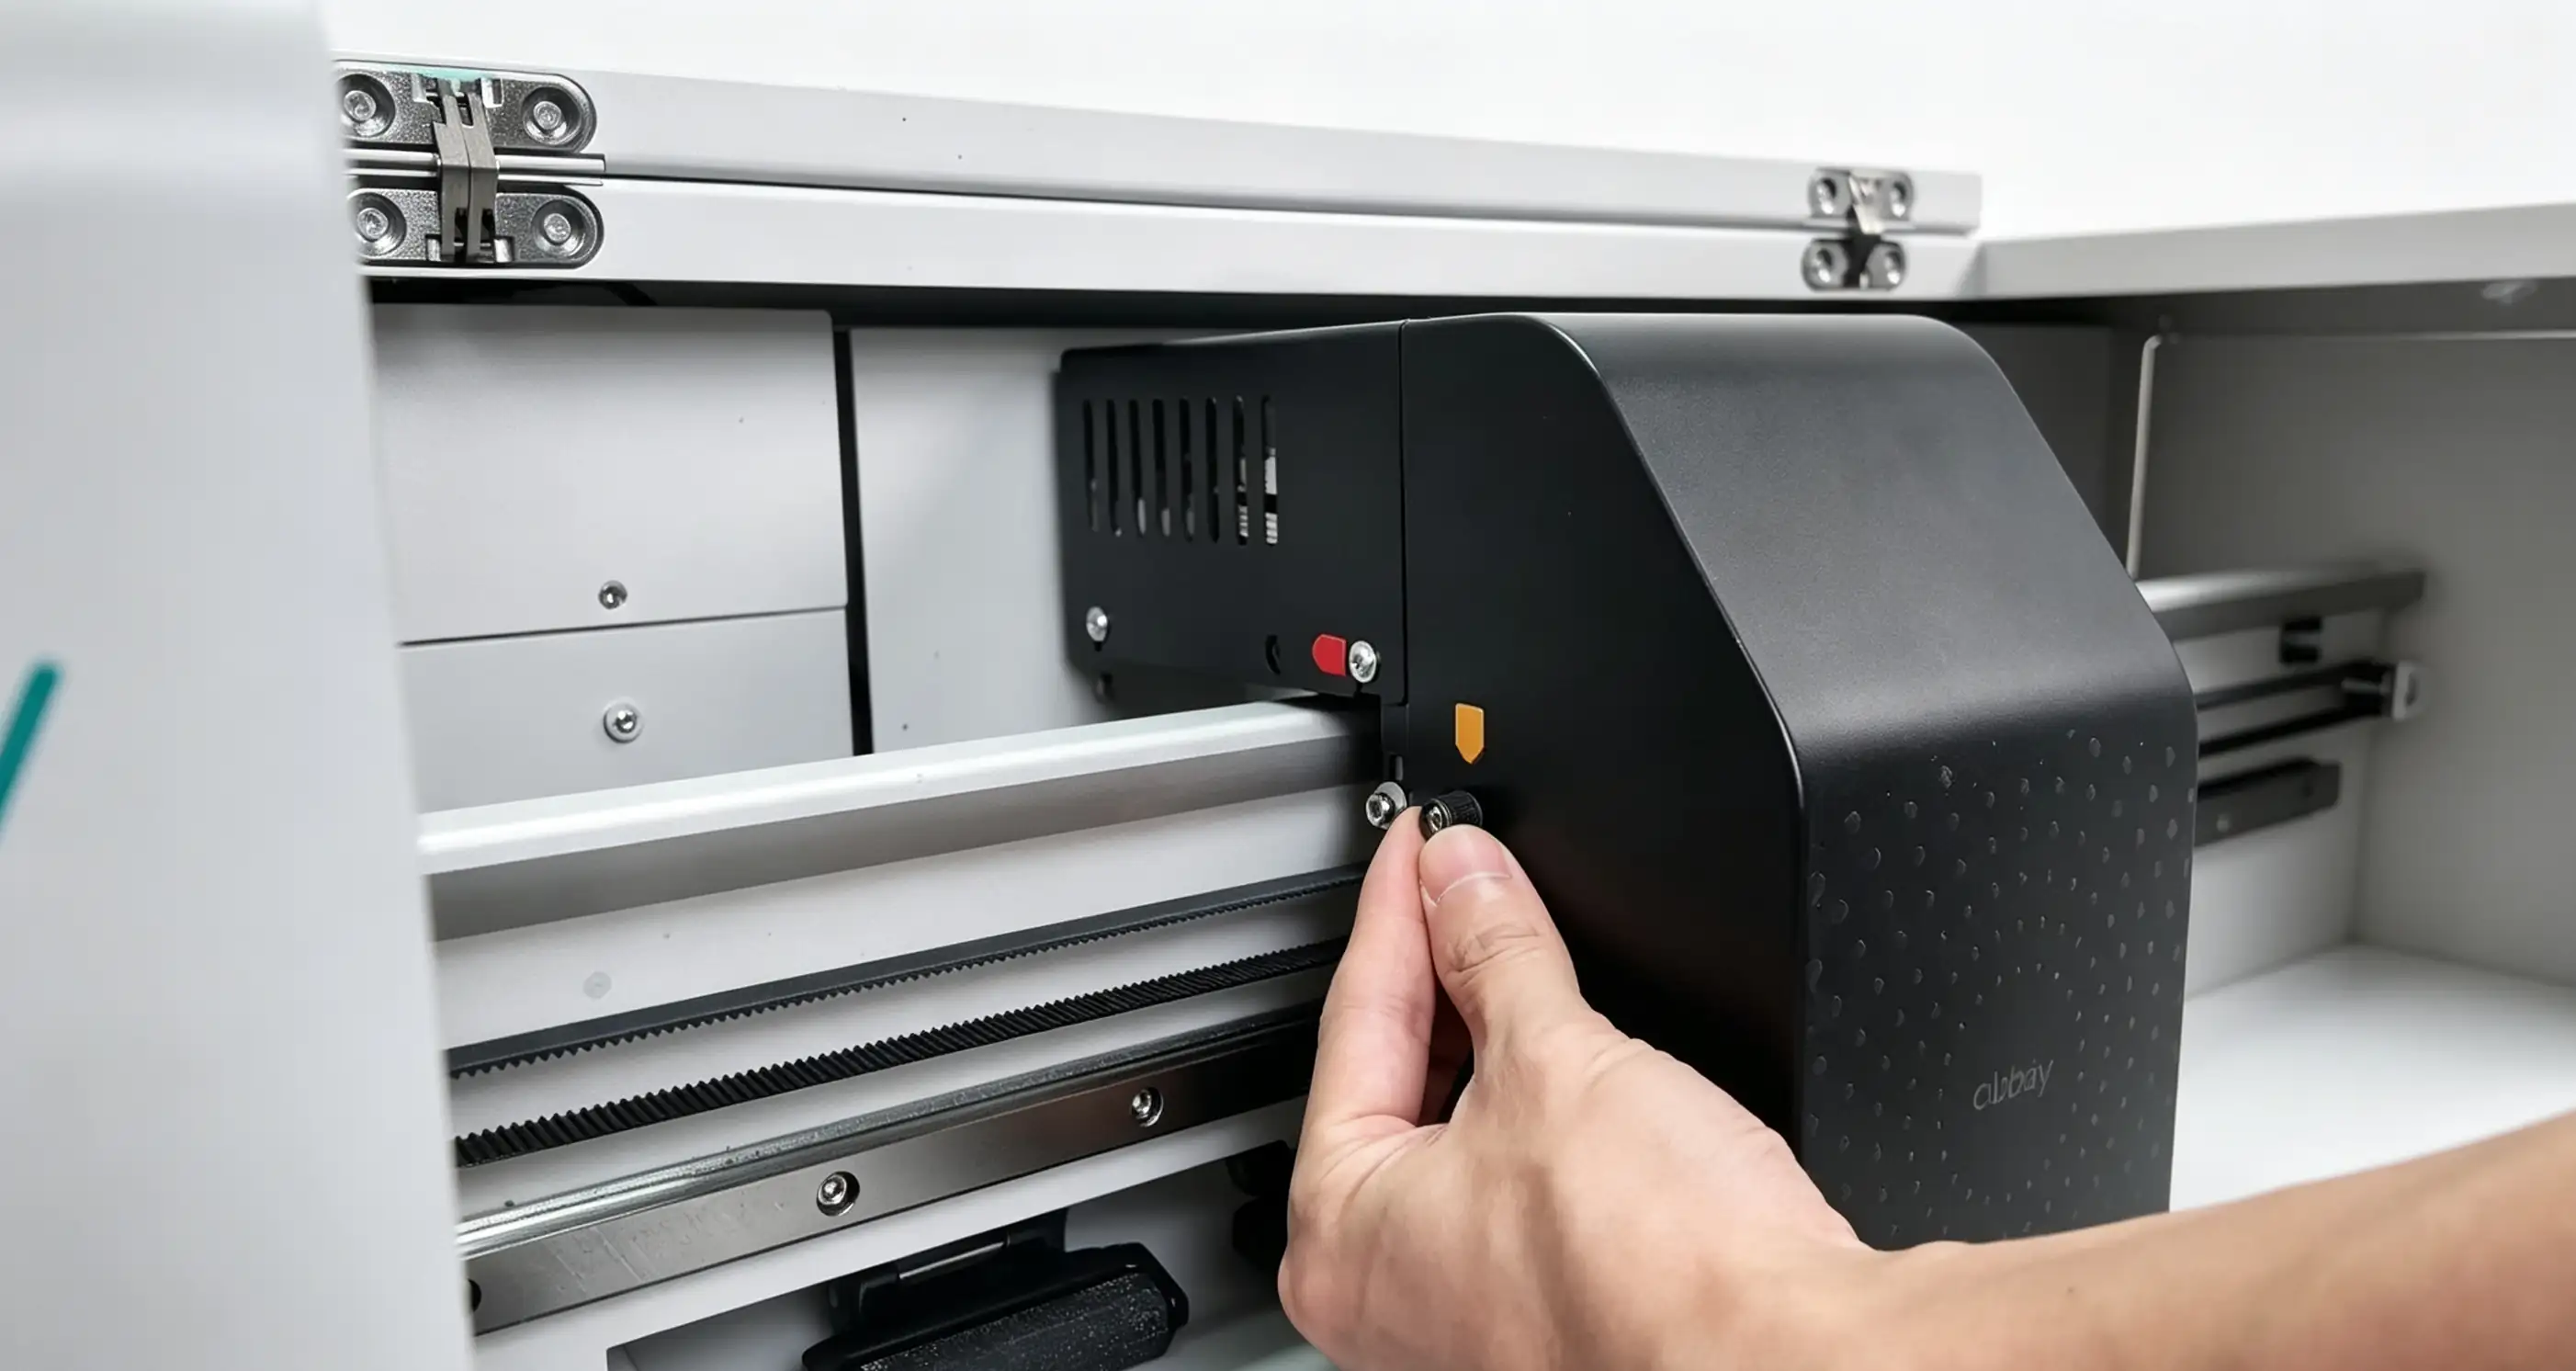
Step 1: Front cover of the print head
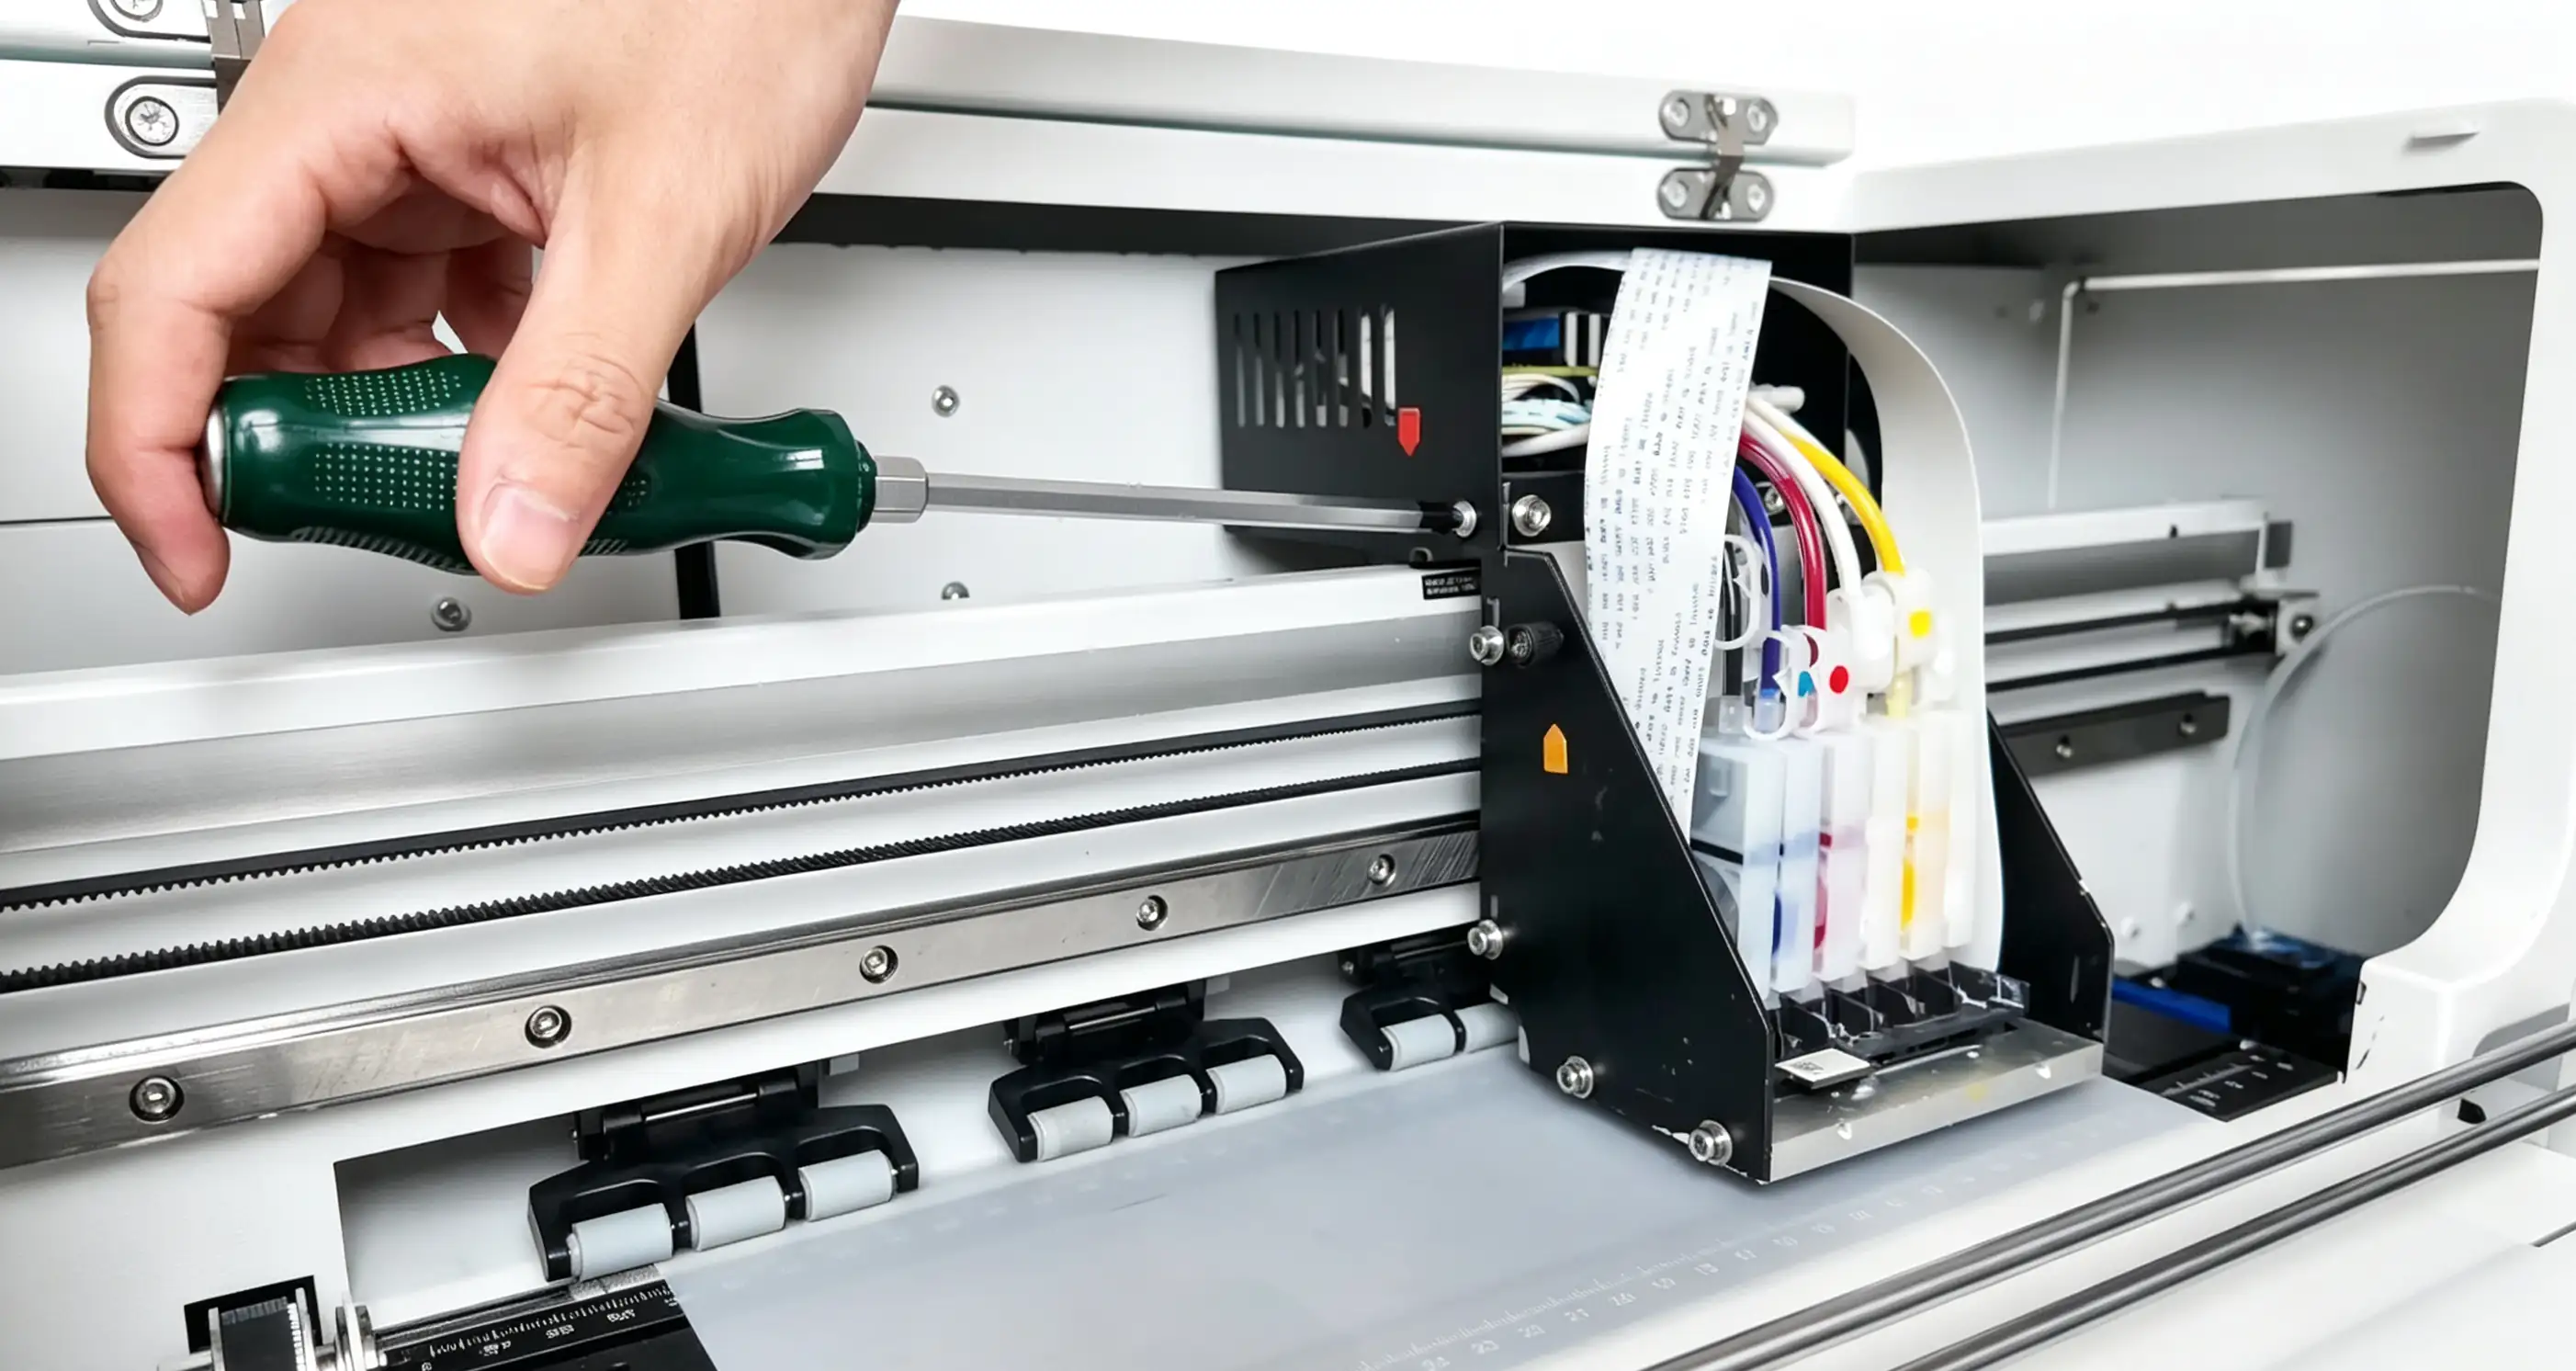
Step 2: Disassemble the top cover
- Remove external components: Disassemble the top cover and front cover of the print head.
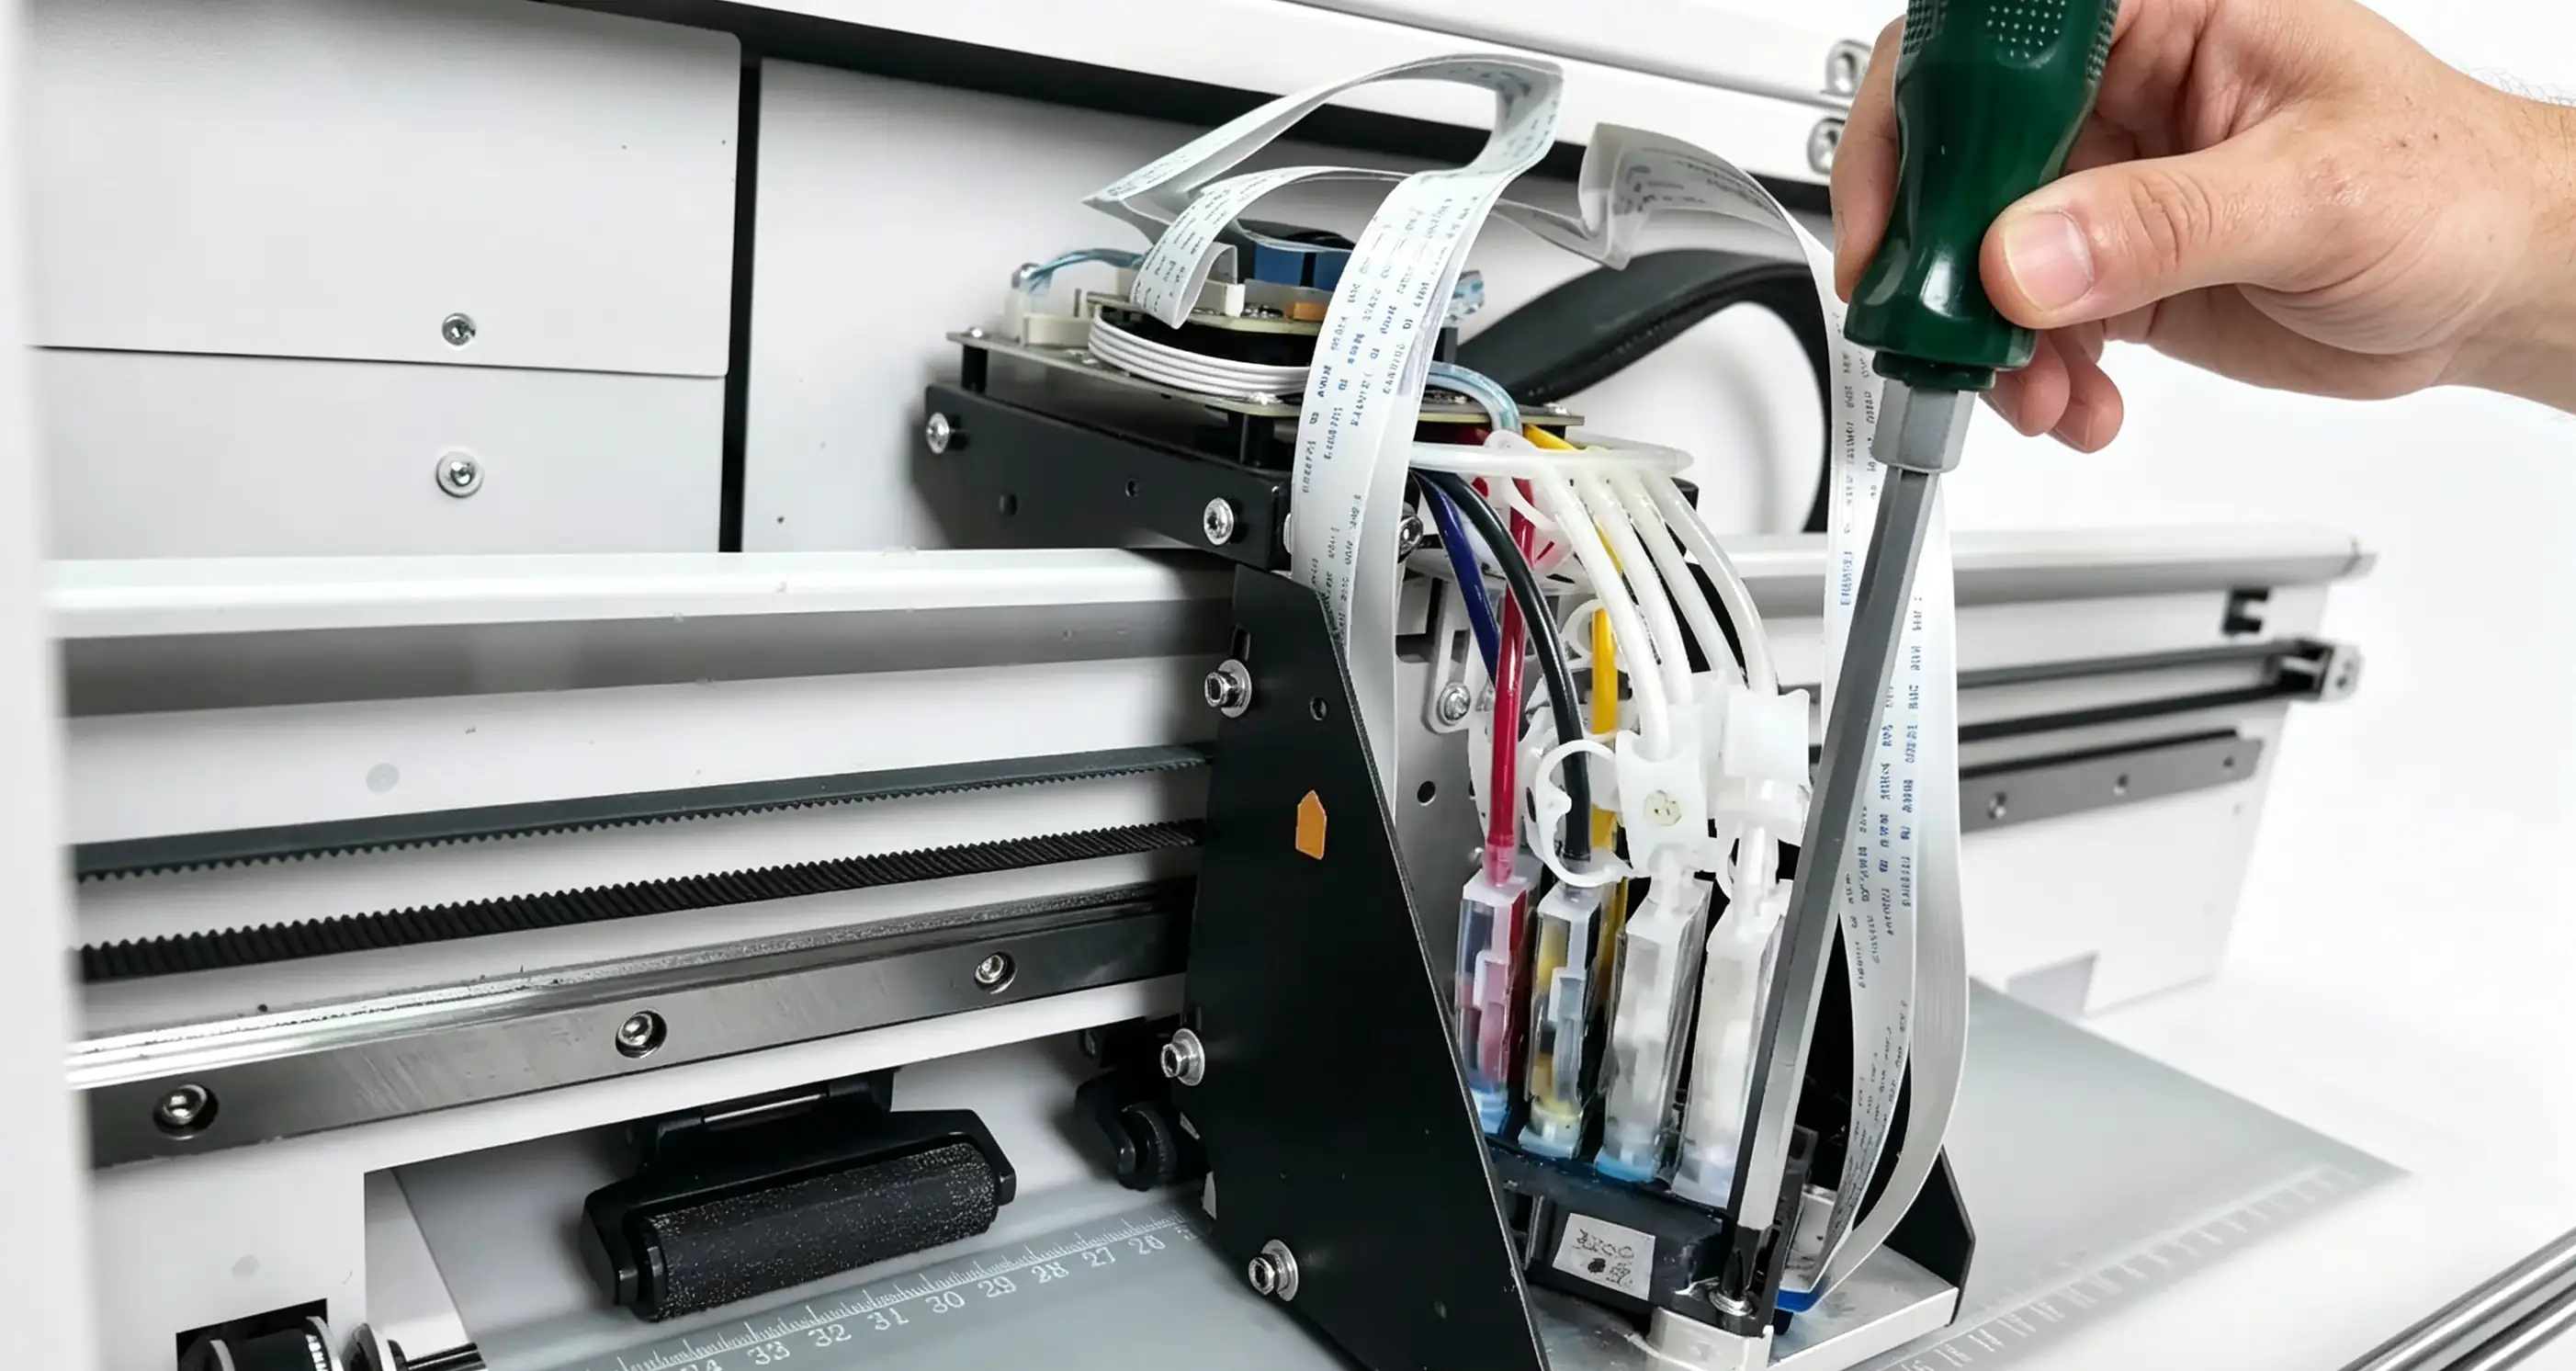
Step 1: Loosen the four screws securing
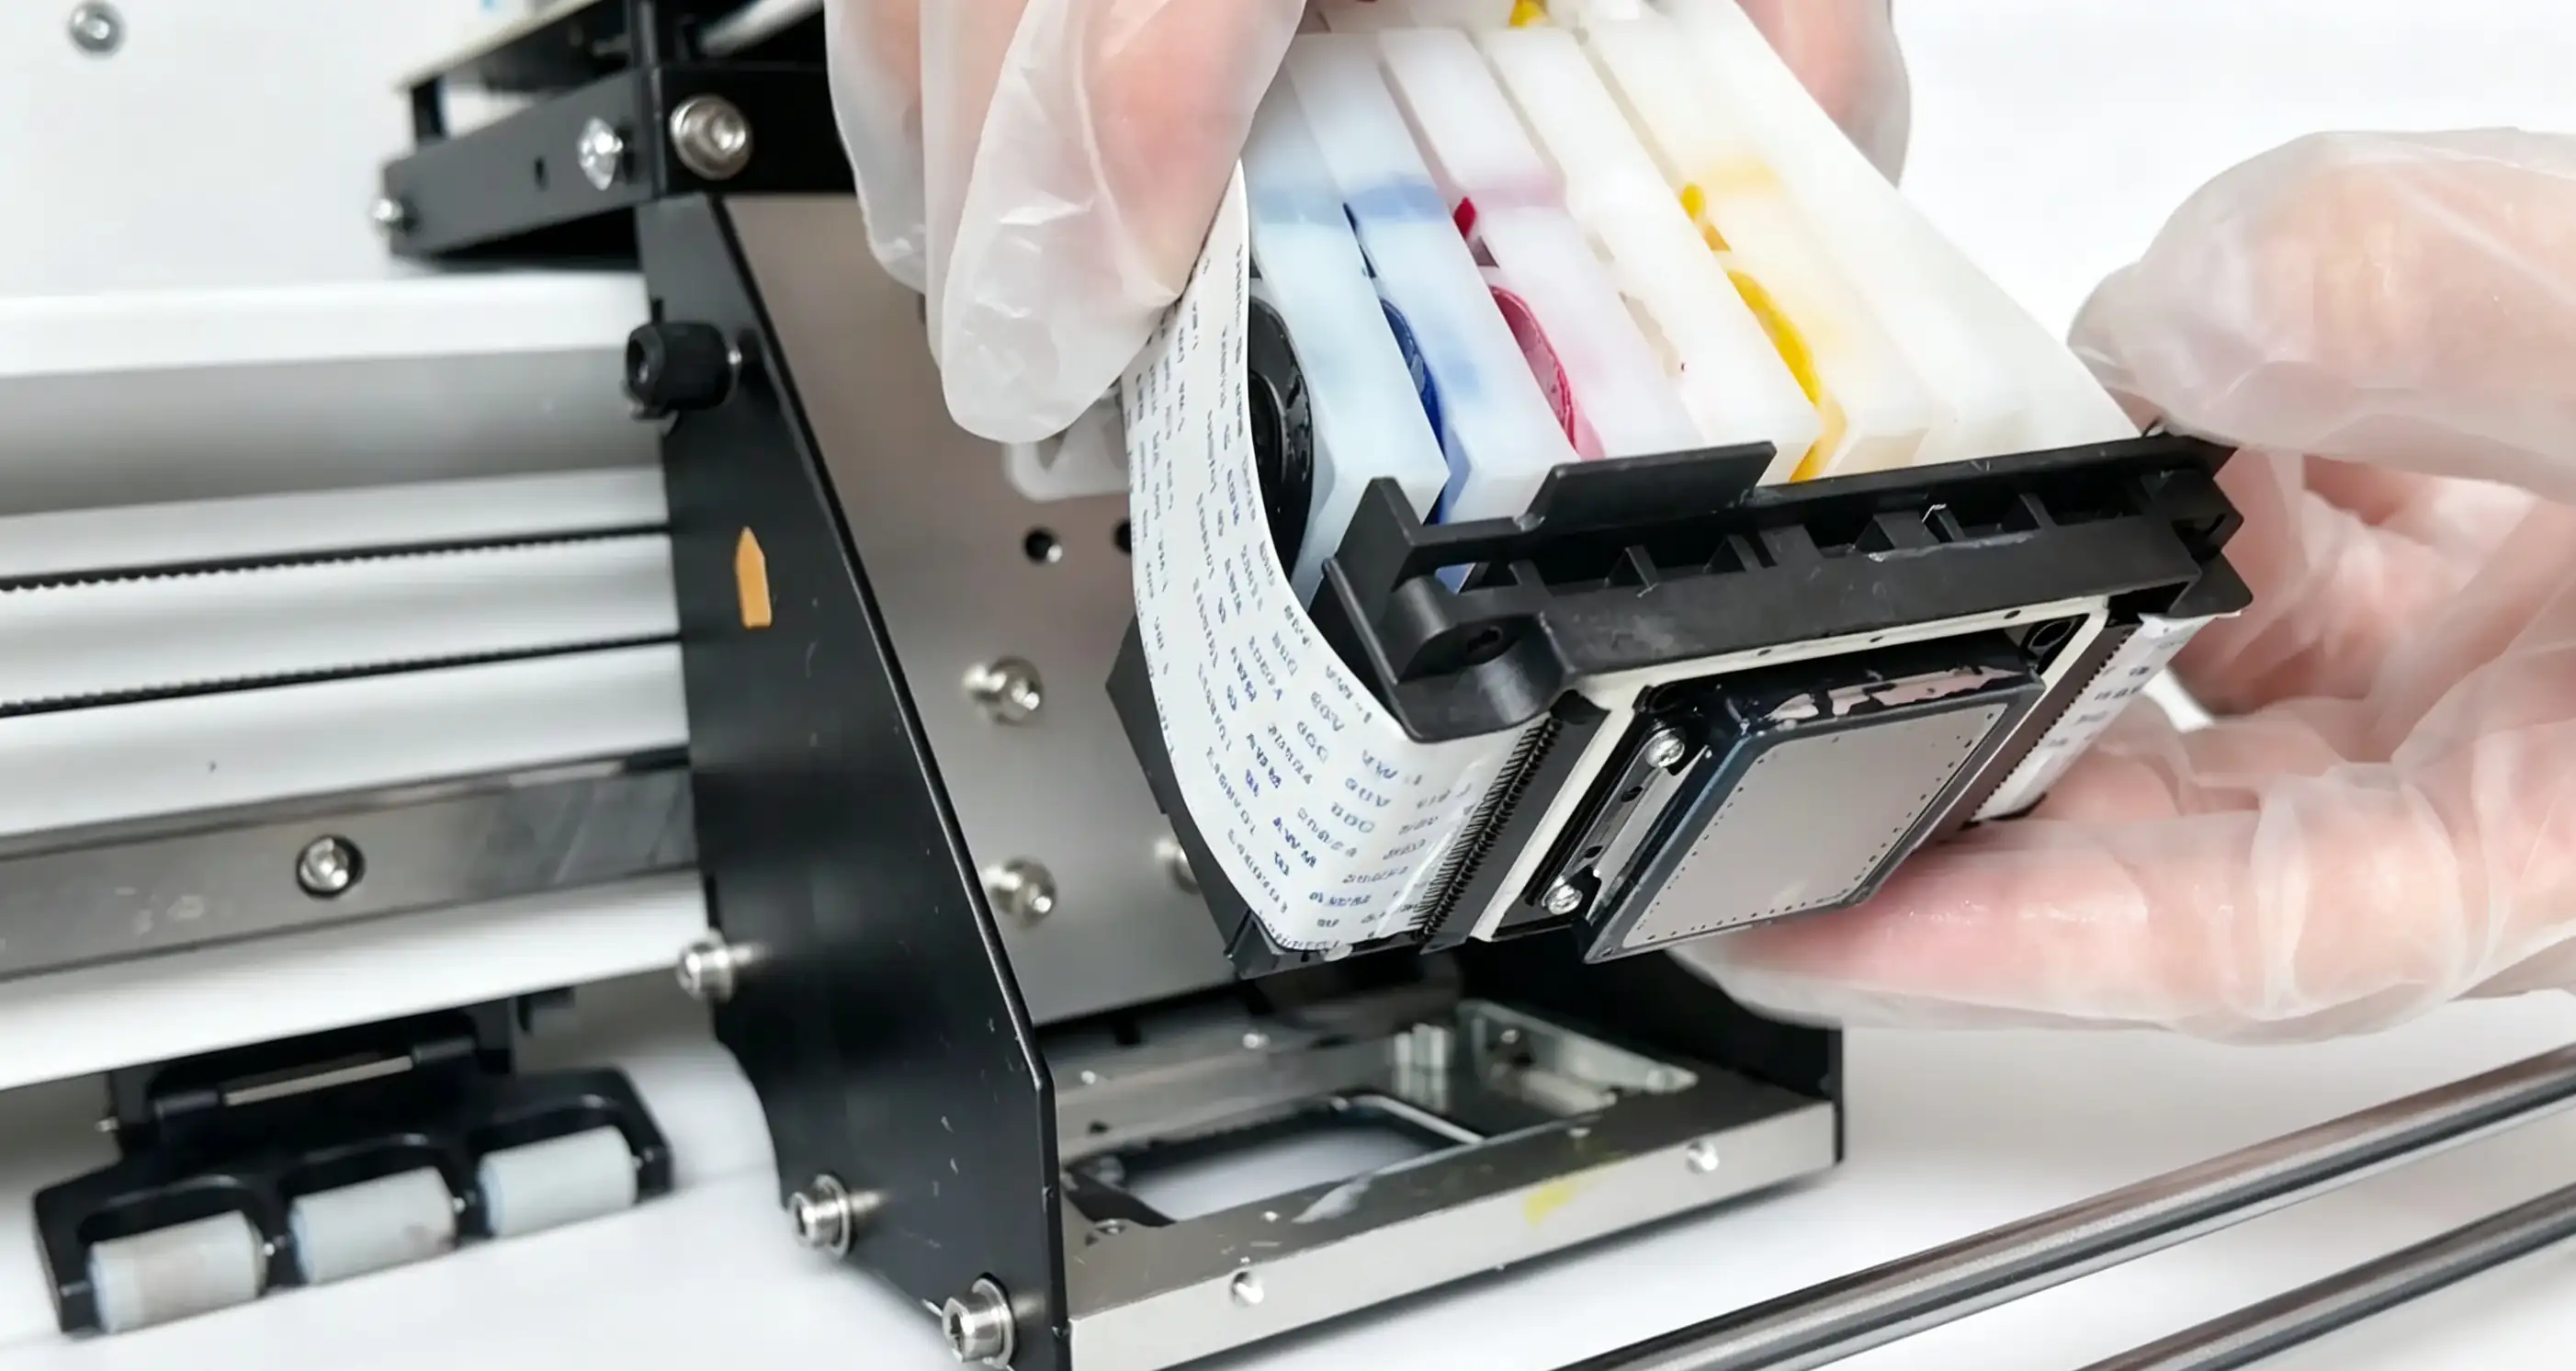
Step 2: Pick up the print head with both hands
- Loosen the four screws securing the print head one by one.
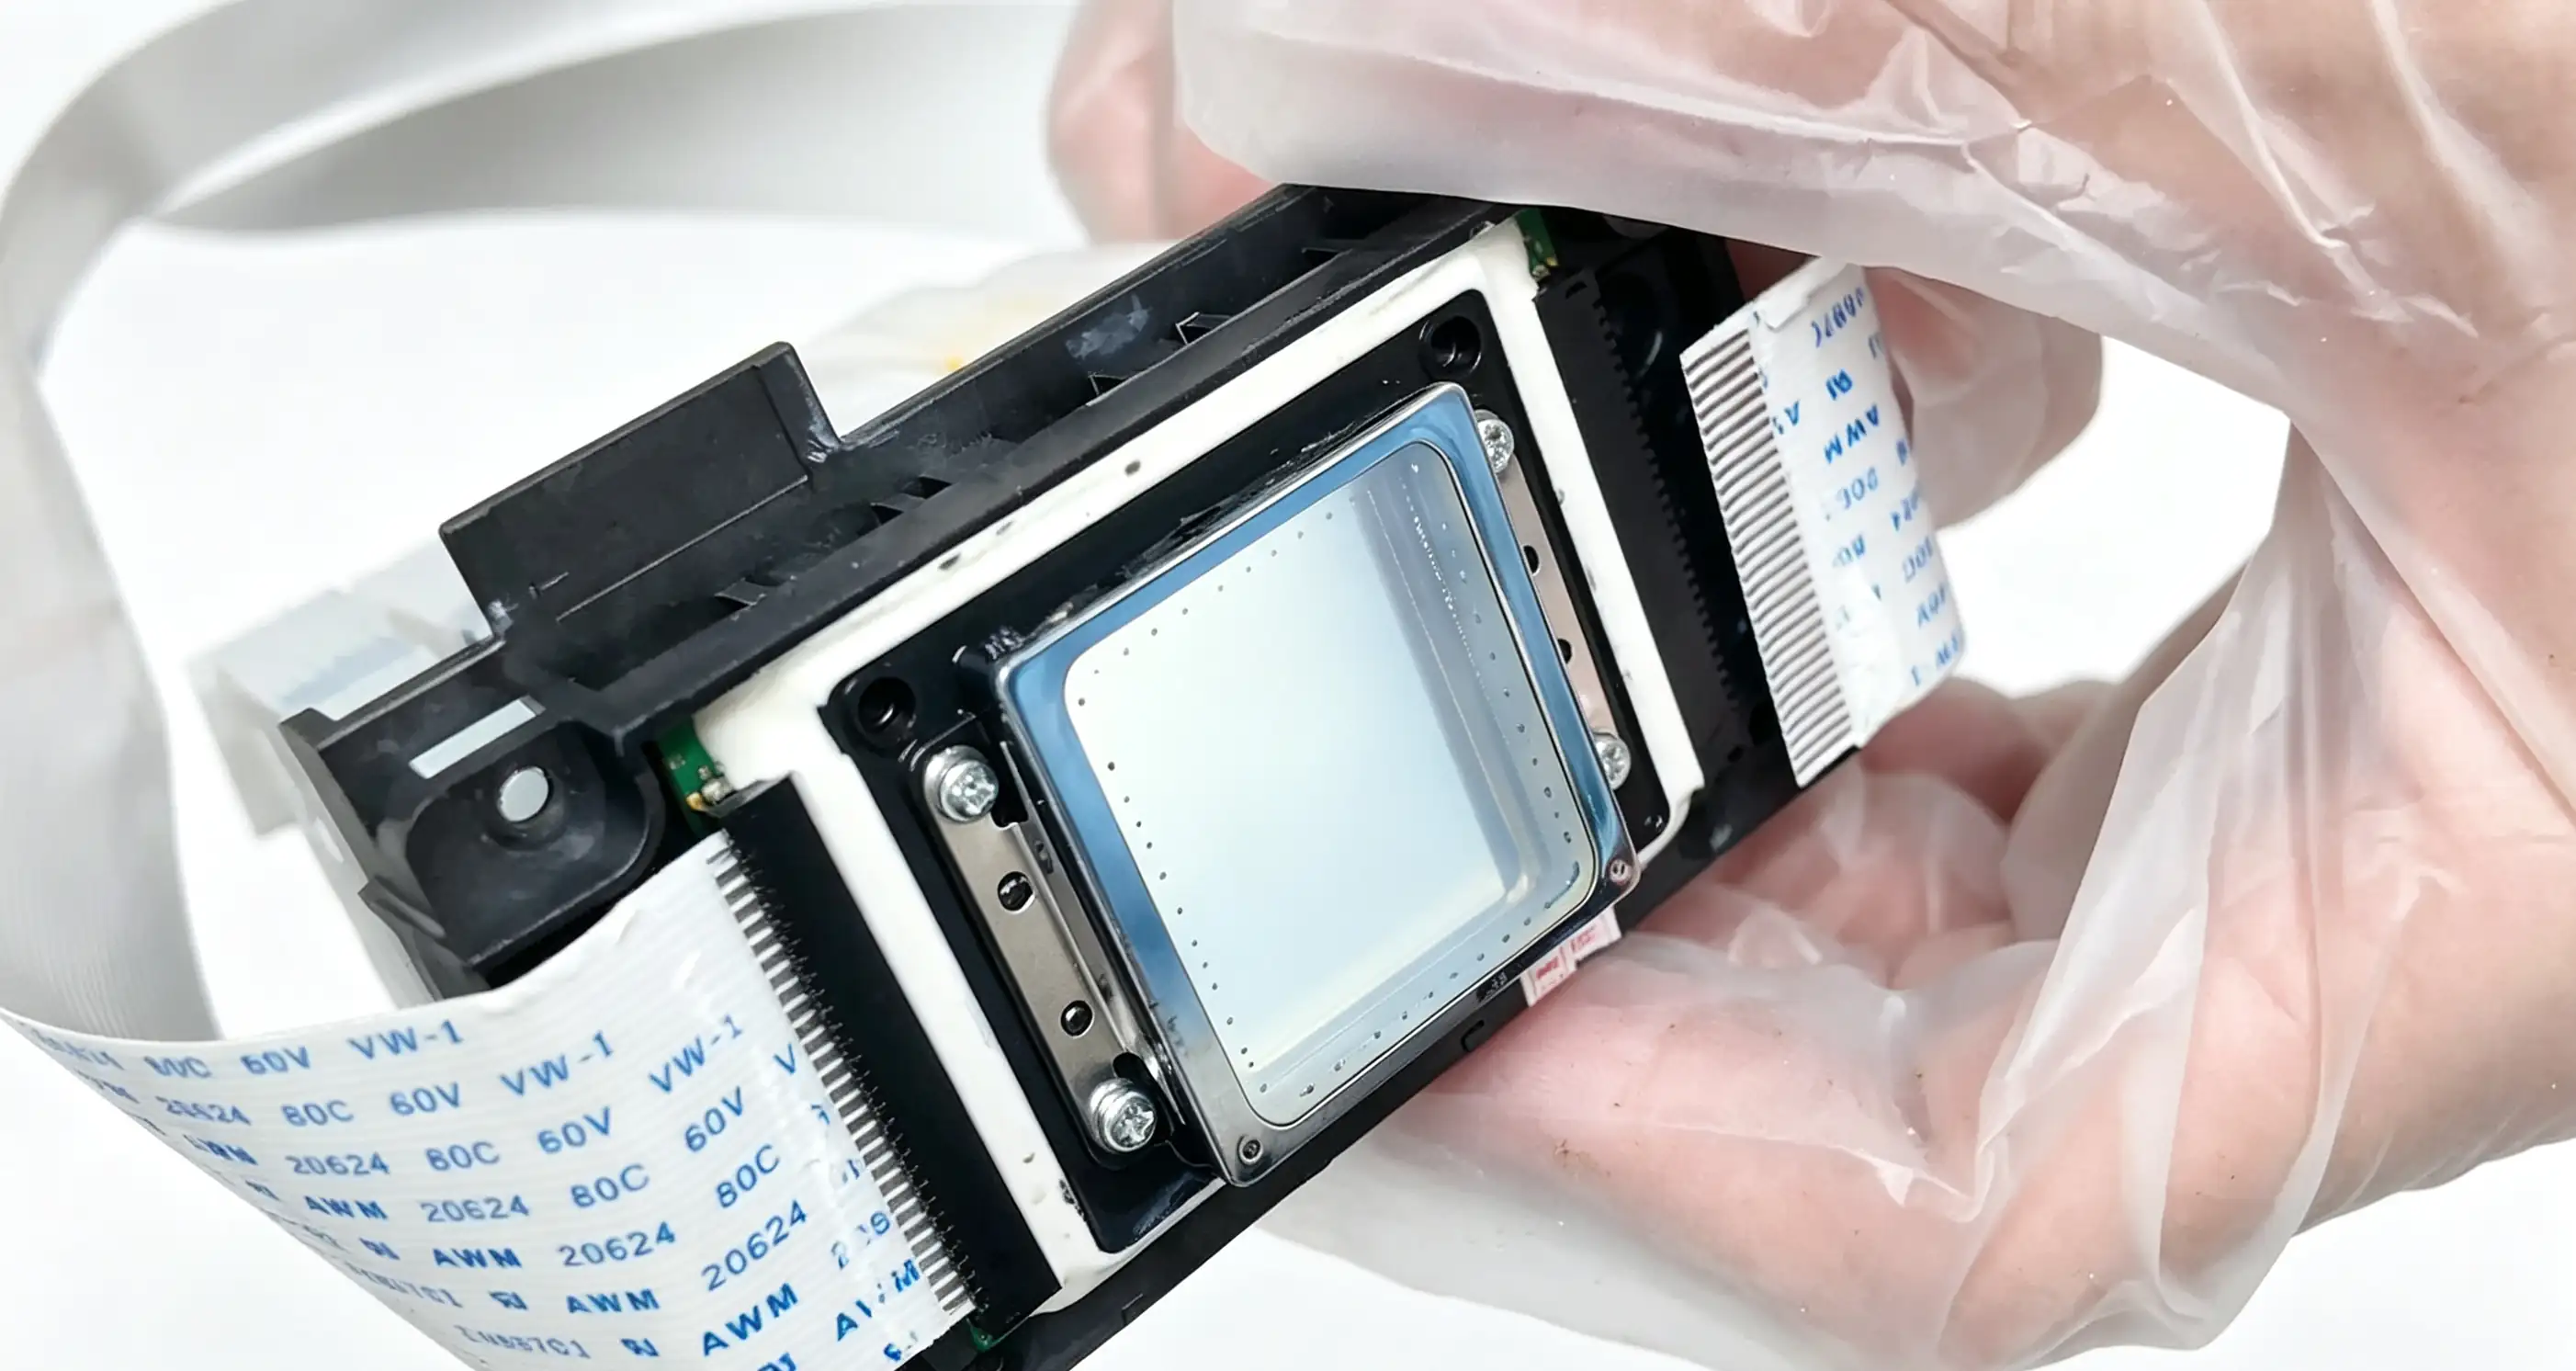
Step 1: Take out printhead and check flex cable
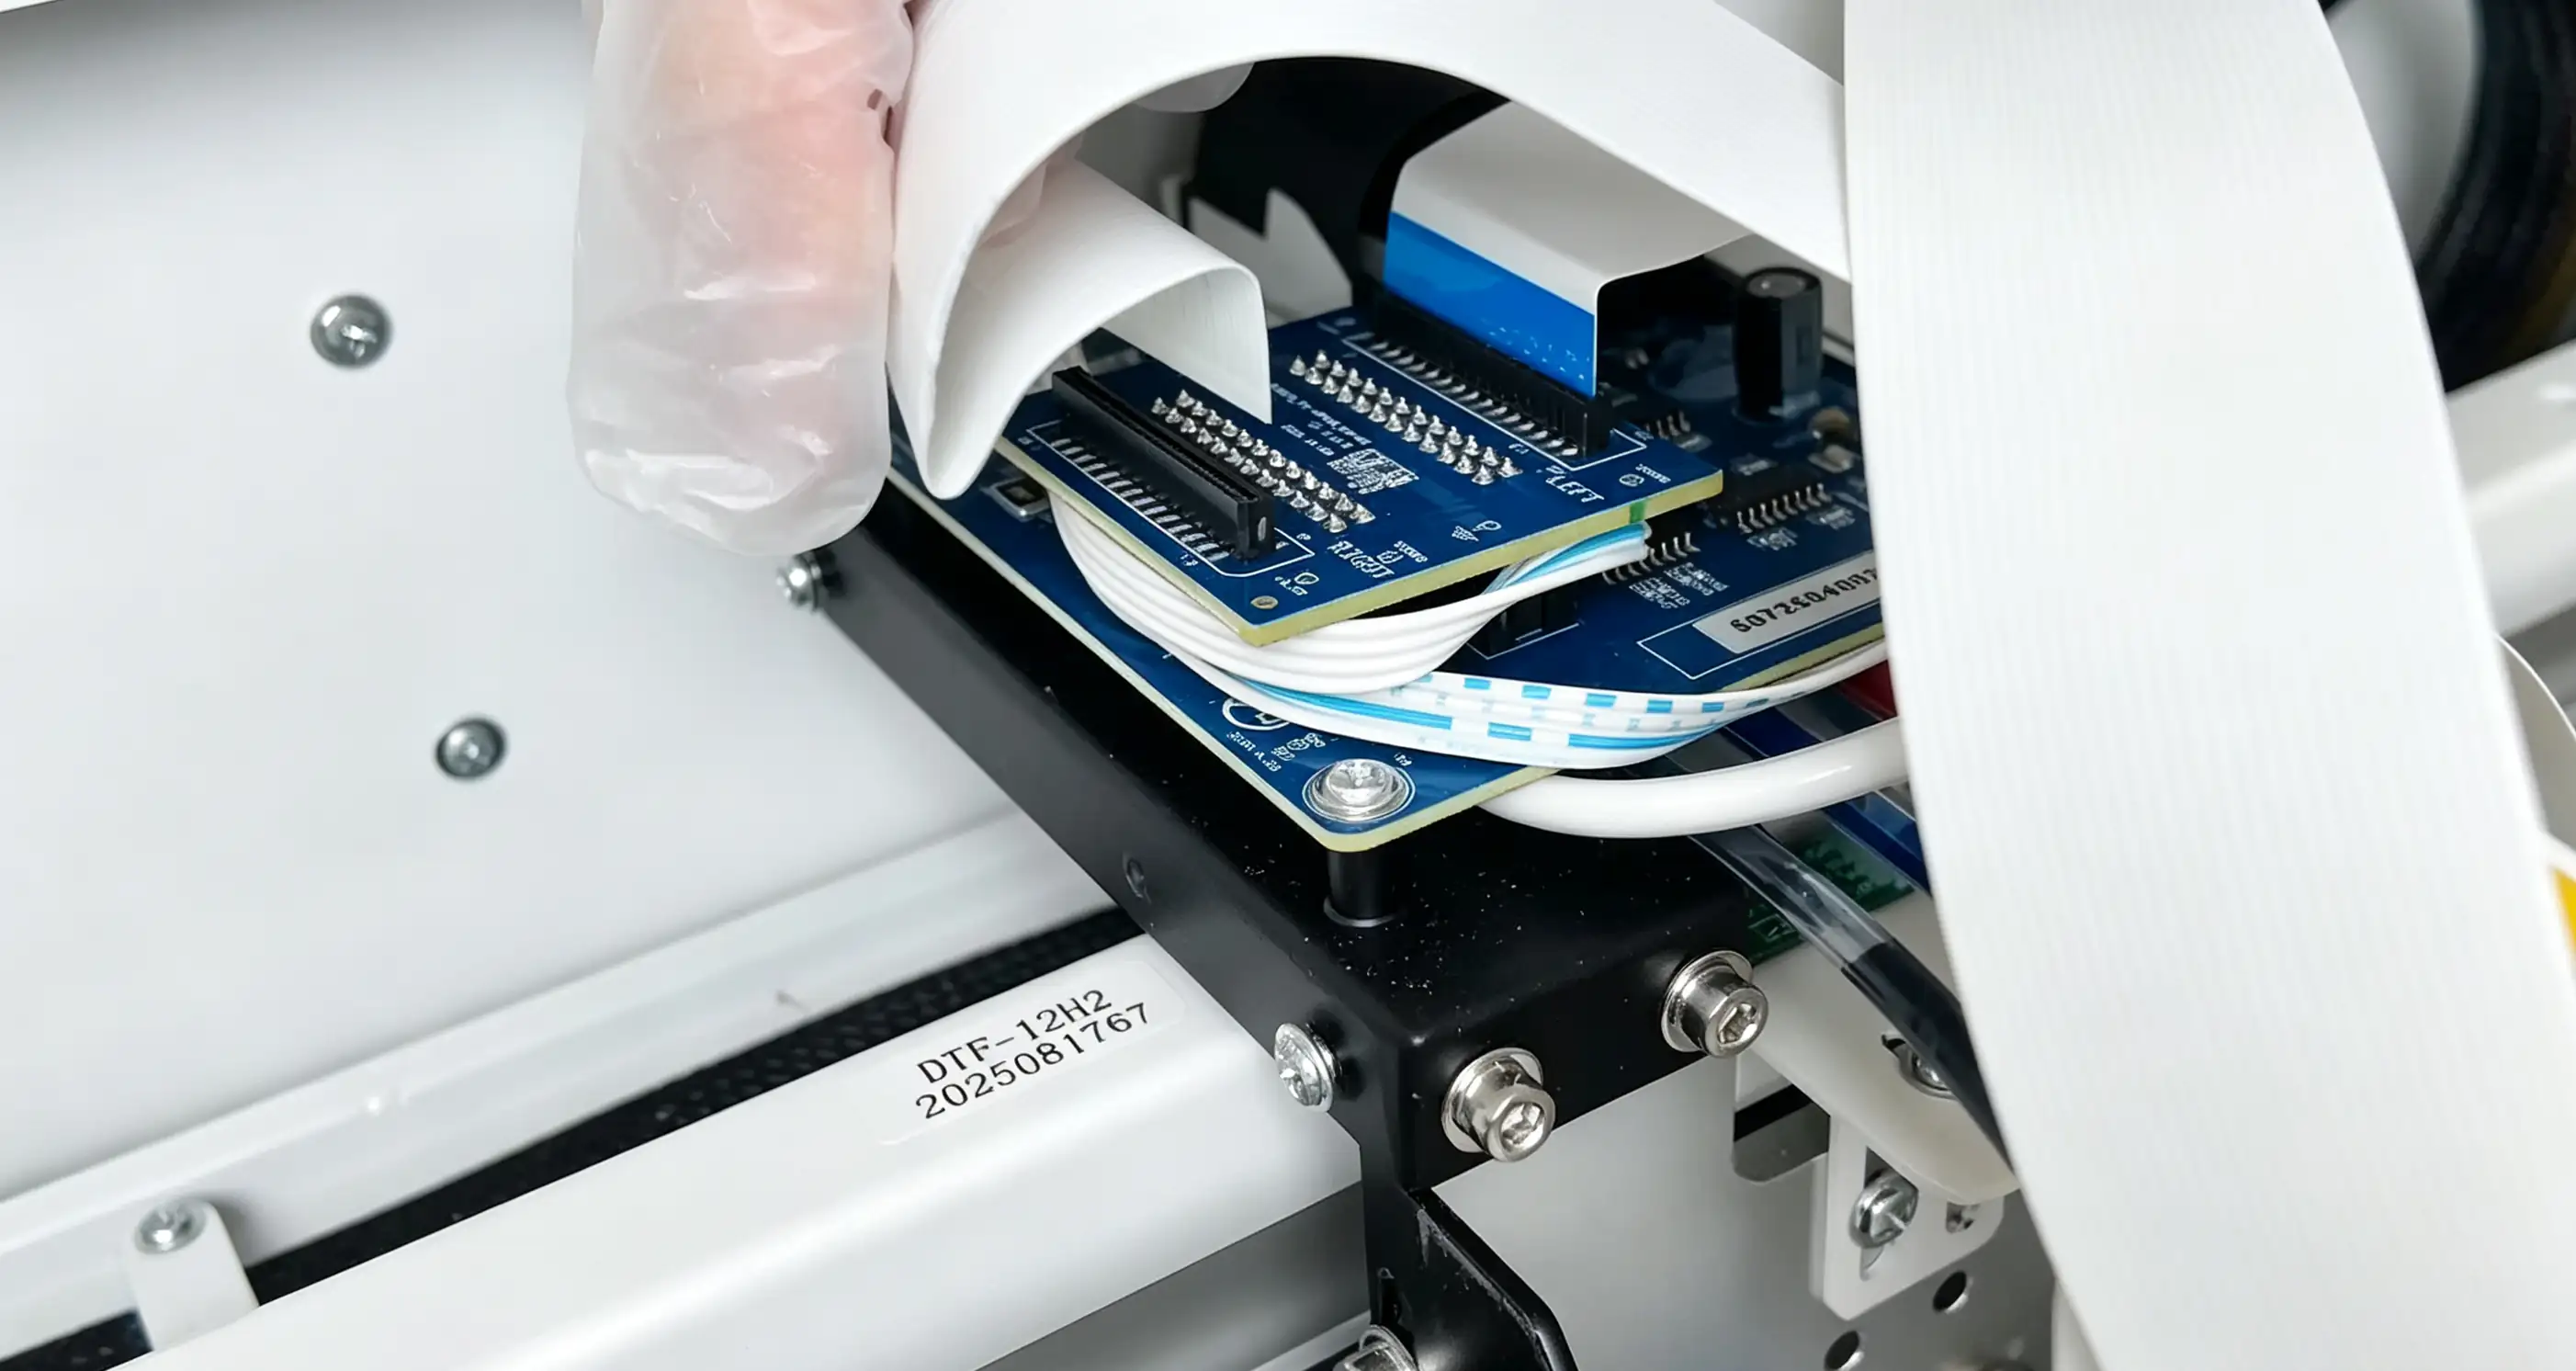
Step 2: Align printhead and arrange cable routing
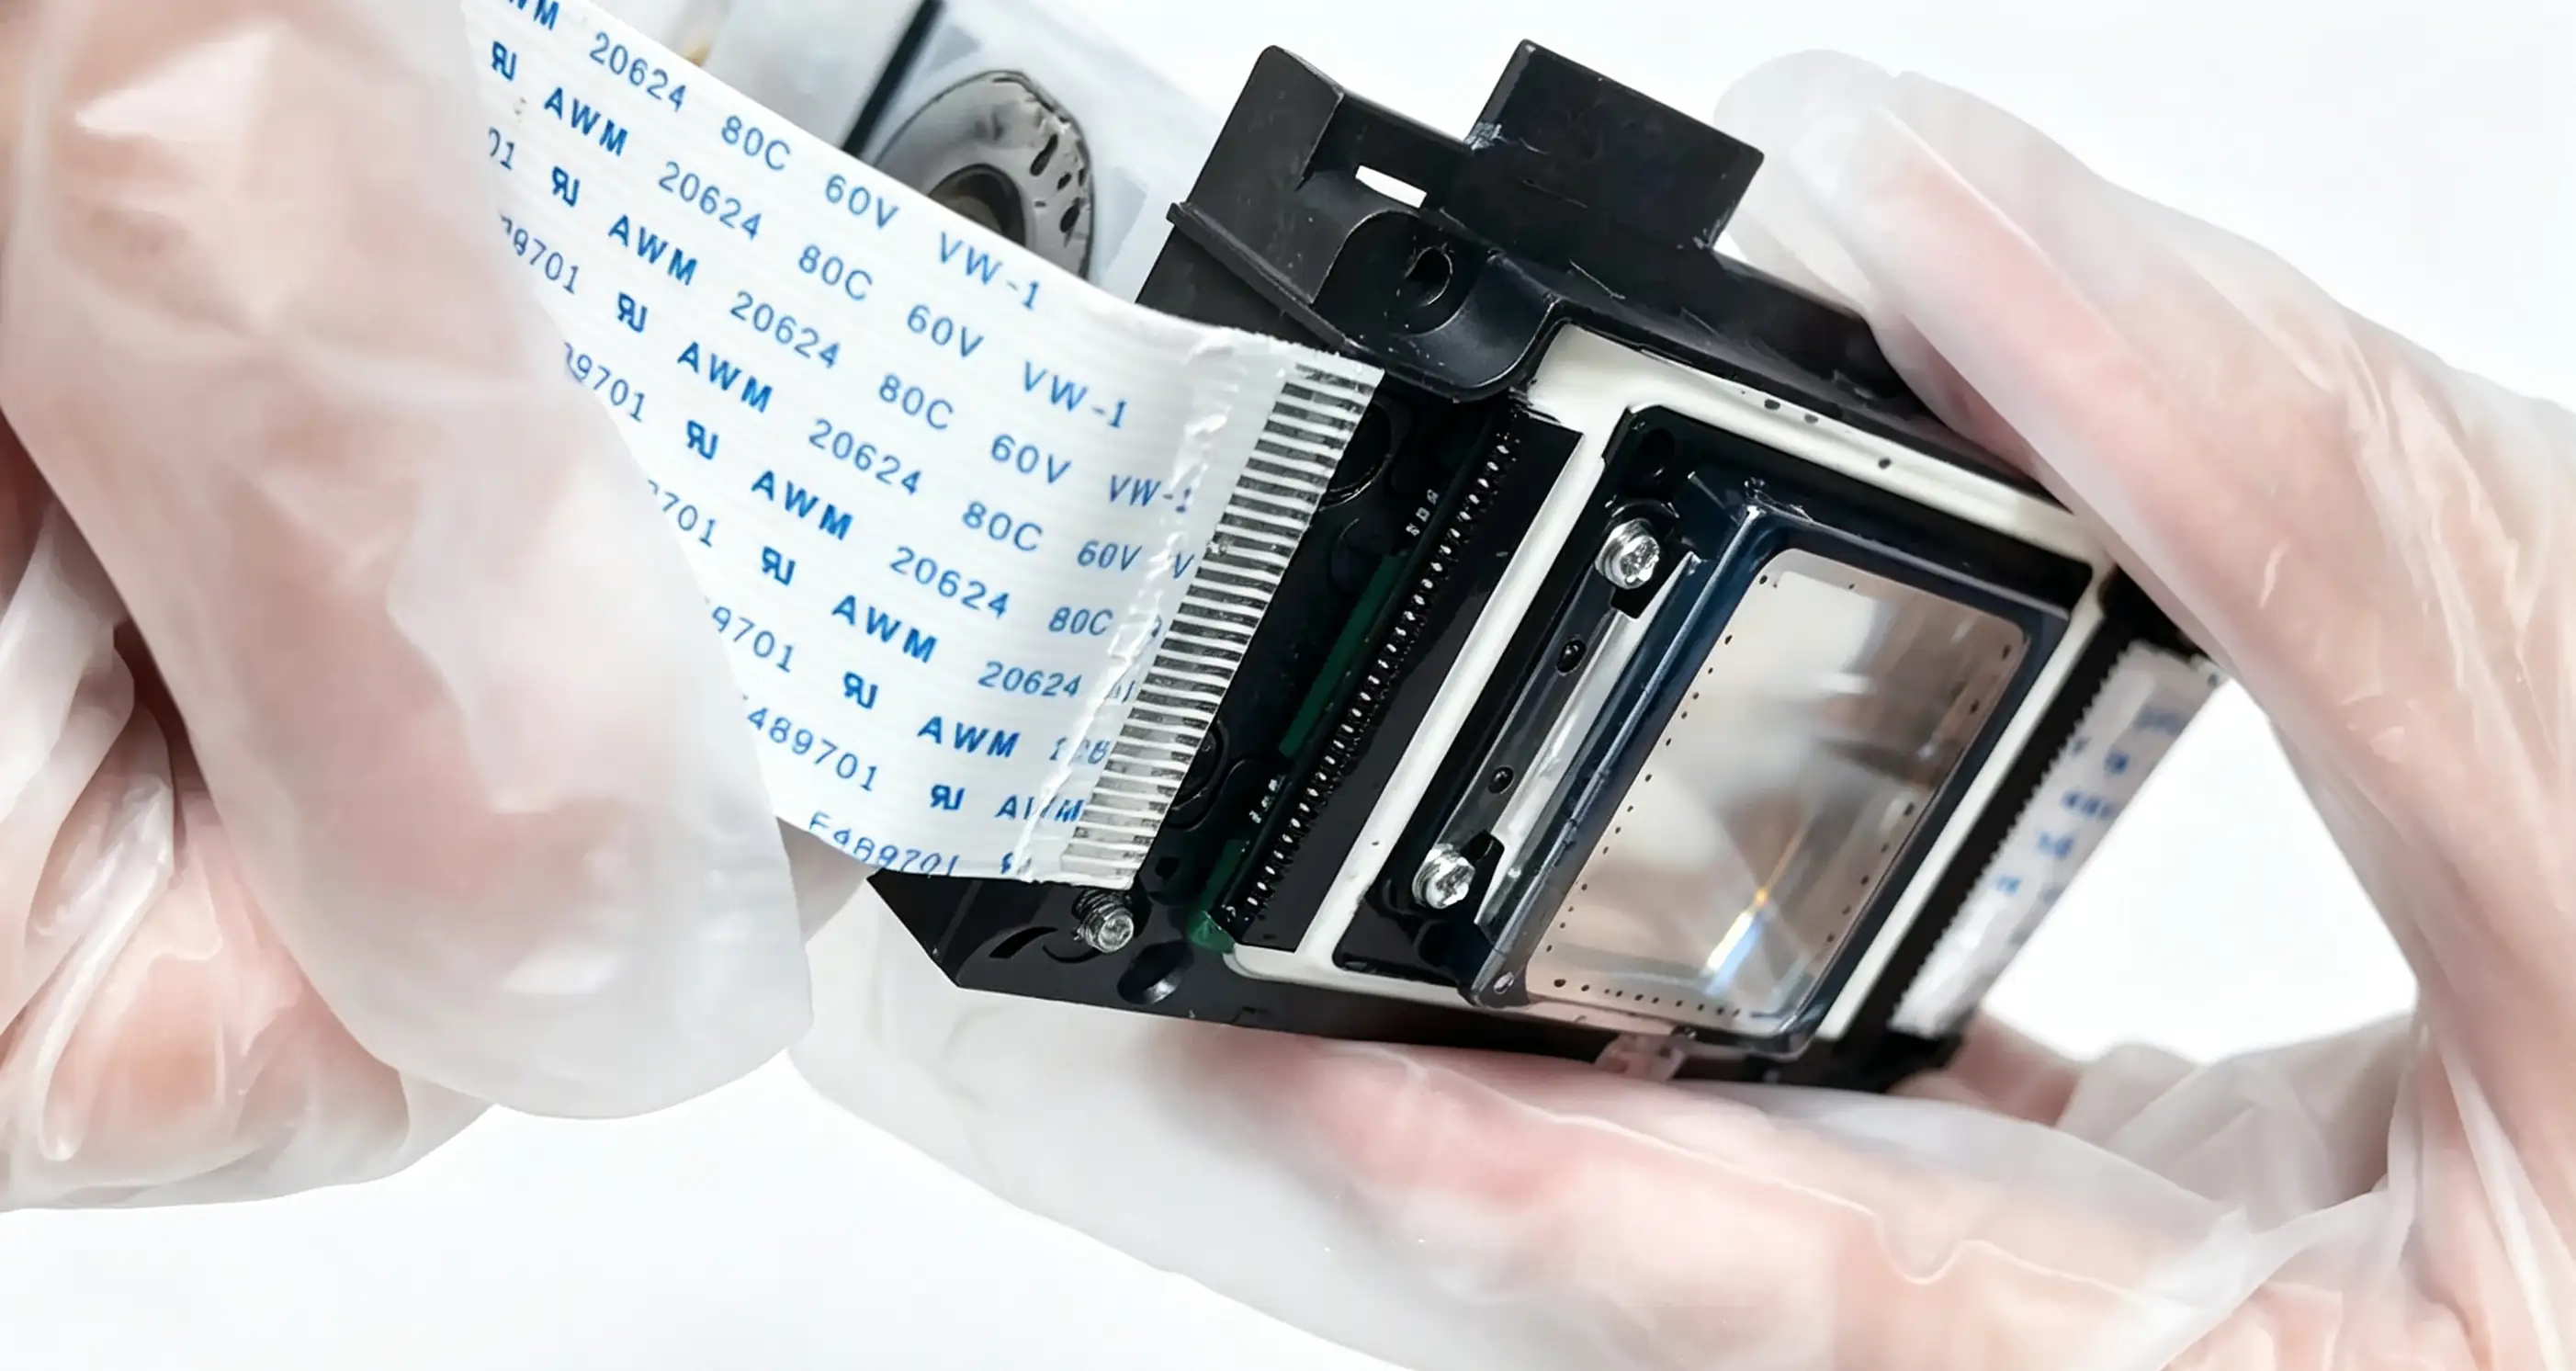
Step 3: Straighten the flex cable
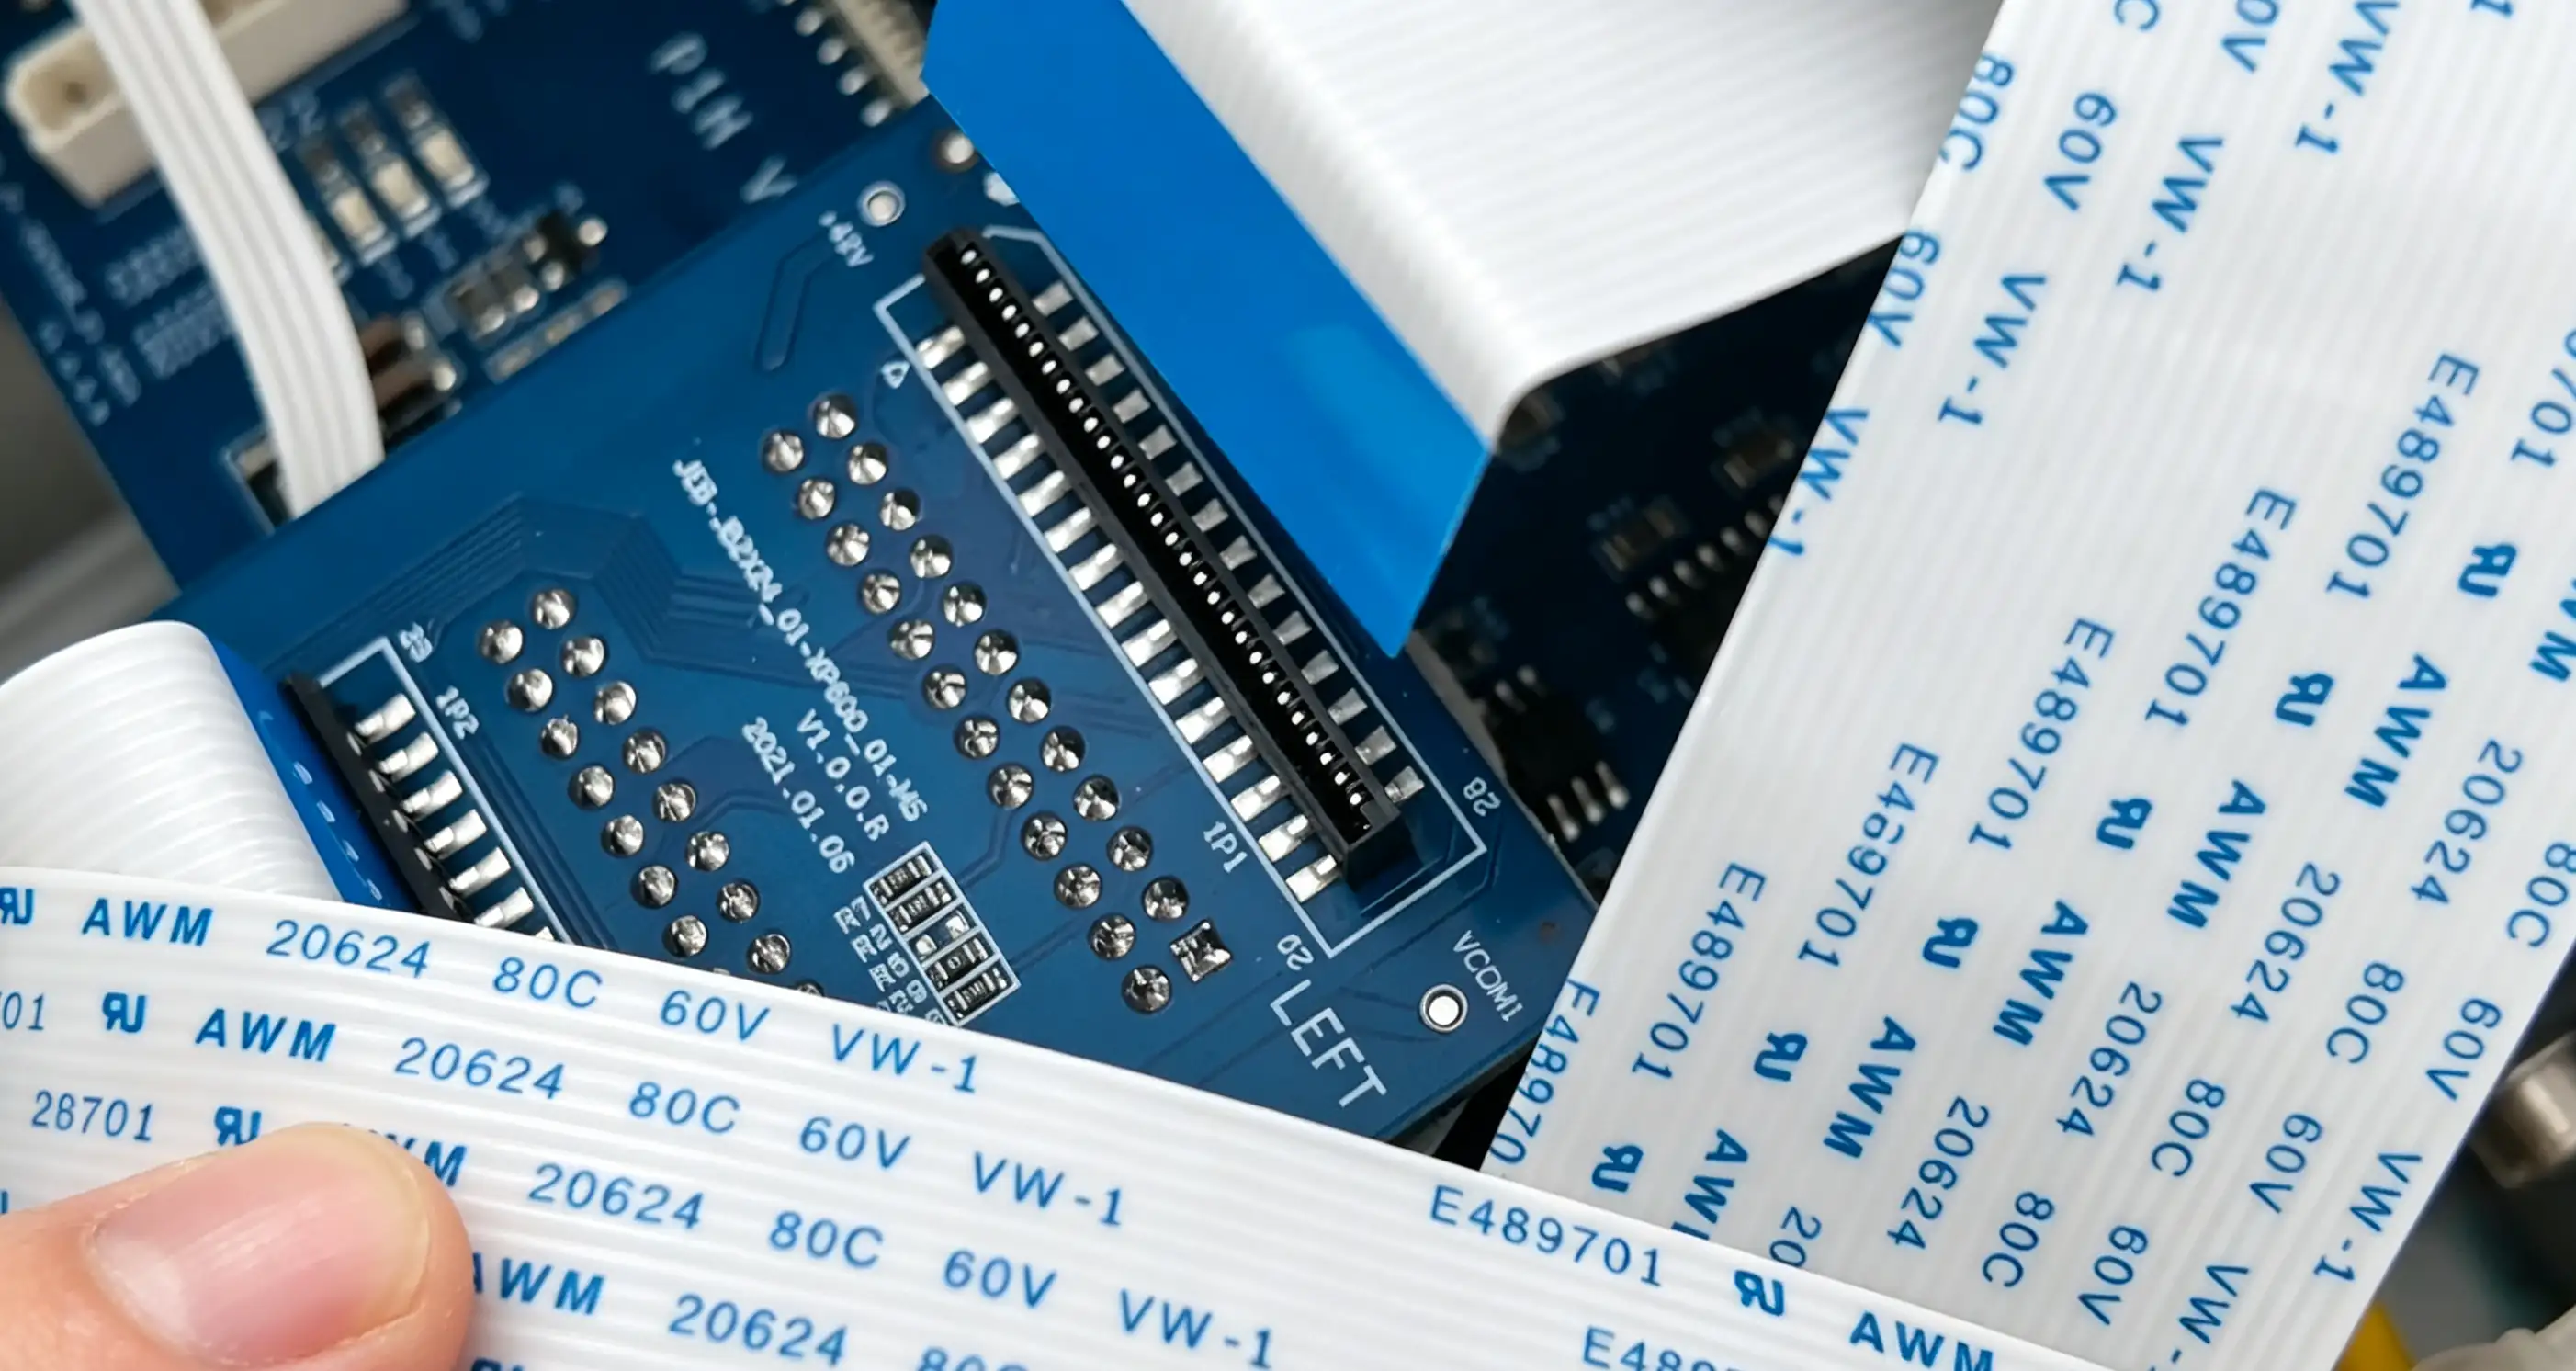
Step 4: Connect cable to main control board socket
-
To prevent incorrect installation of the ribbon cable sequence, first remove the first old cable and install a new one, then remove the second old cable and install the second new cable.
-
After replacing the cable, position the new cable in the same way as before.
-
Initial securing: Place the print head back in position and gently tighten the screws one by one (do not fully lock them yet to allow for fine adjustments).
¶ Test to ensure proper installation
- After installation, first turn on the printer power and use the left/right arrow buttons on the printer screen to move the print head, checking whether it is installed correctly.
- Perform vertical calibration in the ZRIP software to verify accurate print head alignment.
- Once the print head is functioning properly, reattach the front and top covers of the print head.
¶ DP1 Pro/ProS Print head ribbon cable replacement
¶ Preparation
- Tools and accessories: Phillips screwdriver, print head ribbon cable
Step 1: Moving the print head to the center position
Step 2: Turn off the device power
- Safety precautions: After moving the print head to the center position, always turn off the printer power and unplug the power cord to ensure the device is completely powered down.
¶ Replacing the ribbon cable
- Move the print head: Before turning off the power, first move the print head to the center position on the slide rail for subsequent operations.
Step 1: Front cover of the print head
Step 2: Disassemble the top cover
- Remove external components: Disassemble the top cover and front cover of the print head.
Step 1: Loosen the three screws securing
Step 2: Pick up the print head with both hands
- Loosen the three screws securing the print head one by one.
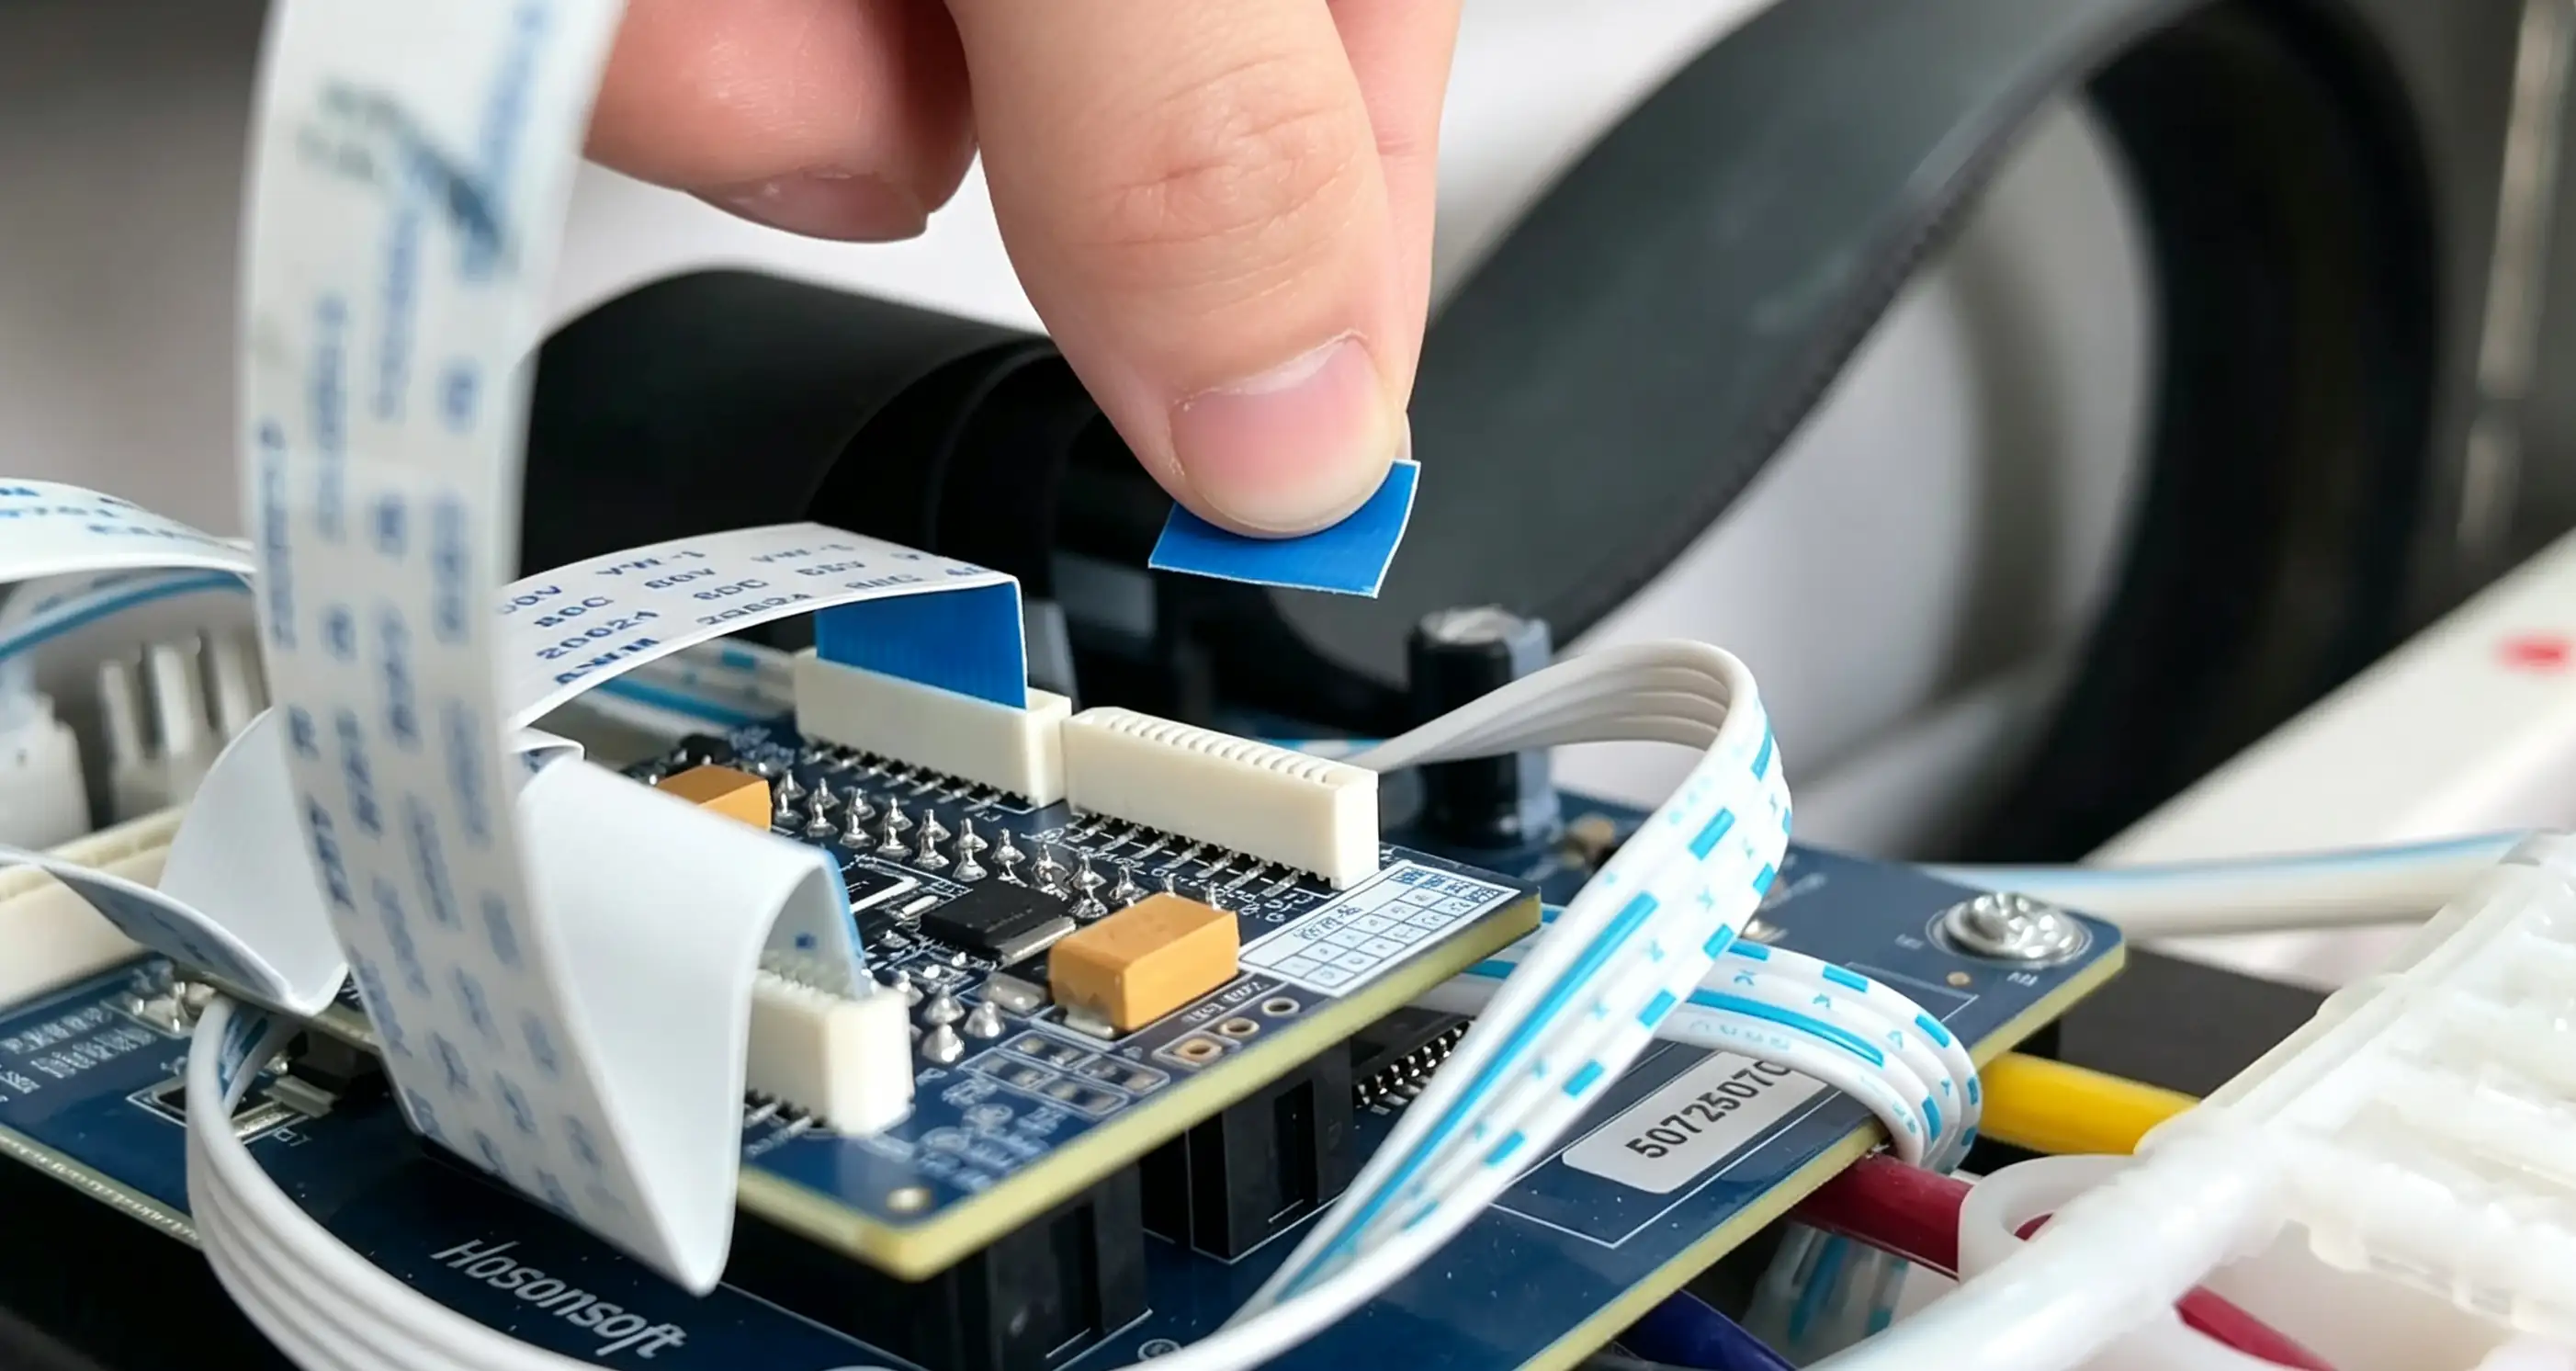
Step 1: Take out printhead and check flex cable
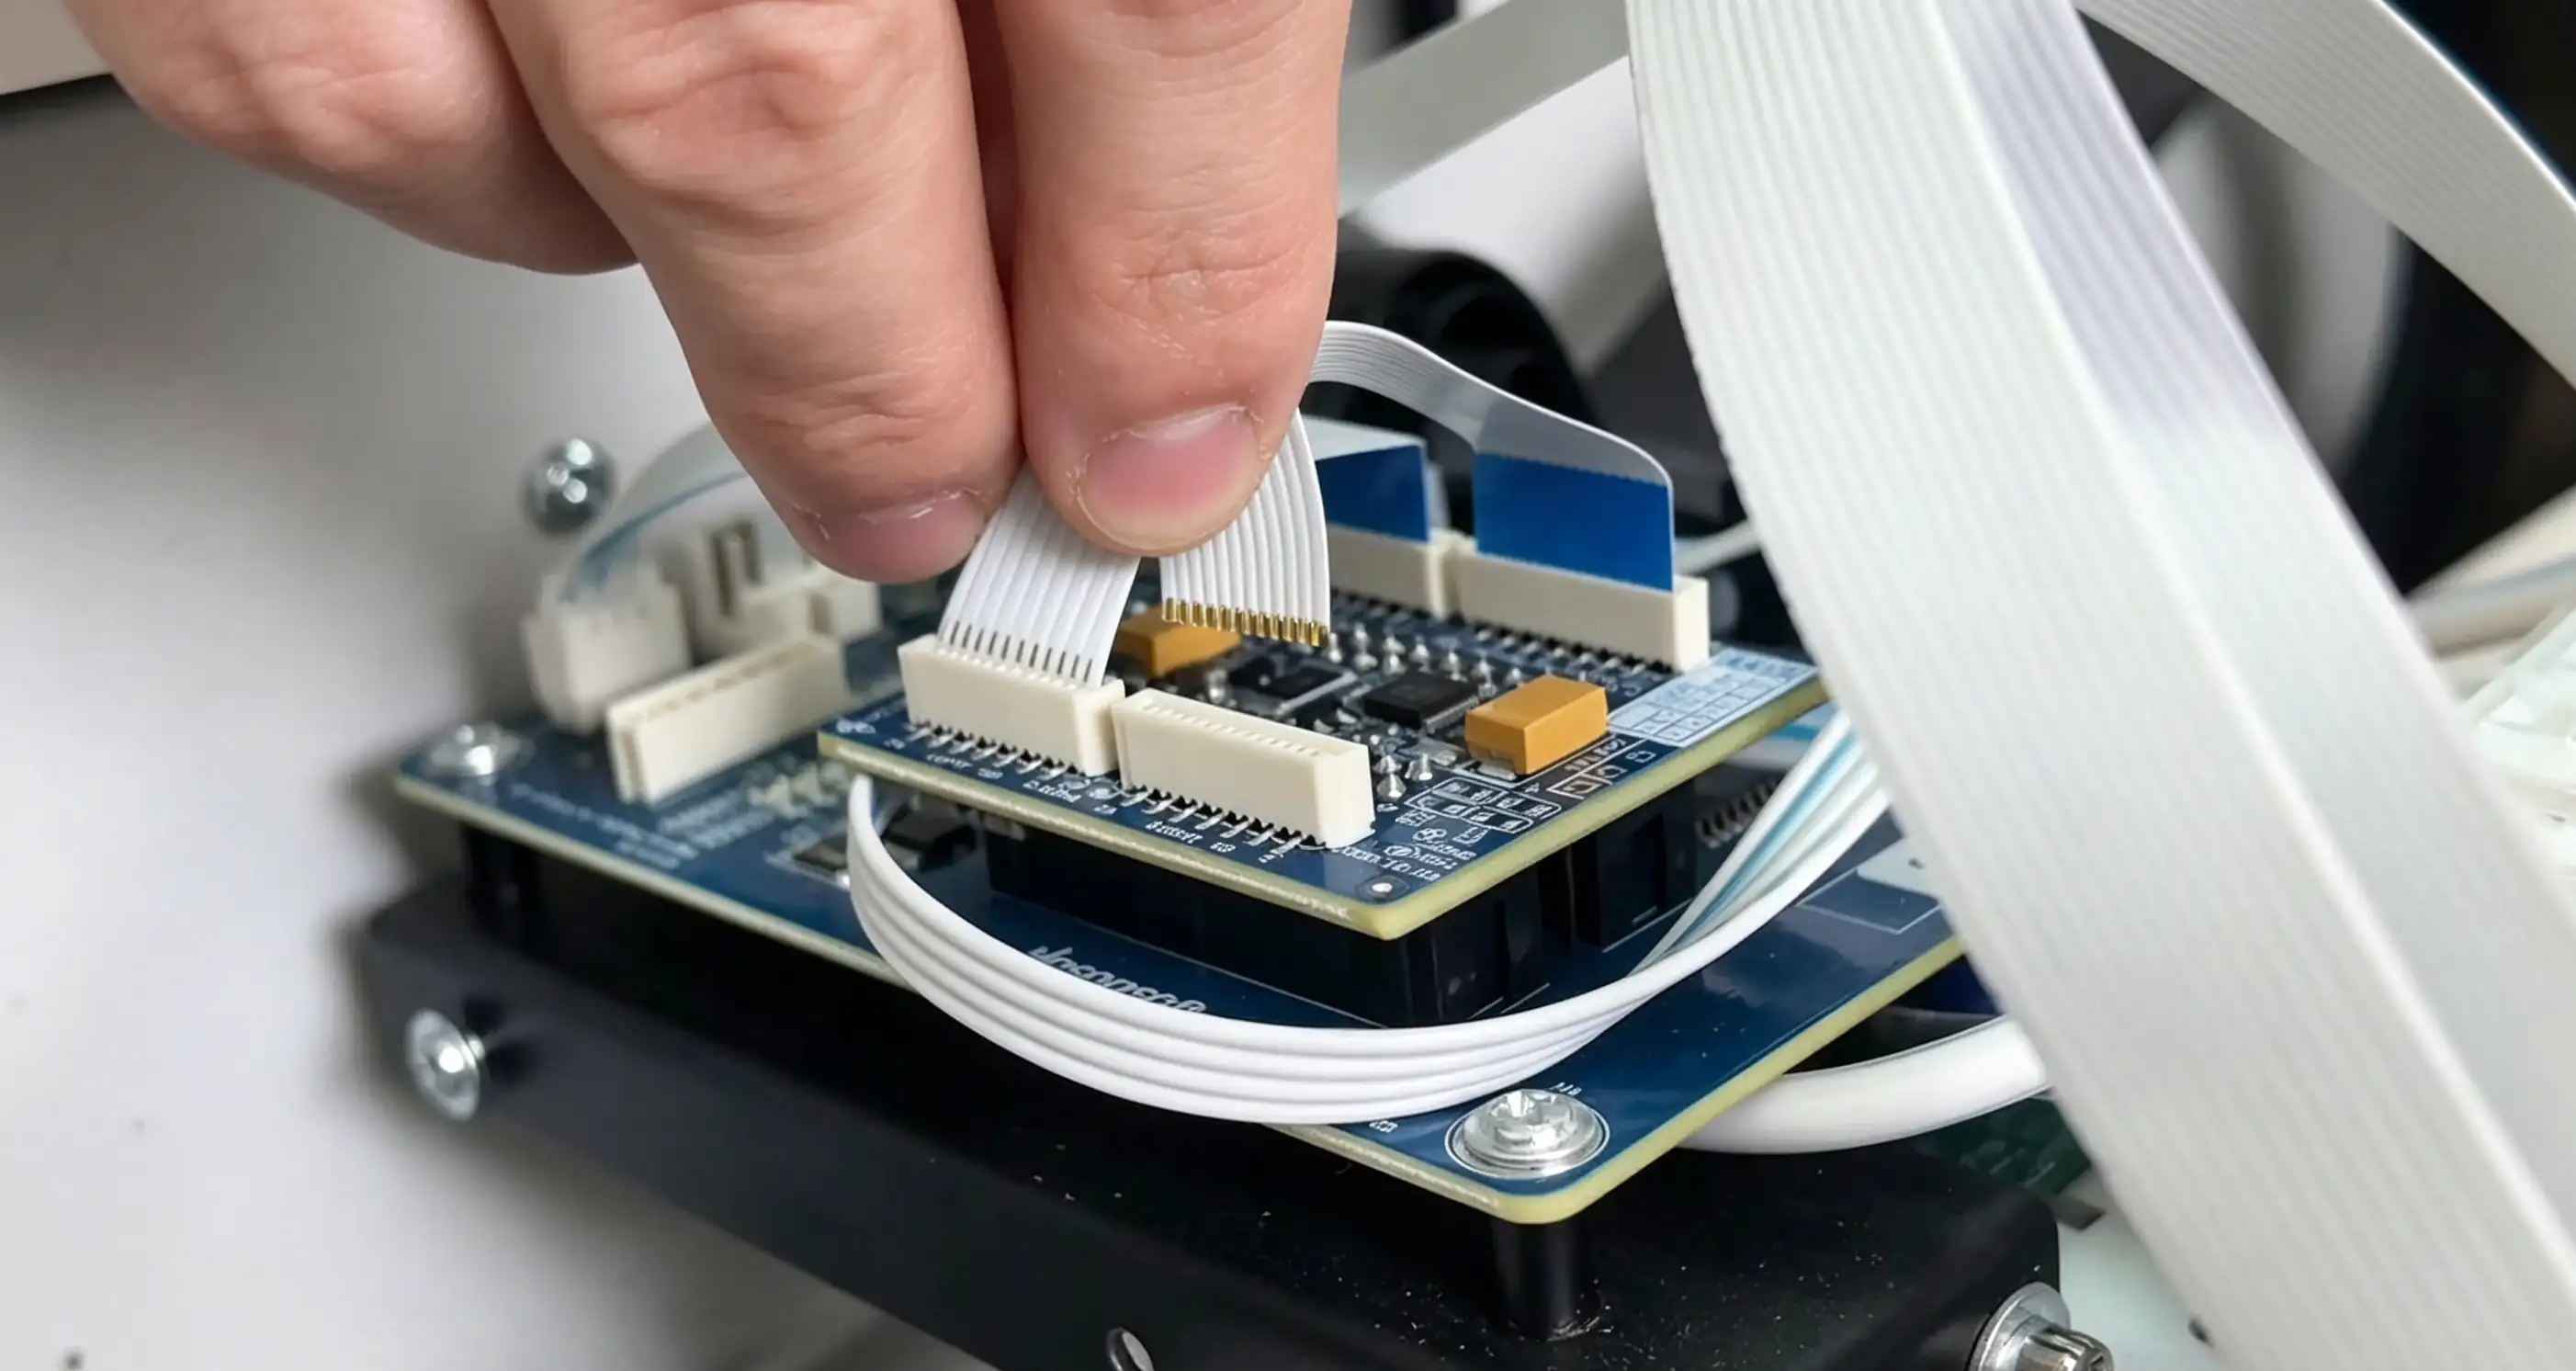
Step 2: Align printhead and arrange cable routing
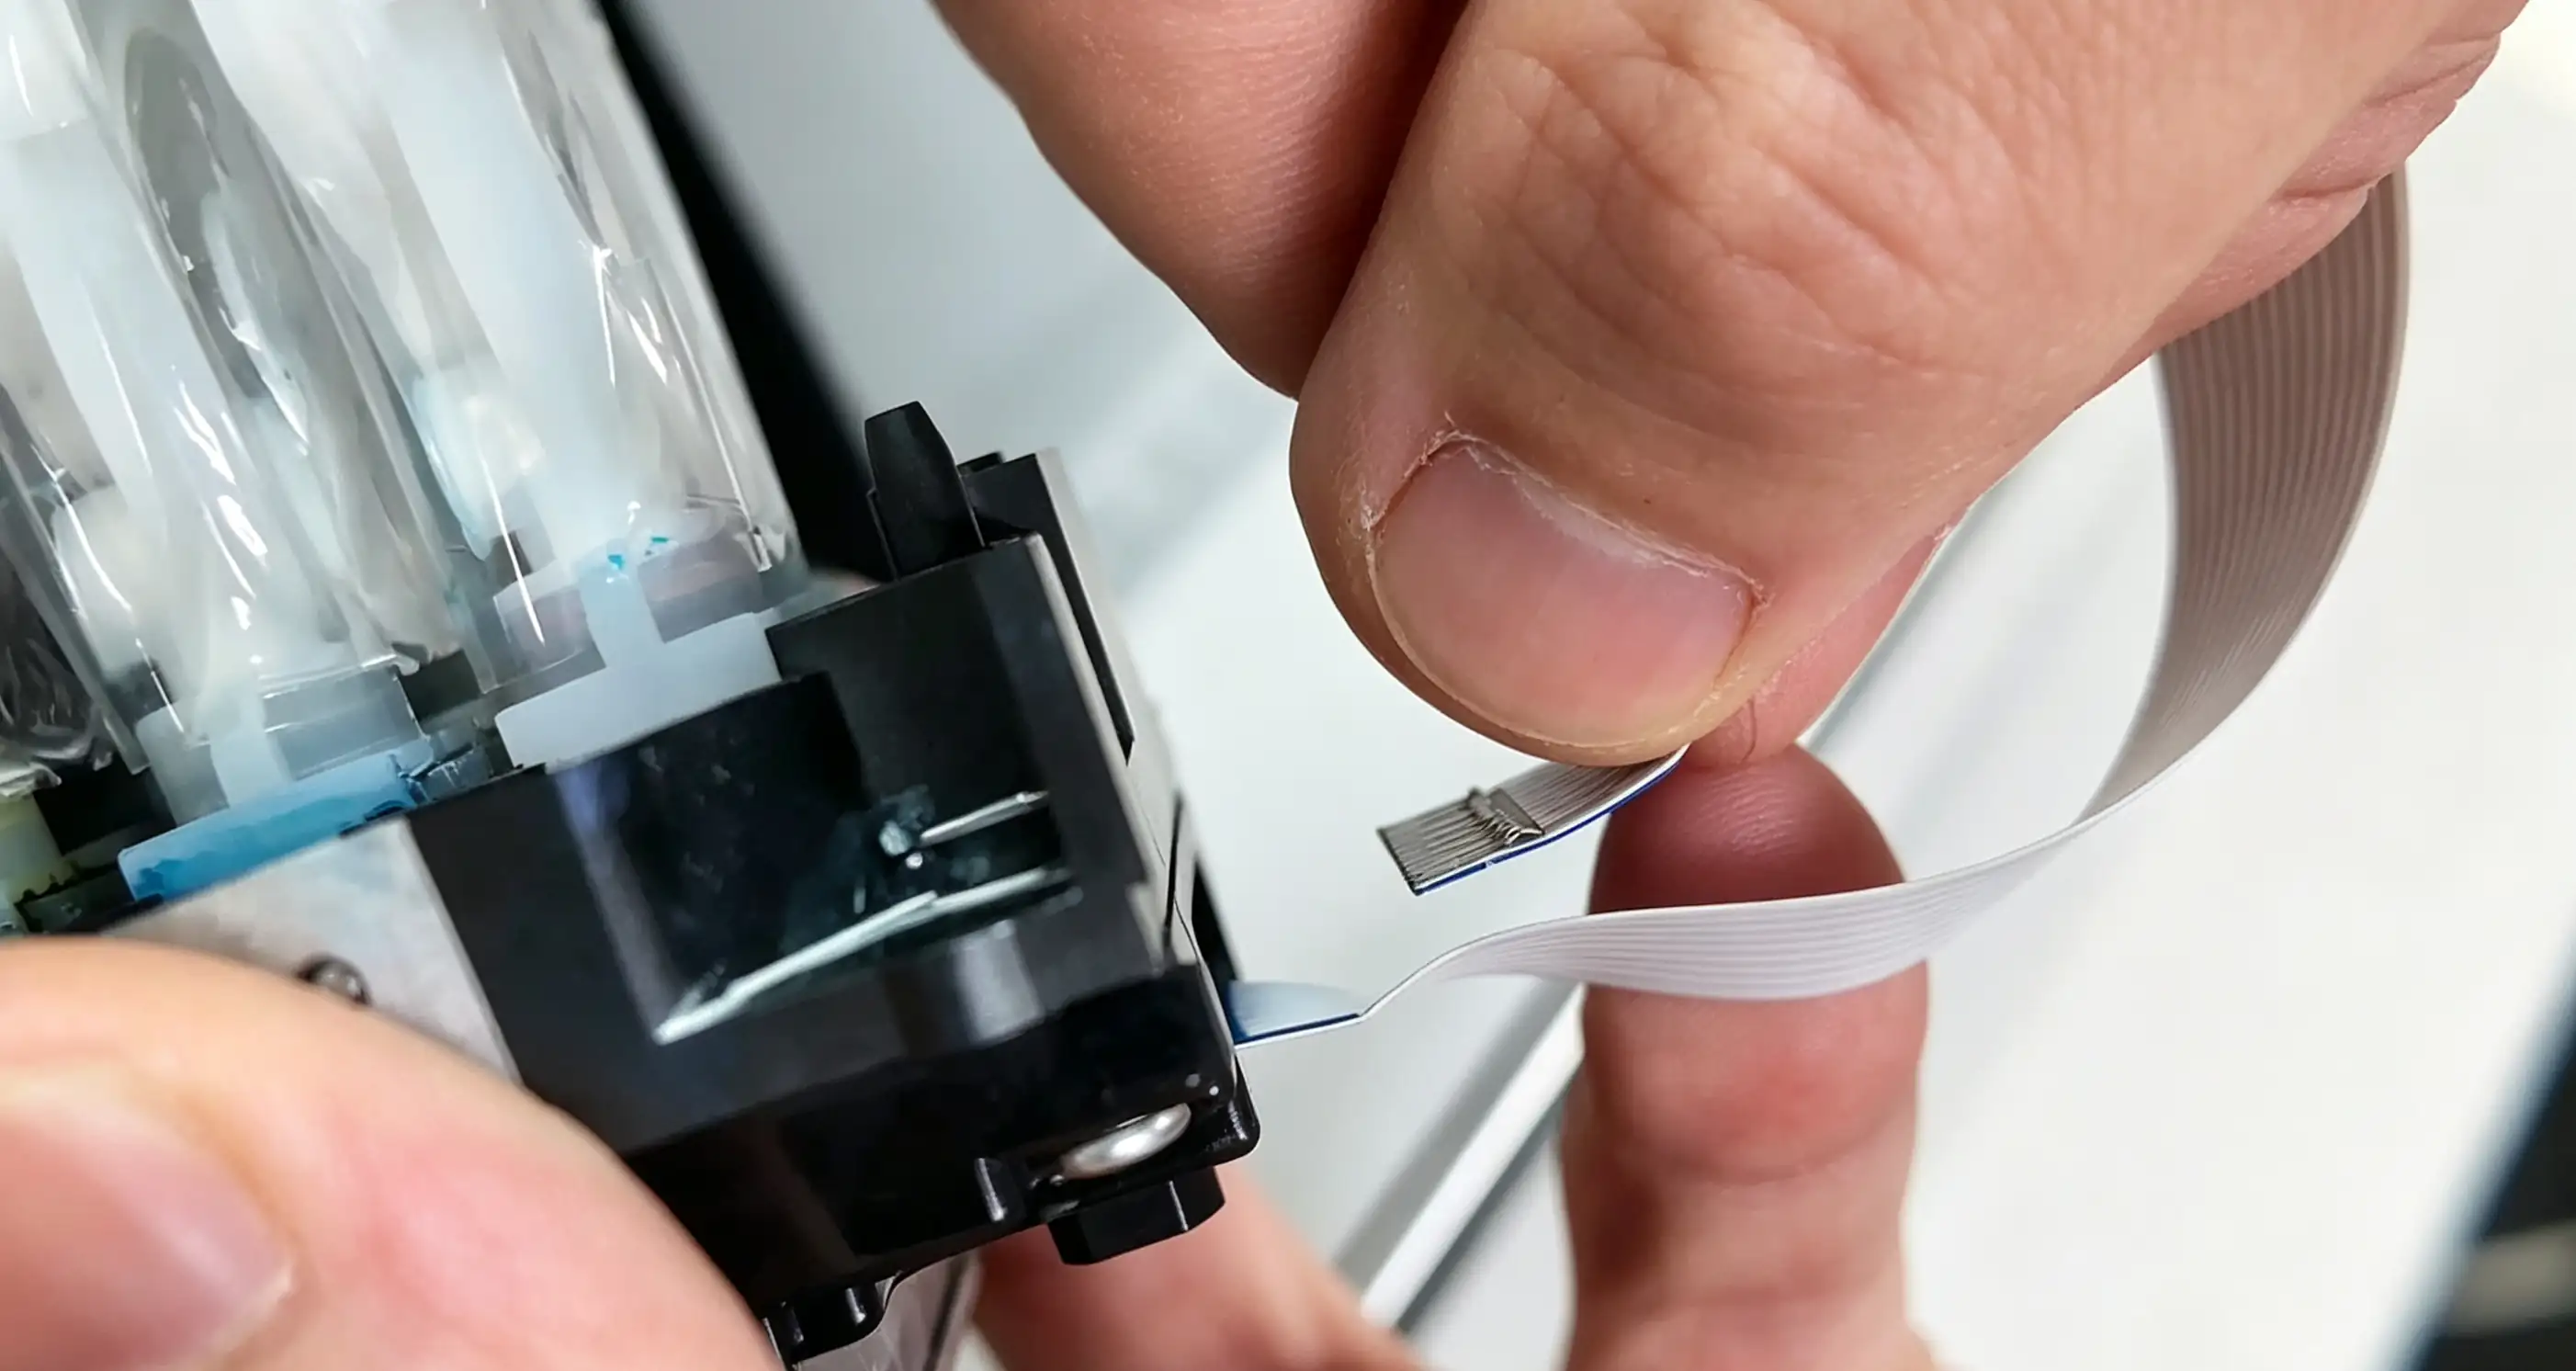
Step 3: Straighten the flex cable
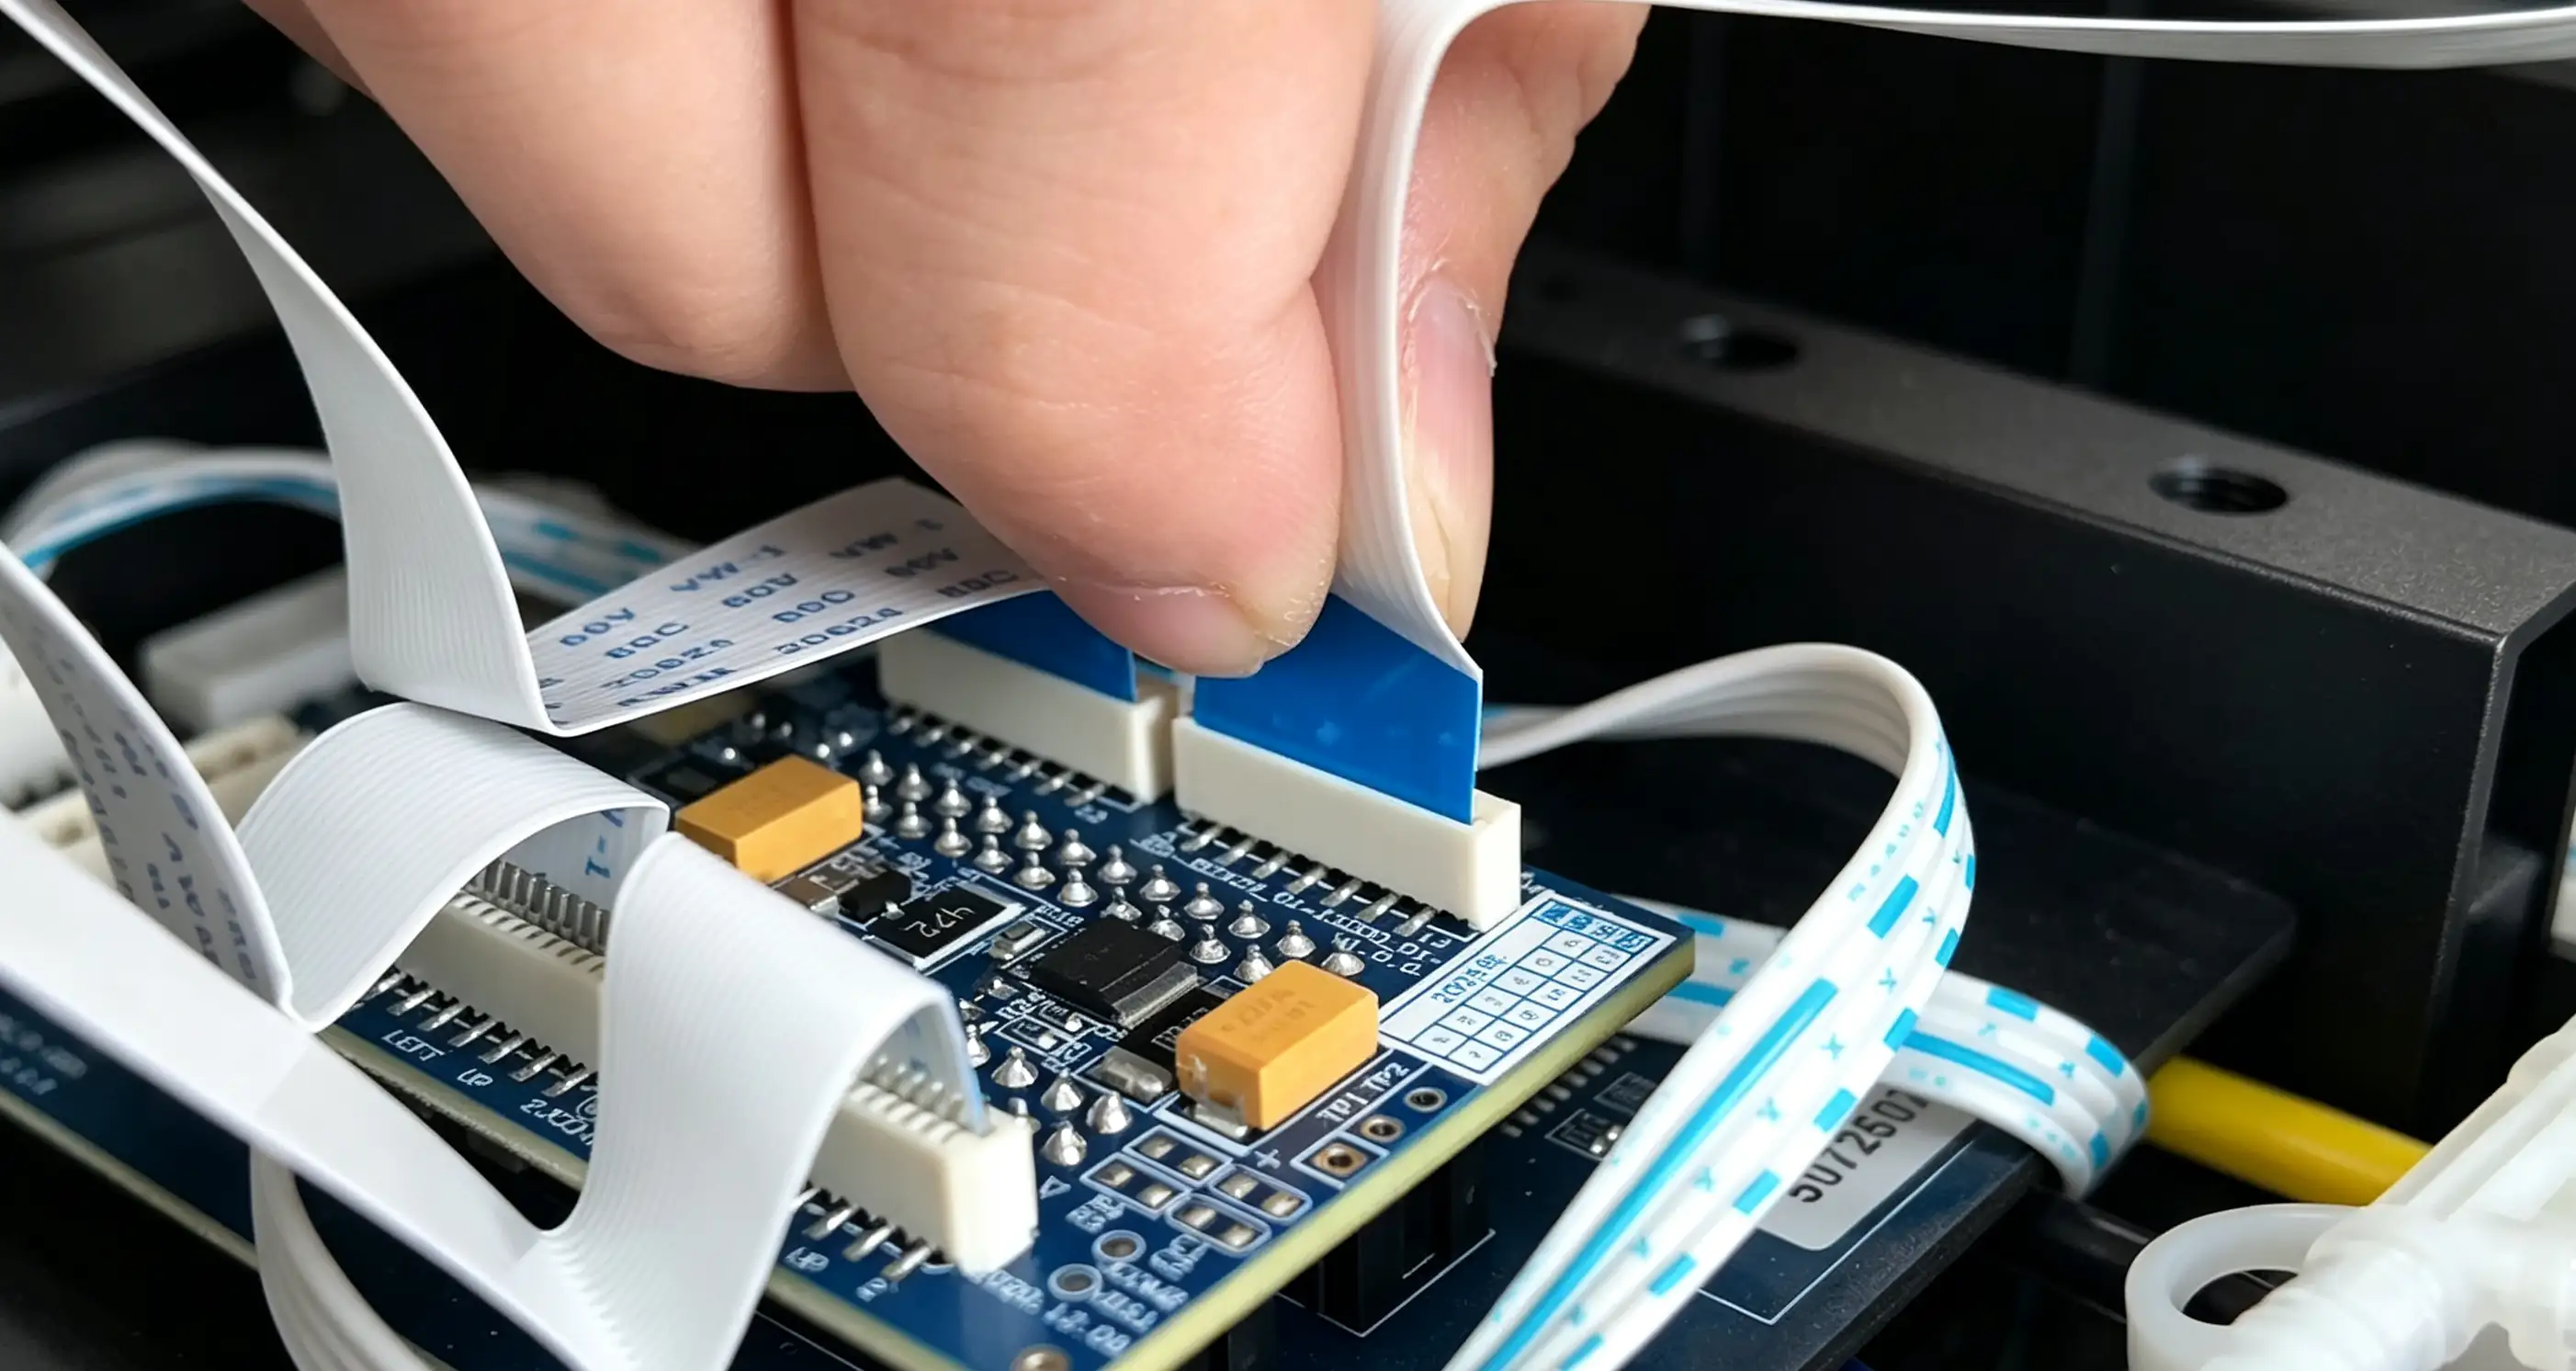
Step 4: Connect cable to main control board socket
- To prevent incorrect installation of the ribbon cable sequence, first remove the first old cable and install a new one, then remove the second old cable and install the second new cable.
- After replacing the cable, position the new cable in the same way as before.
- Initial securing: Place the print head back in position and gently tighten the screws one by one (do not fully lock them yet to allow for fine adjustments).
¶ Test to ensure proper installation
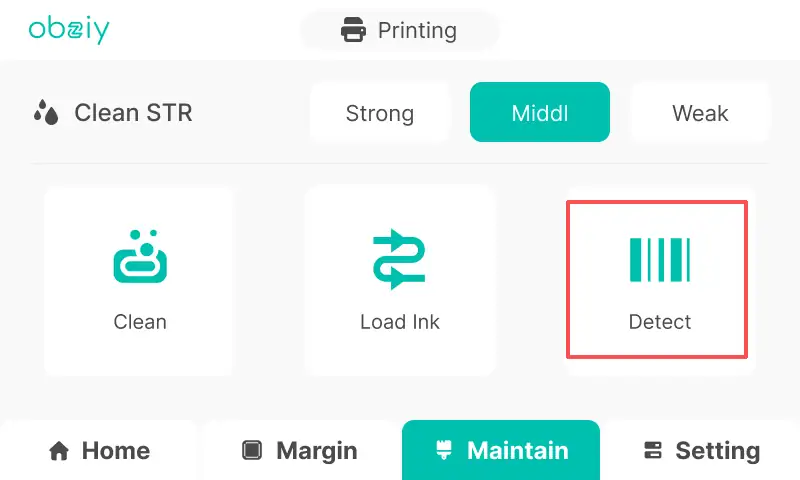
- Power on test: Connect the power cable, turn on the power, and print a test strip.
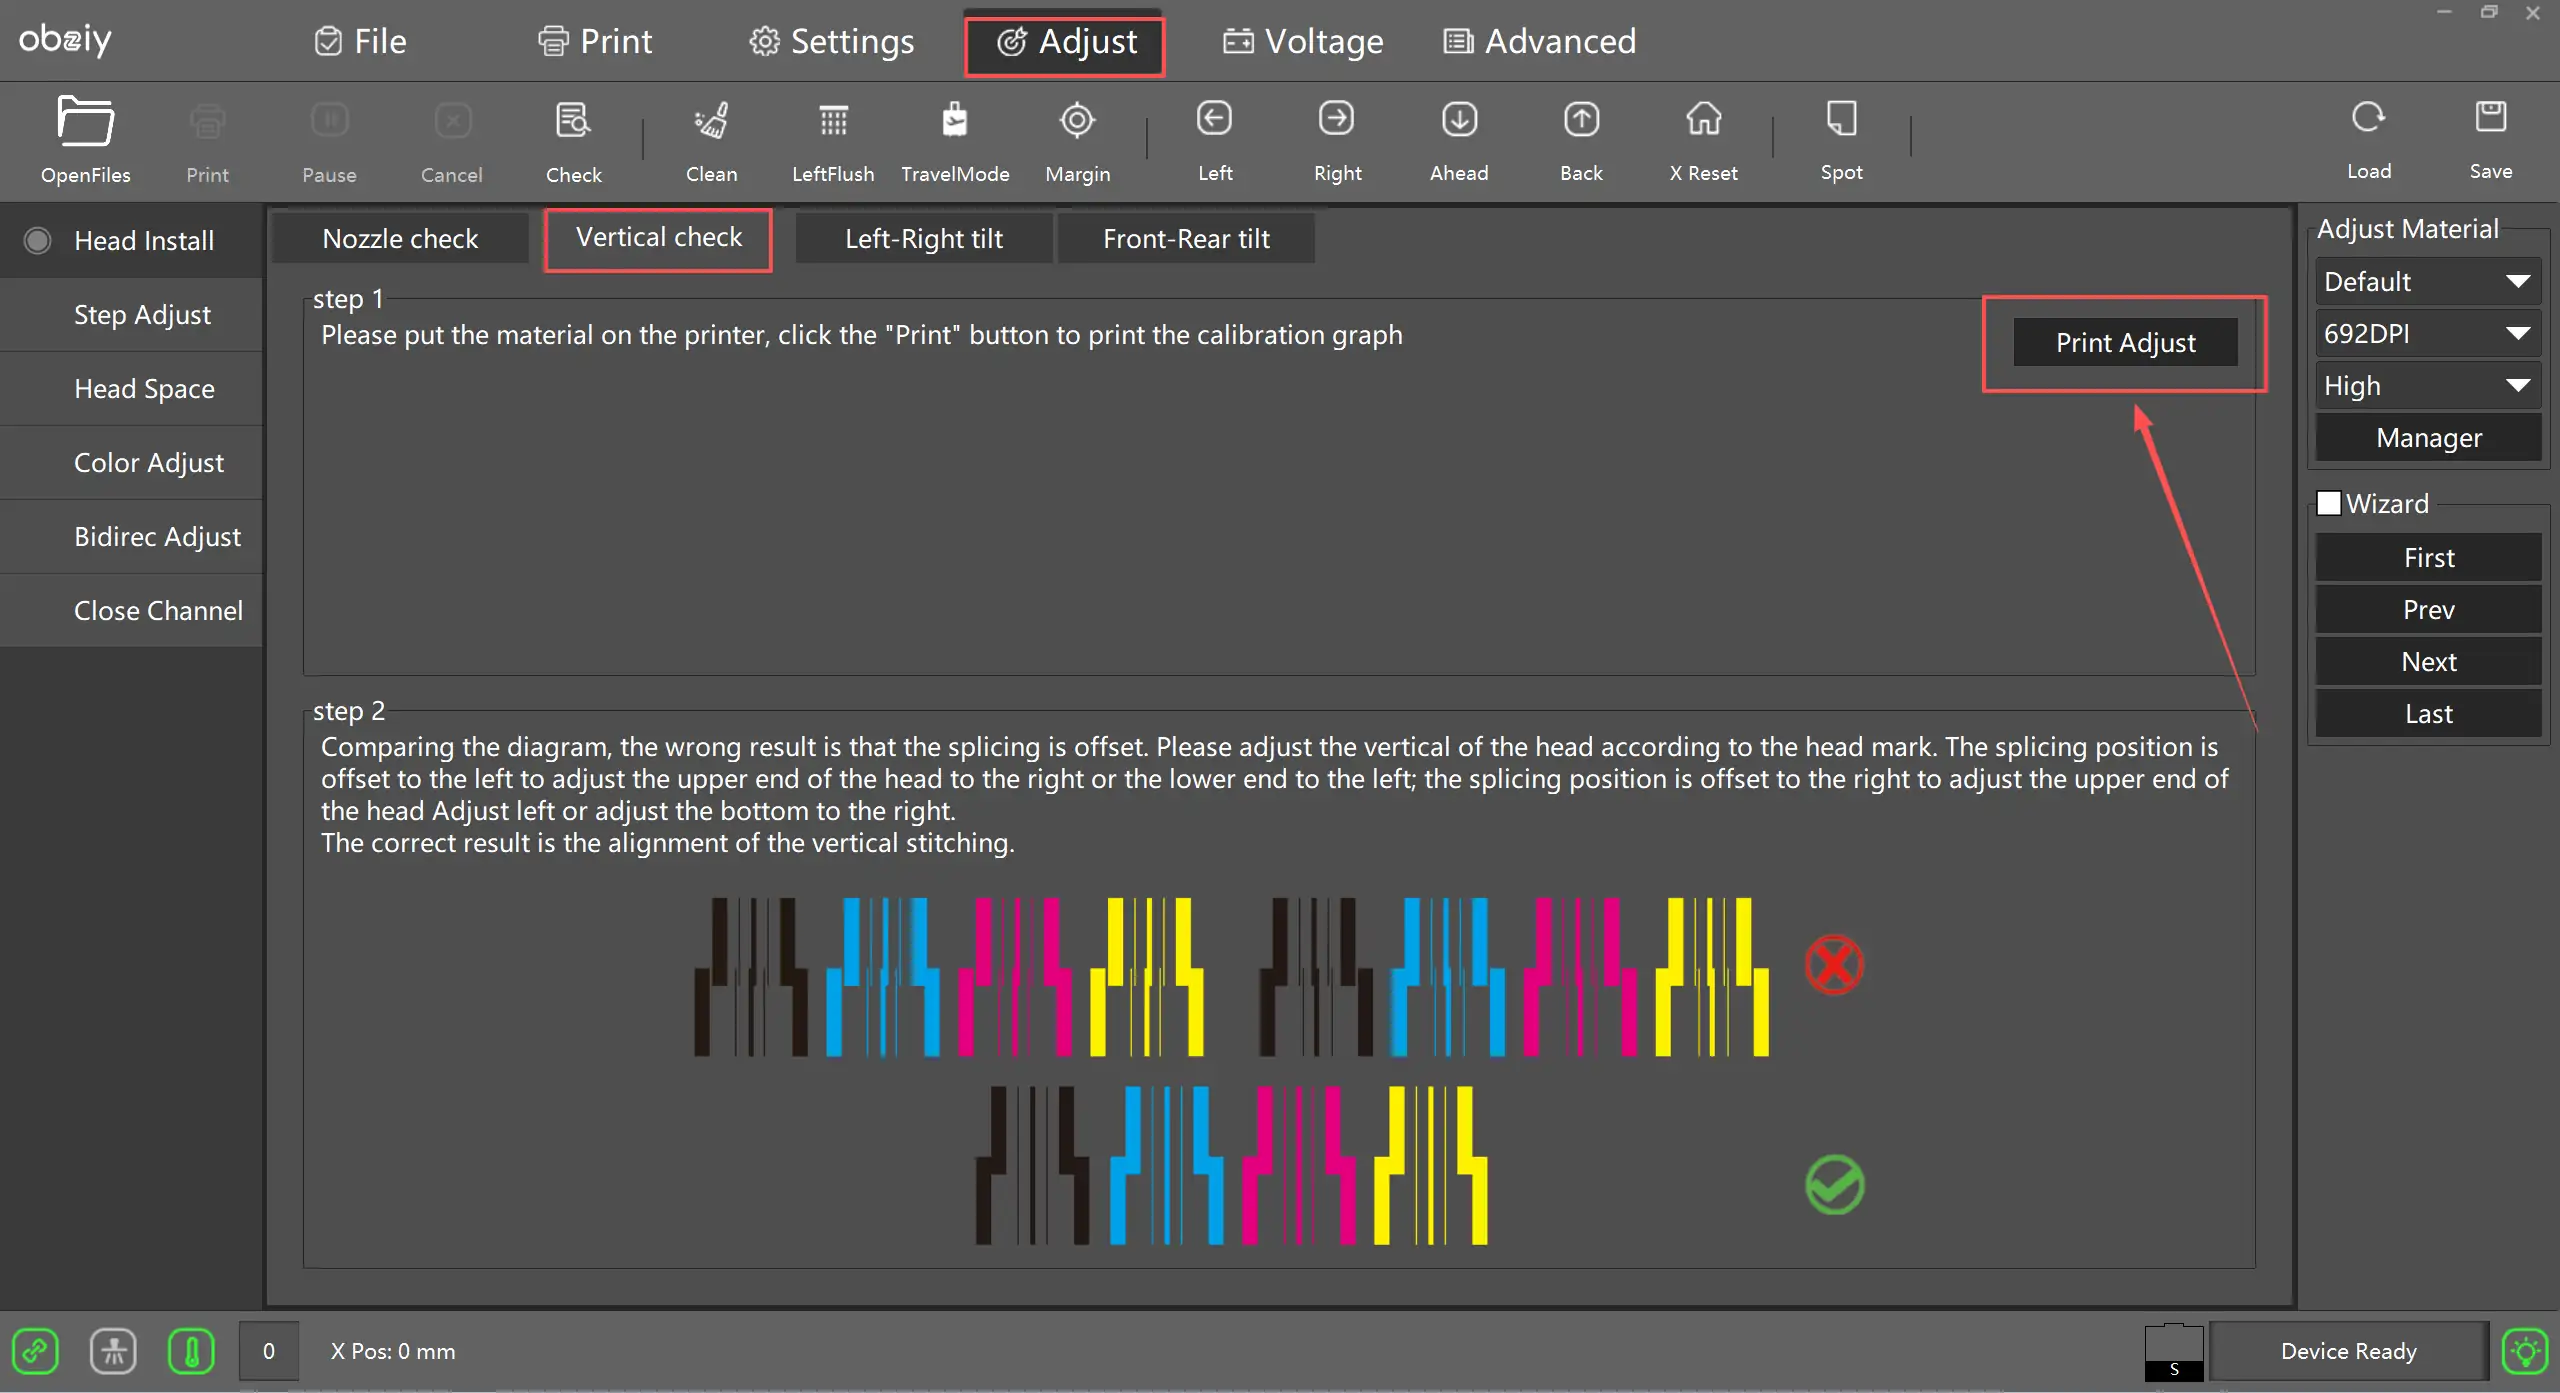
Step 1: ZRIP vertical calibration
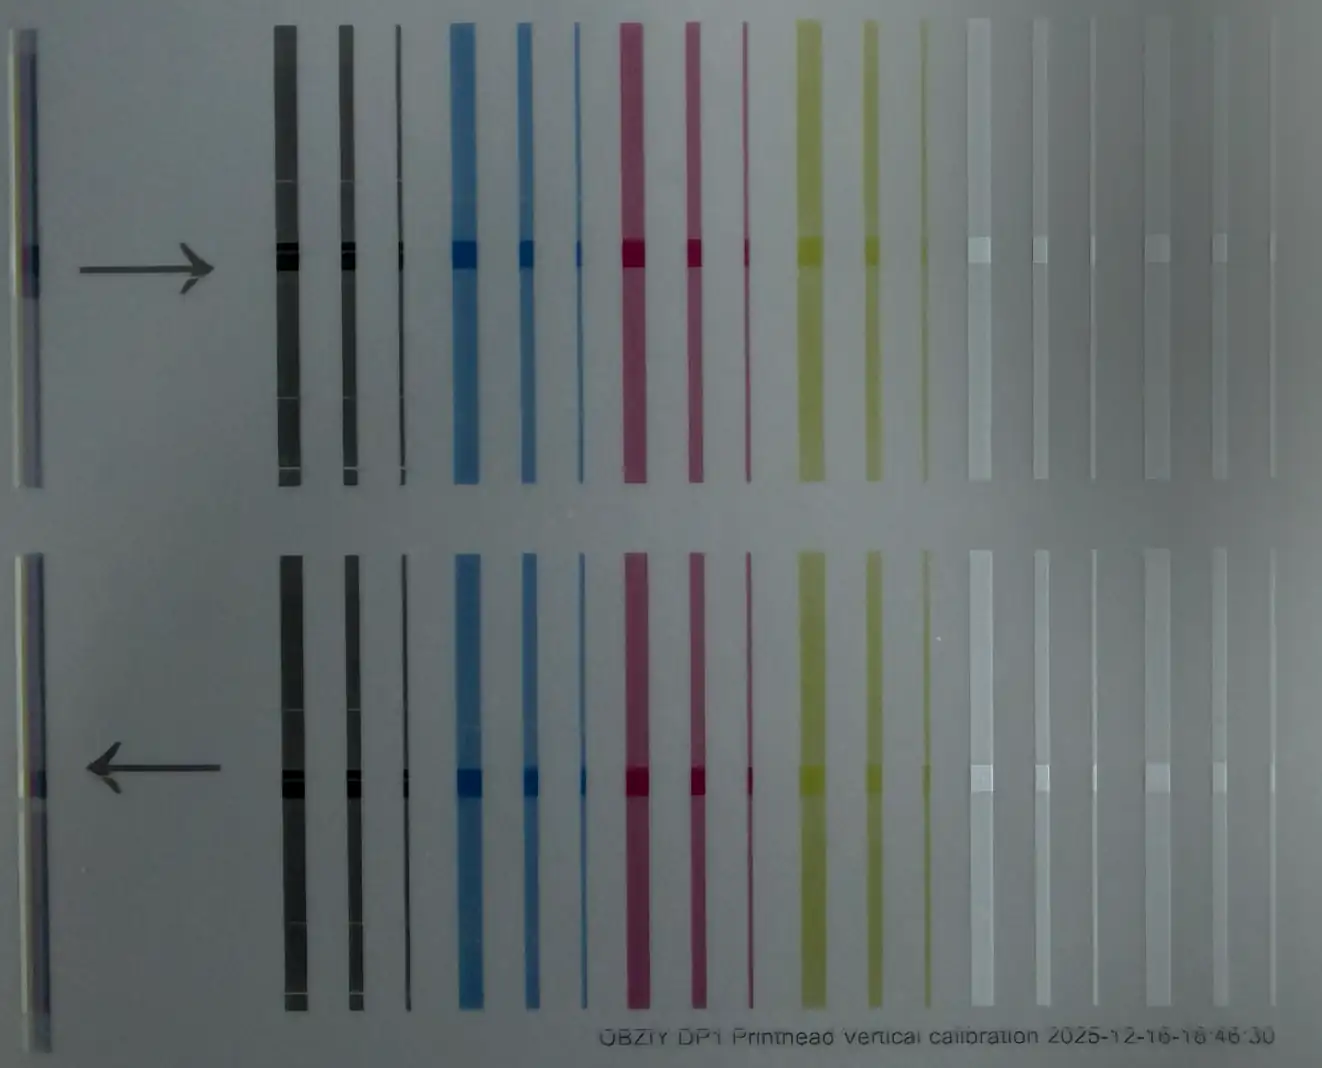
Step 2: DP1 print strip test
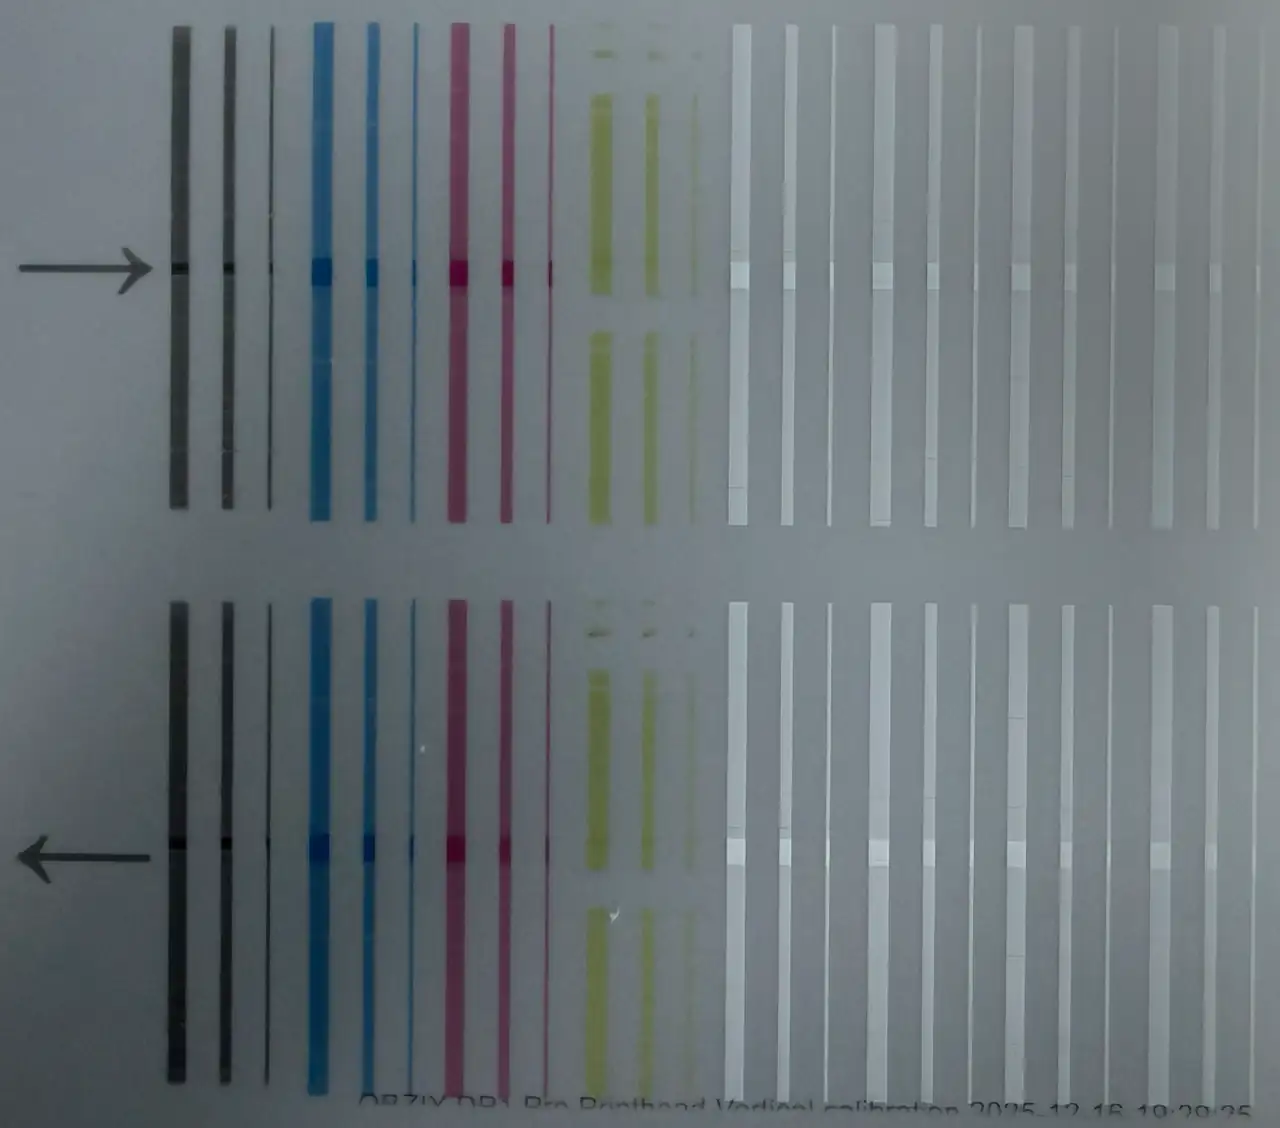
Step 3: DP1 Pro print strip test
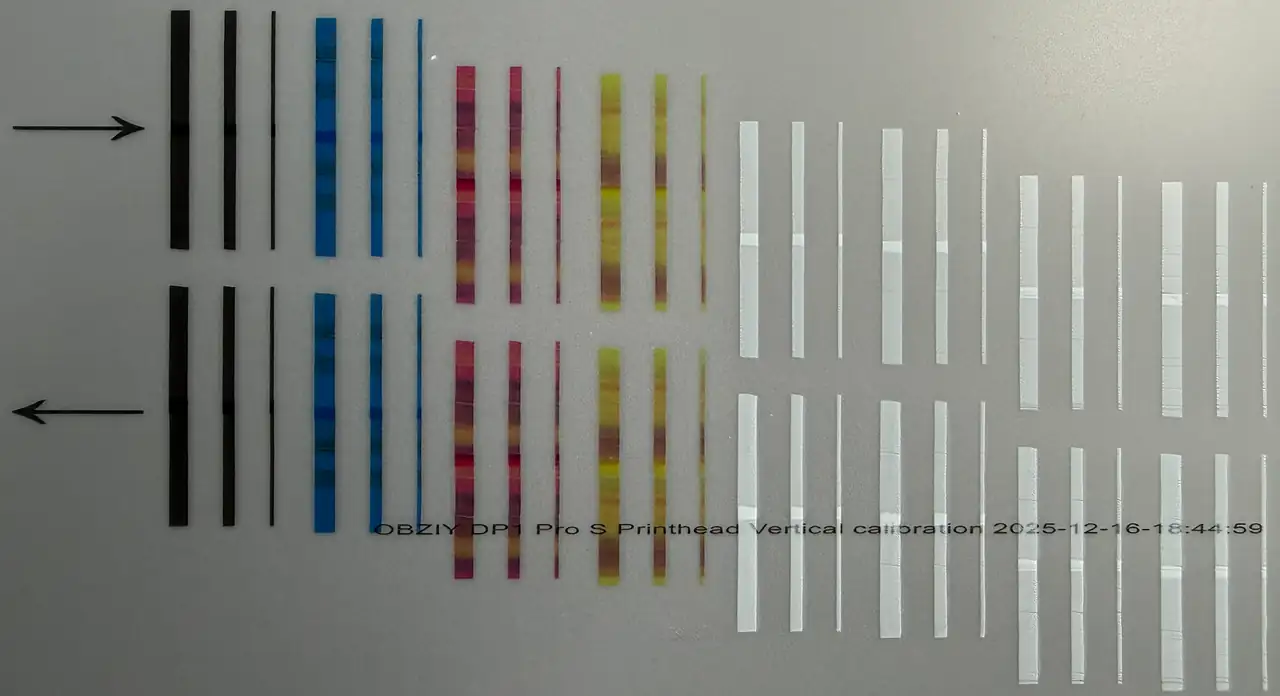
Step 4: DP1 ProS print strip test
- Perform vertical calibration in the ZRIP software to verify accurate print head alignment.
Step 1: Front cover of the print head
Step 2: Reattach the top cover
- Once the print head is functioning properly, reattach the front and top covers of the print head.