¶ Preparation
- Tools and accessories required: Phillips screwdriver, lint-free cloth, PVC gloves, and a brand-new print head.
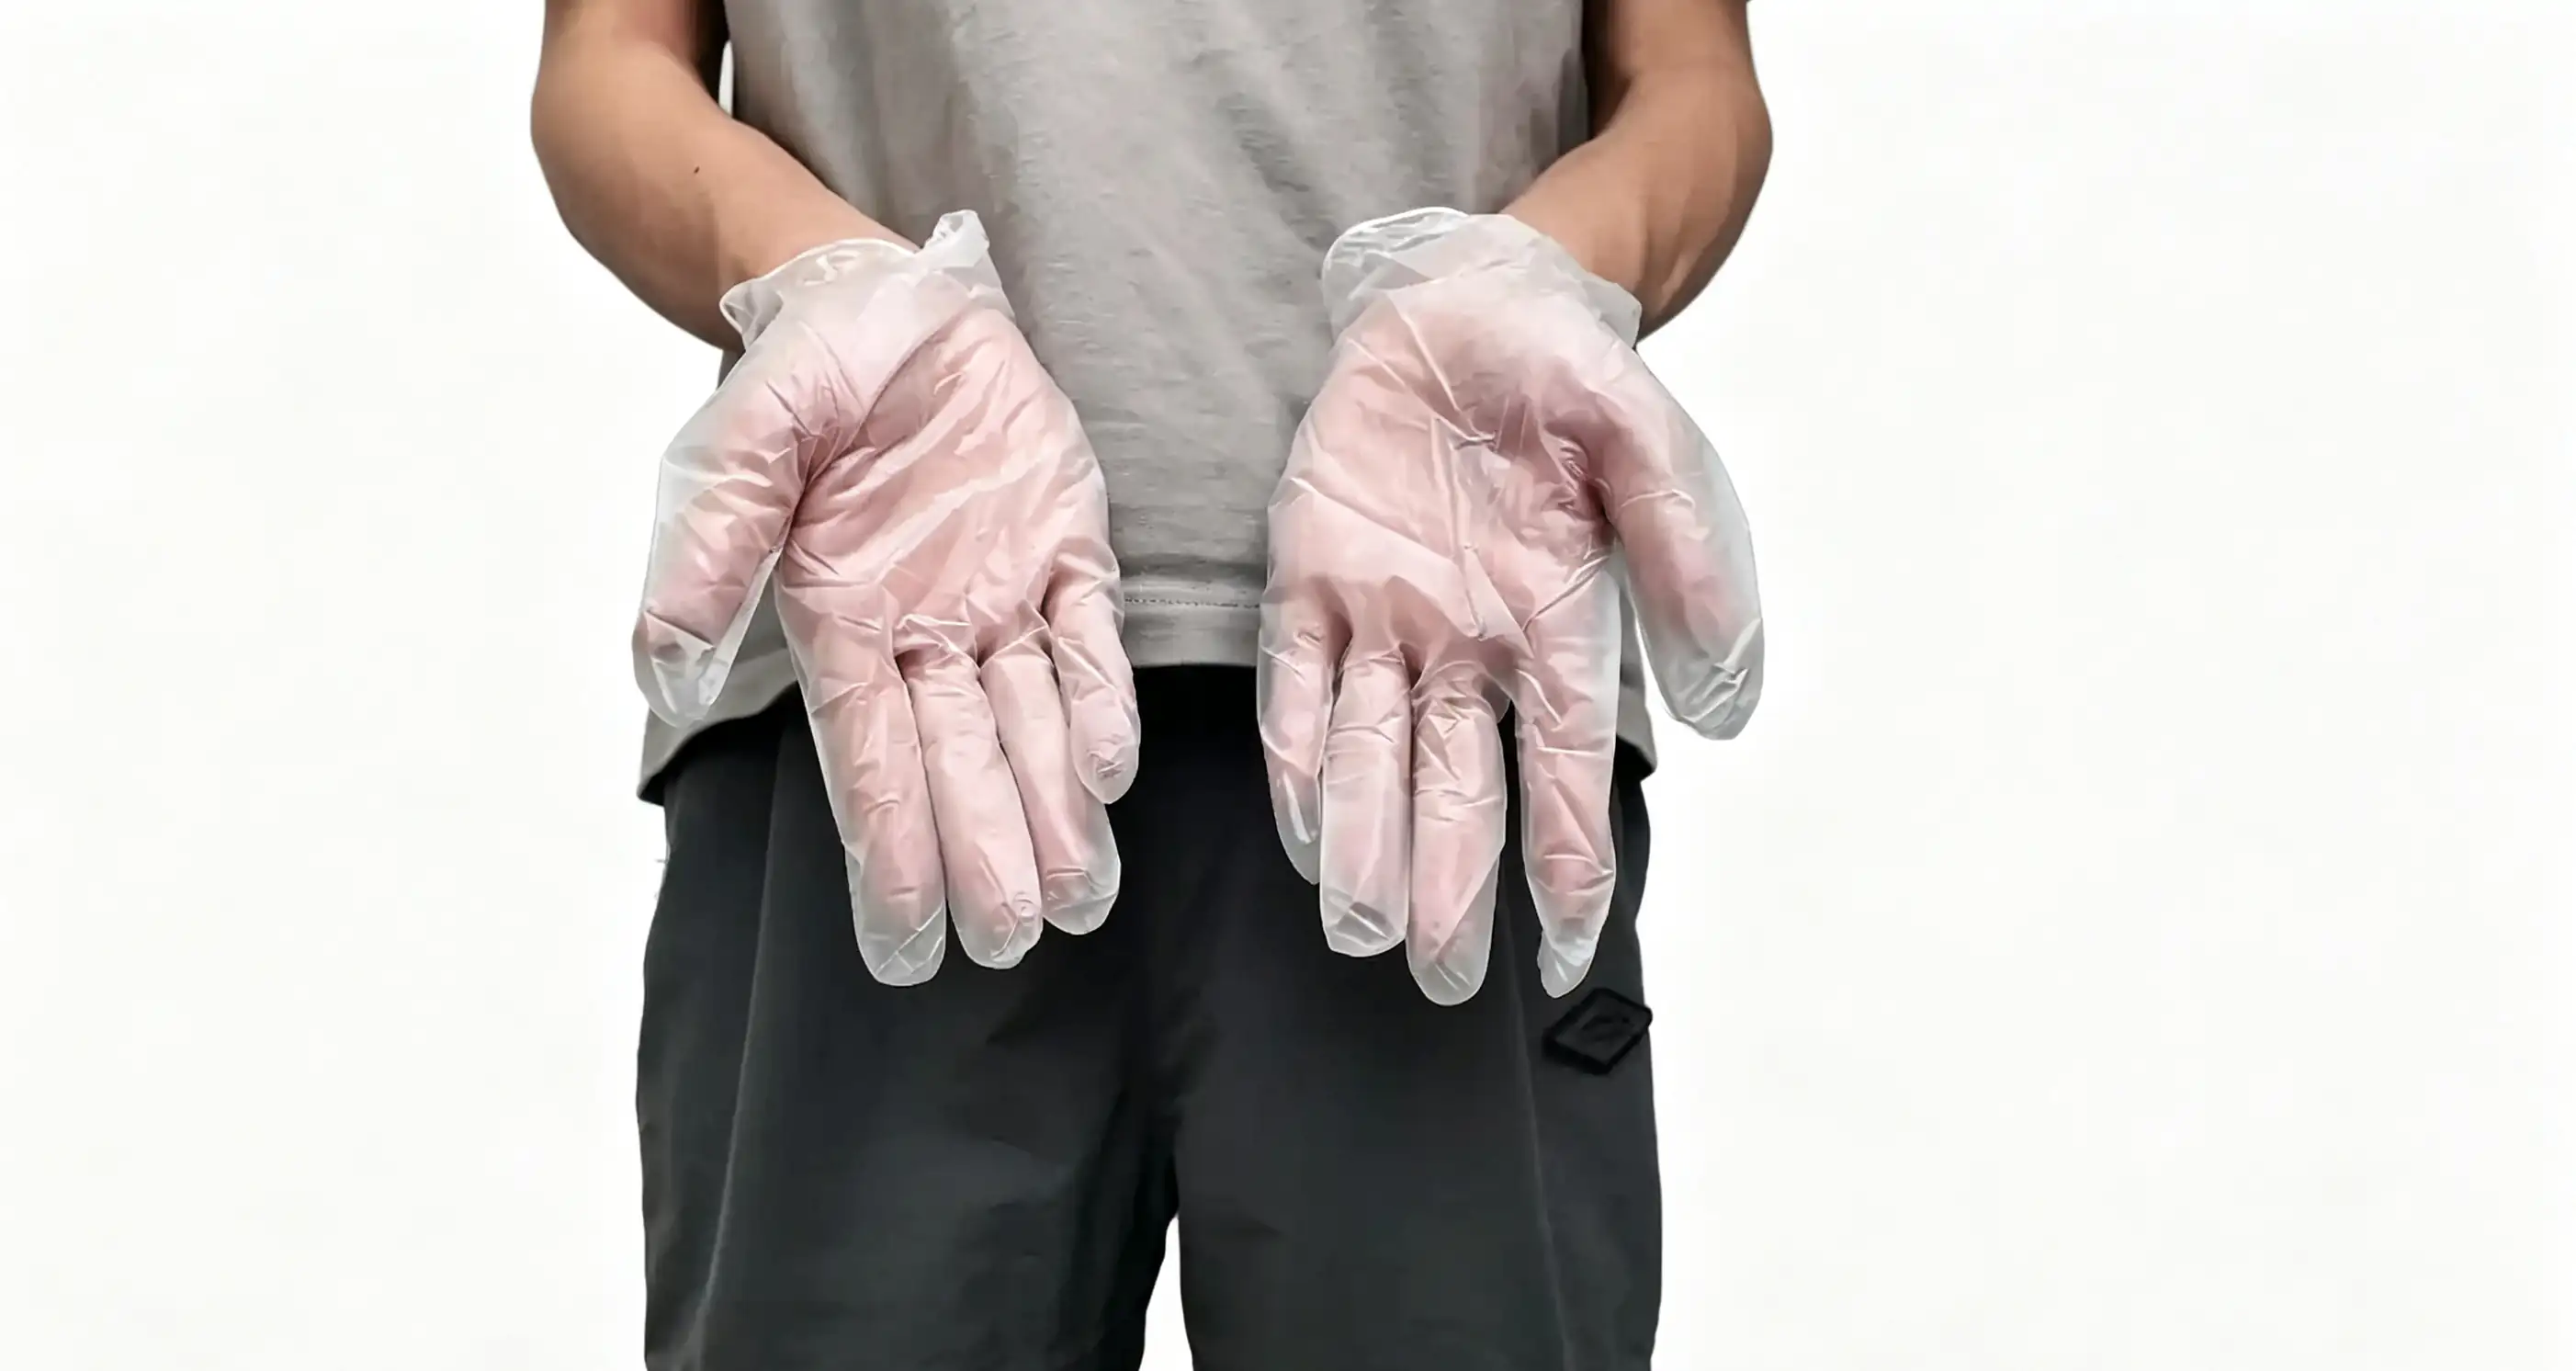
- Safety Operation: After moving the print head to the center position, turn off the printer power and unplug the power cord to ensure the device is completely powered down. Then put on PVC gloves.
¶ Remove the old print head
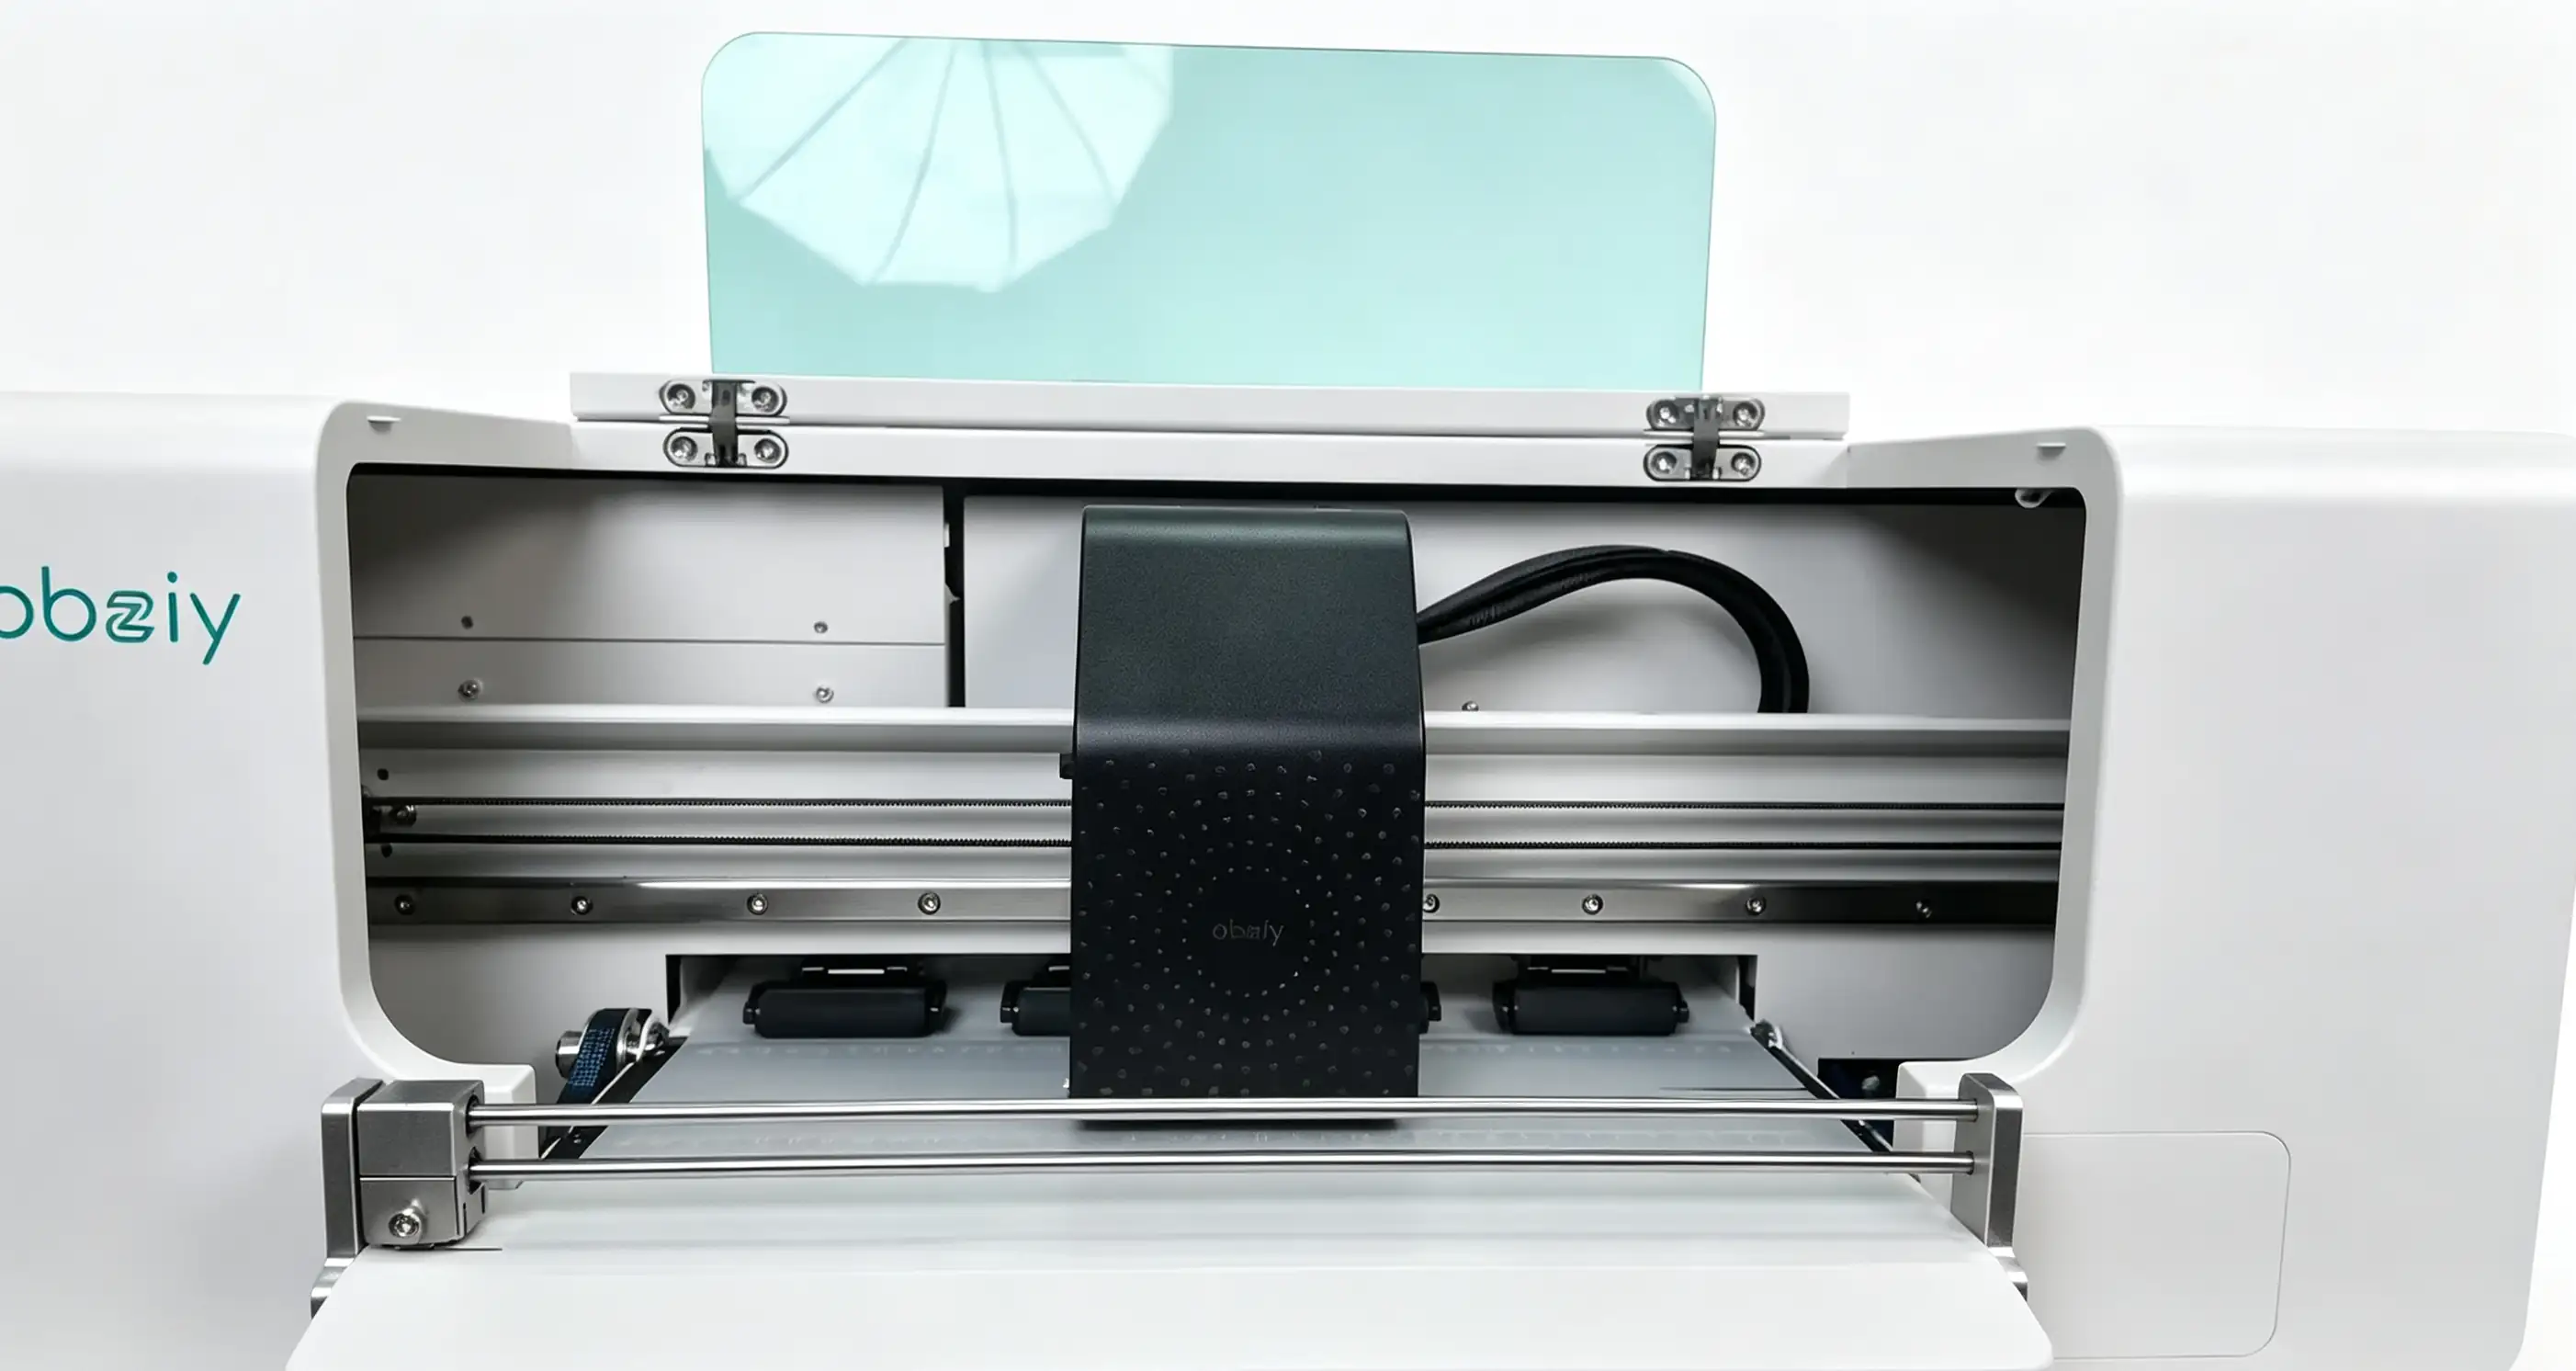
- Move the print head: Before turning off the power, first move the print head to the center position on the slide rail for subsequent operations.
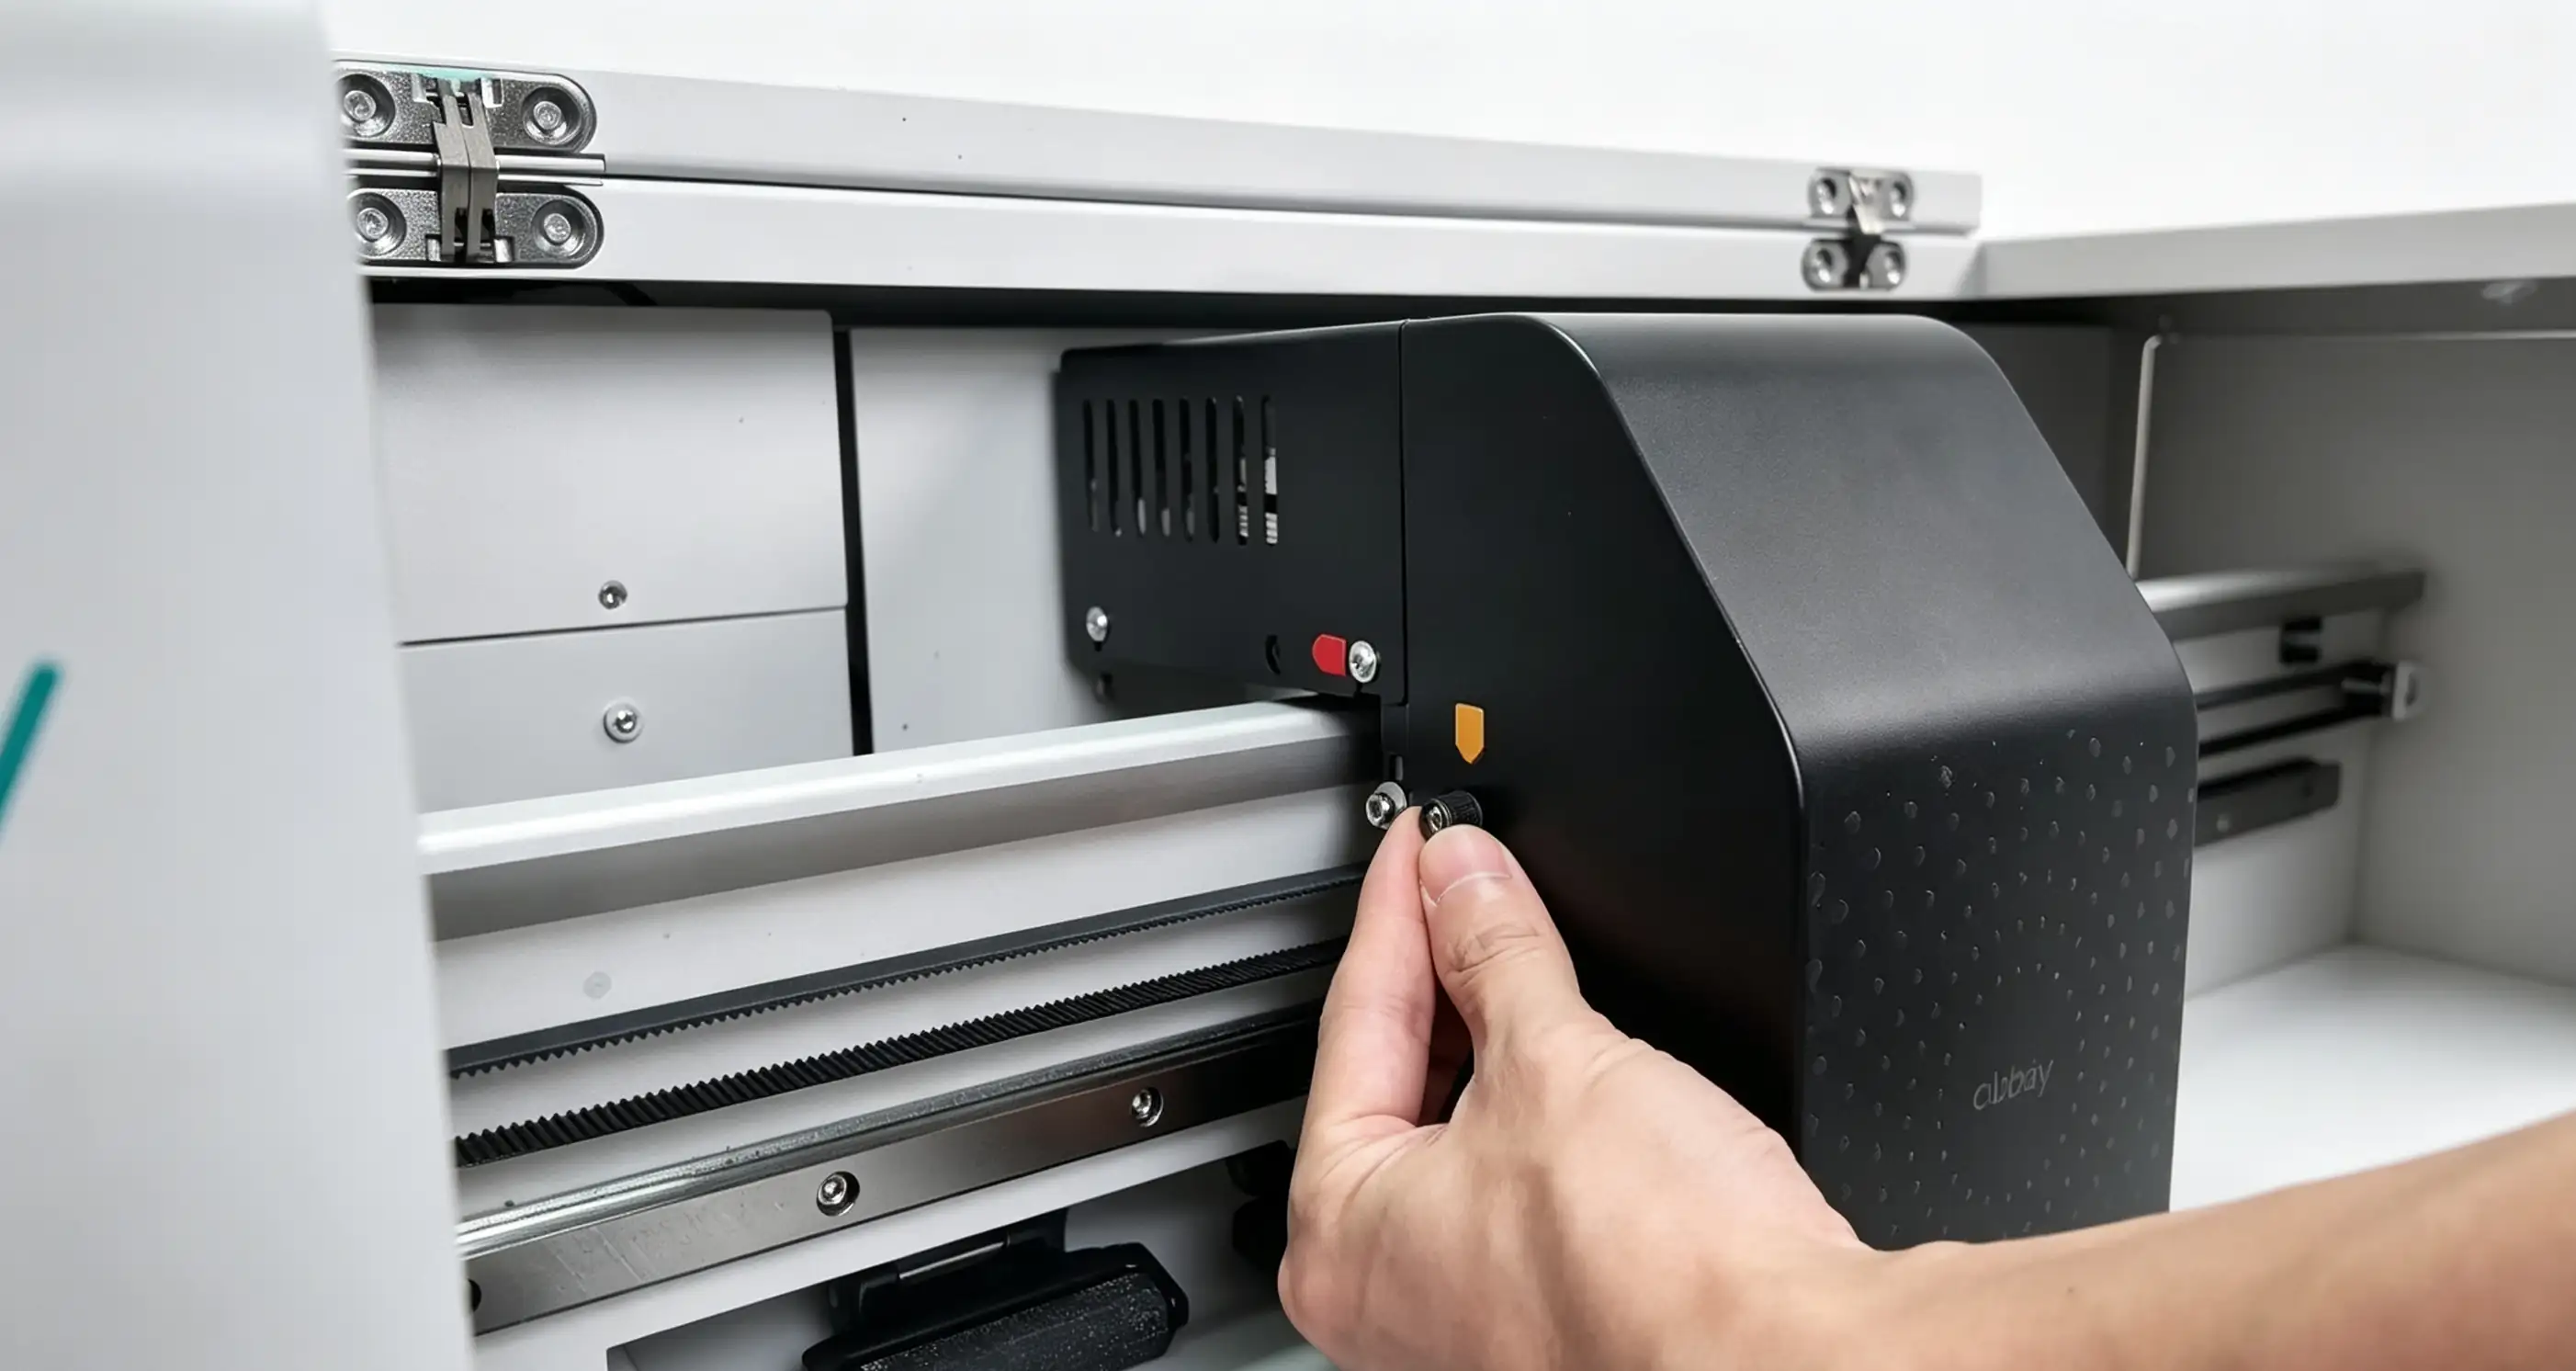
Step 1: Remove the front cover of the printhead
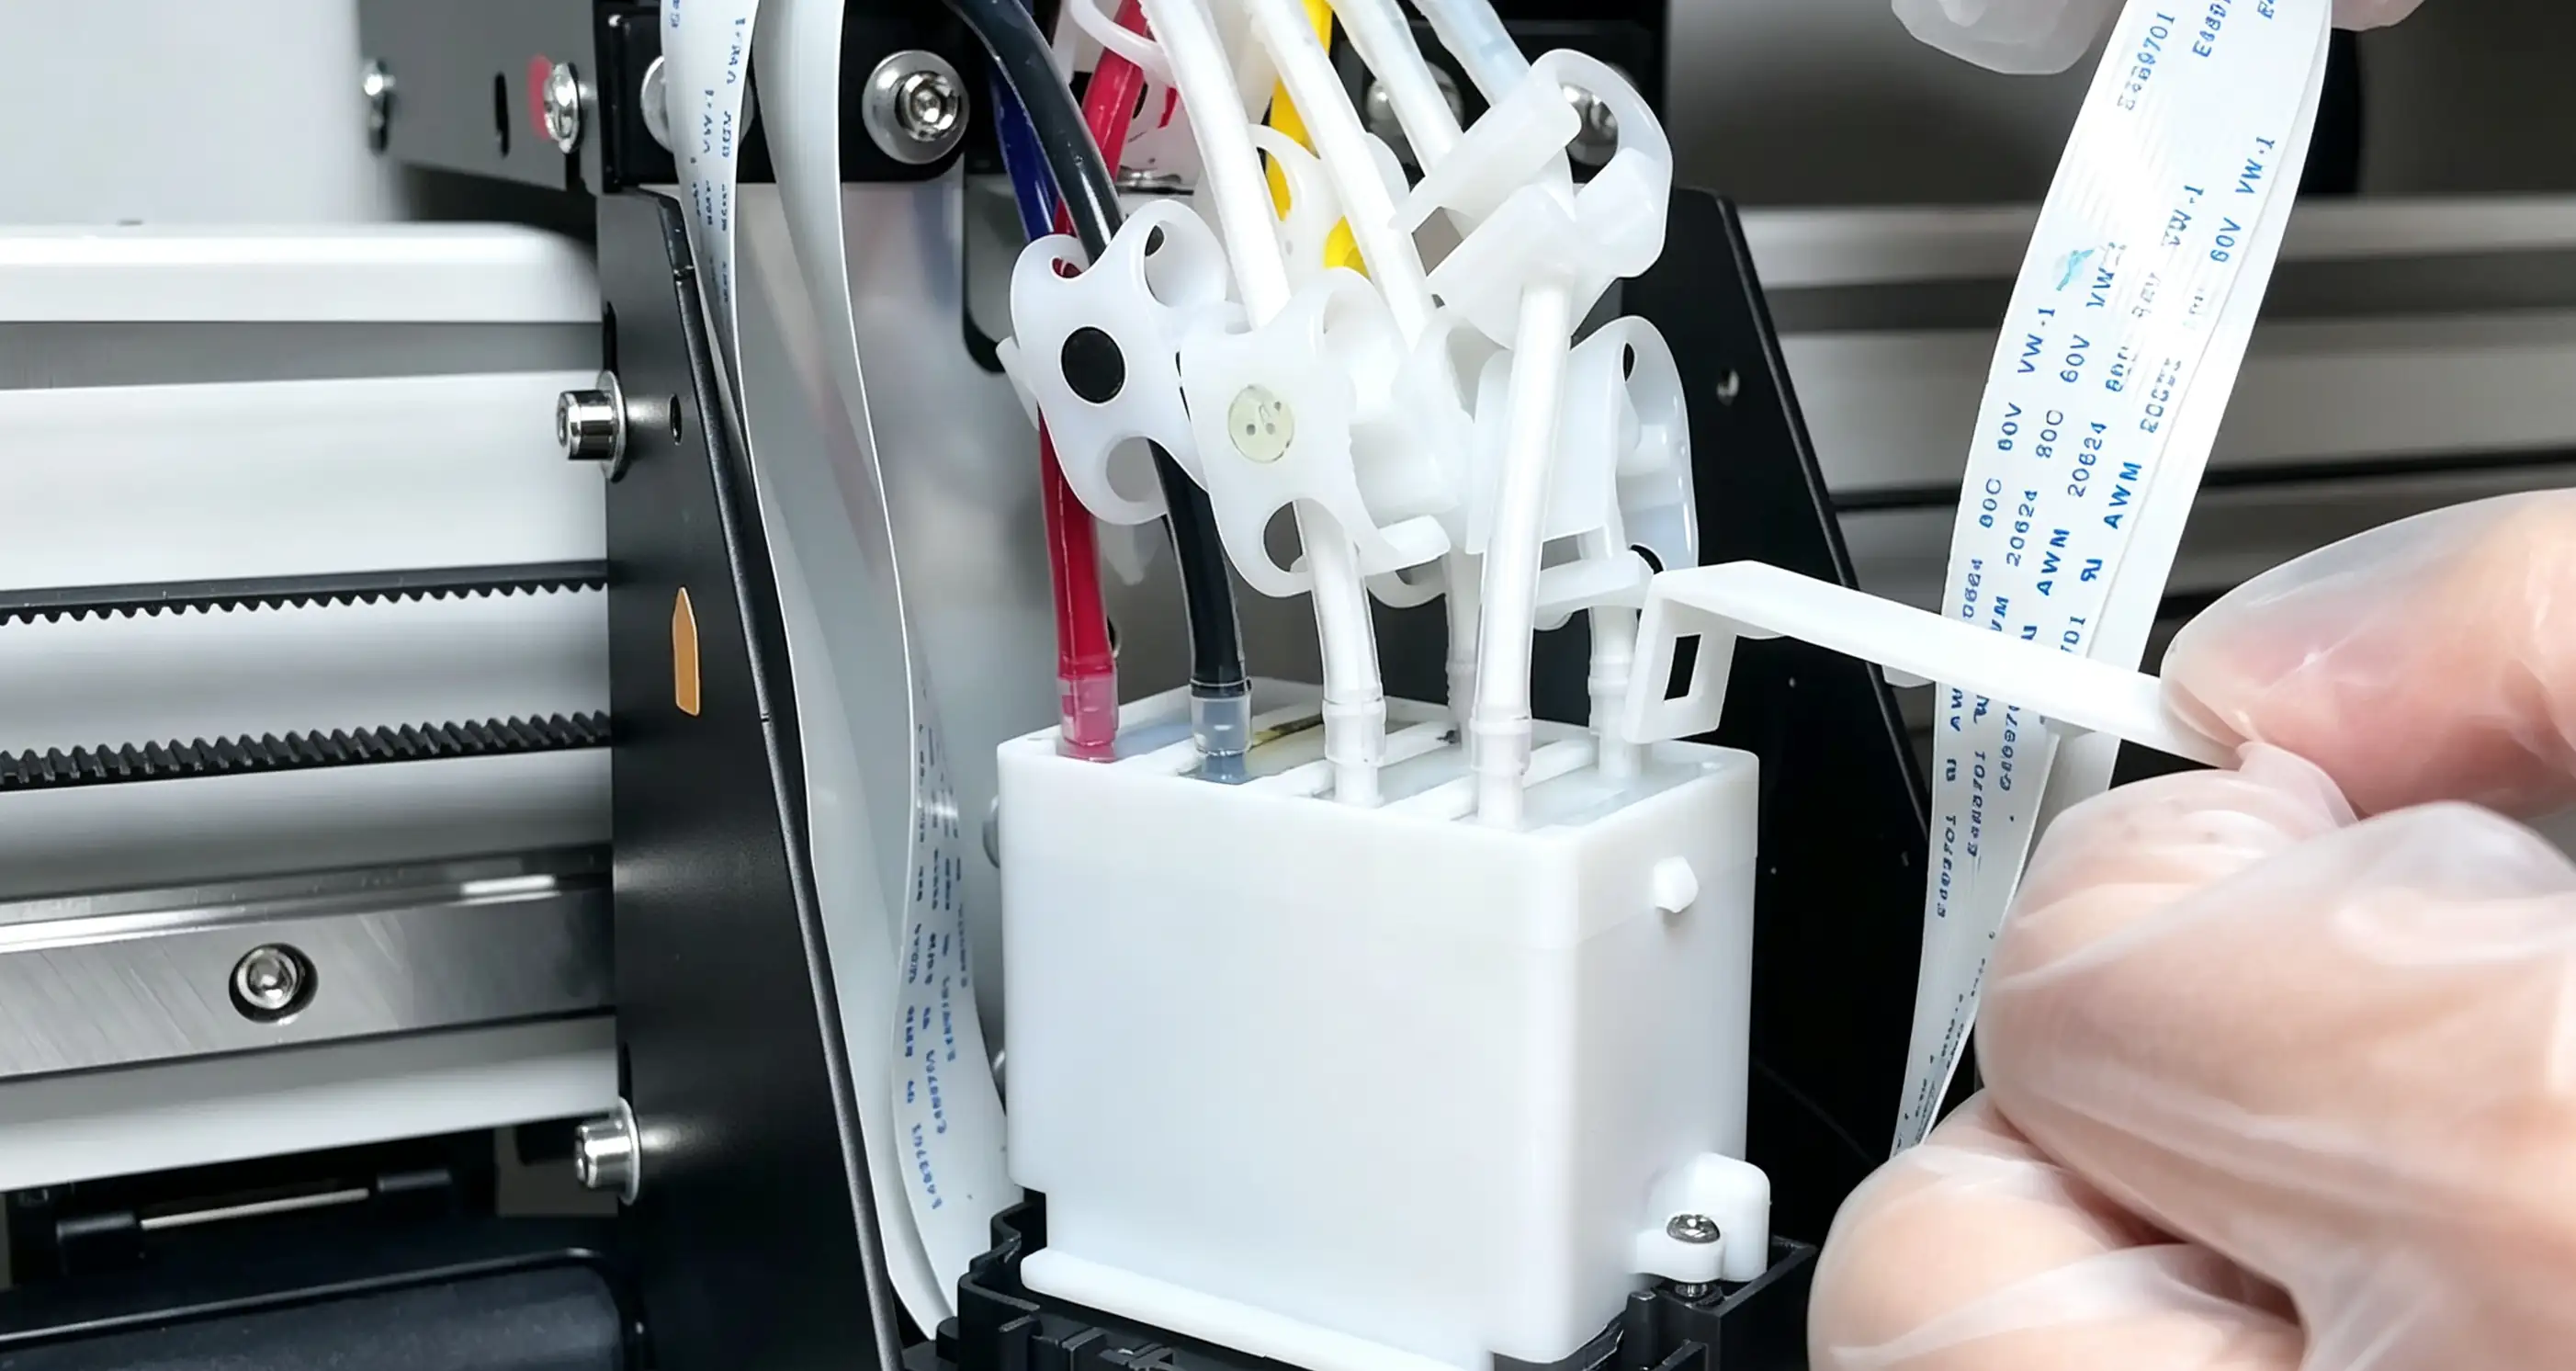
Step 2: Take off the top cap above the ink cartridge
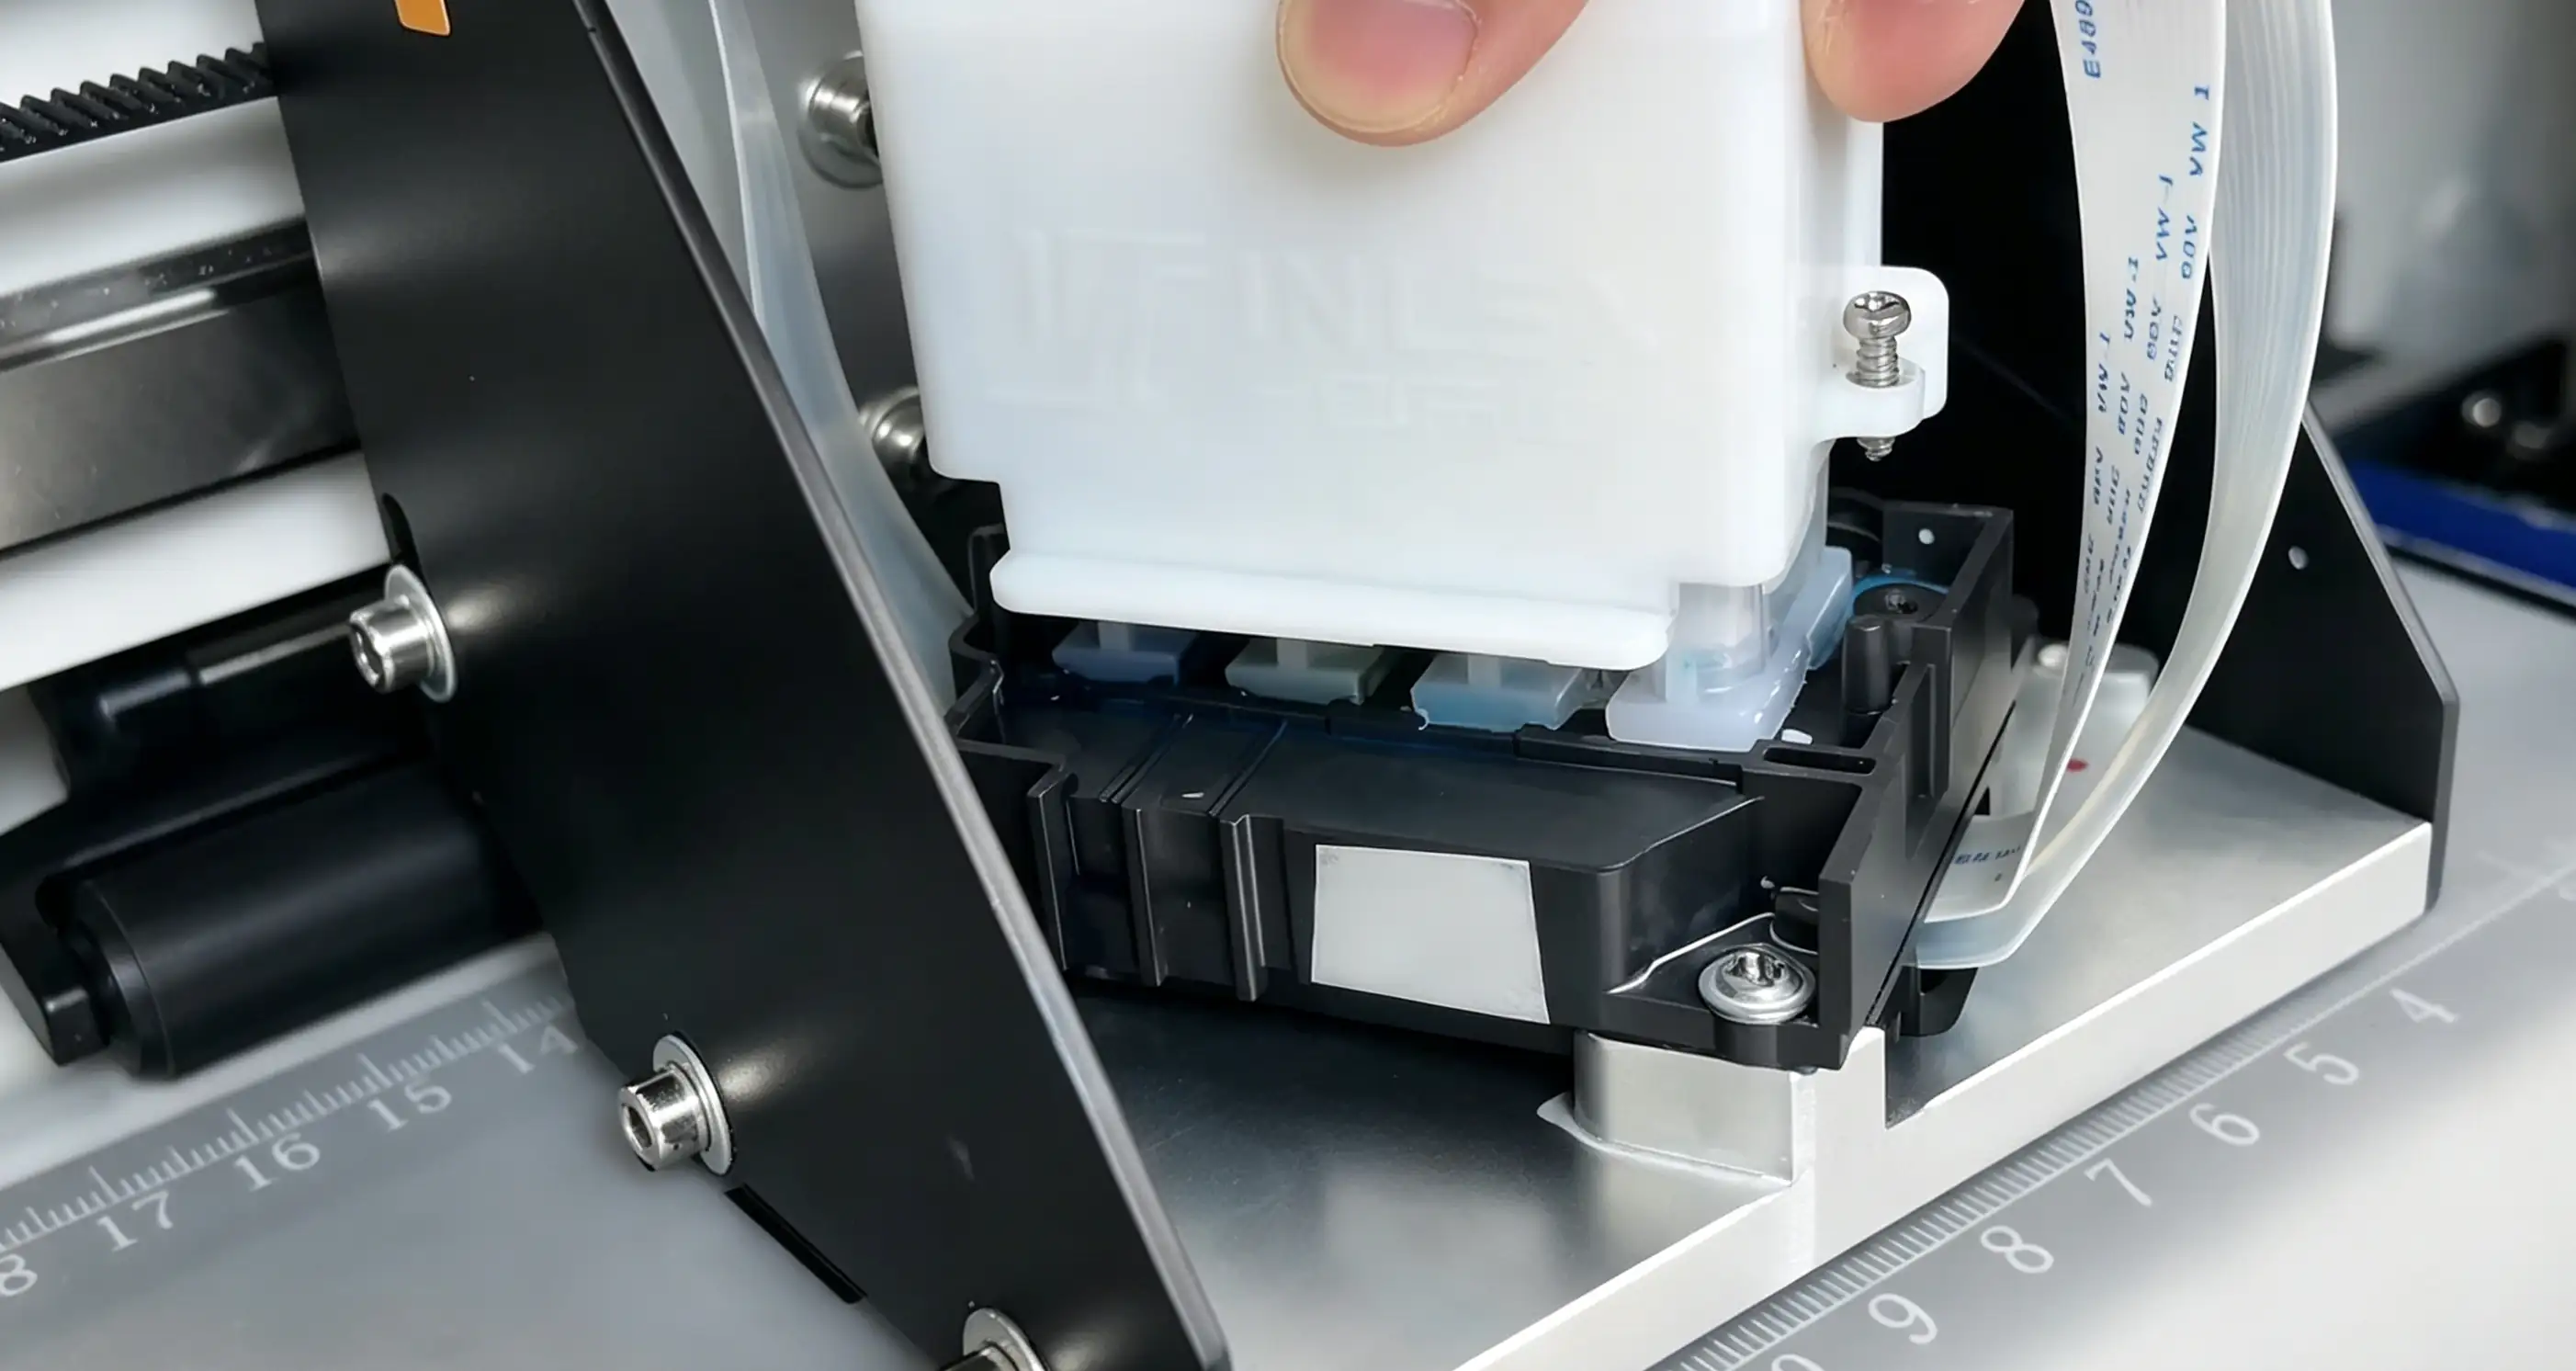
Step 3: Remove the ink cartridge housing
- Remove external components: First, remove the print head cover, then detach the ink tank protective cap and the ink tank assembly.
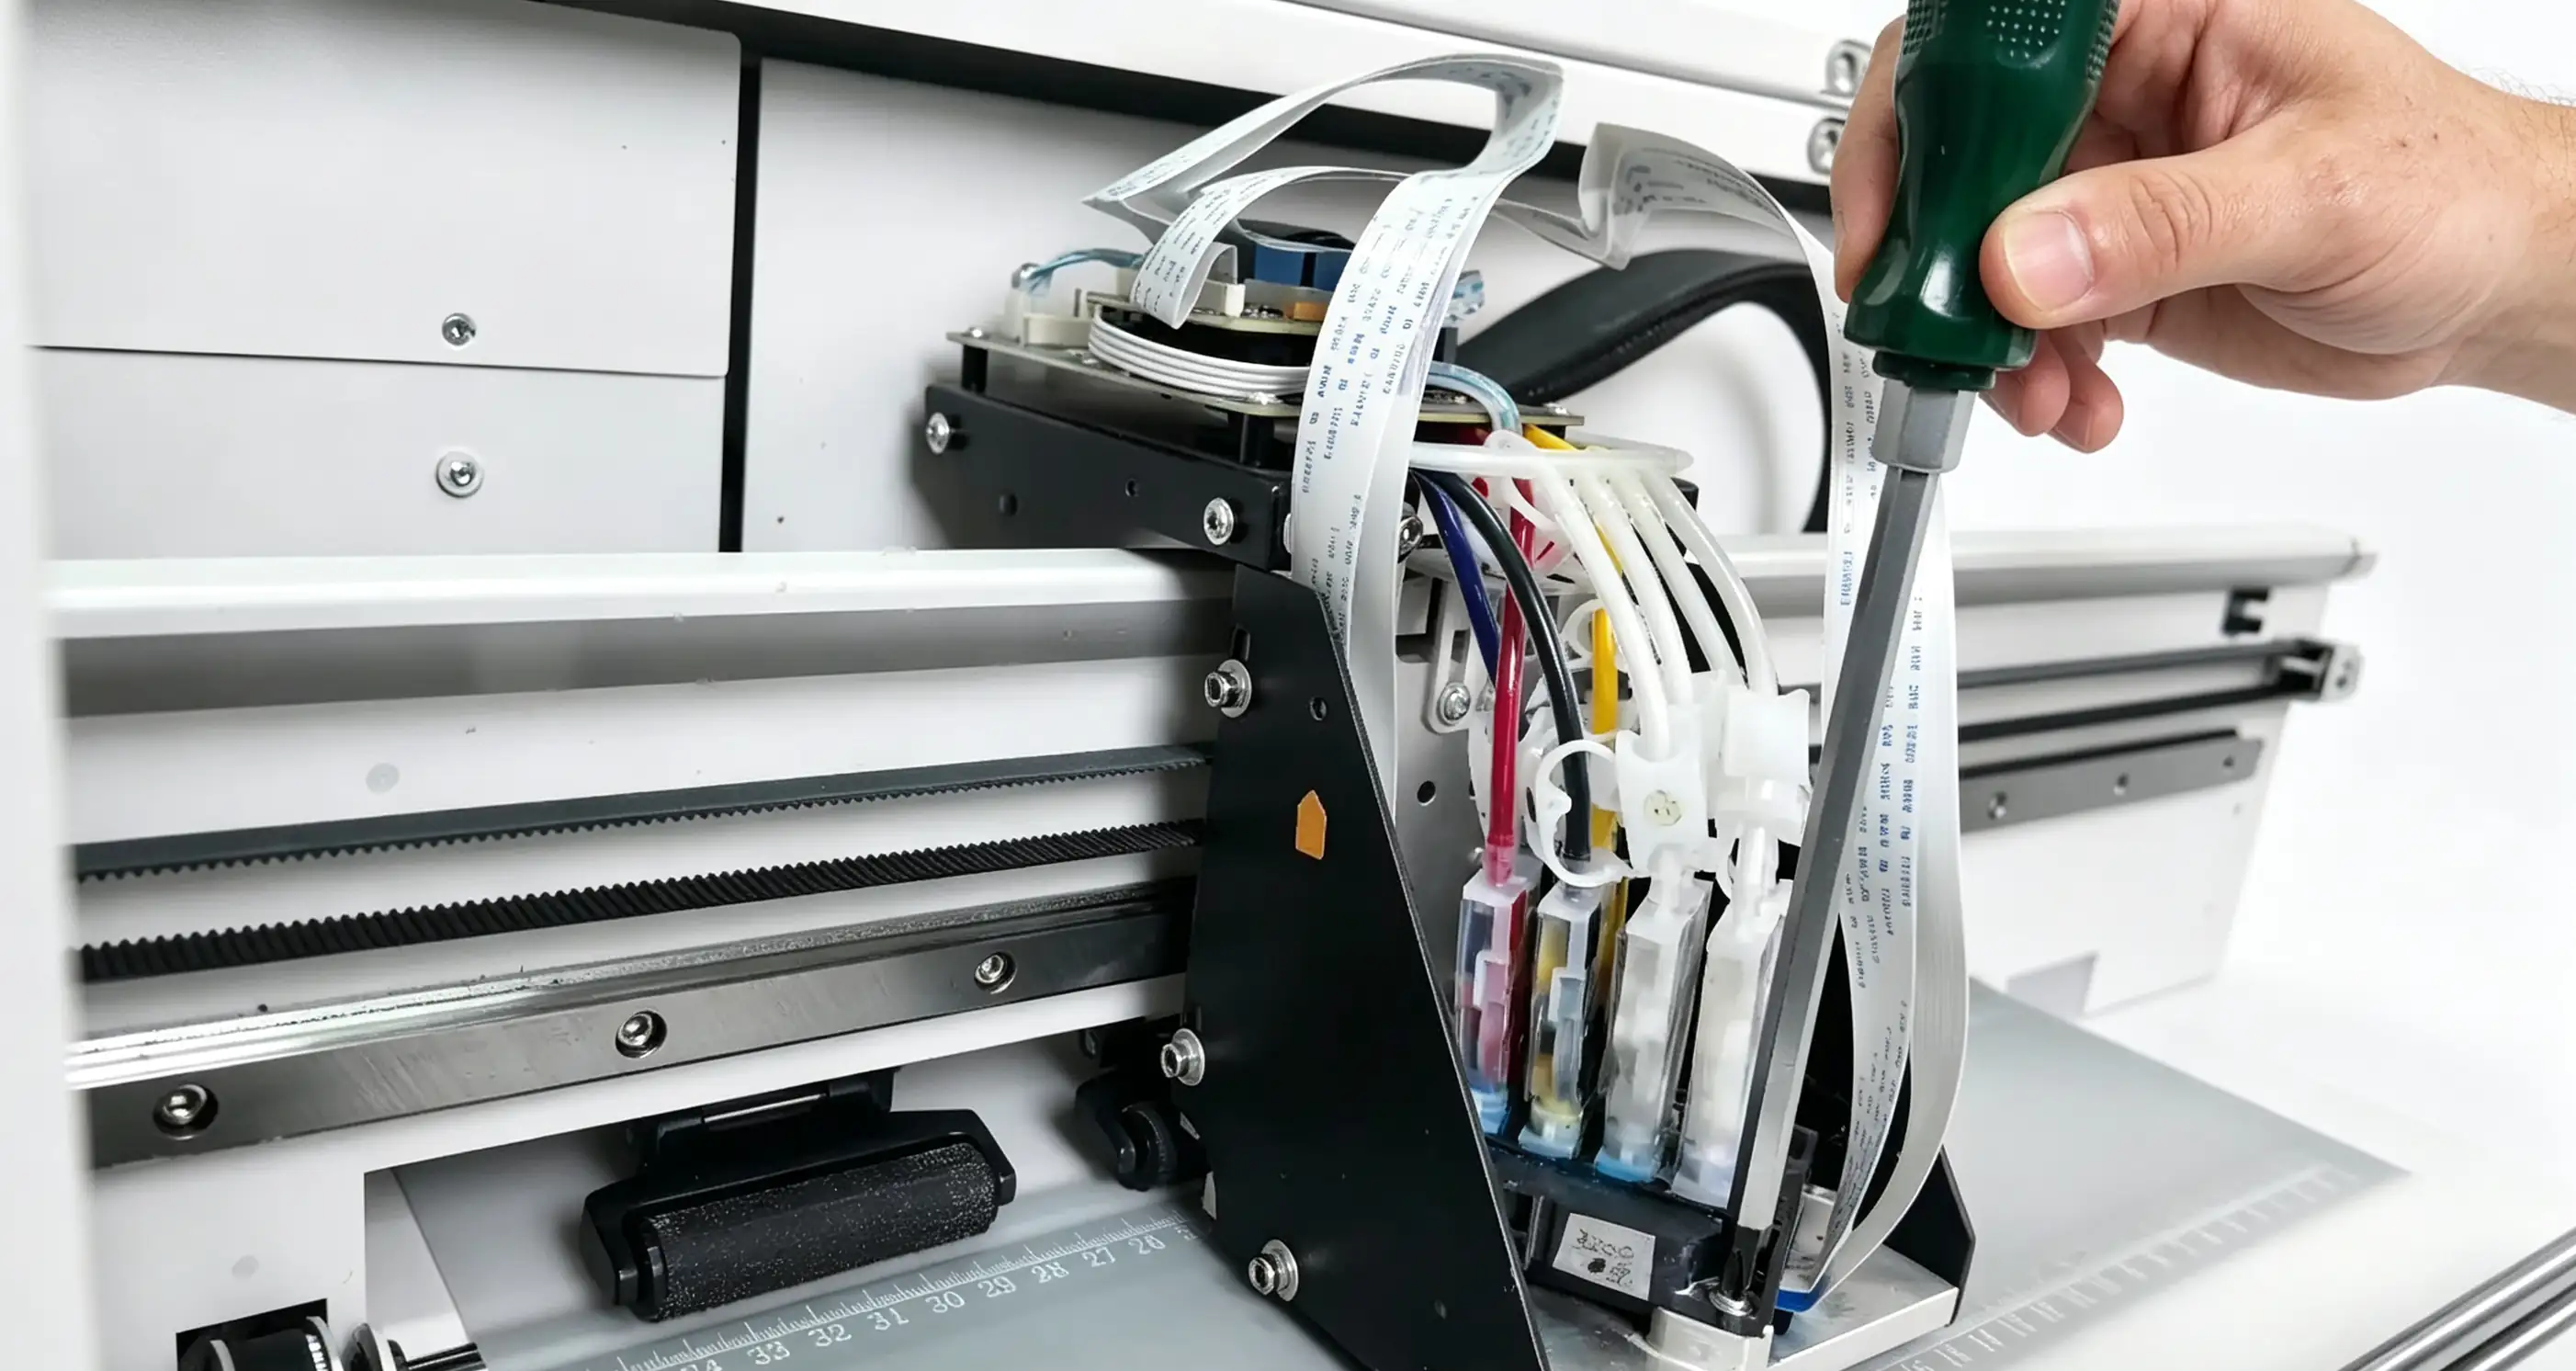
- Remove the old print head:Remove the four screws securing the print head in sequence. (The 3200 model has three fixing screws.)
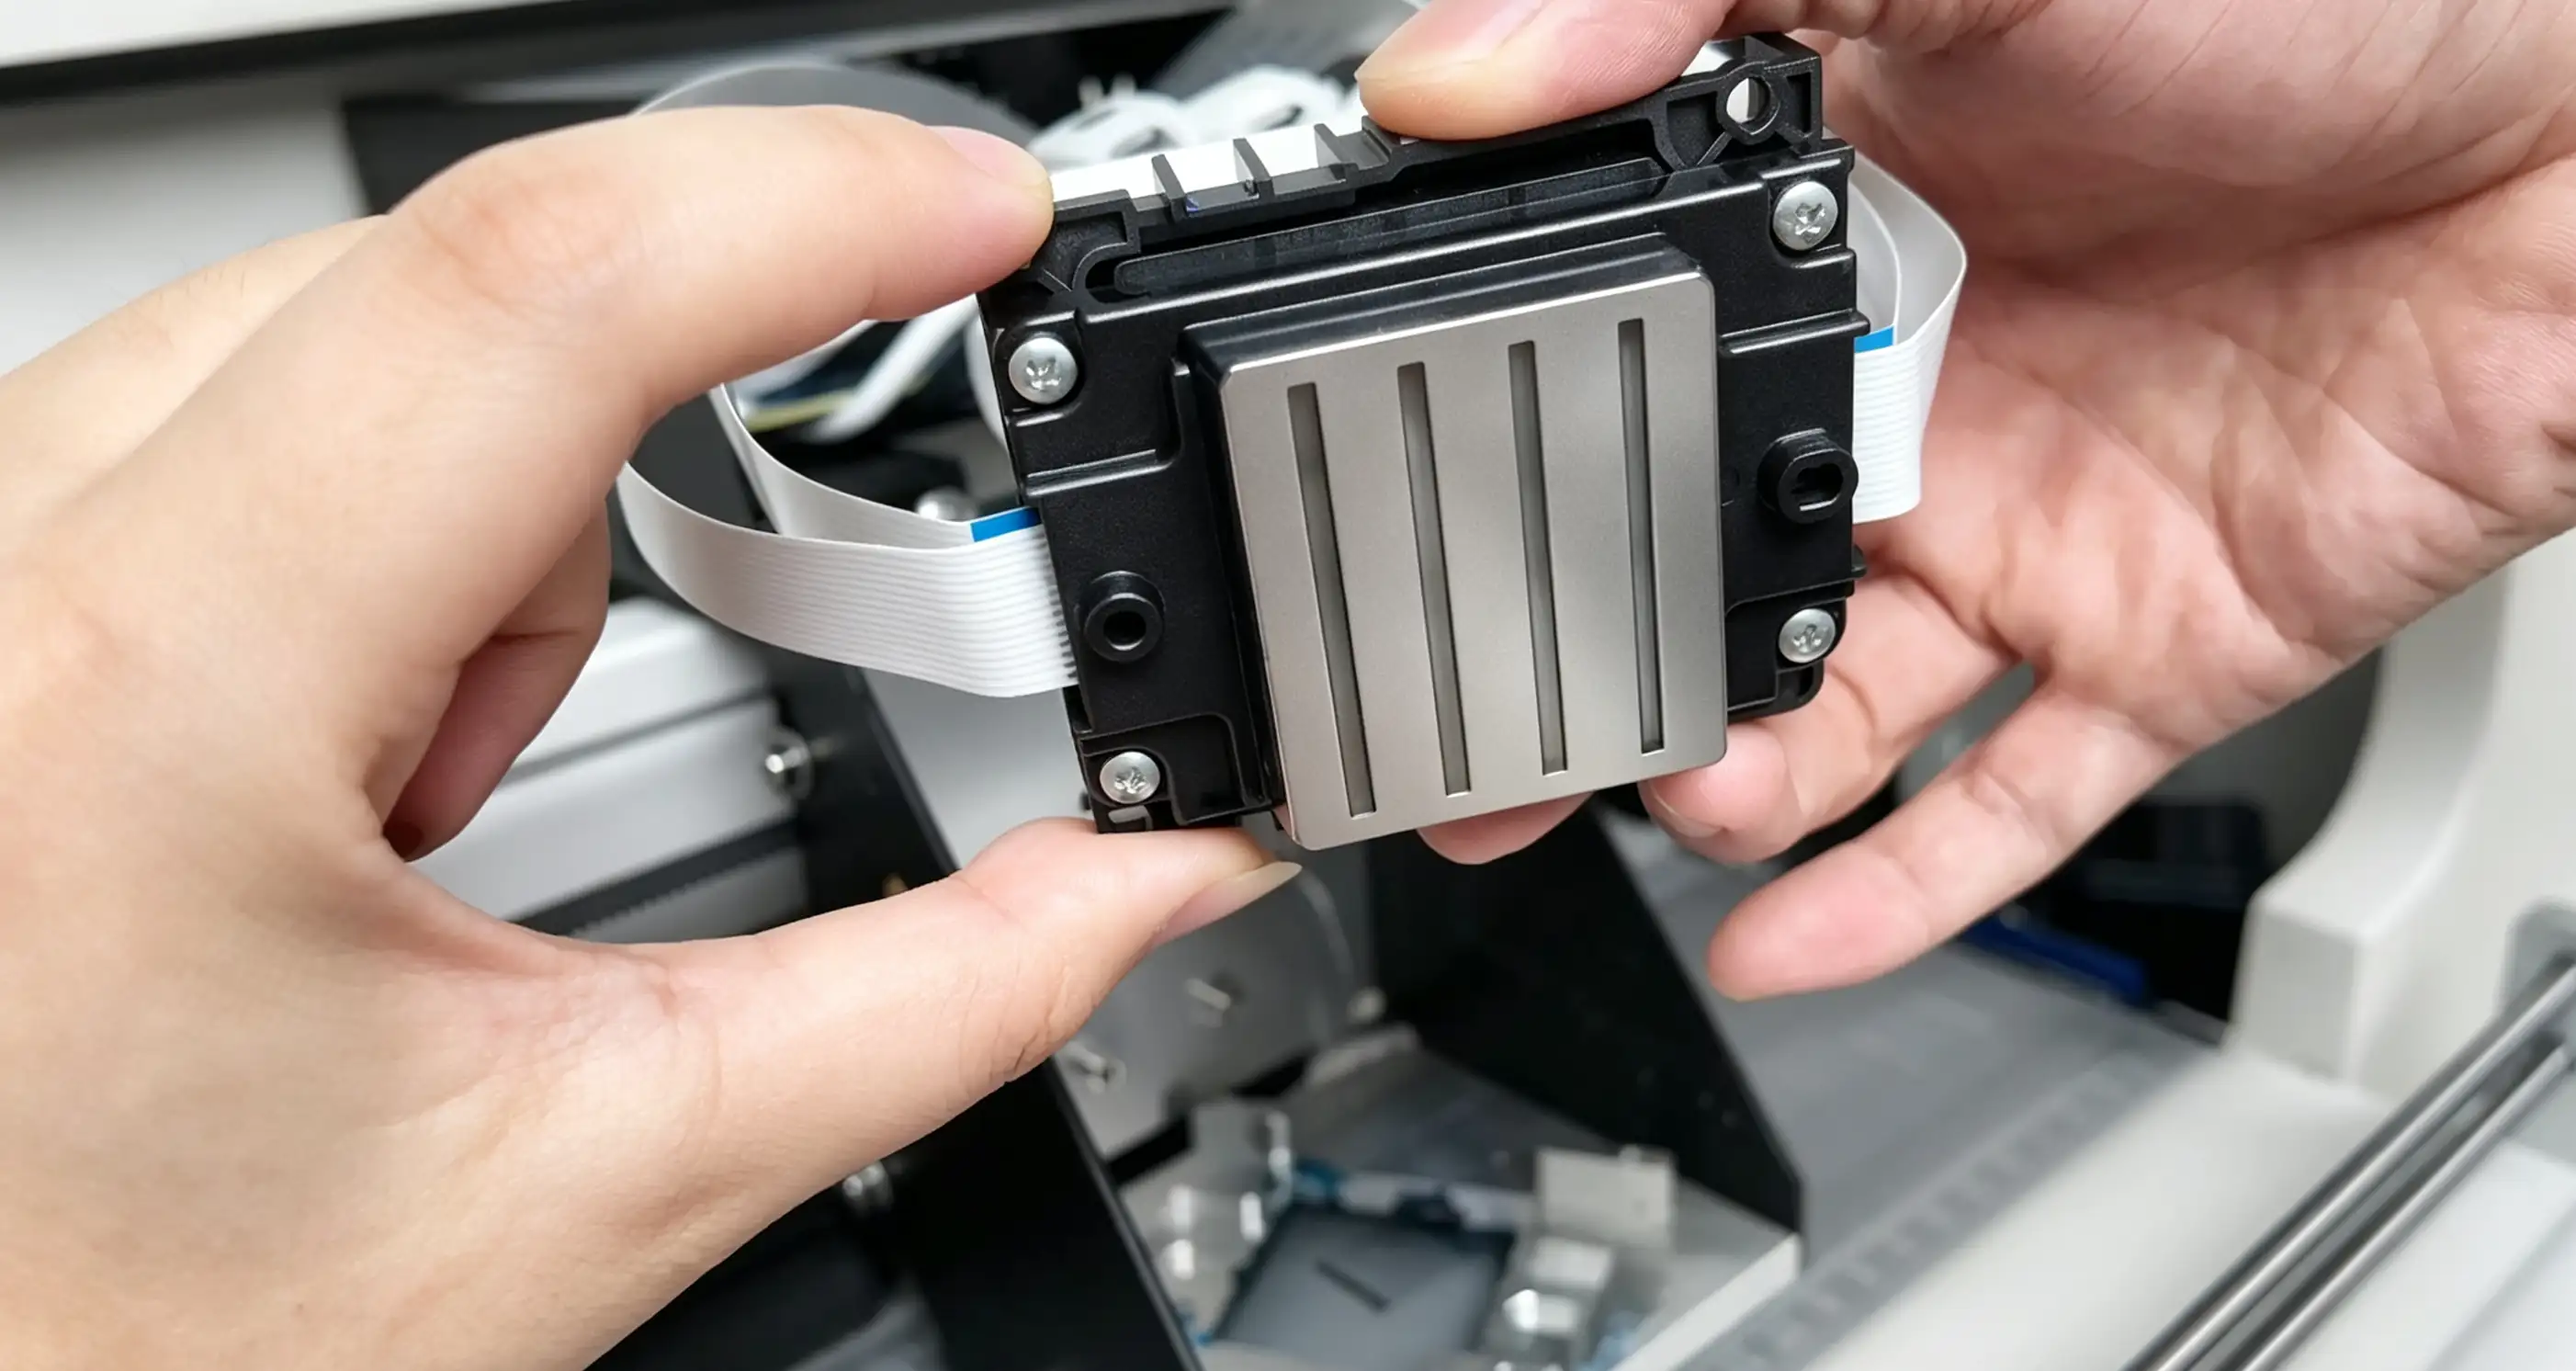
- Hold the sides of the print head with both hands and gently remove it.
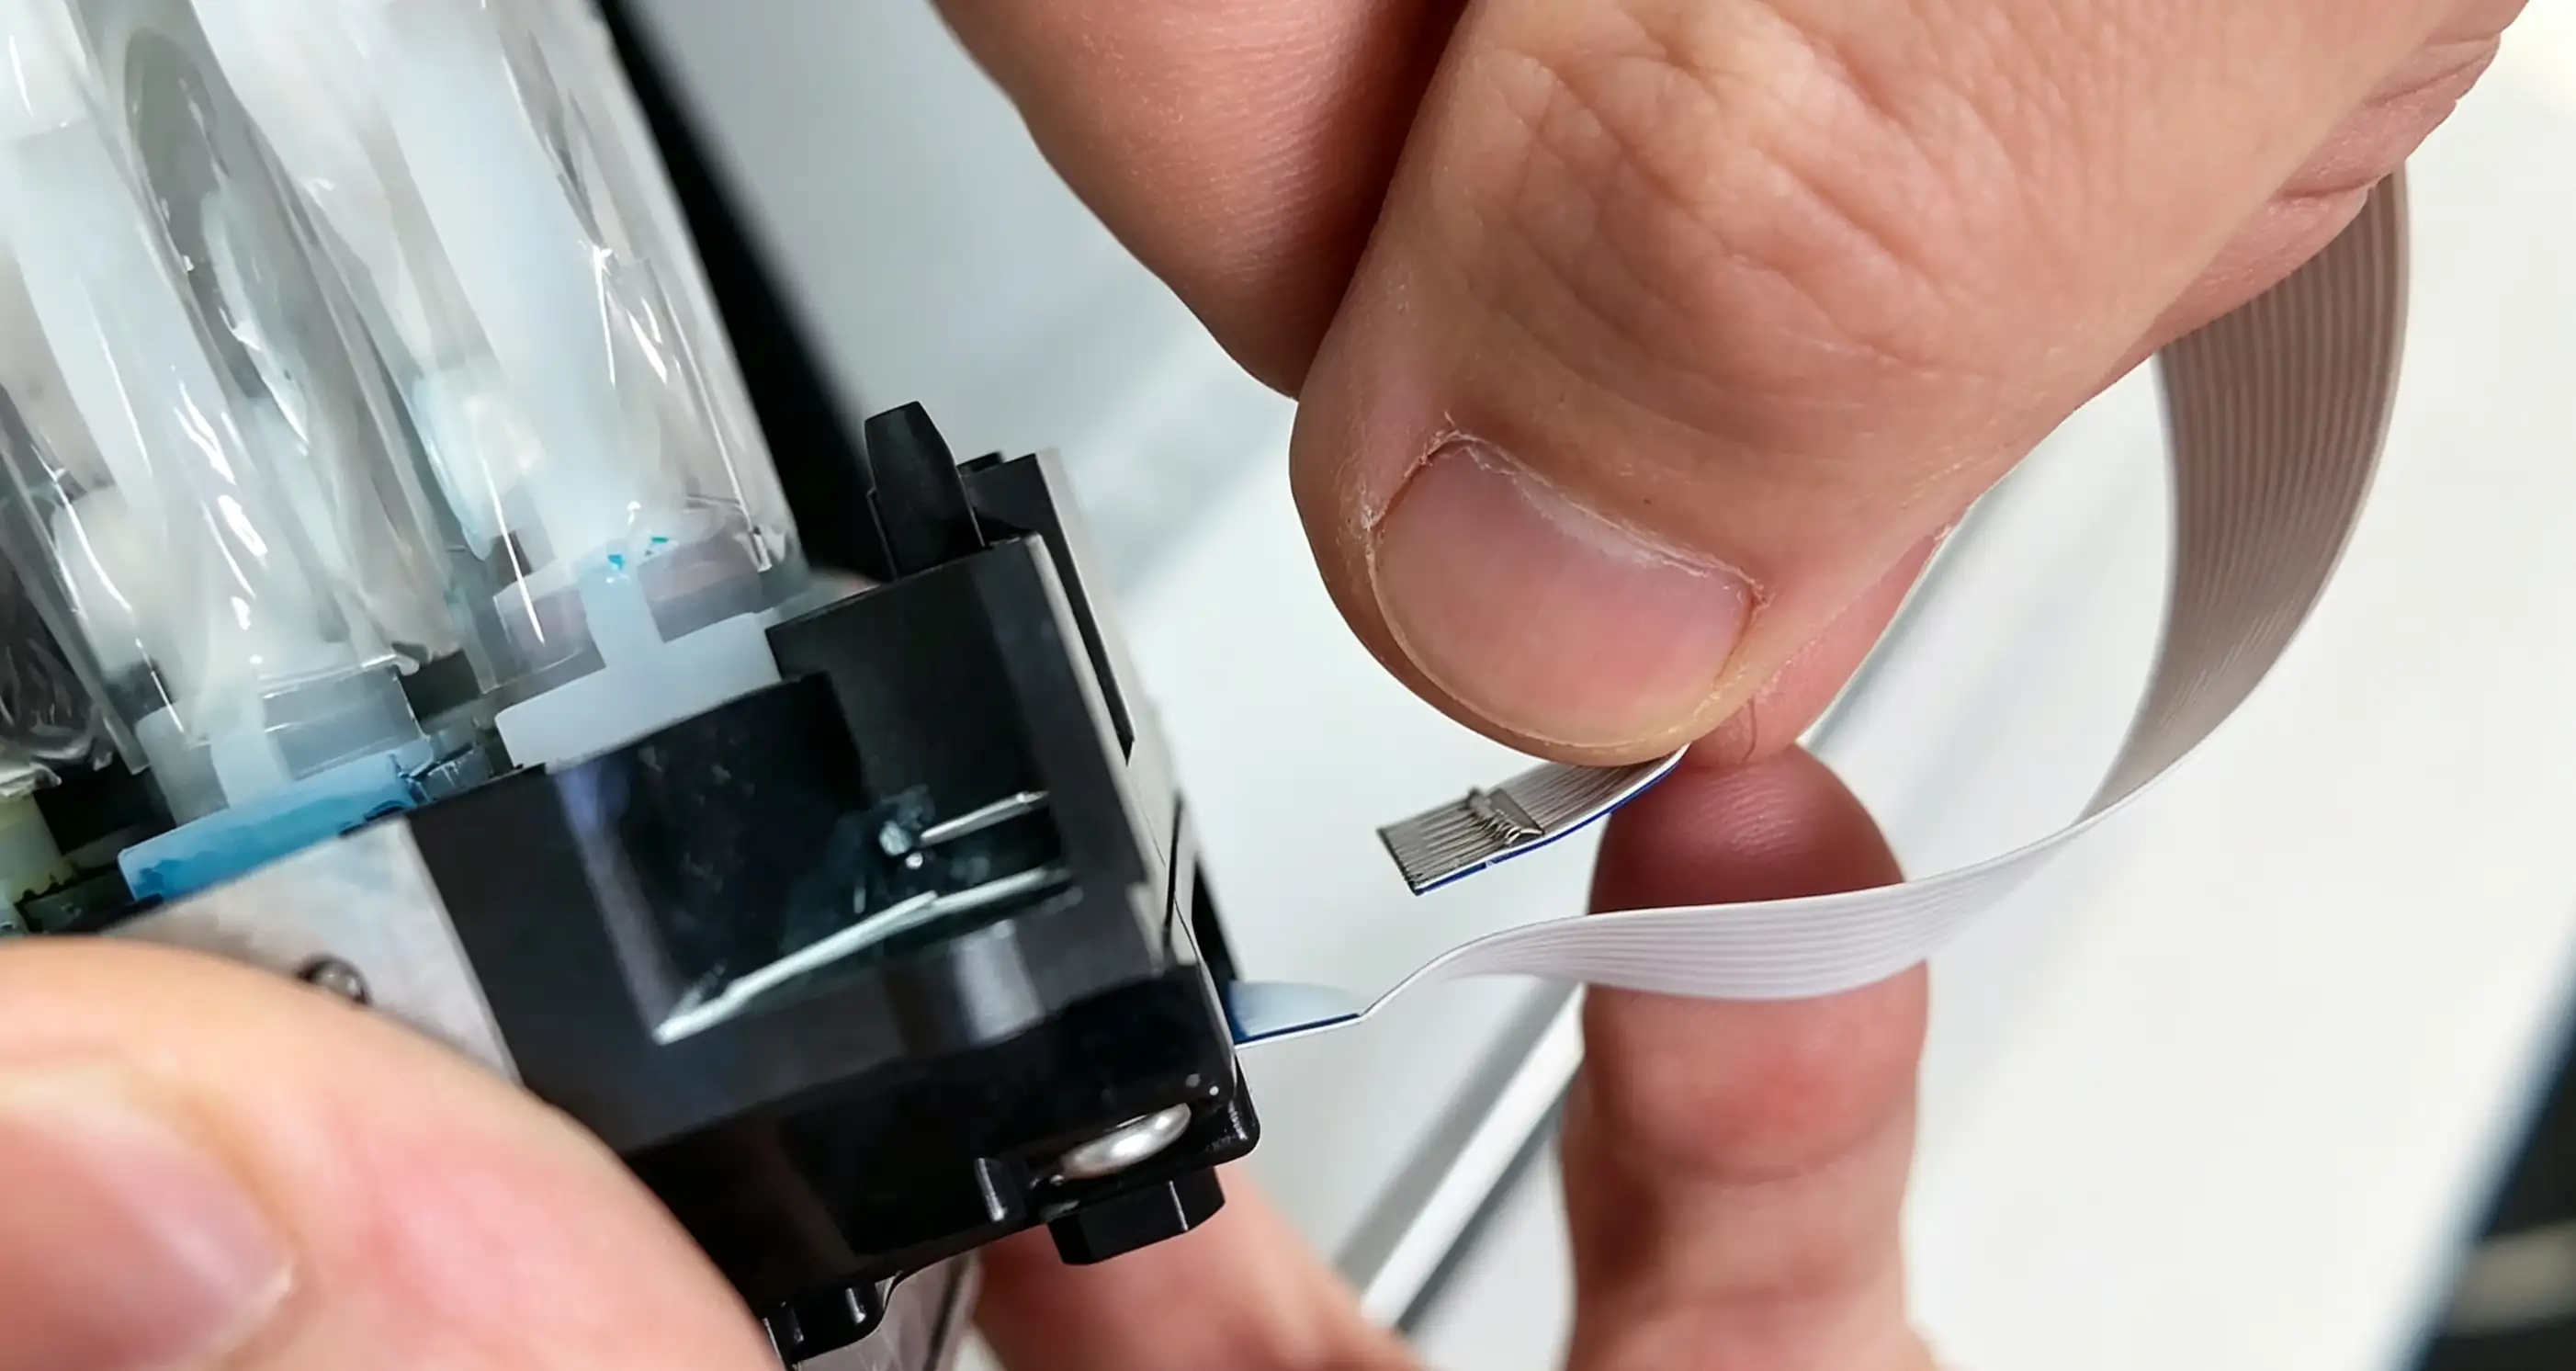
- Carefully remove the ribbon cables inserted on both sides of the print head.
¶ Install the new print head
-
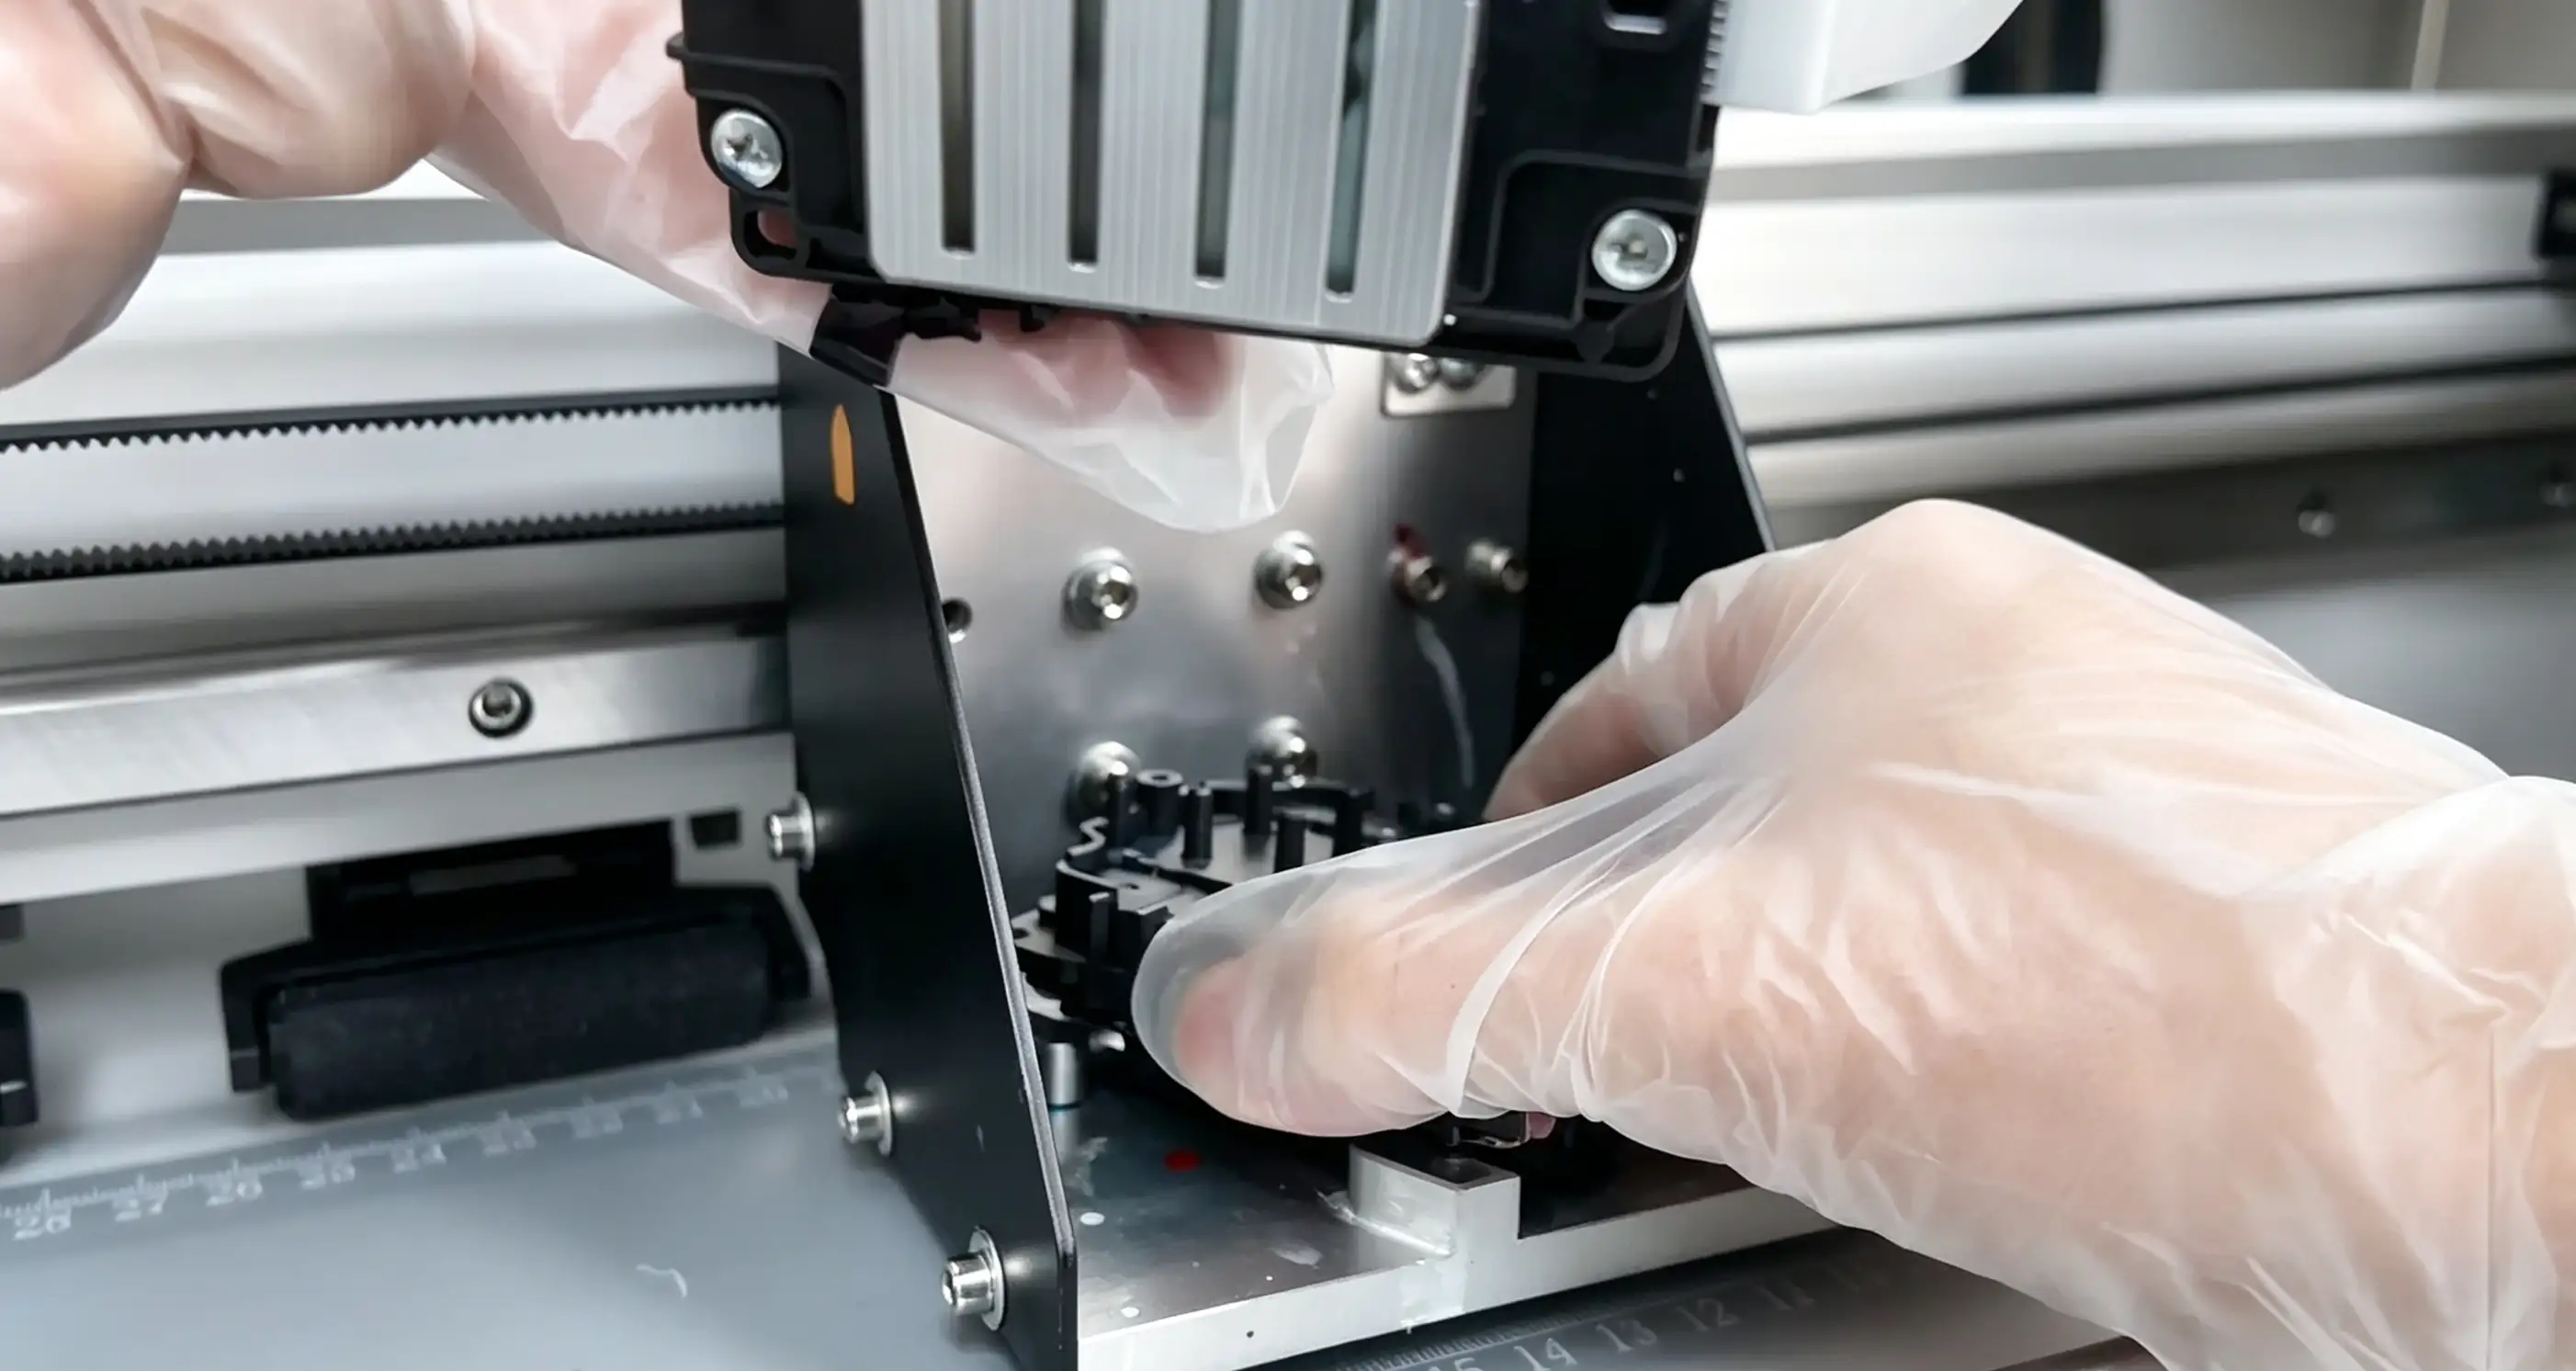
Position and install: Remove the new print head, align it with the positioning pin, and lower it vertically.
-
Transfer ink tank (critical step)
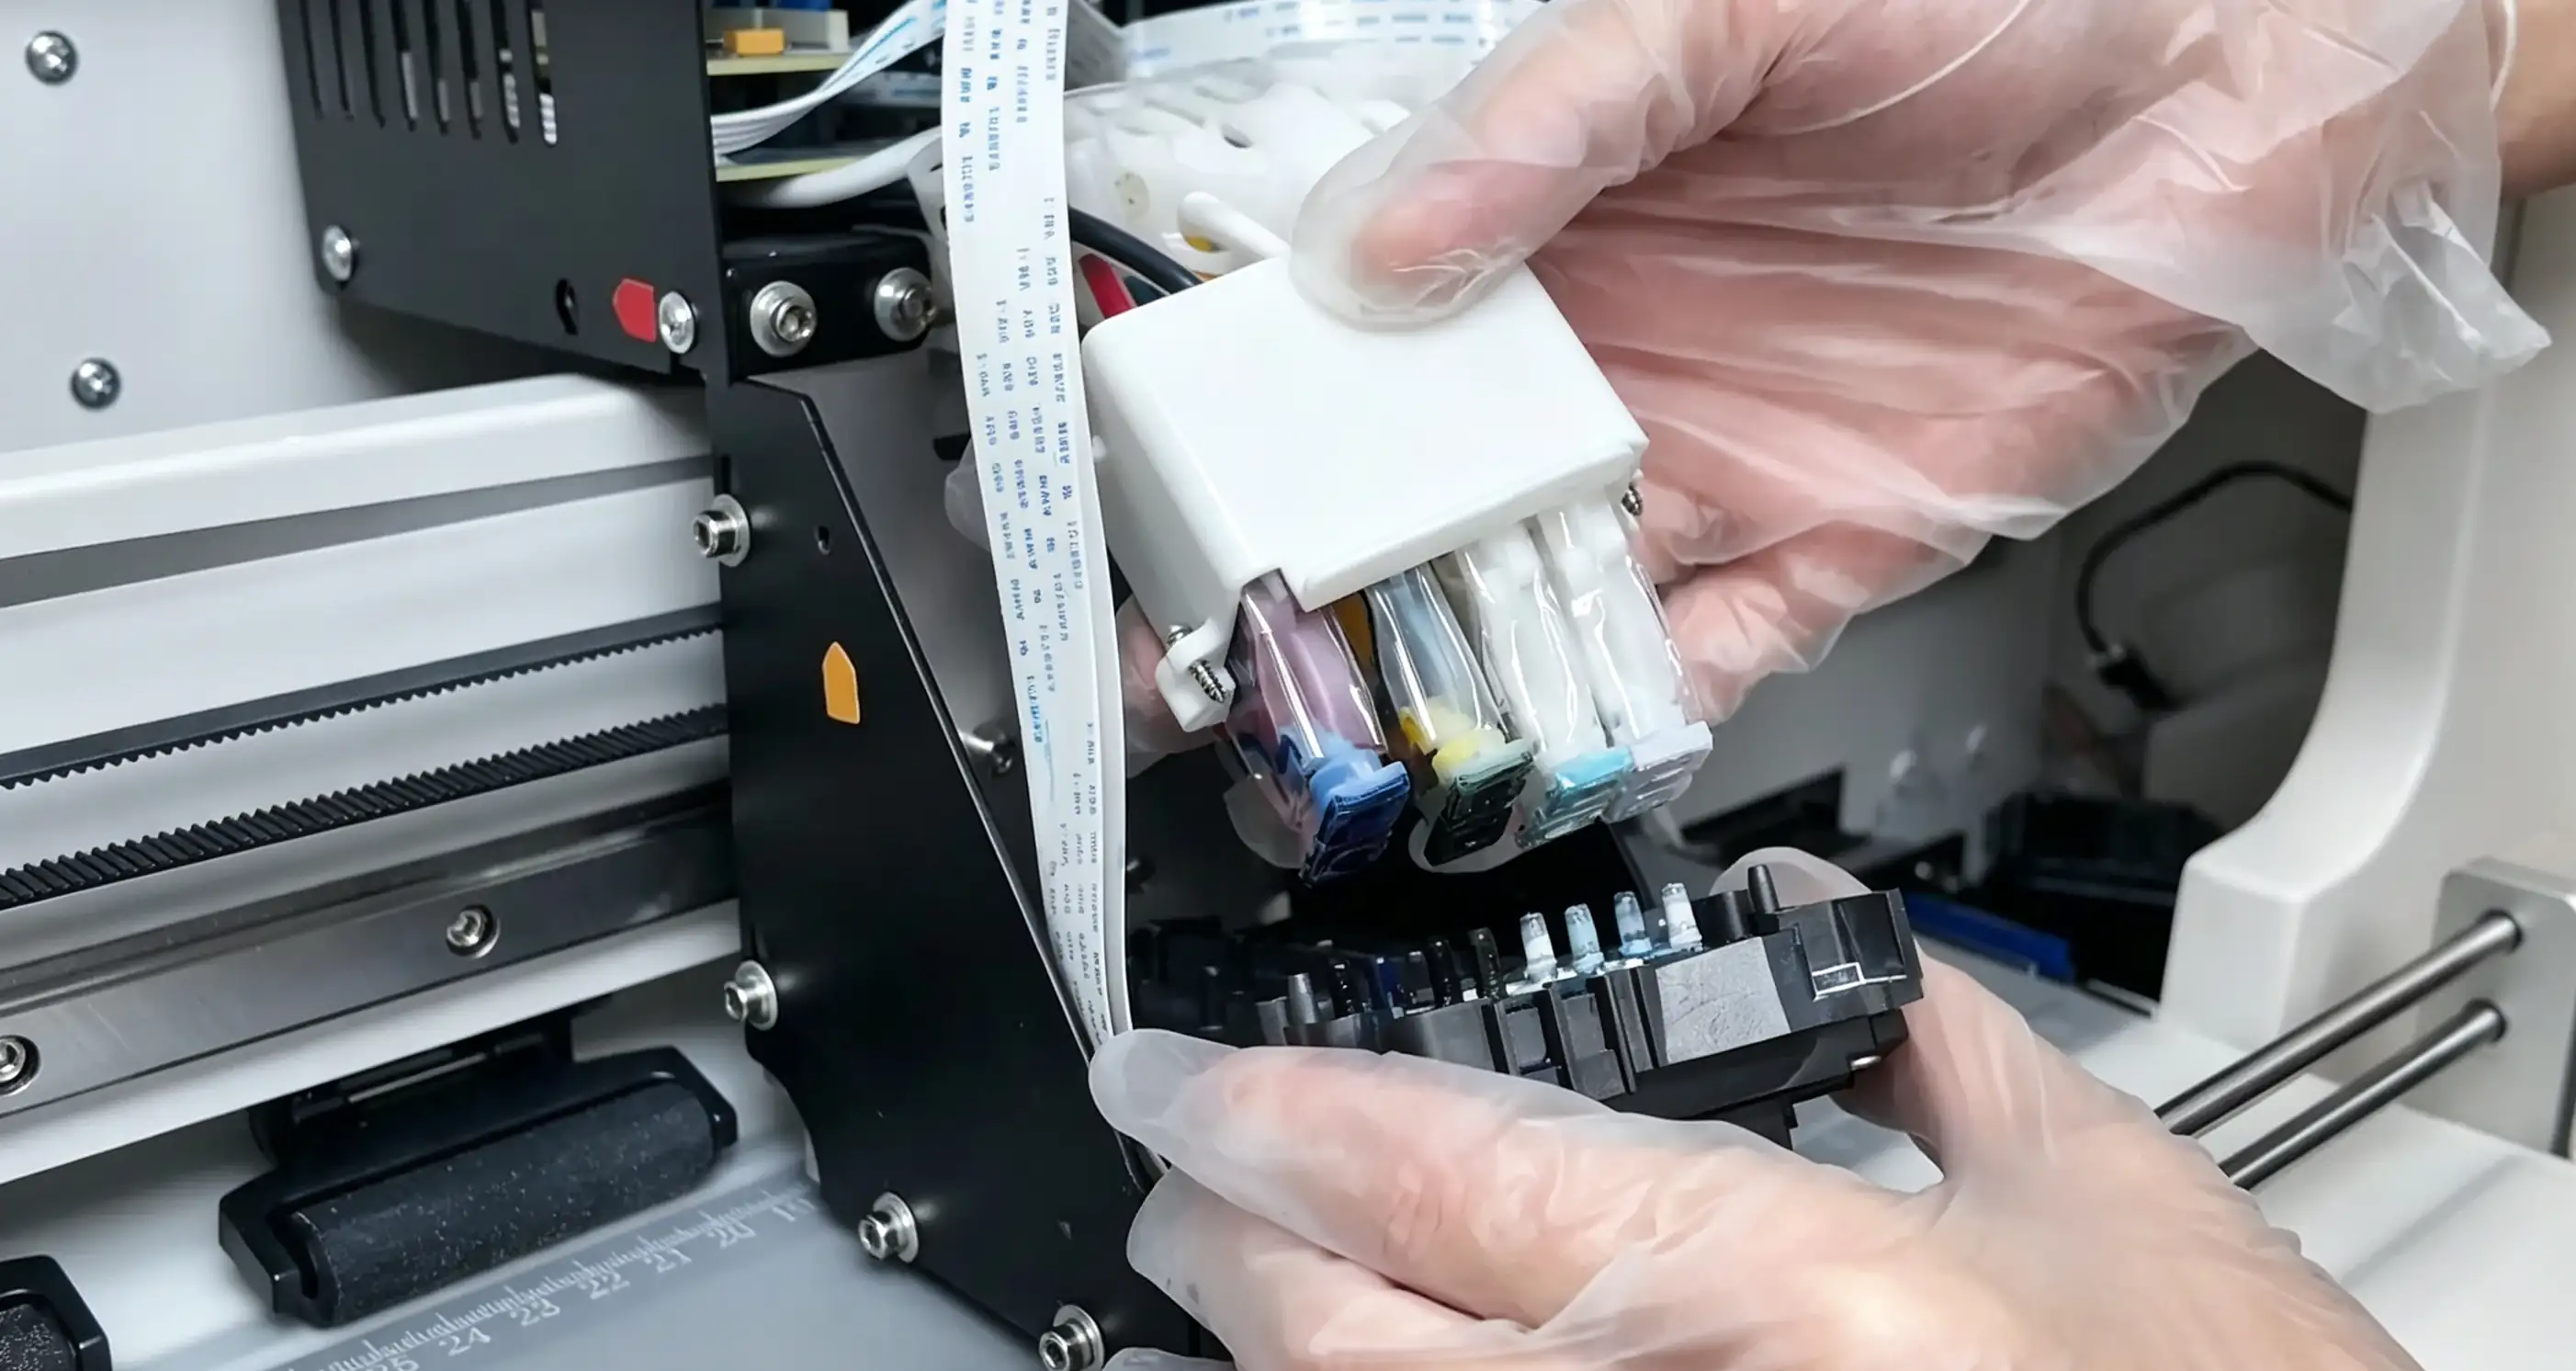
- Remove the ink cartridges one by one from the old print head and insert them into the new print head.
Note: The color order of the ink cartridges must strictly match that of the old print head.
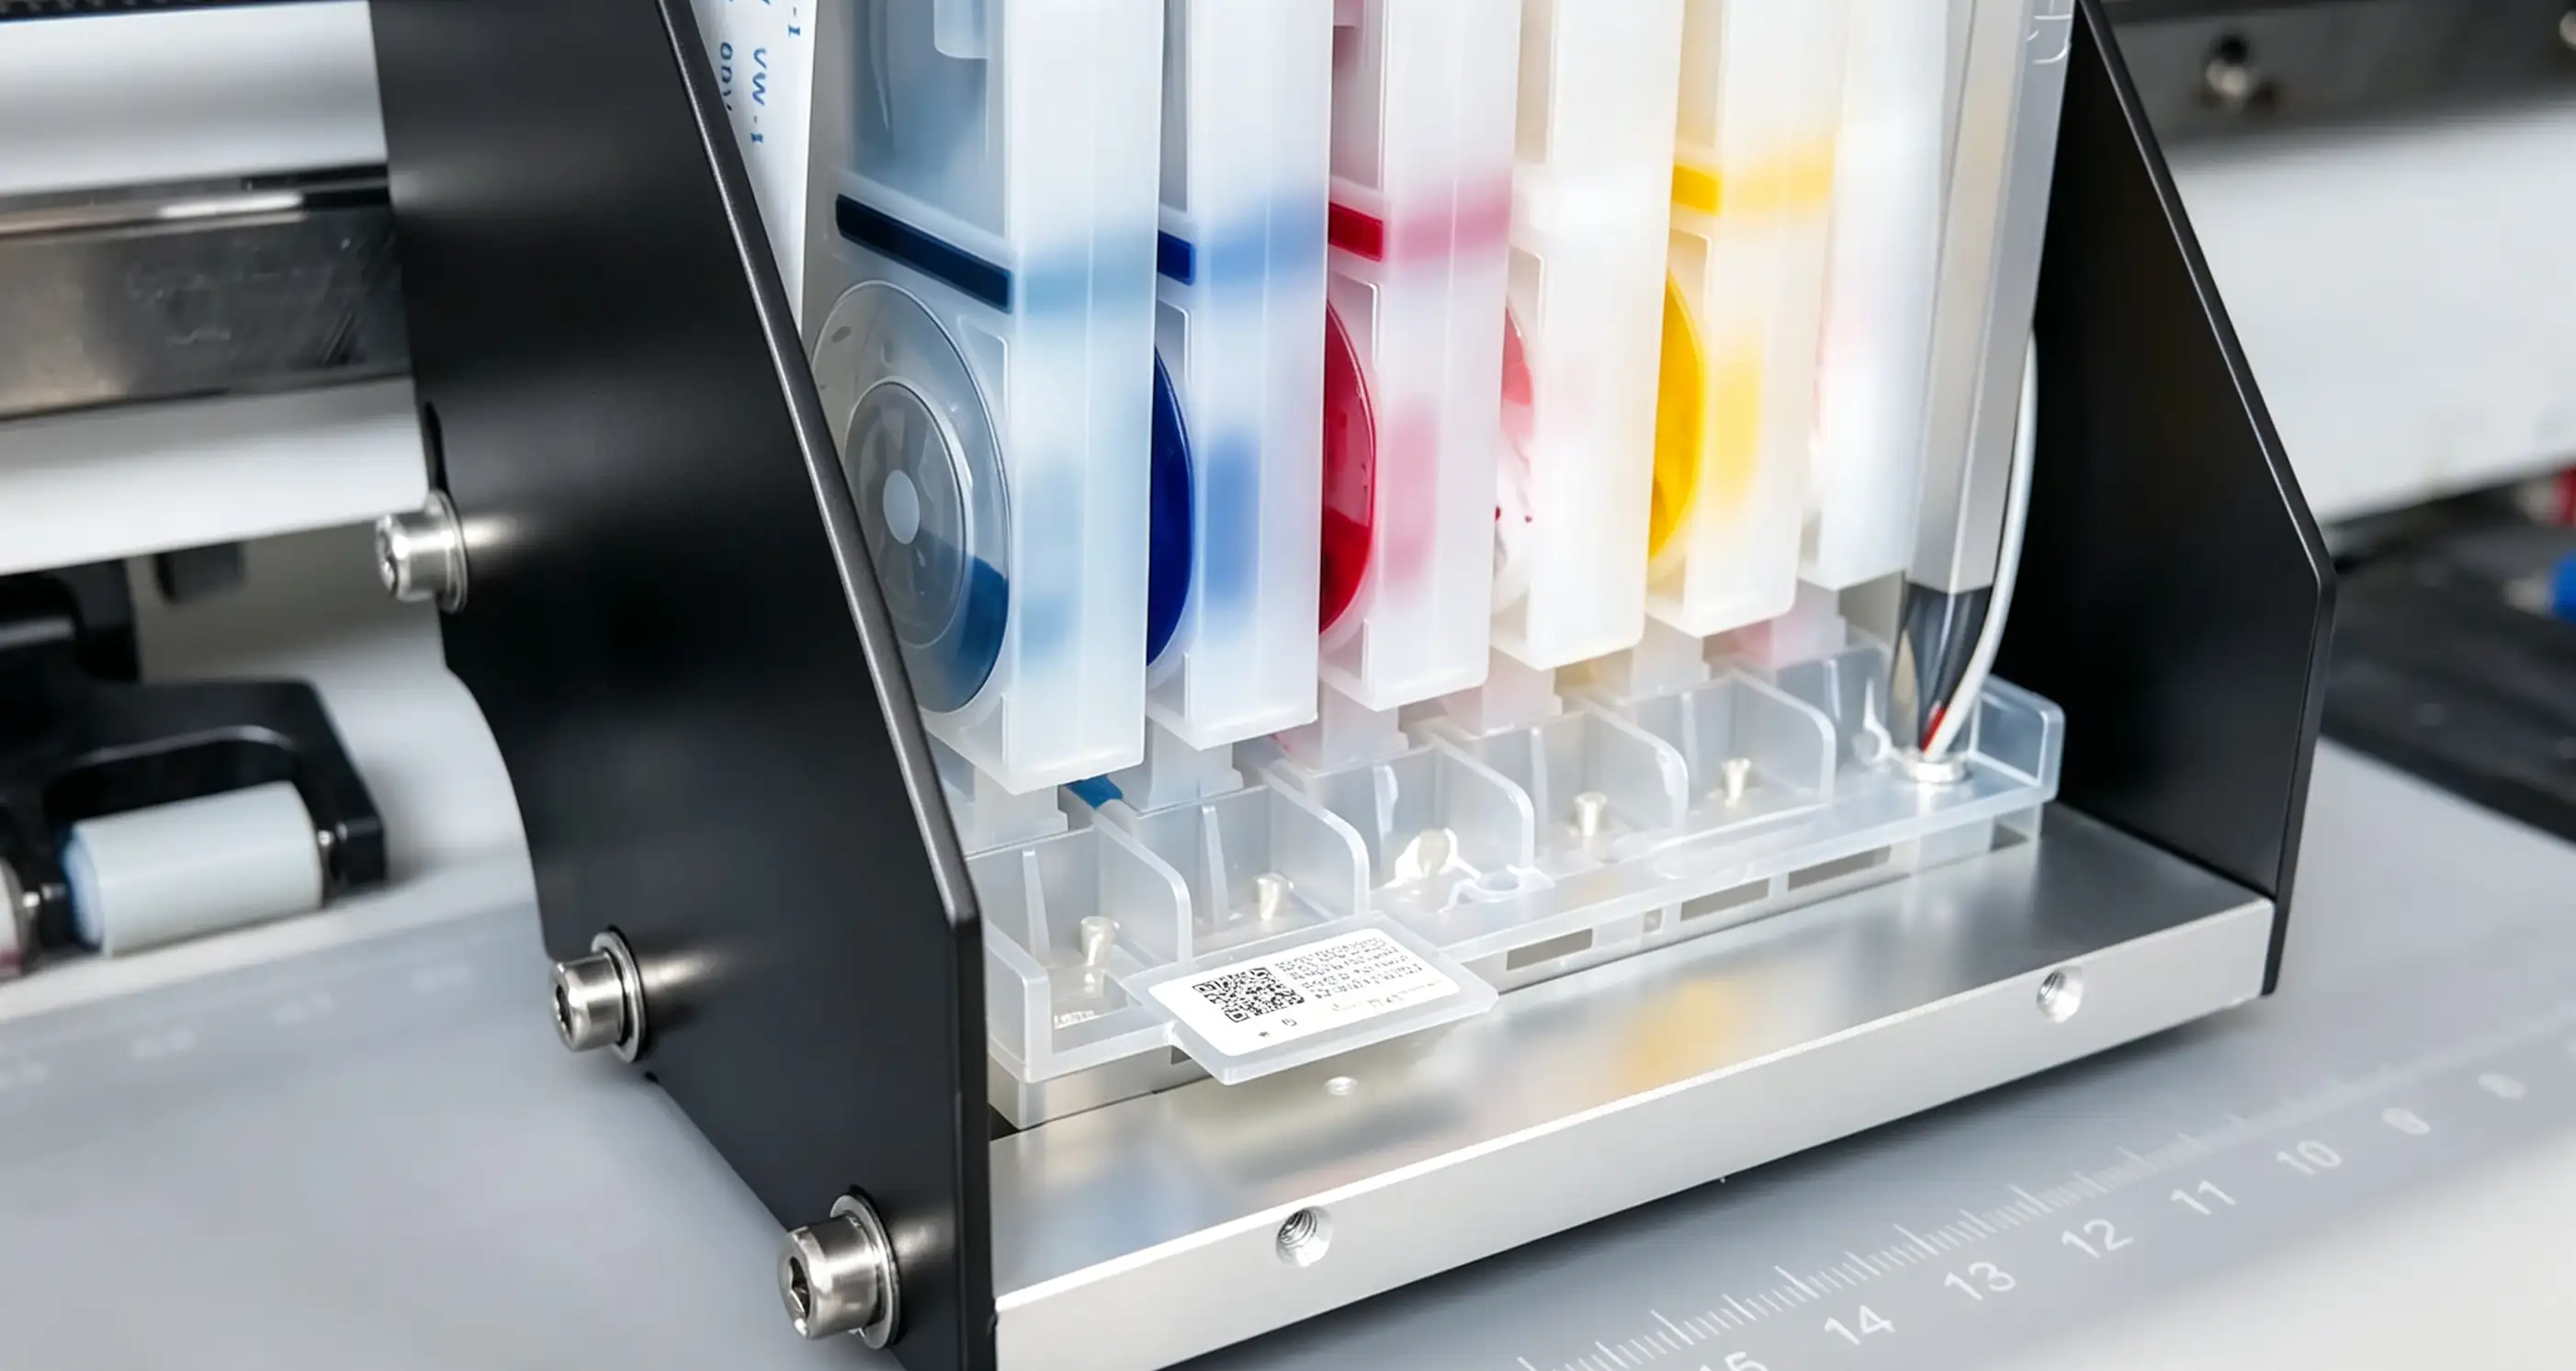
- The color arrangement for different models is as follows:
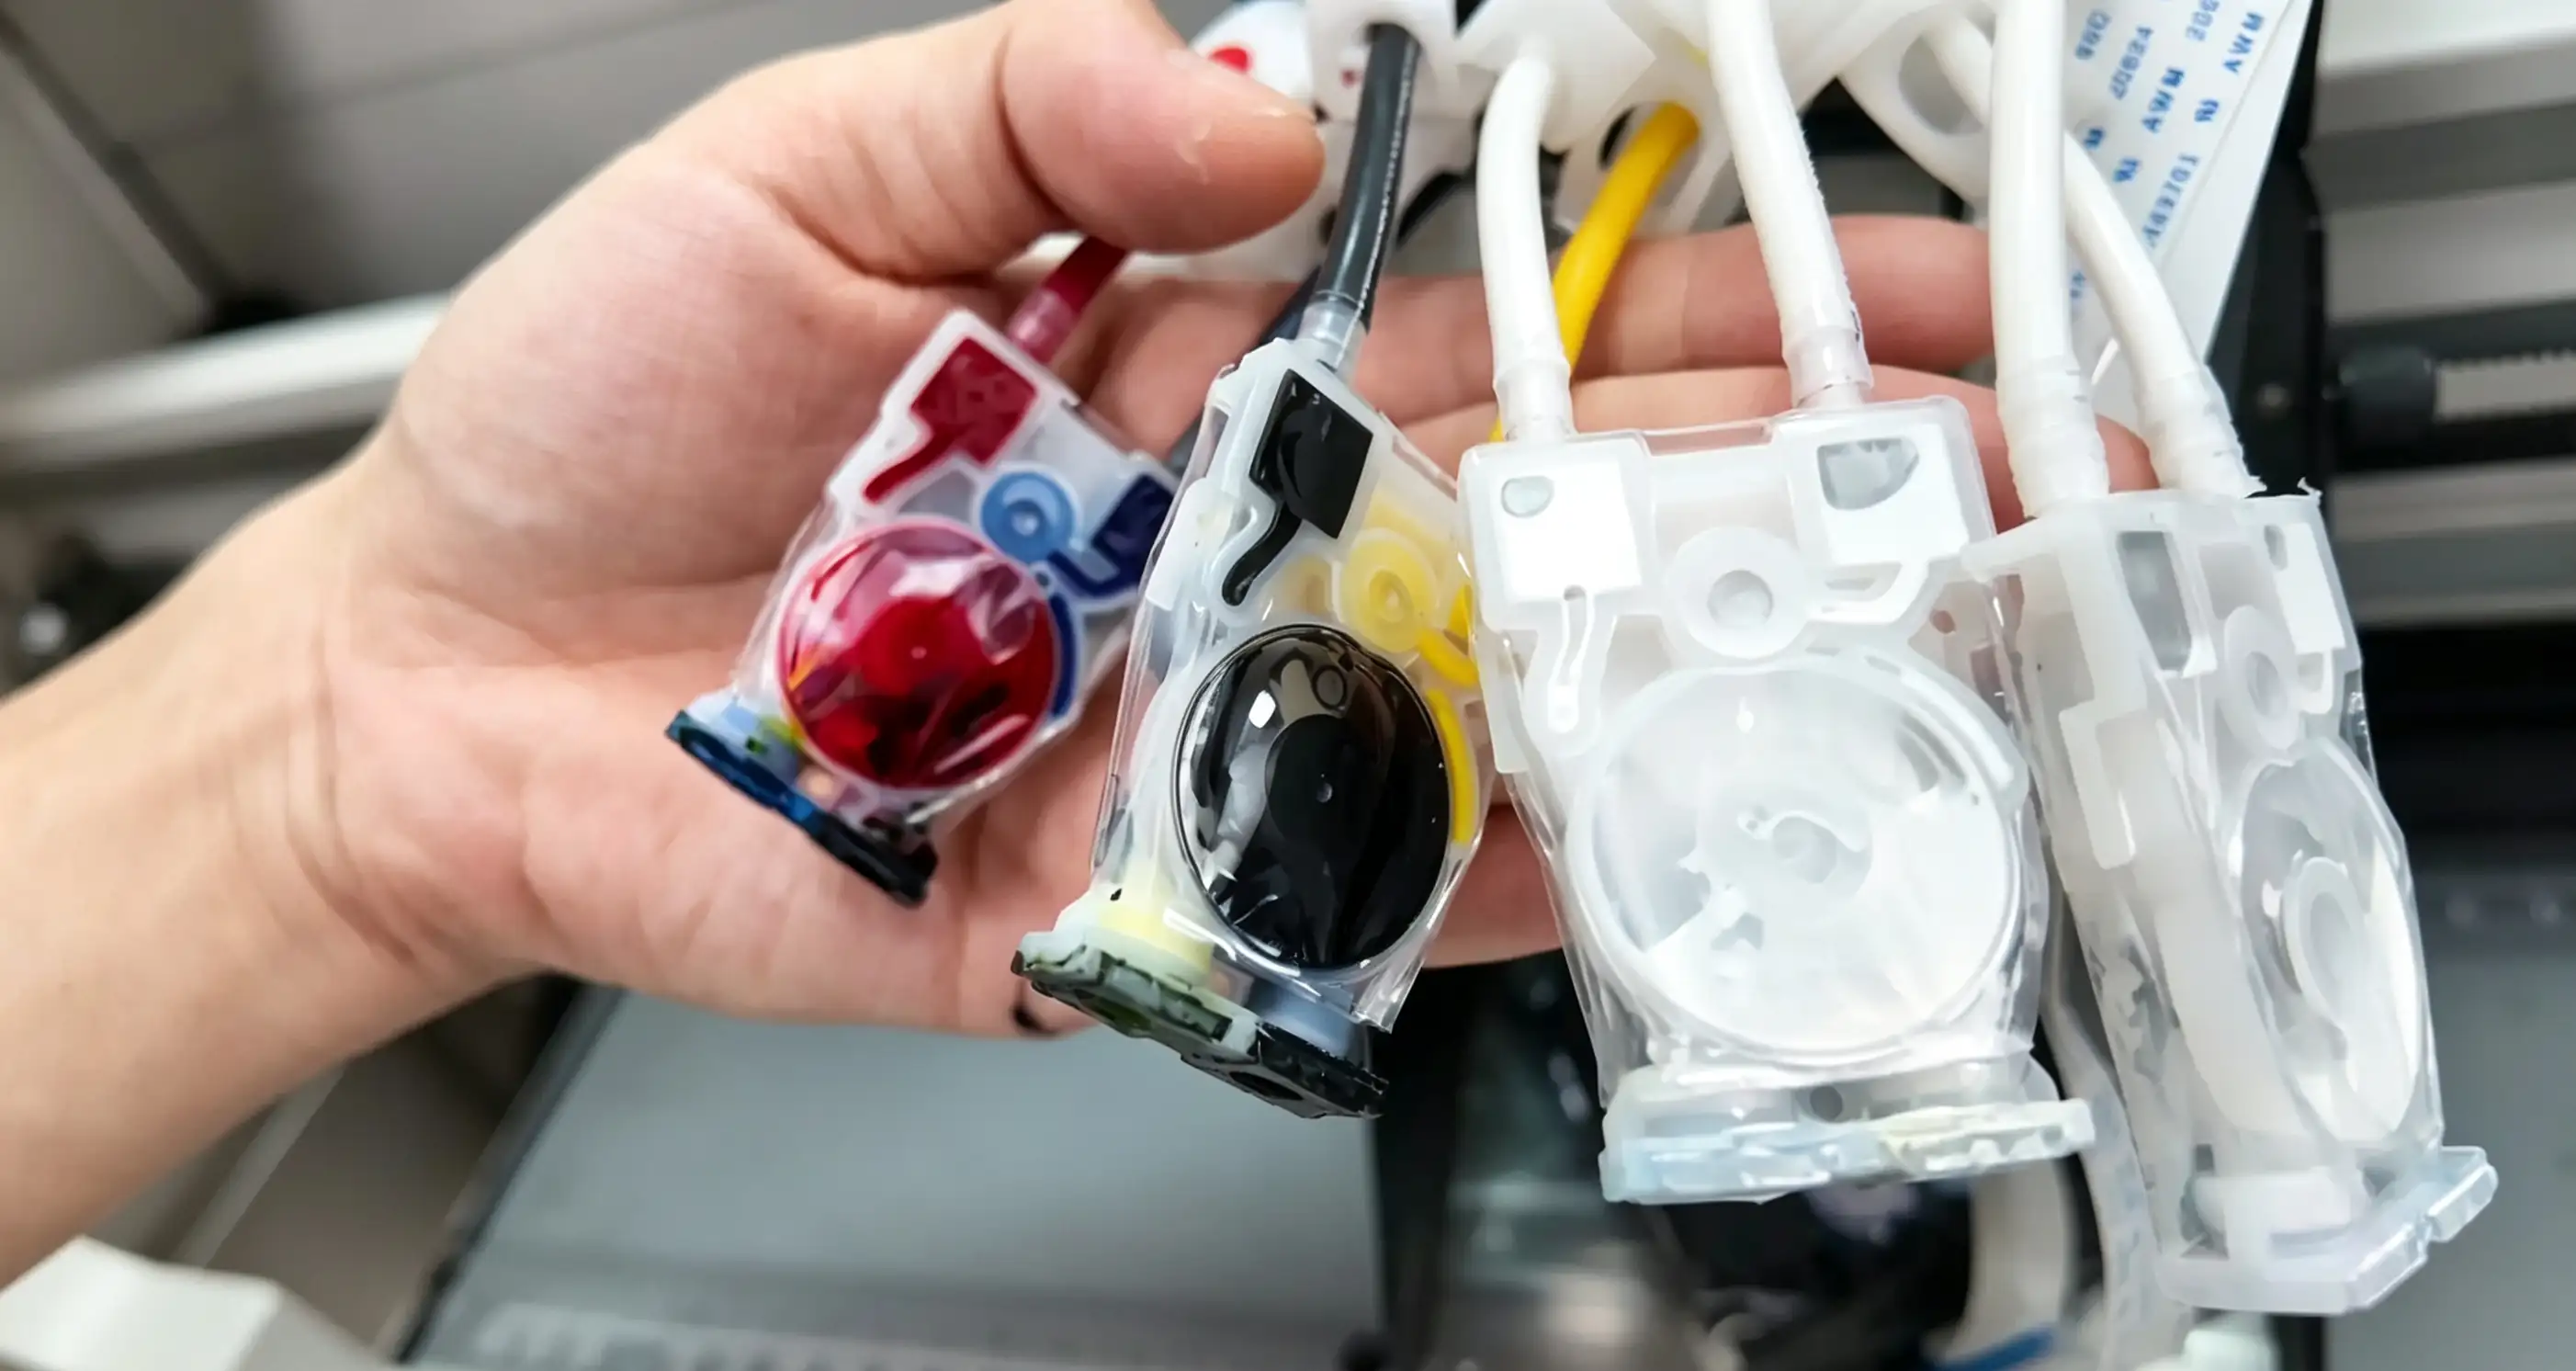
- Model 3200 (from left to right): red, blue, black, yellow, white, white,white, white. (note: red and black are positioned at the front).
-
XP600 model (from left to right): black, blue, red, white, yellow, white.
-
Connect the ribbon cables: After installing the ink cartridge, remove the print head and insert the ribbon cables on both sides into their respective connectors accurately.
3200: Pay attention to the order when inserting the print head ribbon cables; the insertion position for each cable is indicated on the adapter board.
XP600: Install the two ribbon cables in a crossed manner to allow for fine adjustment.
- Initial Fixation: Place the print head back in position and gently tighten the screws one by one (do not fully lock them yet to allow for fine adjustments).
¶ Testing and Calibration
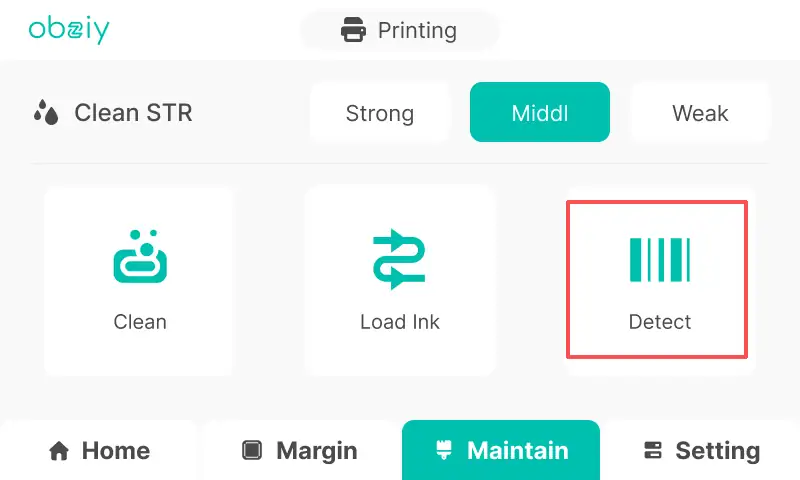
- Power on test: Connect the power cable, turn on the power, and print a test strip.
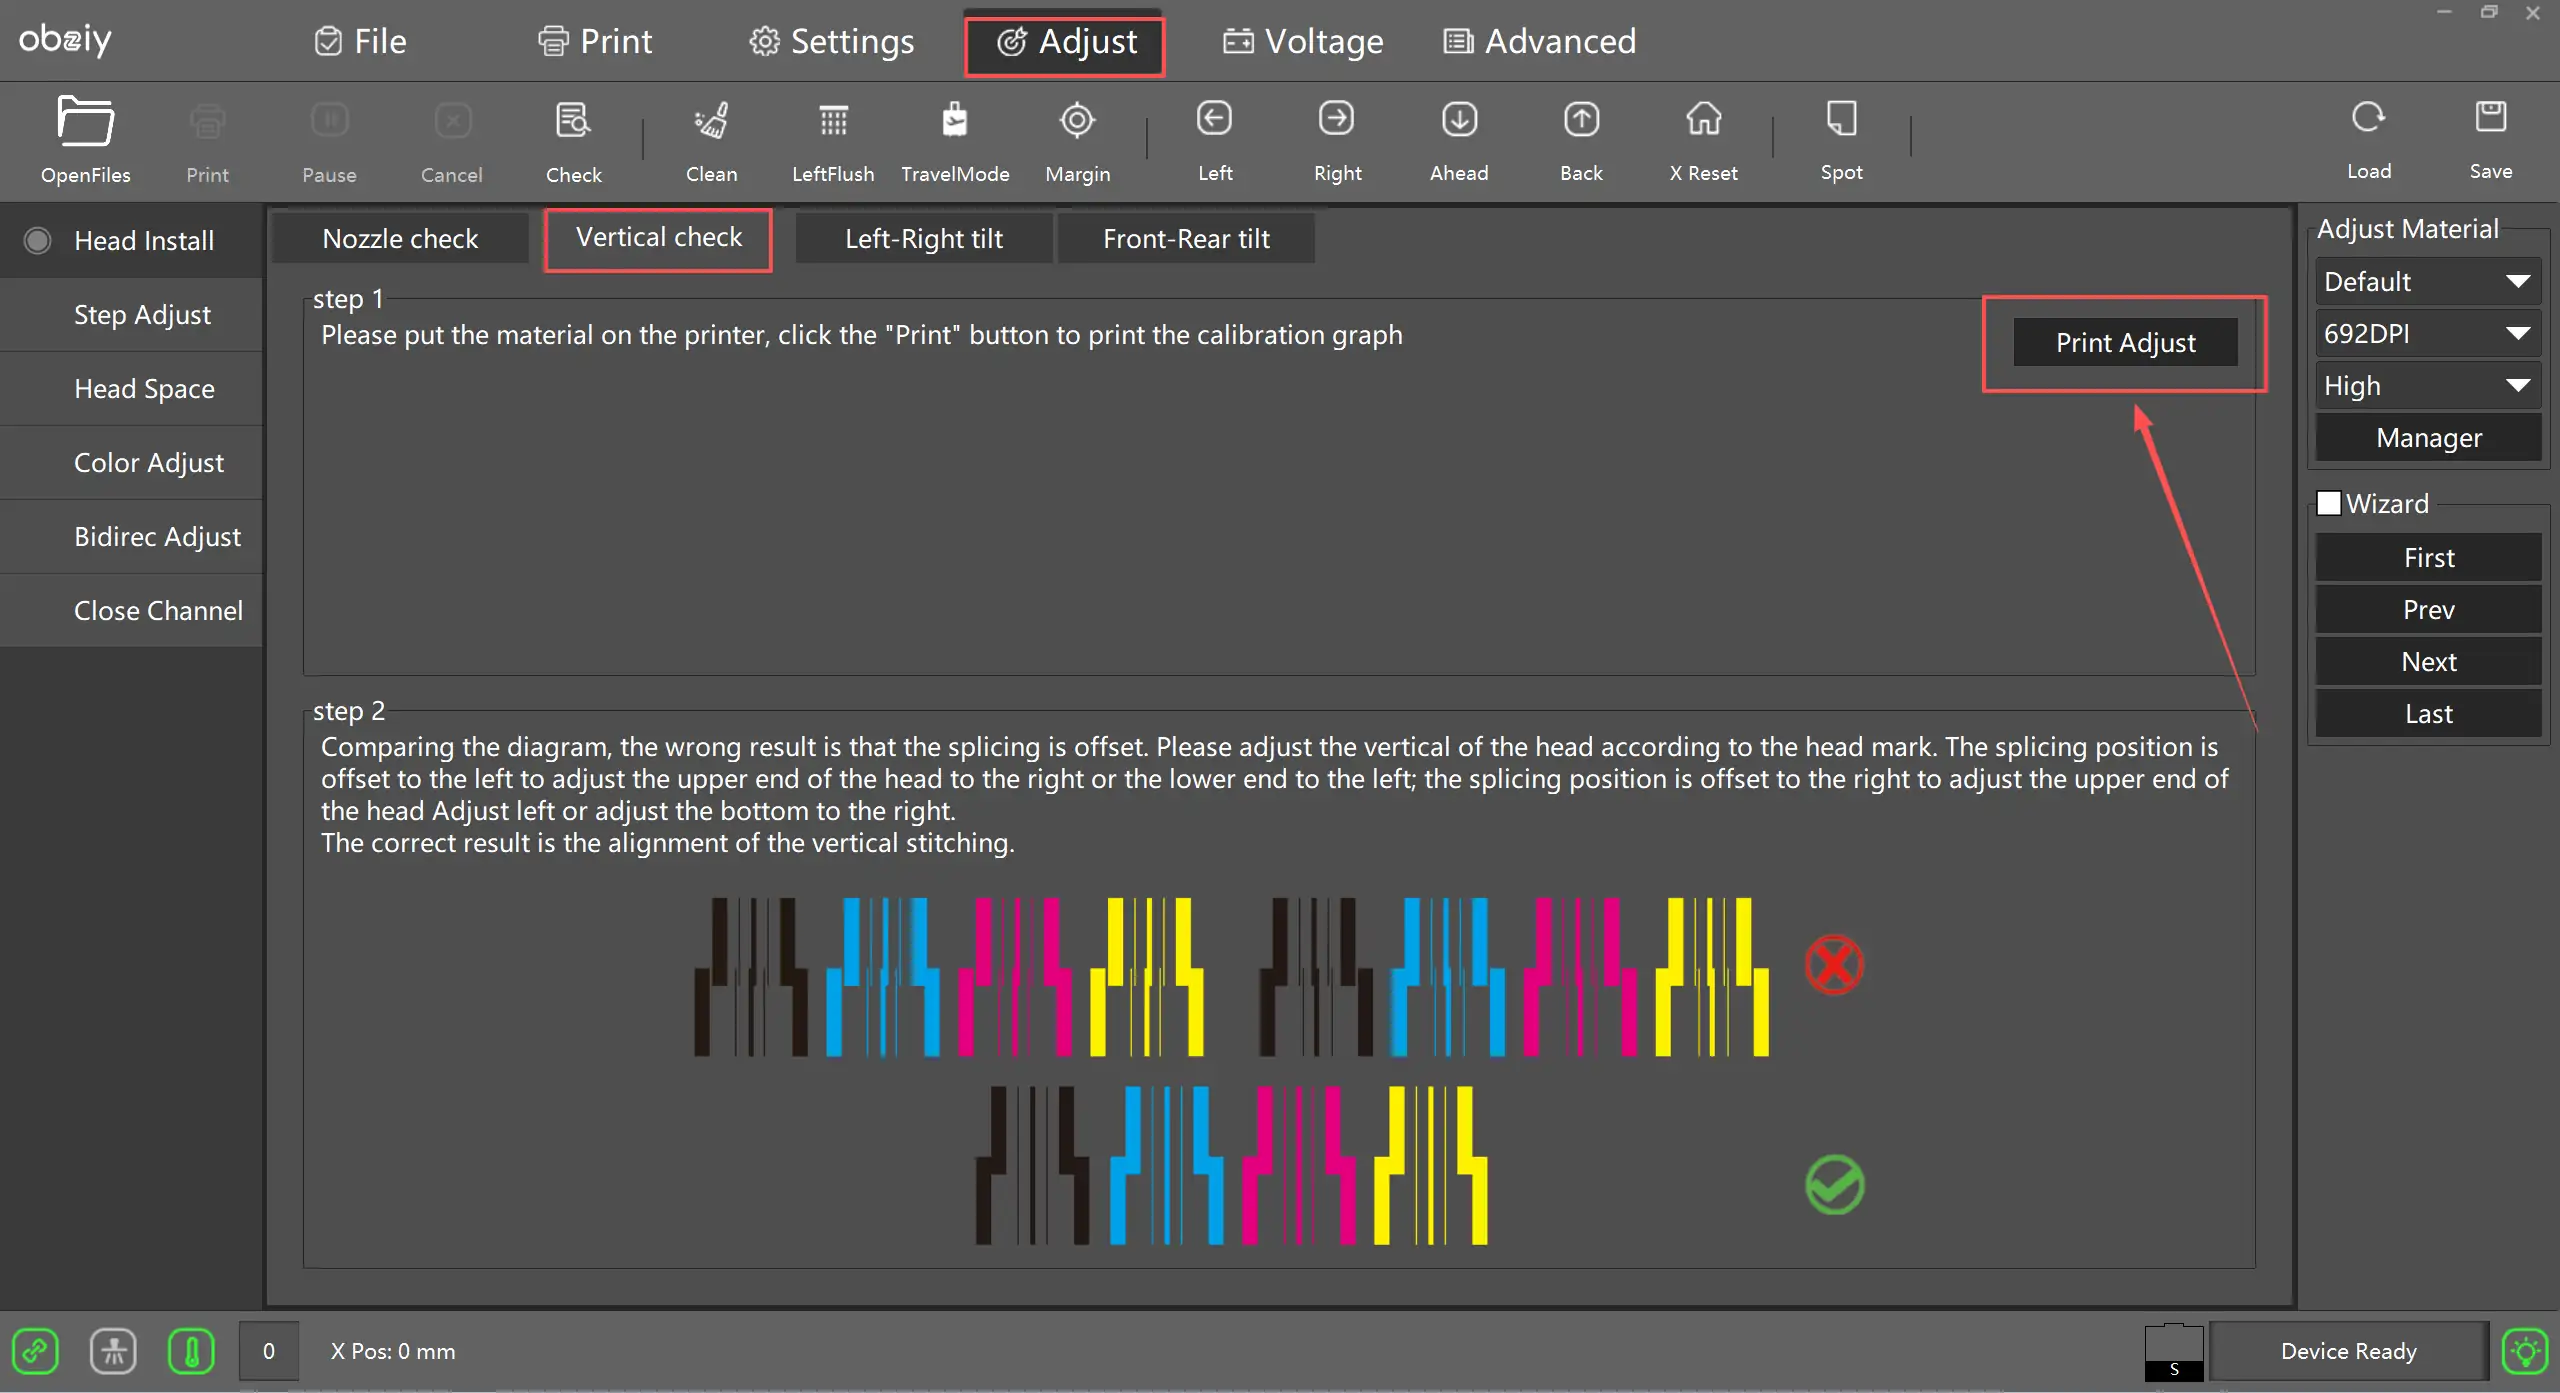
Step 1: ZRIP vertical calibration
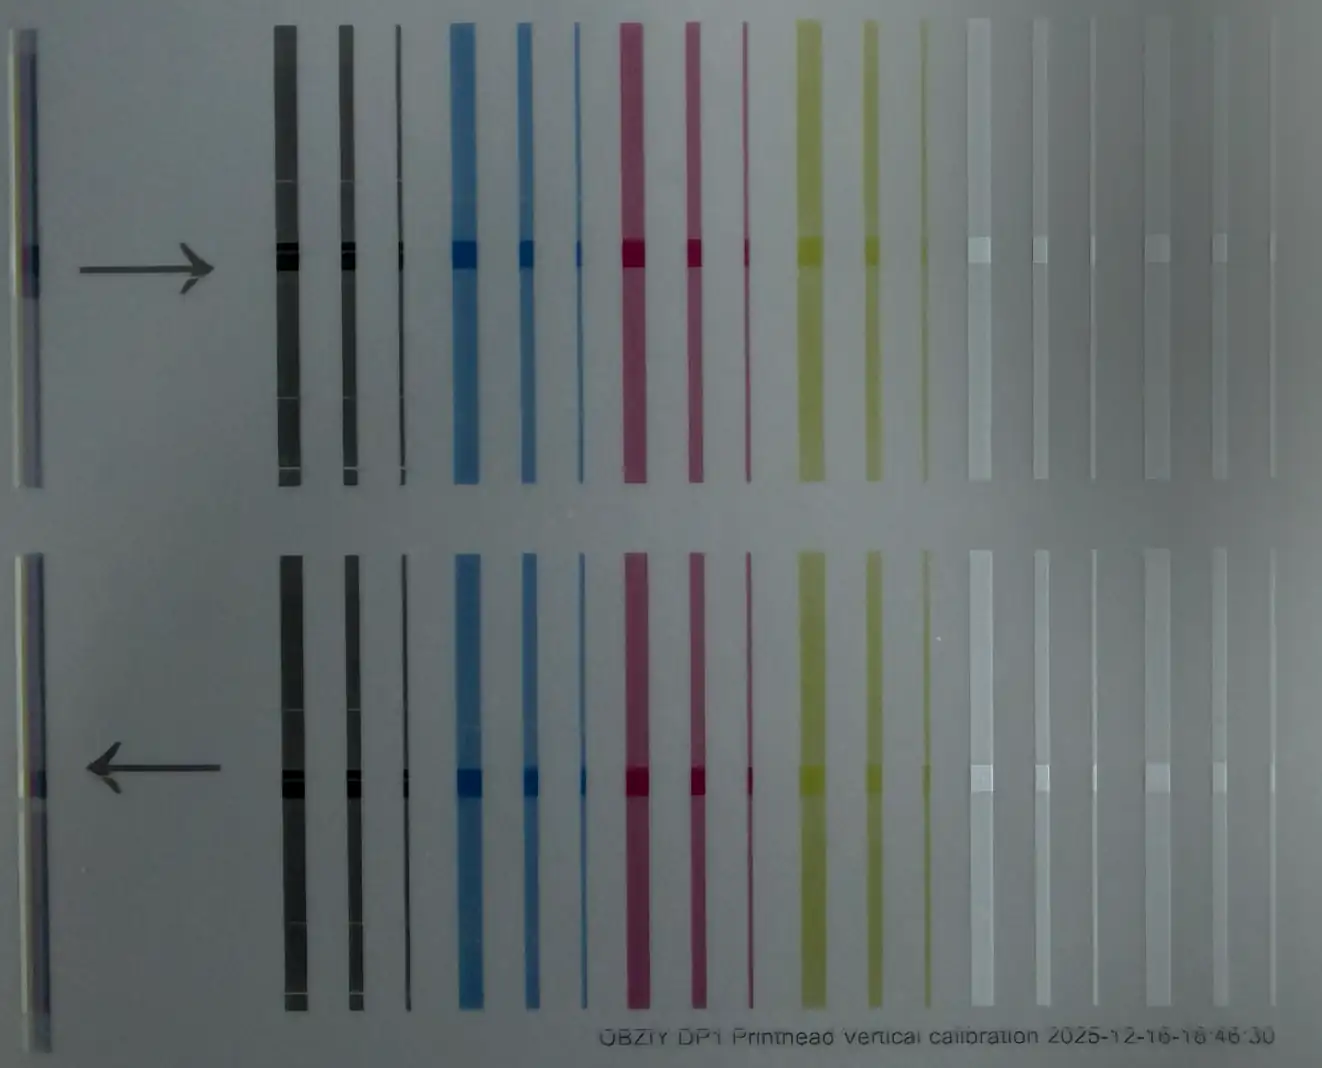
Step 2: DP1 print strip test
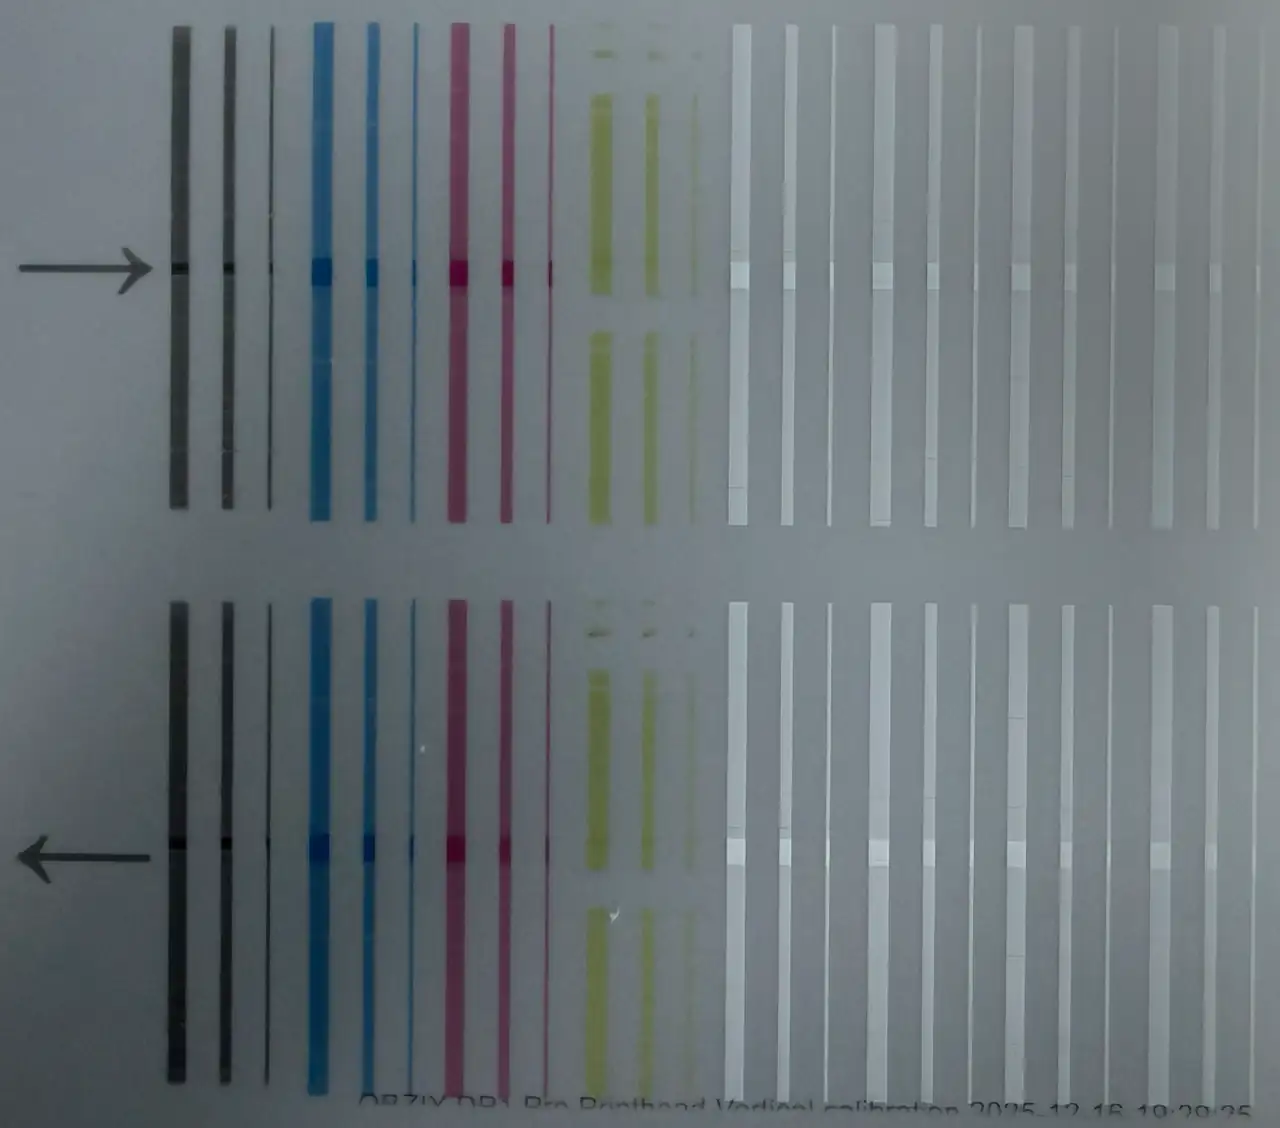
Step 3: DP1 Pro print strip test
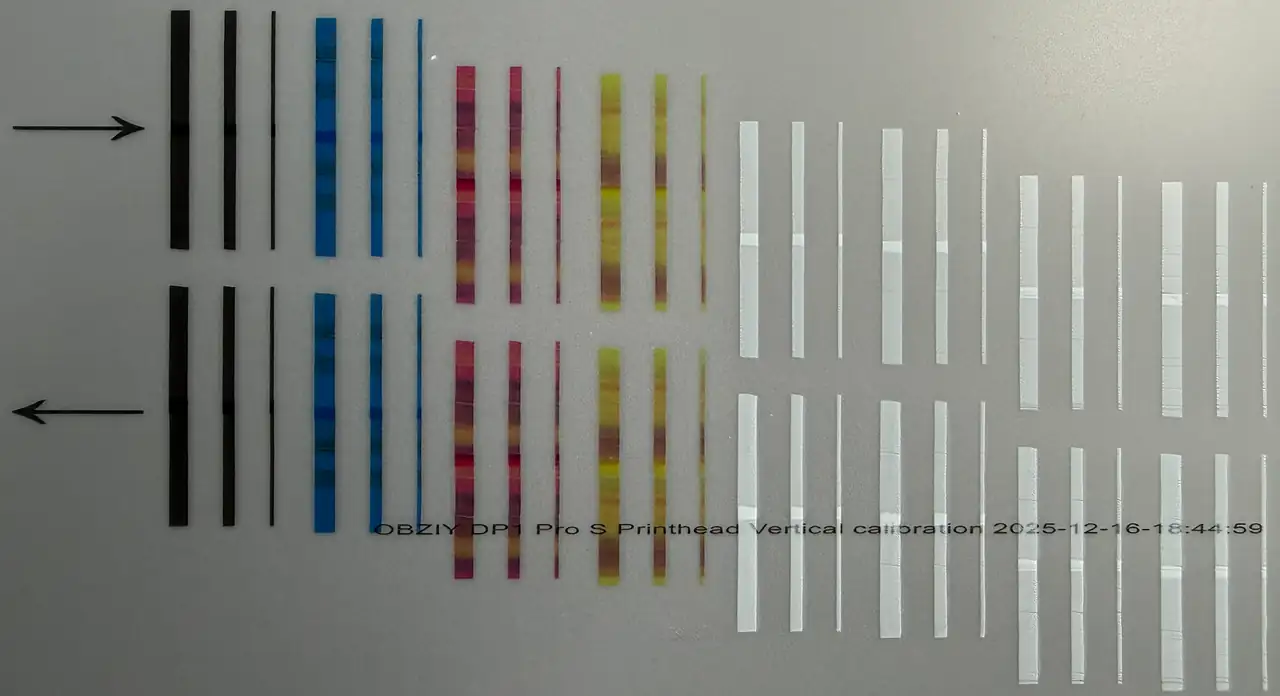
Step 4: DP1 ProS print strip test
-
Software calibration: Perform vertical calibration in the ZRIP software to check whether the print head is installed accurately.
-
Final confirmation:
Step 1: Front cover of the print head
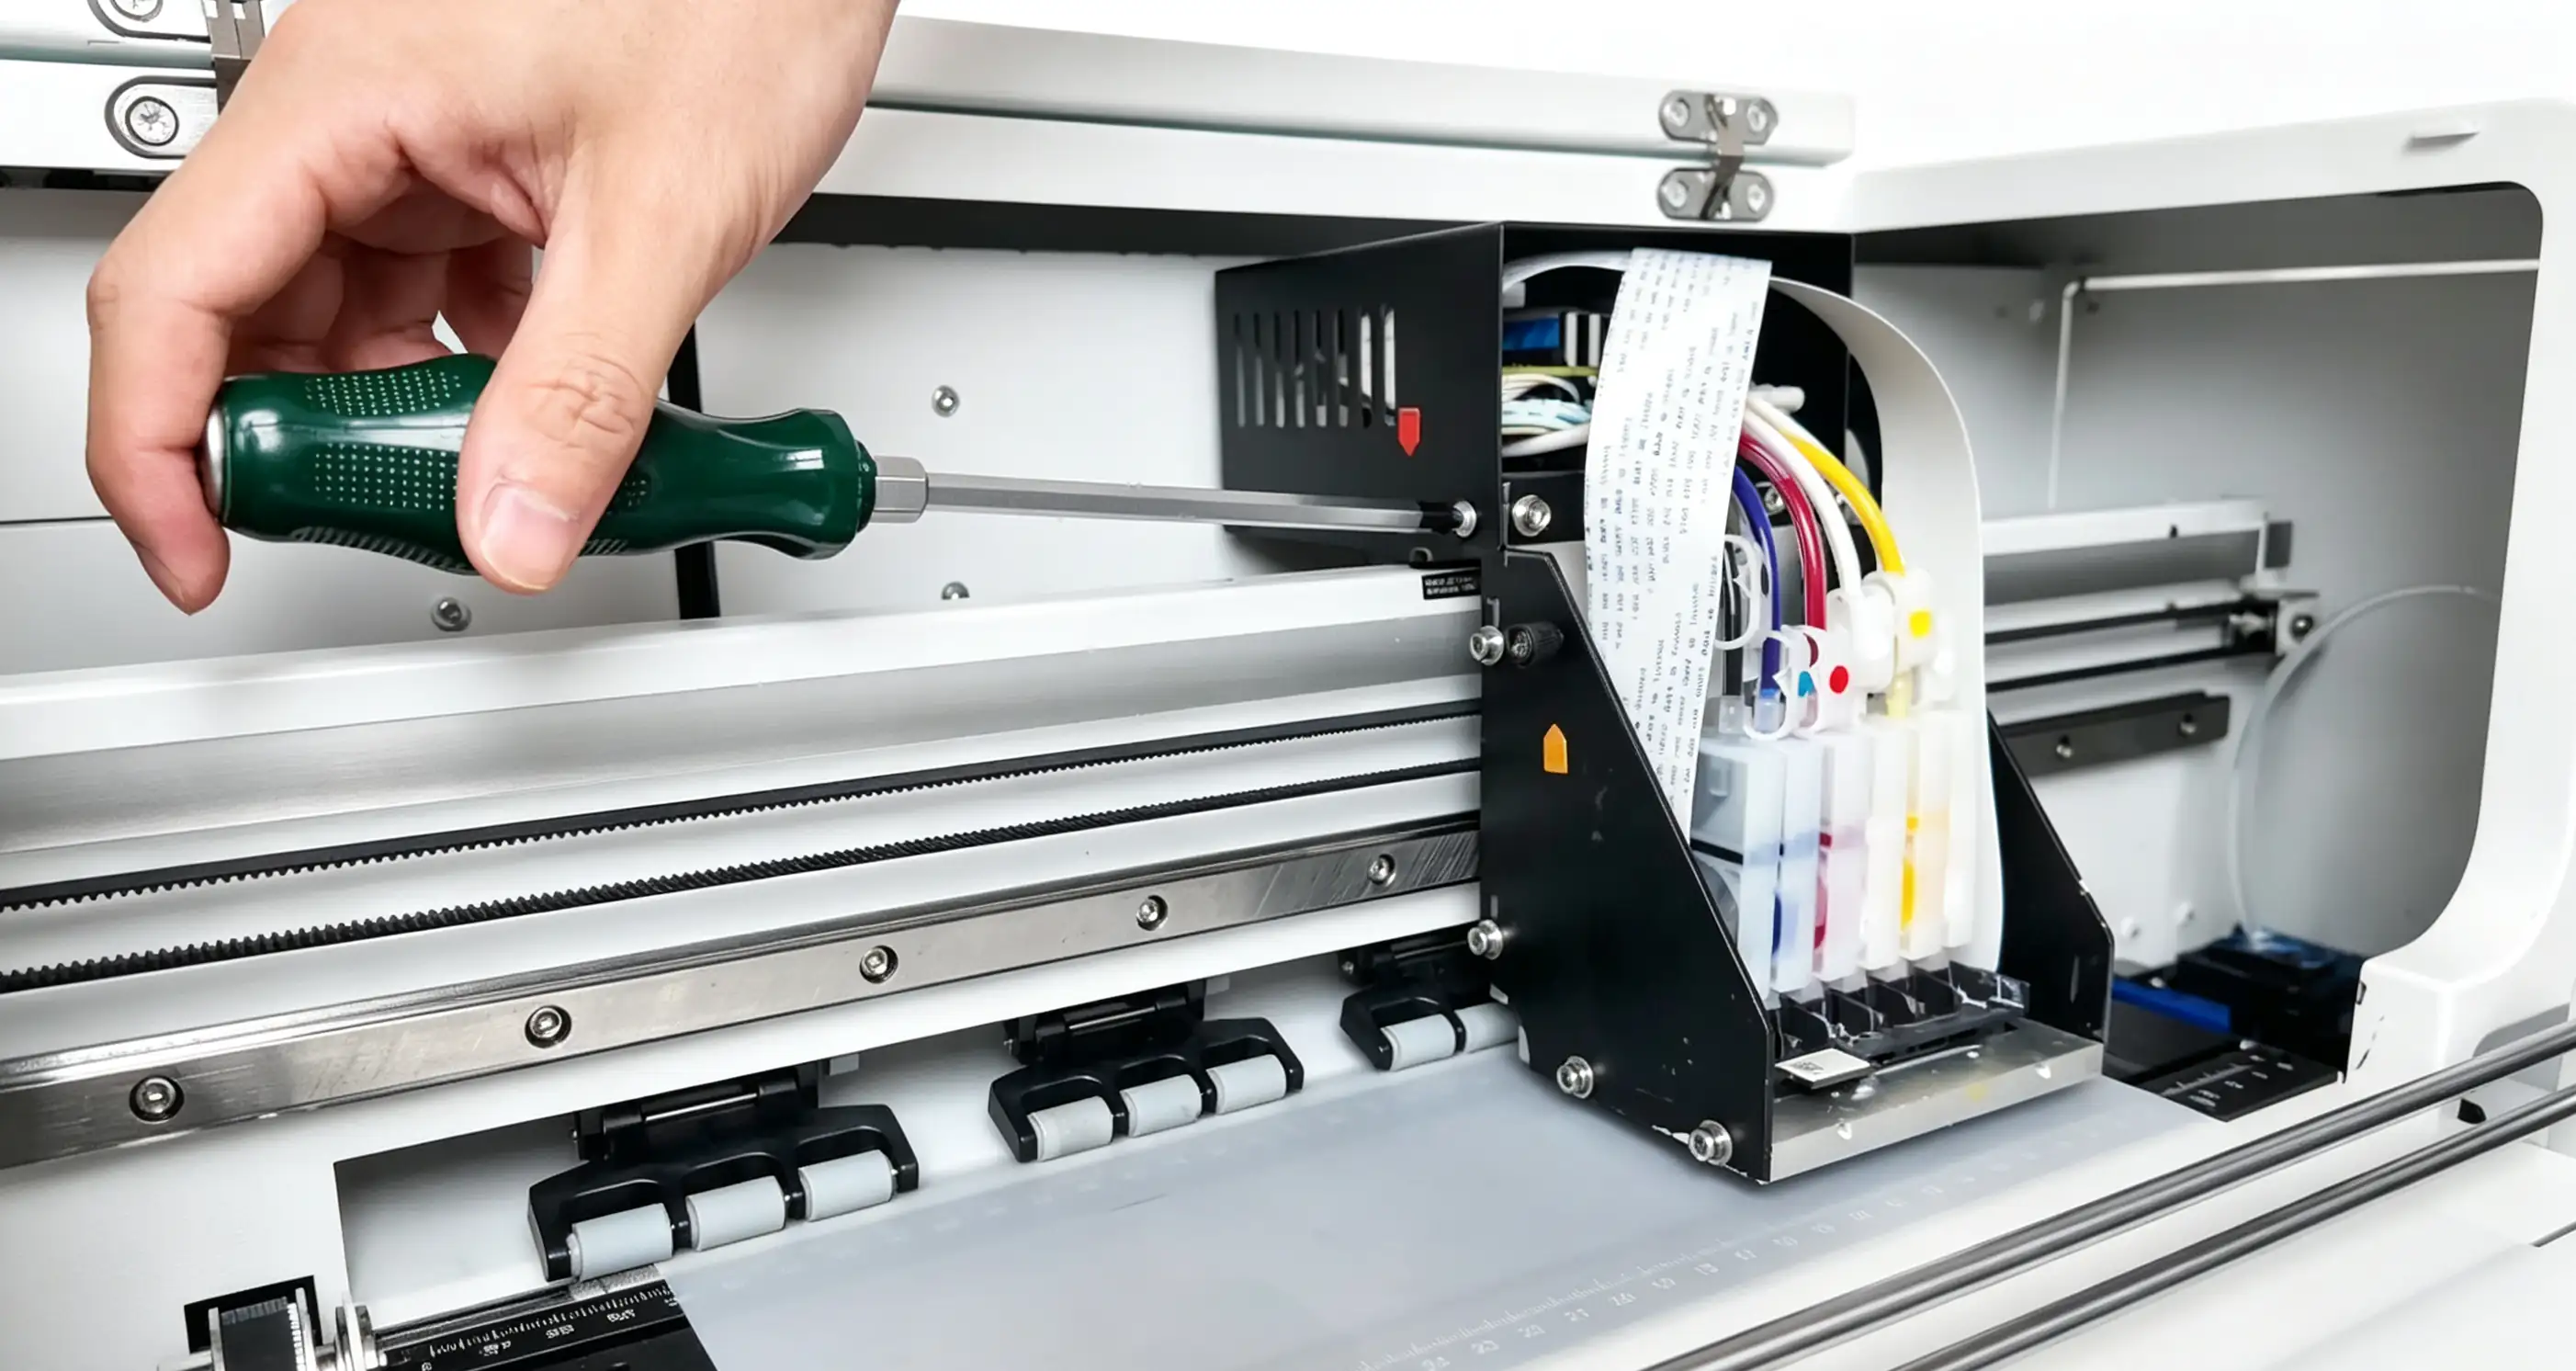
Step 2: Reattach the top cover
- If installation is accurate: Fully tighten all four screws to complete the replacement.
- If installation is inaccurate: Gently adjust the print head position, reprint the test strip, and recheck until calibration passes, then fully tighten the screws.