¶ Preparation
- Tools: New ink cartridge, PVC gloves, syringe, empty ink bottle, scissors.
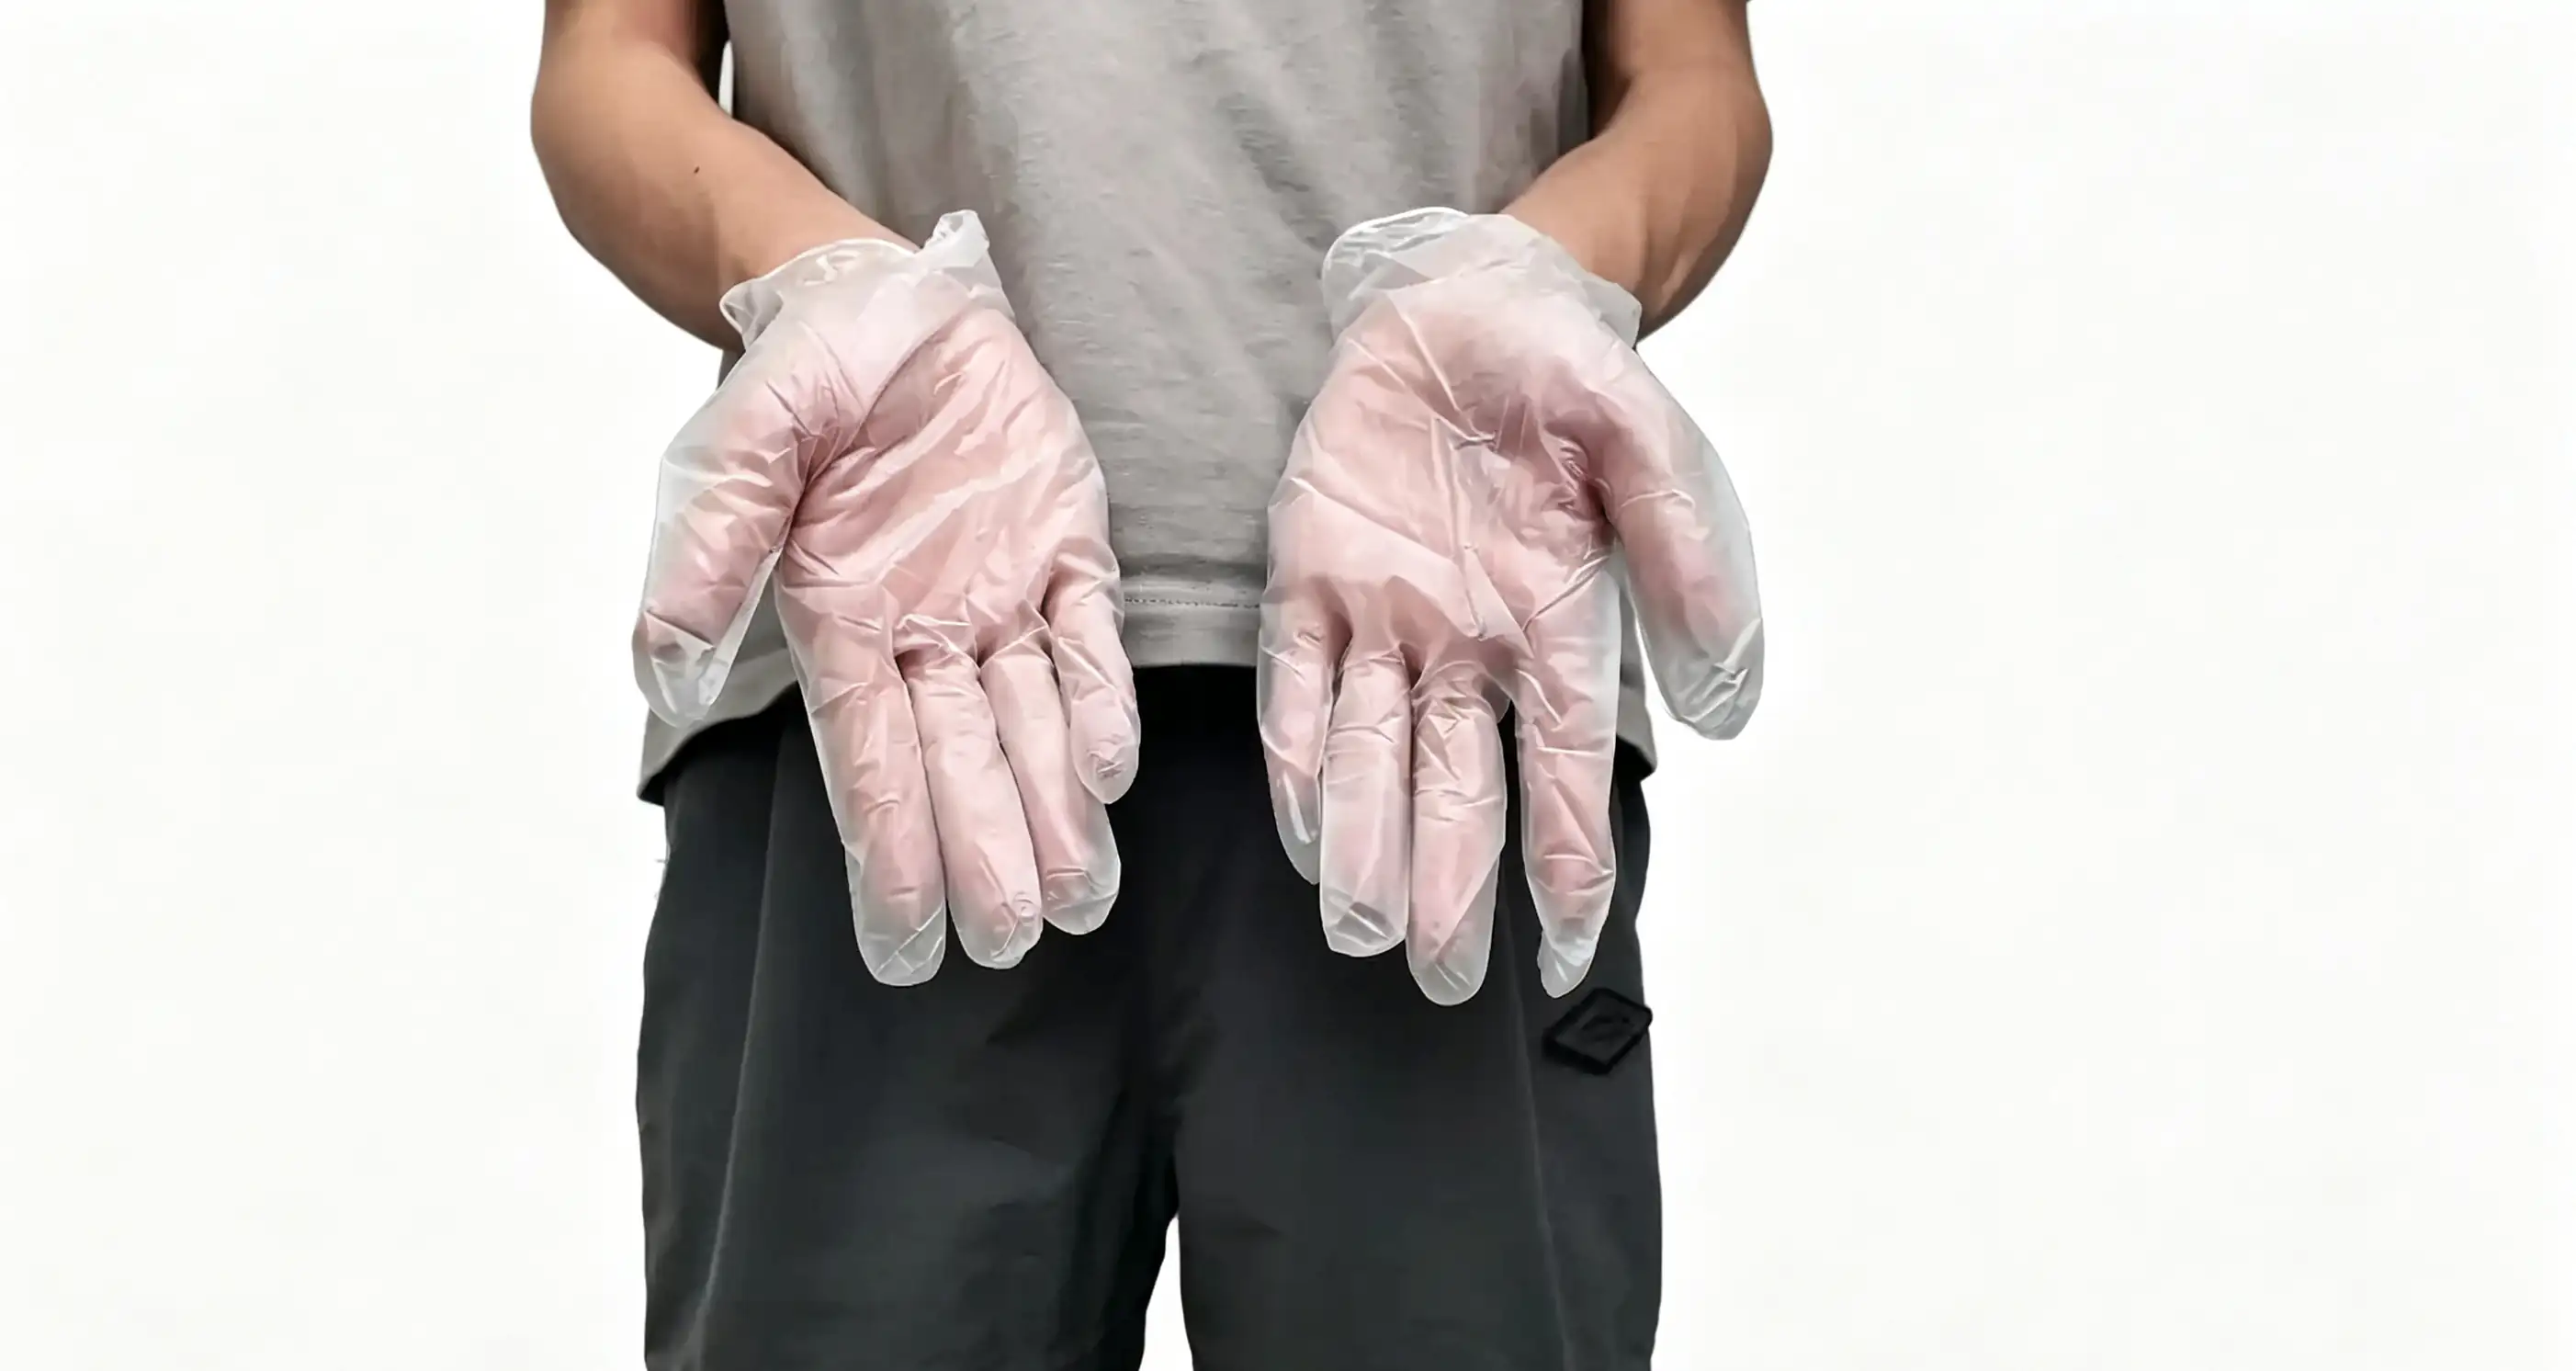
- Safety Precautions: Please wear PVC gloves before operation to prevent oil or sweat from your hands from contaminating the equipment's precision components.
¶ Operating Procedures
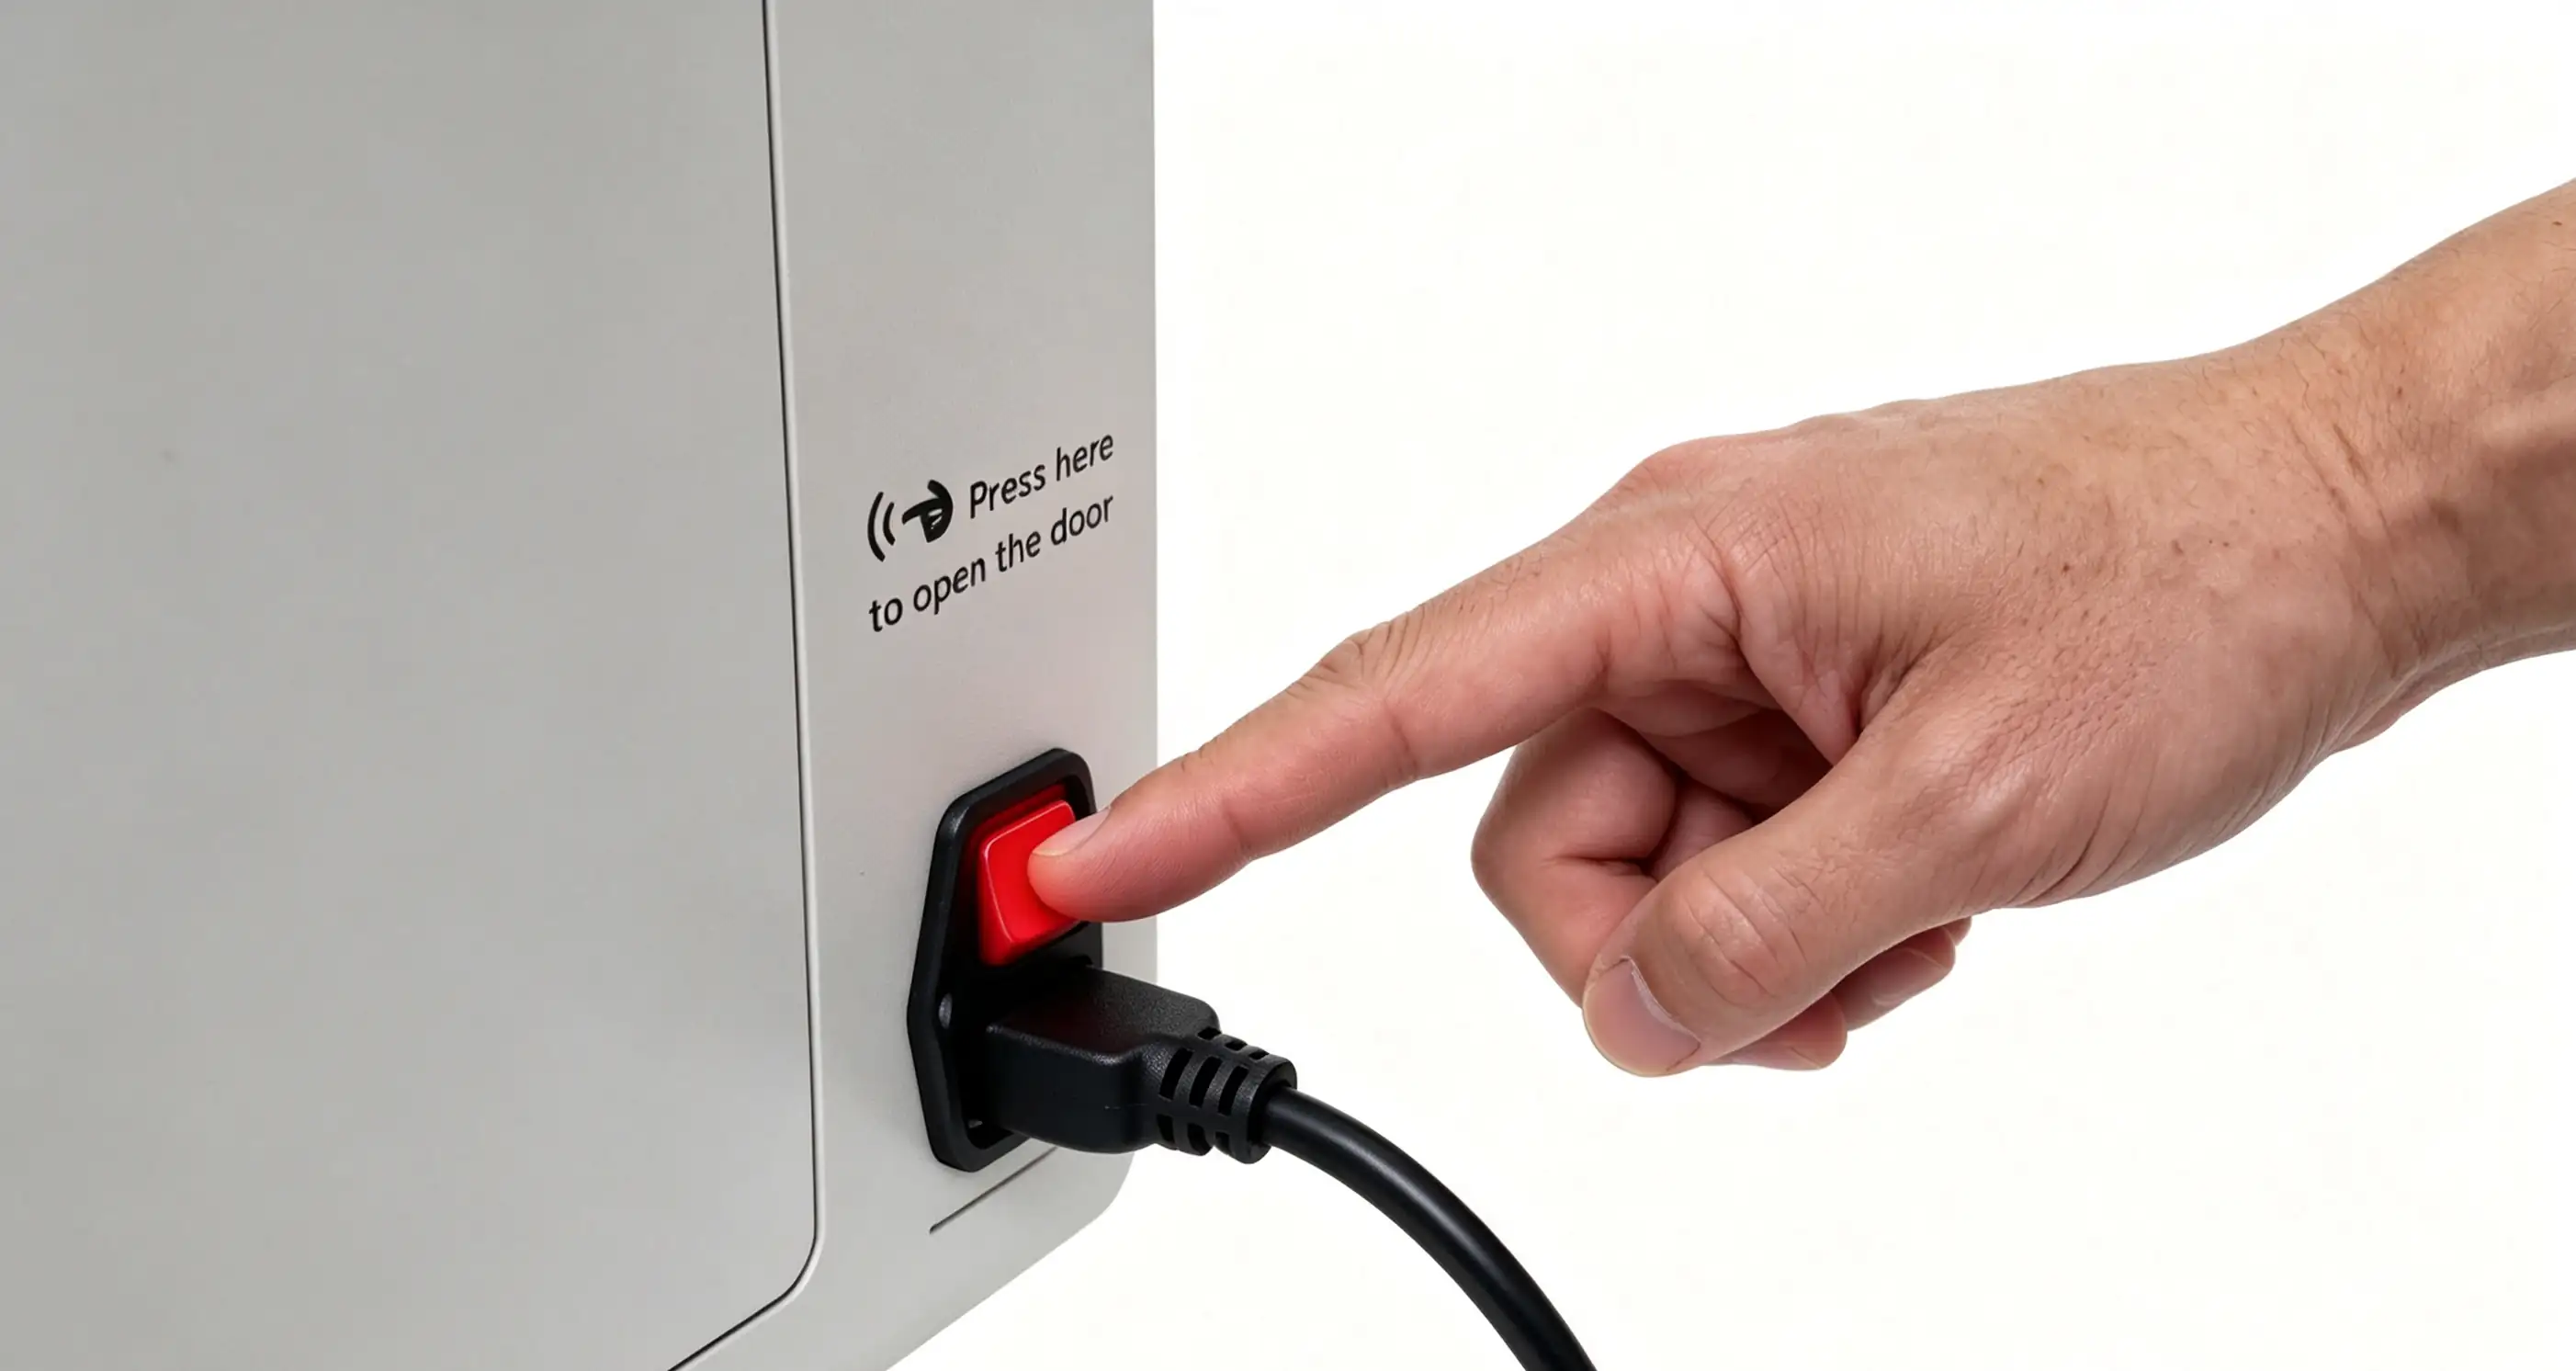
Step 1: Turn off the device power
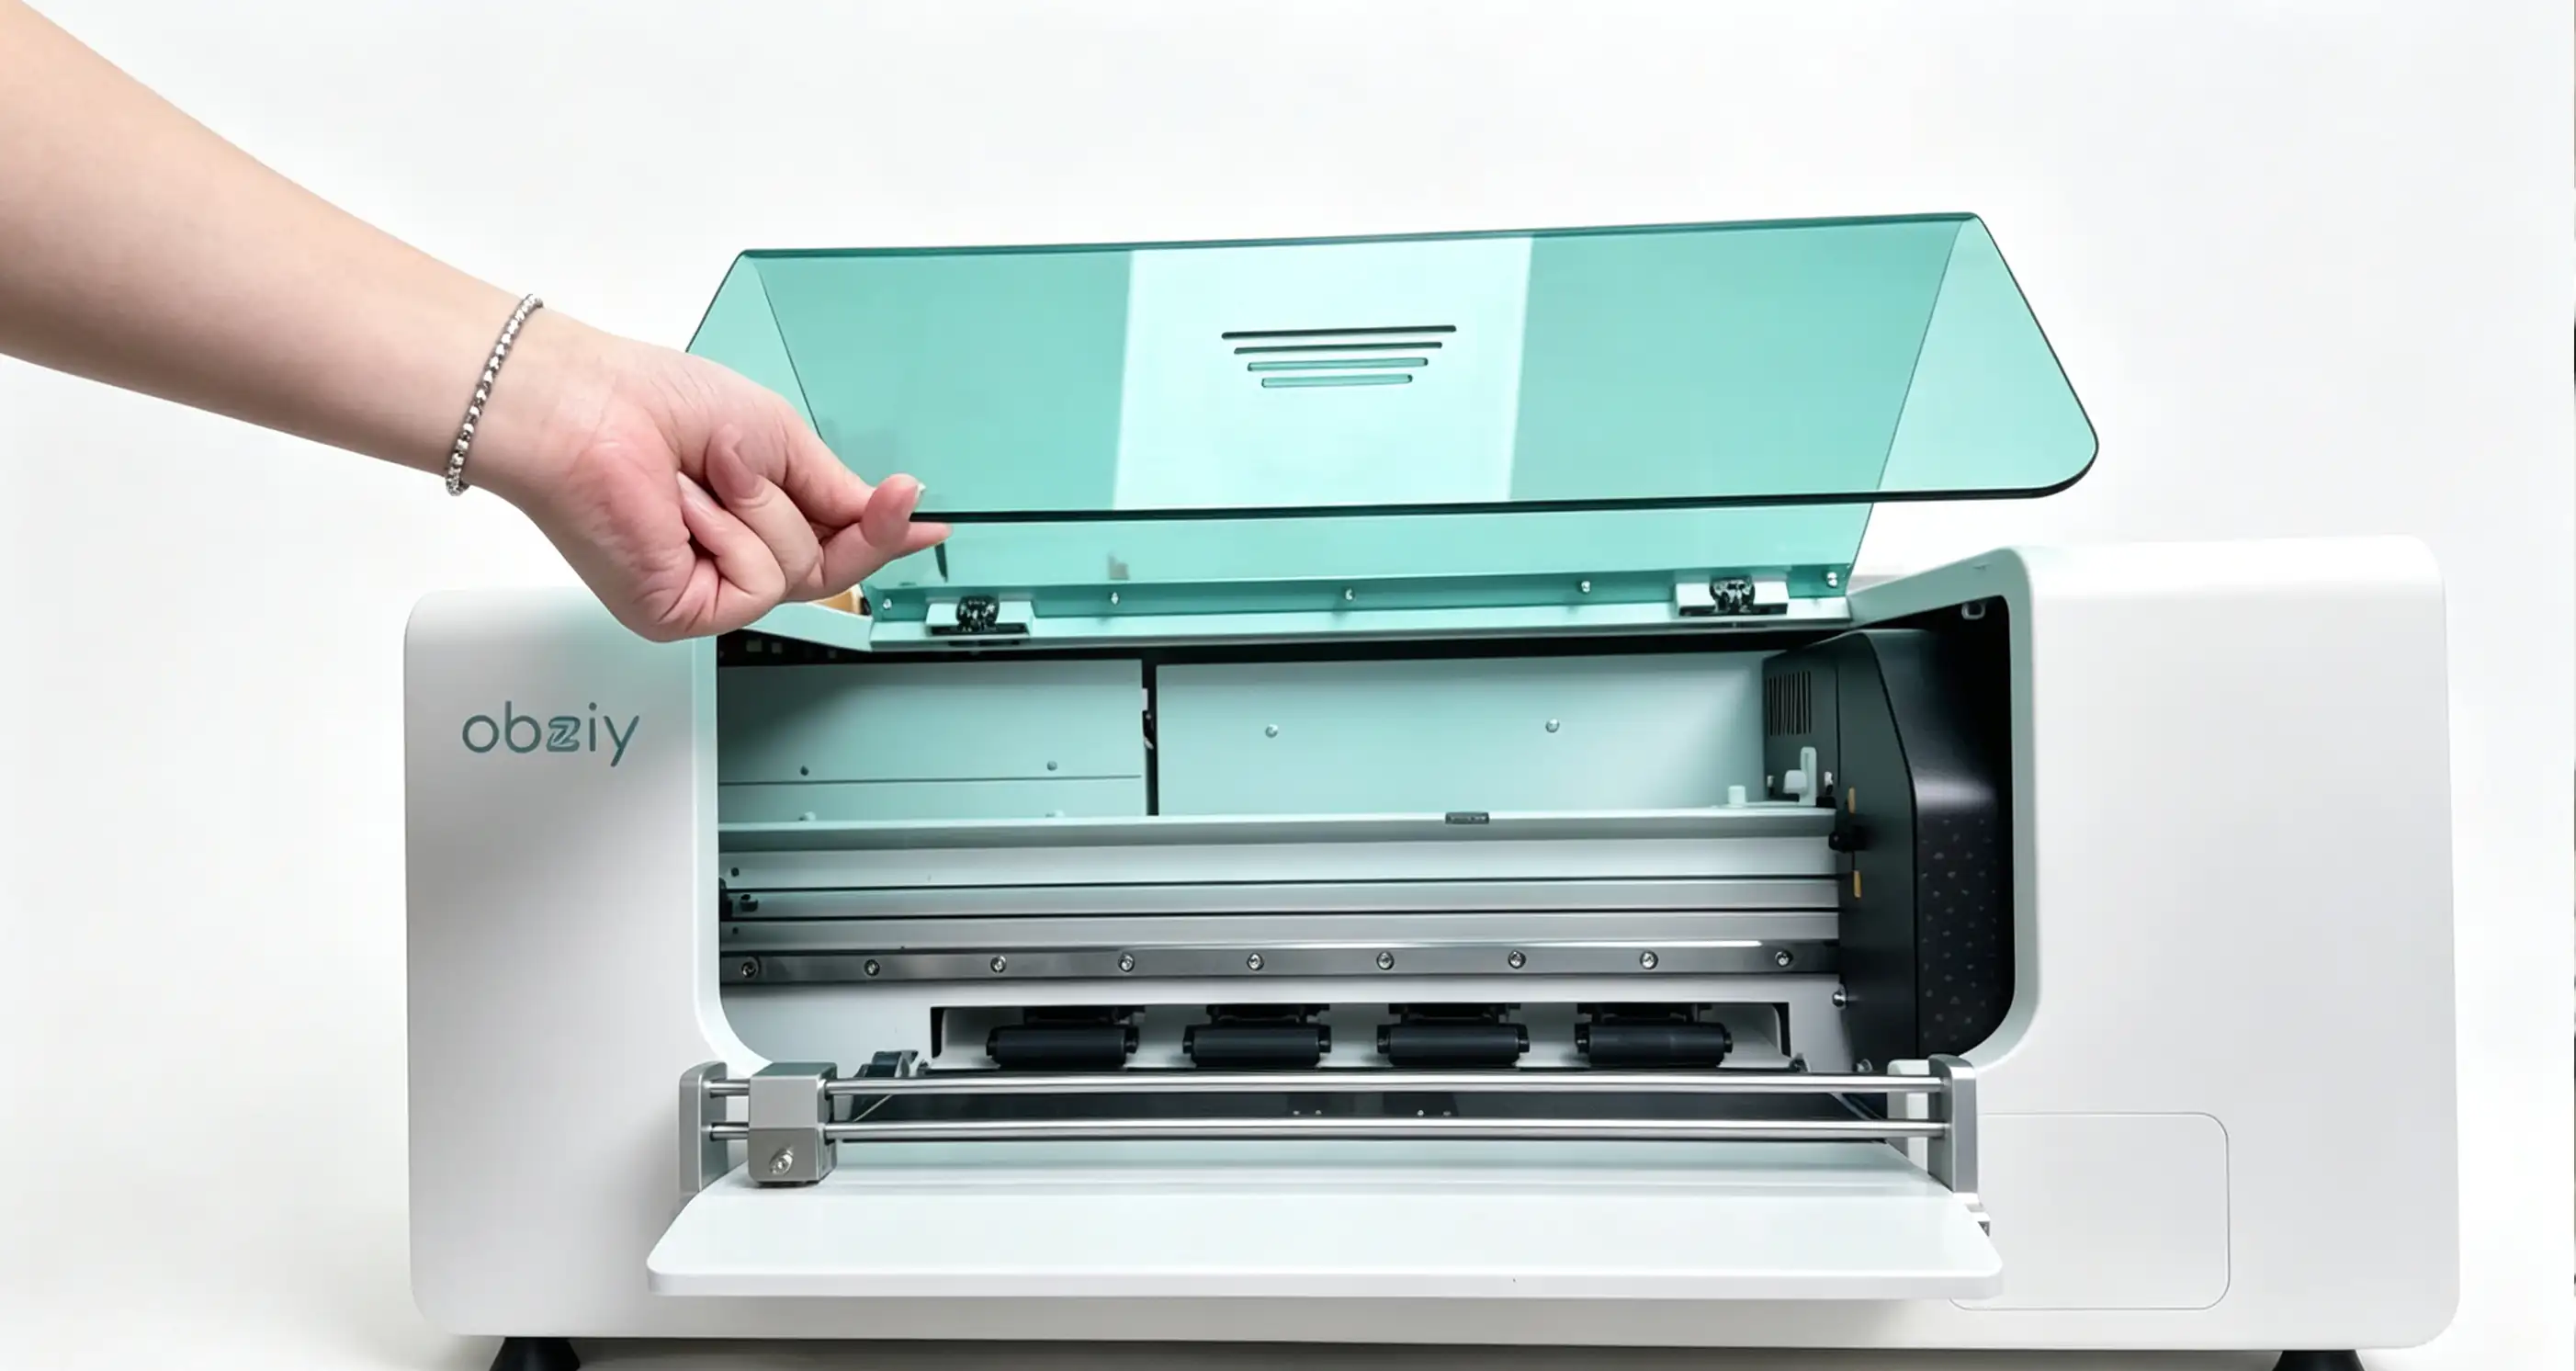
Step 2: Open the top protective cover
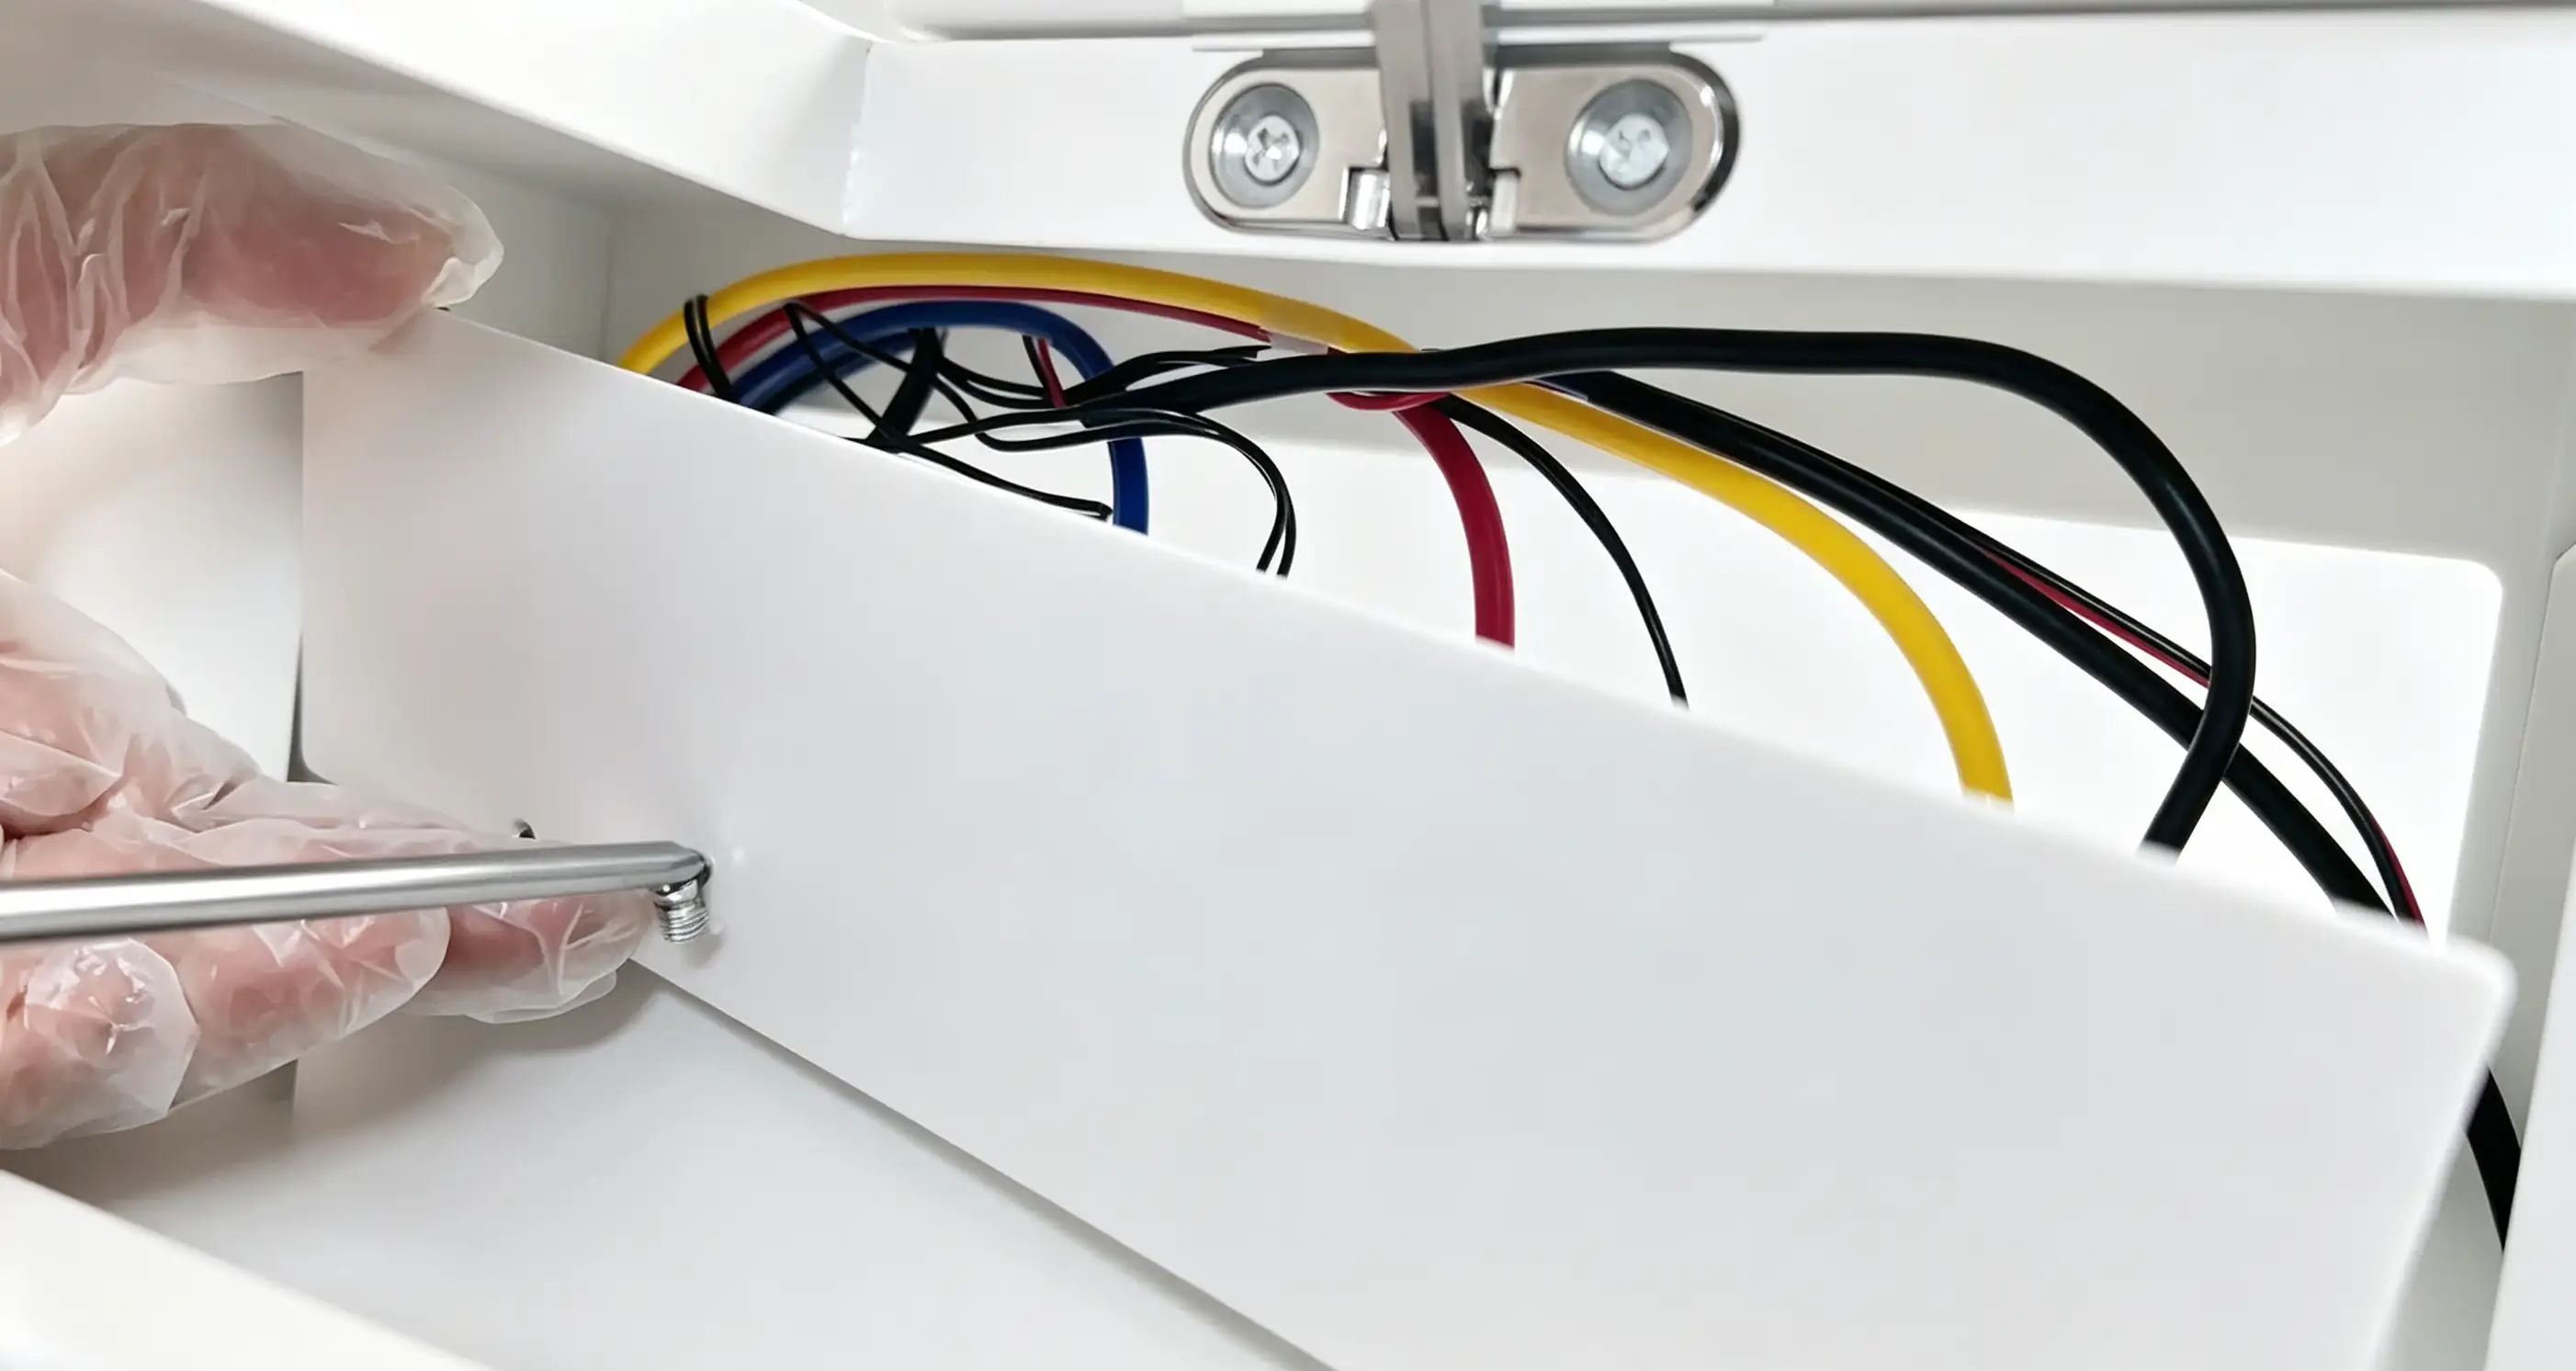
Step 3: Use a Phillips screwdriver to remove the panel cover in front of the sensor panel
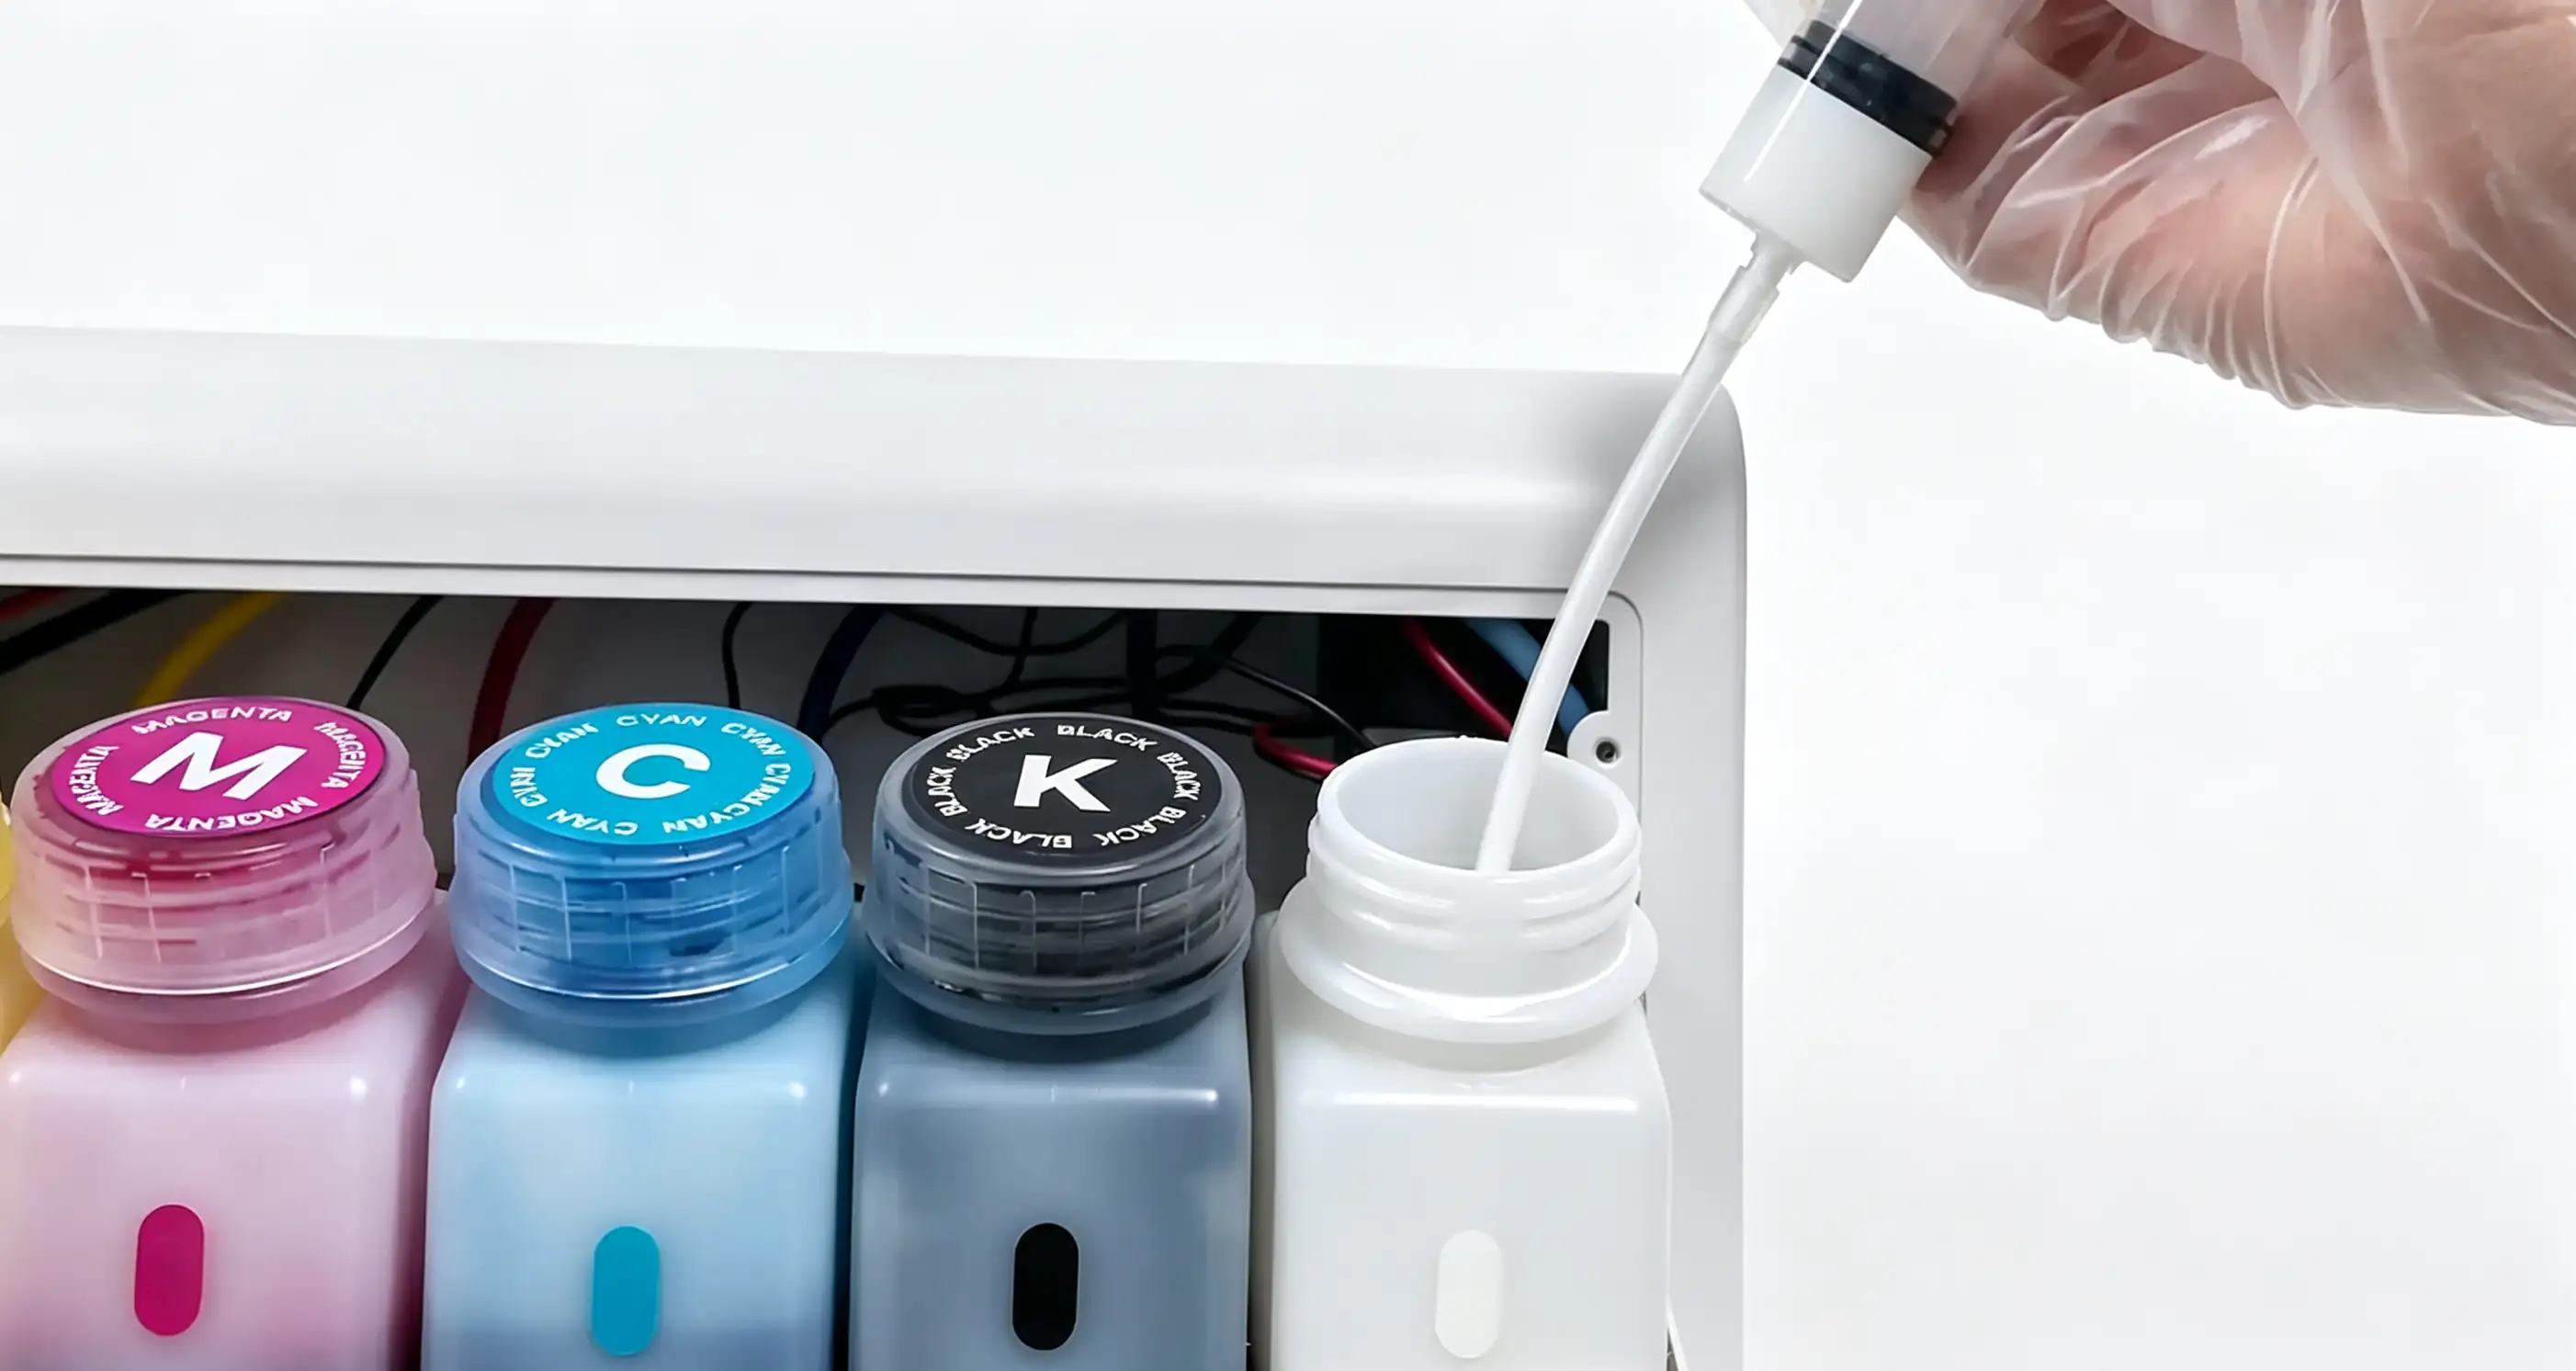
Step 4: Use a syringe to completely extract the remaining ink from the original ink bottle and transfer it into an empty ink bottle.
- Power off and ink extraction: Turn off the device power, then open the acrylic cover. Use a Phillips screwdriver to remove the panel cover in front of the sensor panel. Use a syringe to completely extract the remaining ink from the original ink bottle and transfer it into an empty ink bottle.
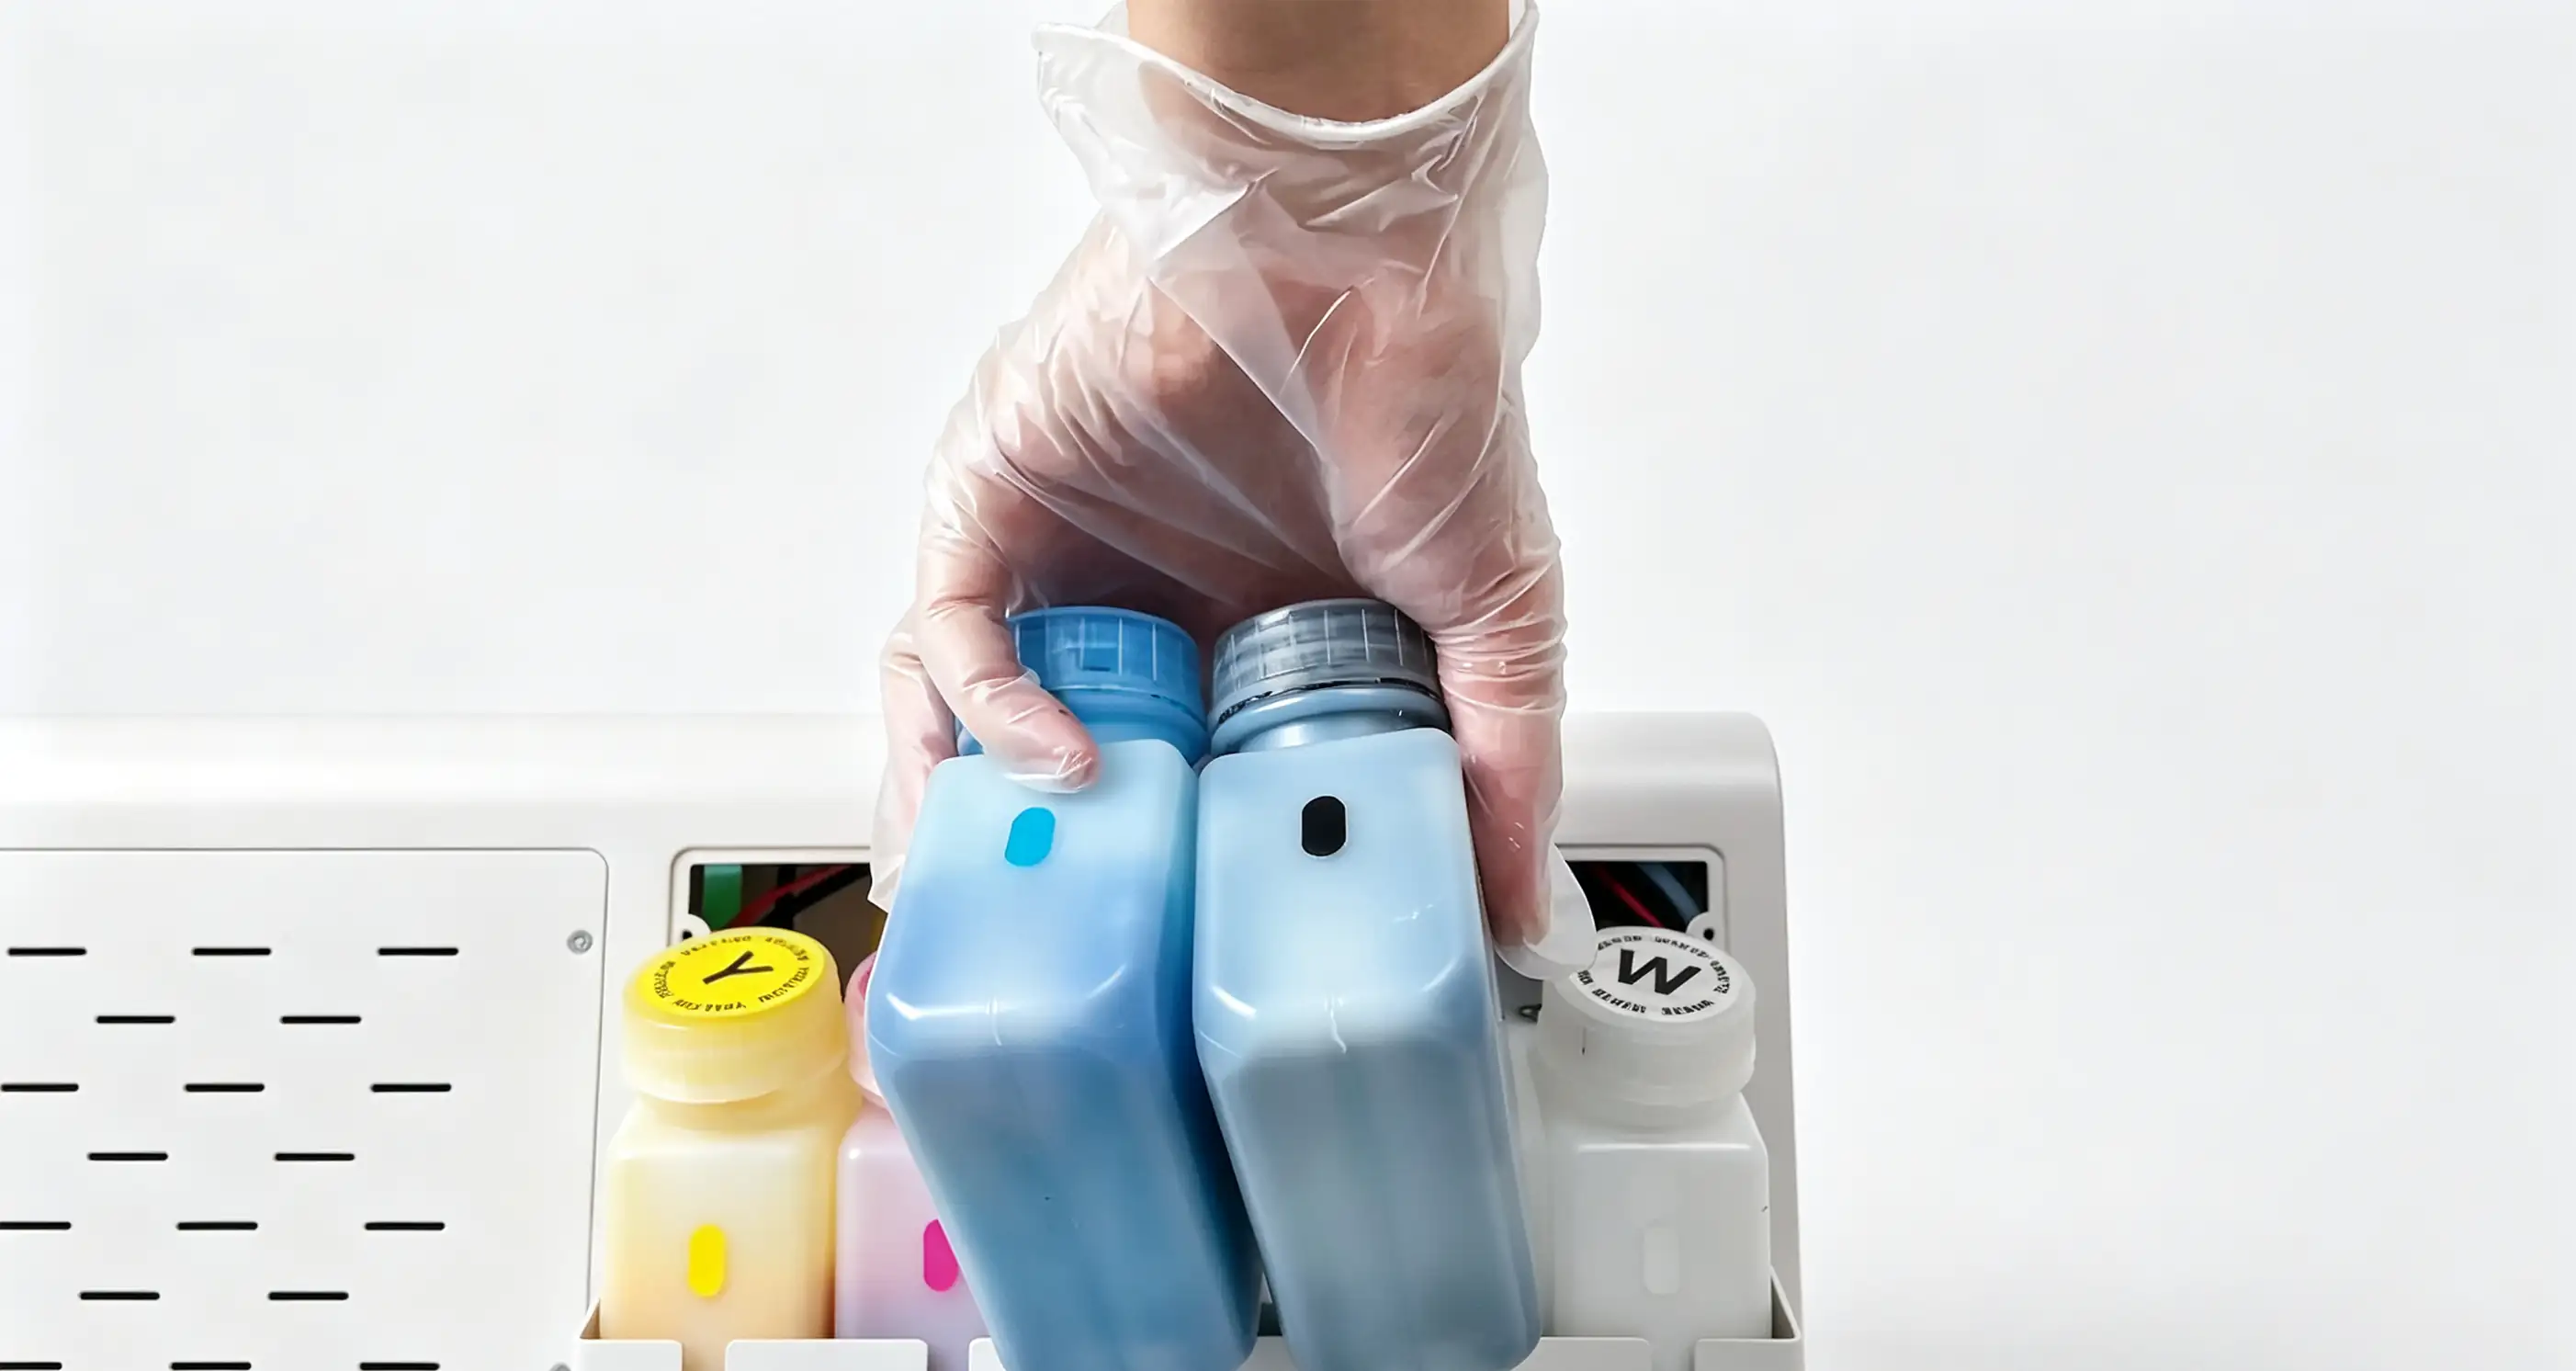
Step 1: Take out the black and blue ink cartridges located on the left side of the white one
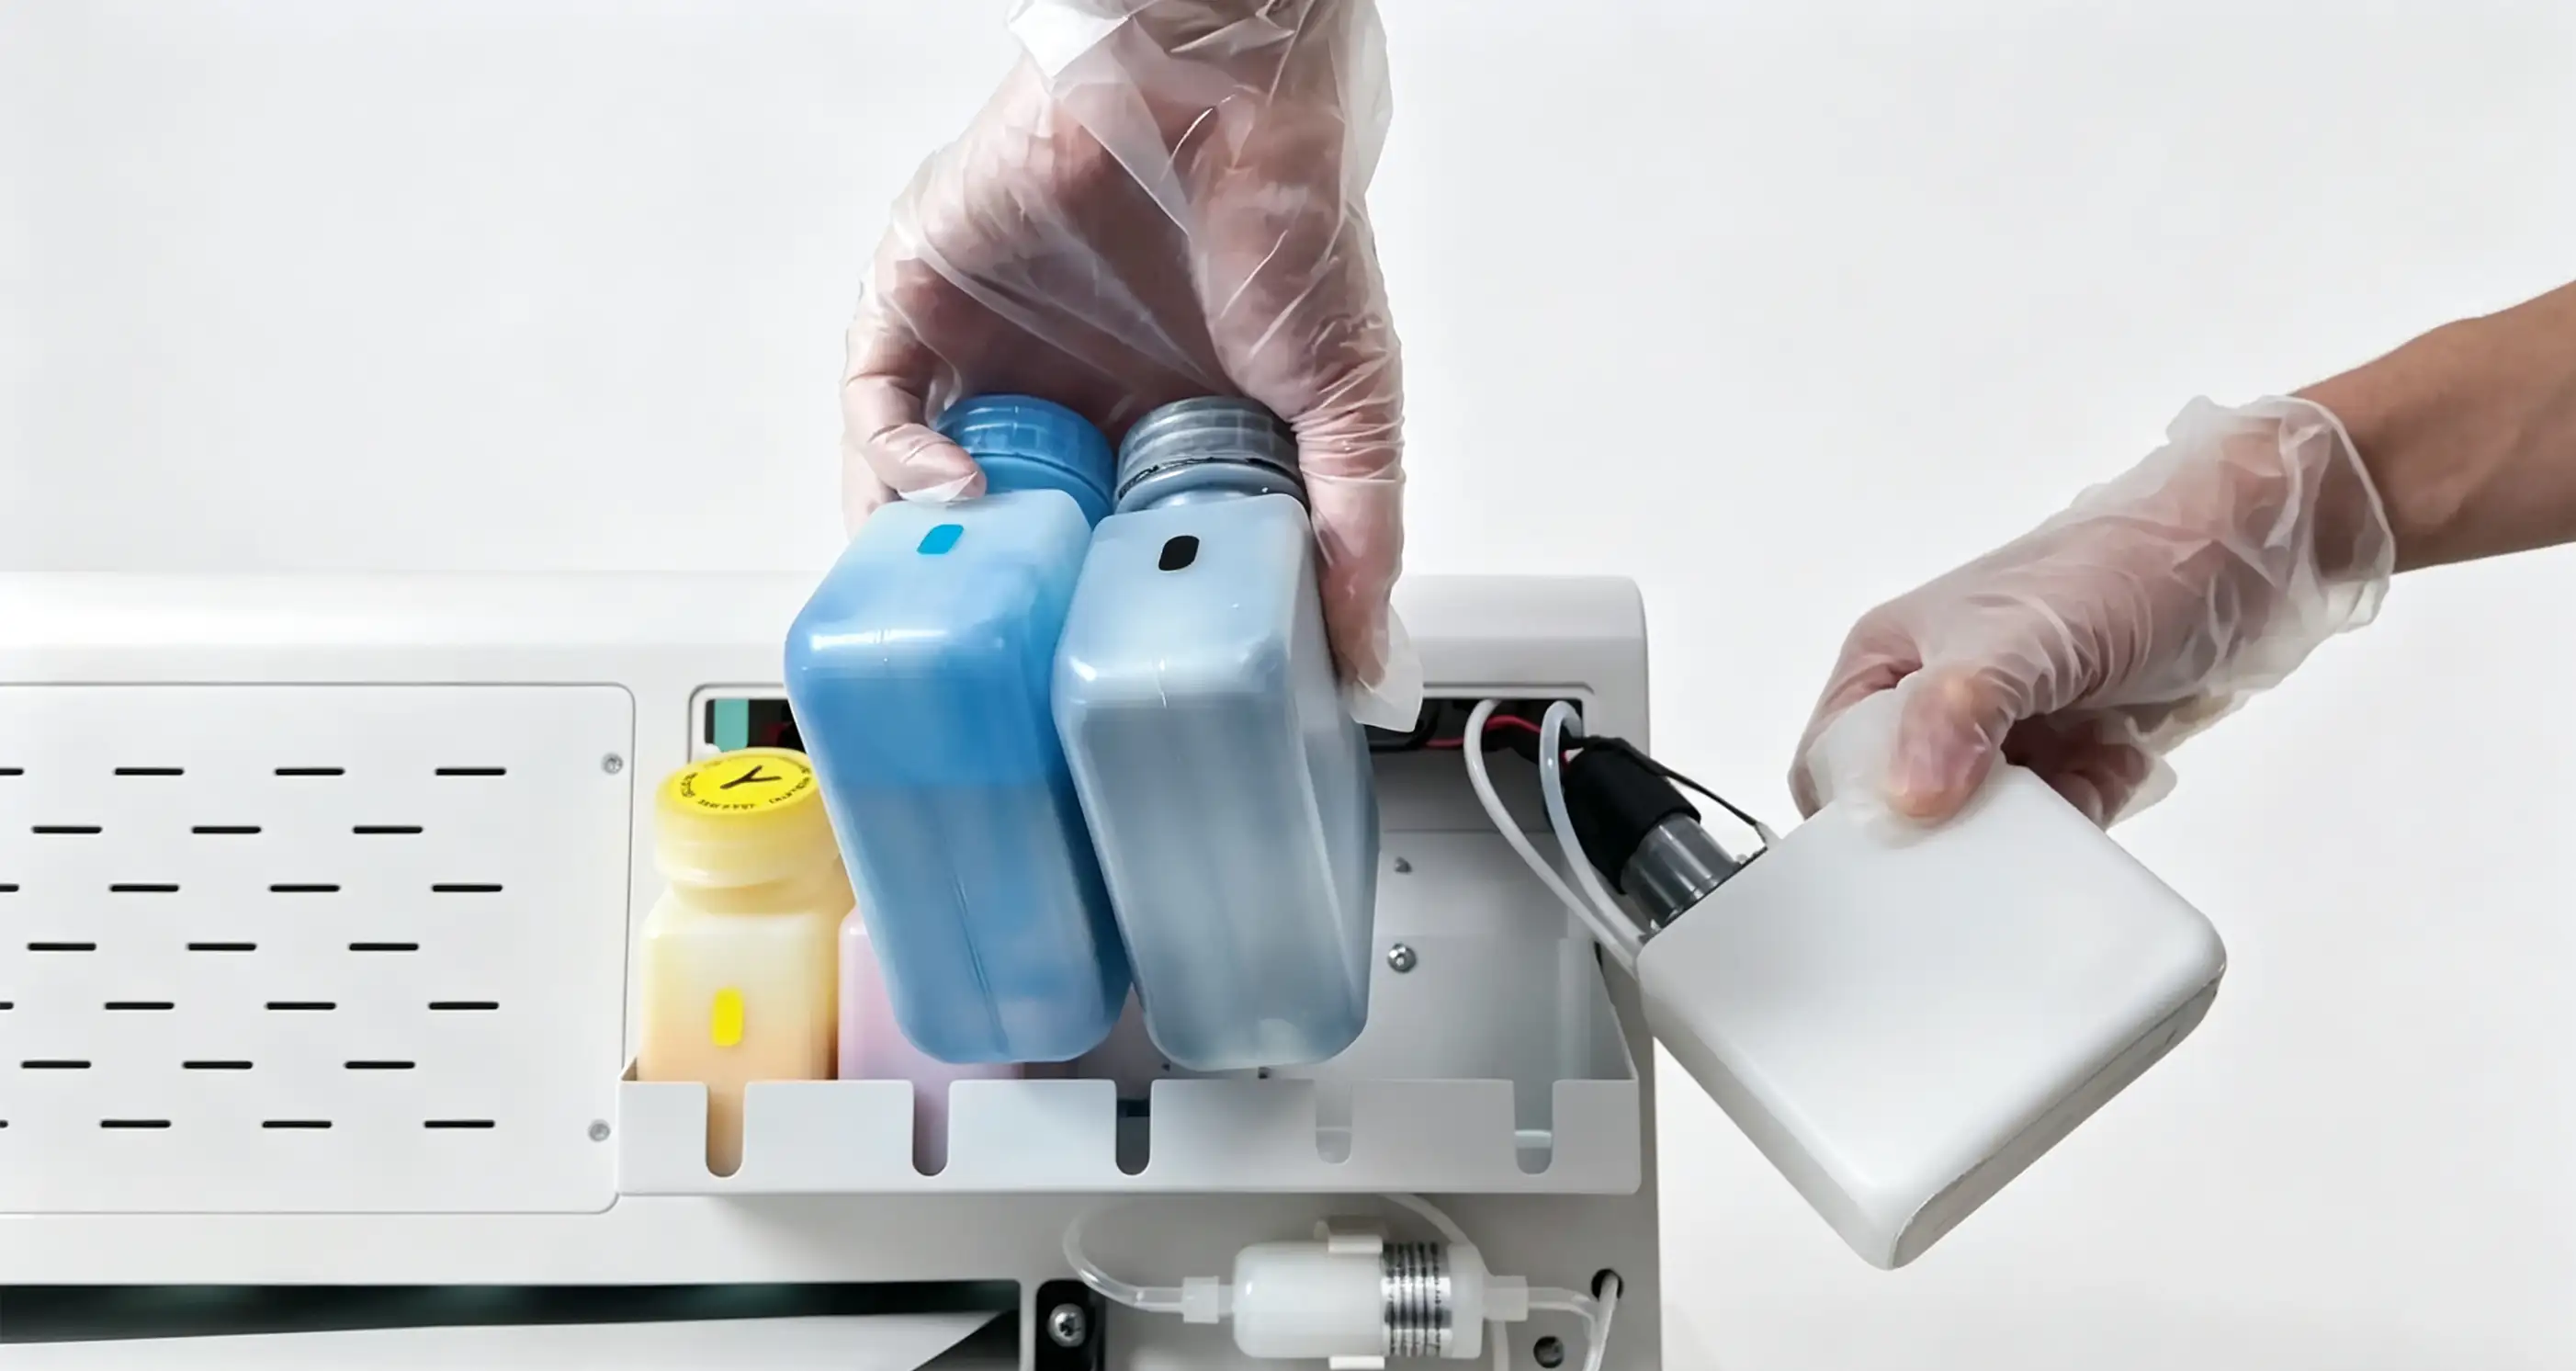
Step 2: Slightly tilt the white ink cartridge to the right to remove it
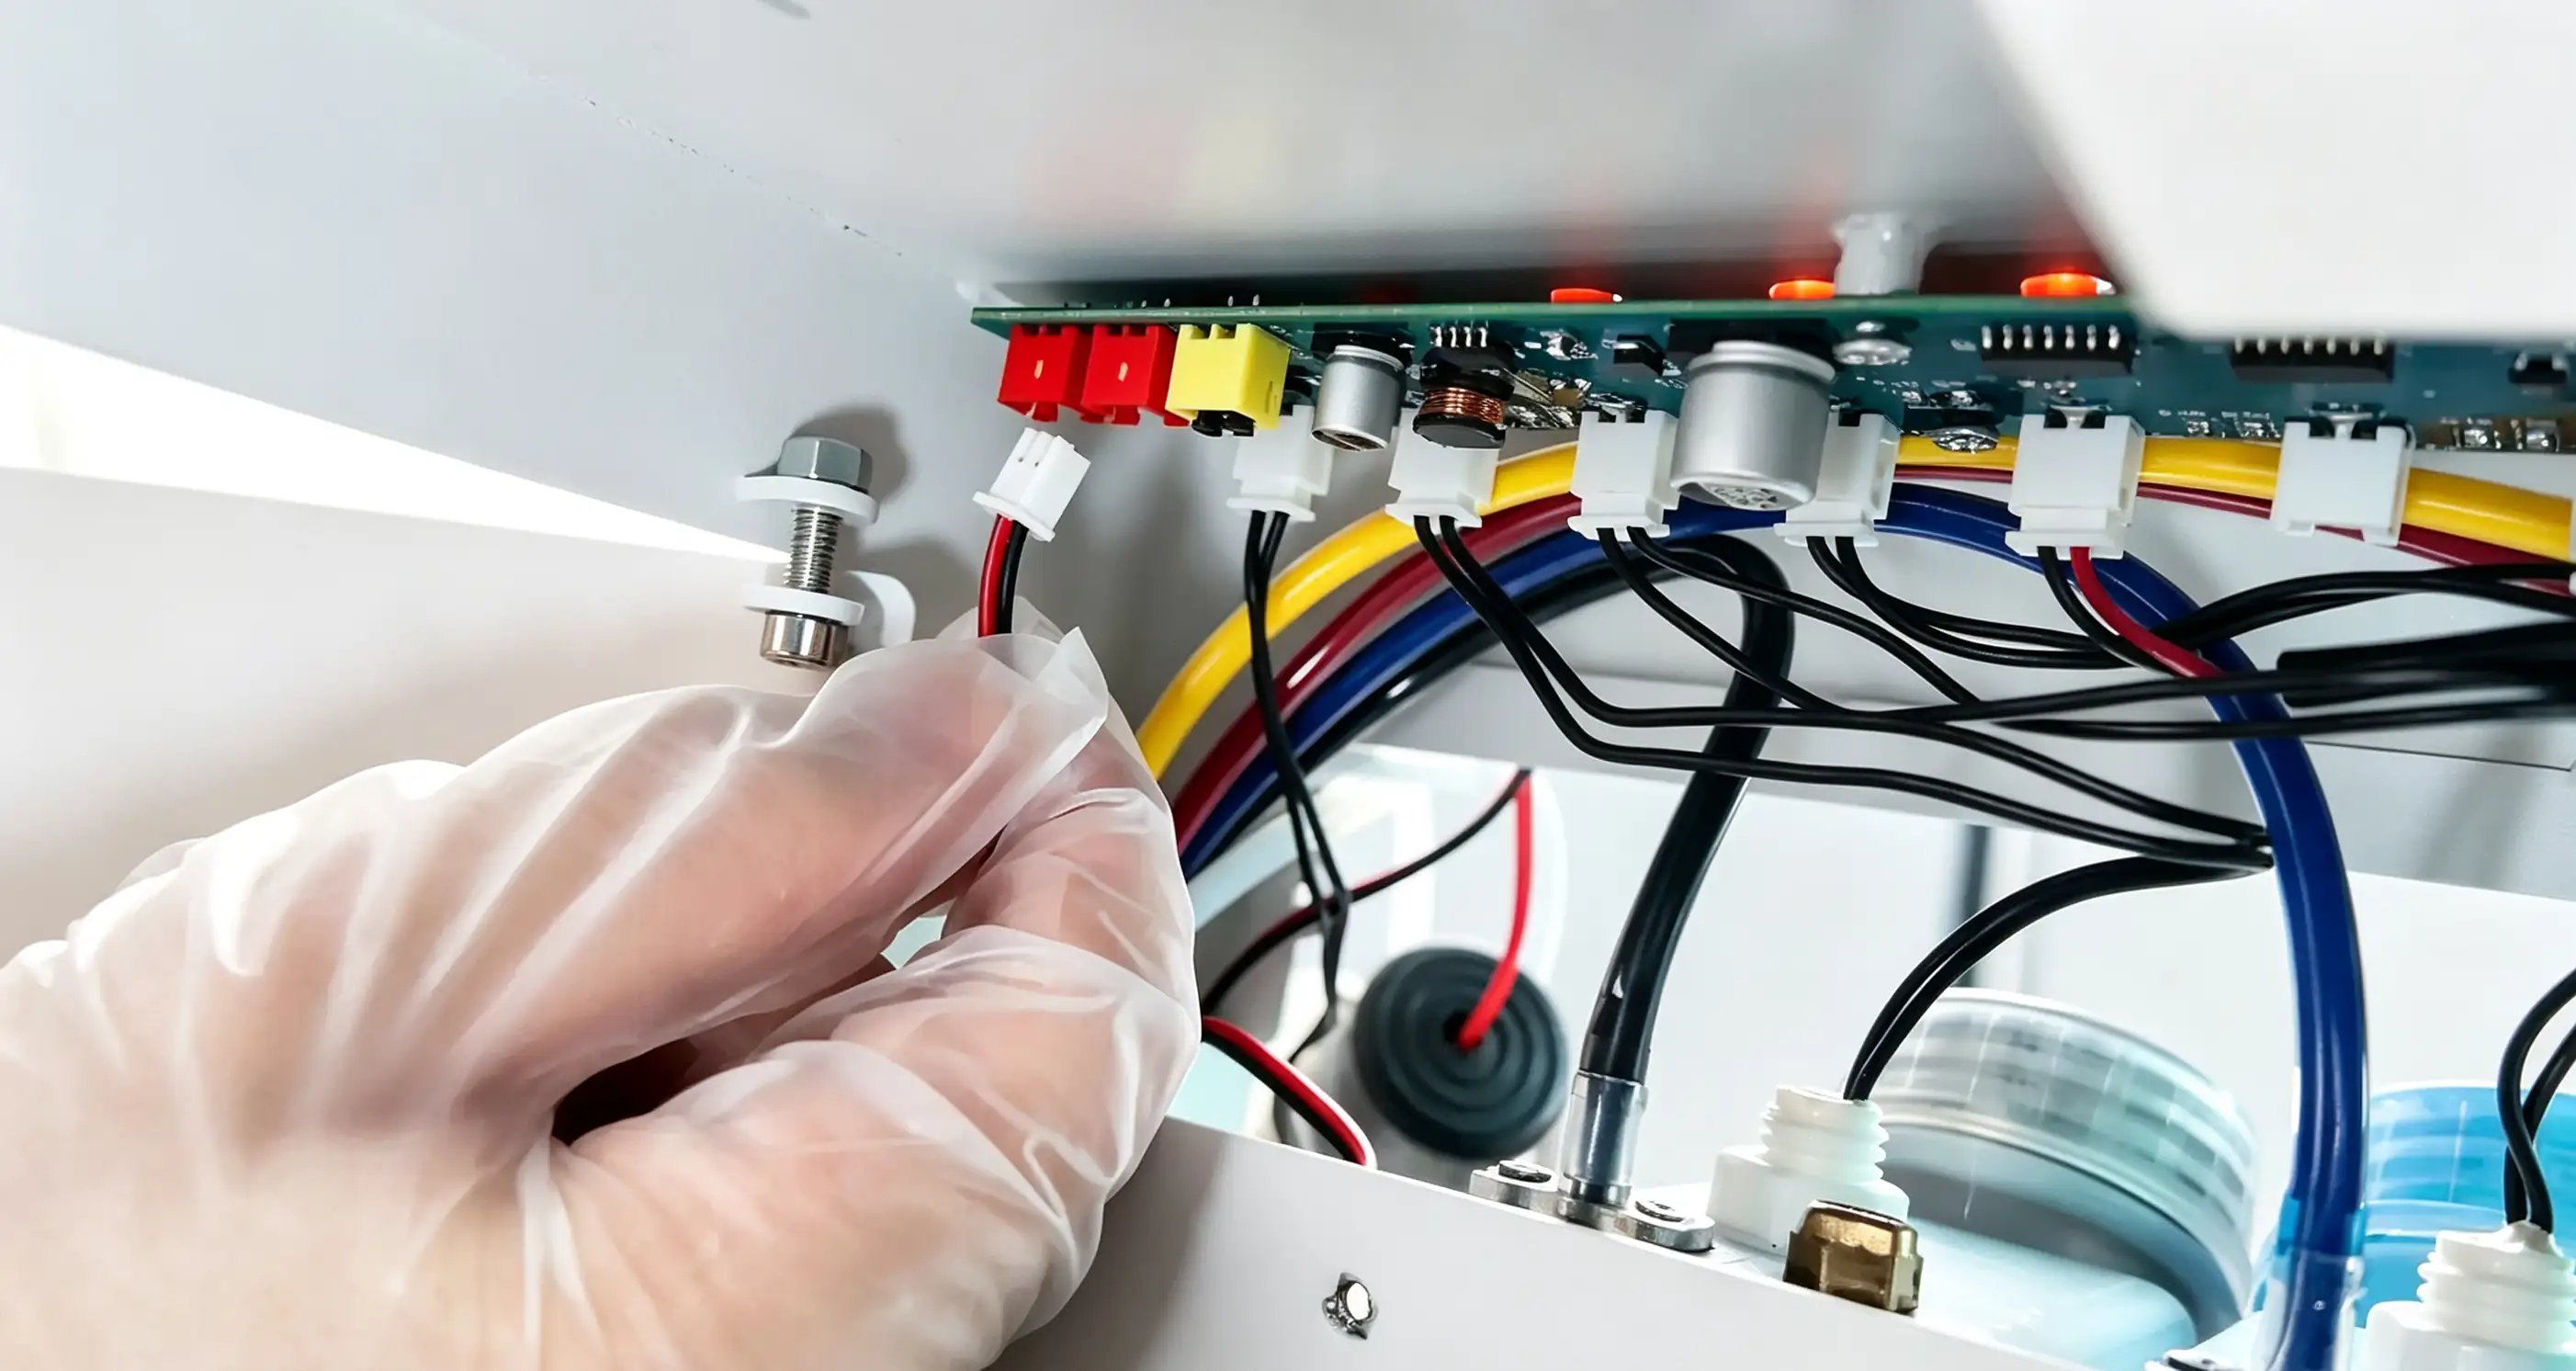
Step 3: Disconnect the two power plugs from the ink box one by one
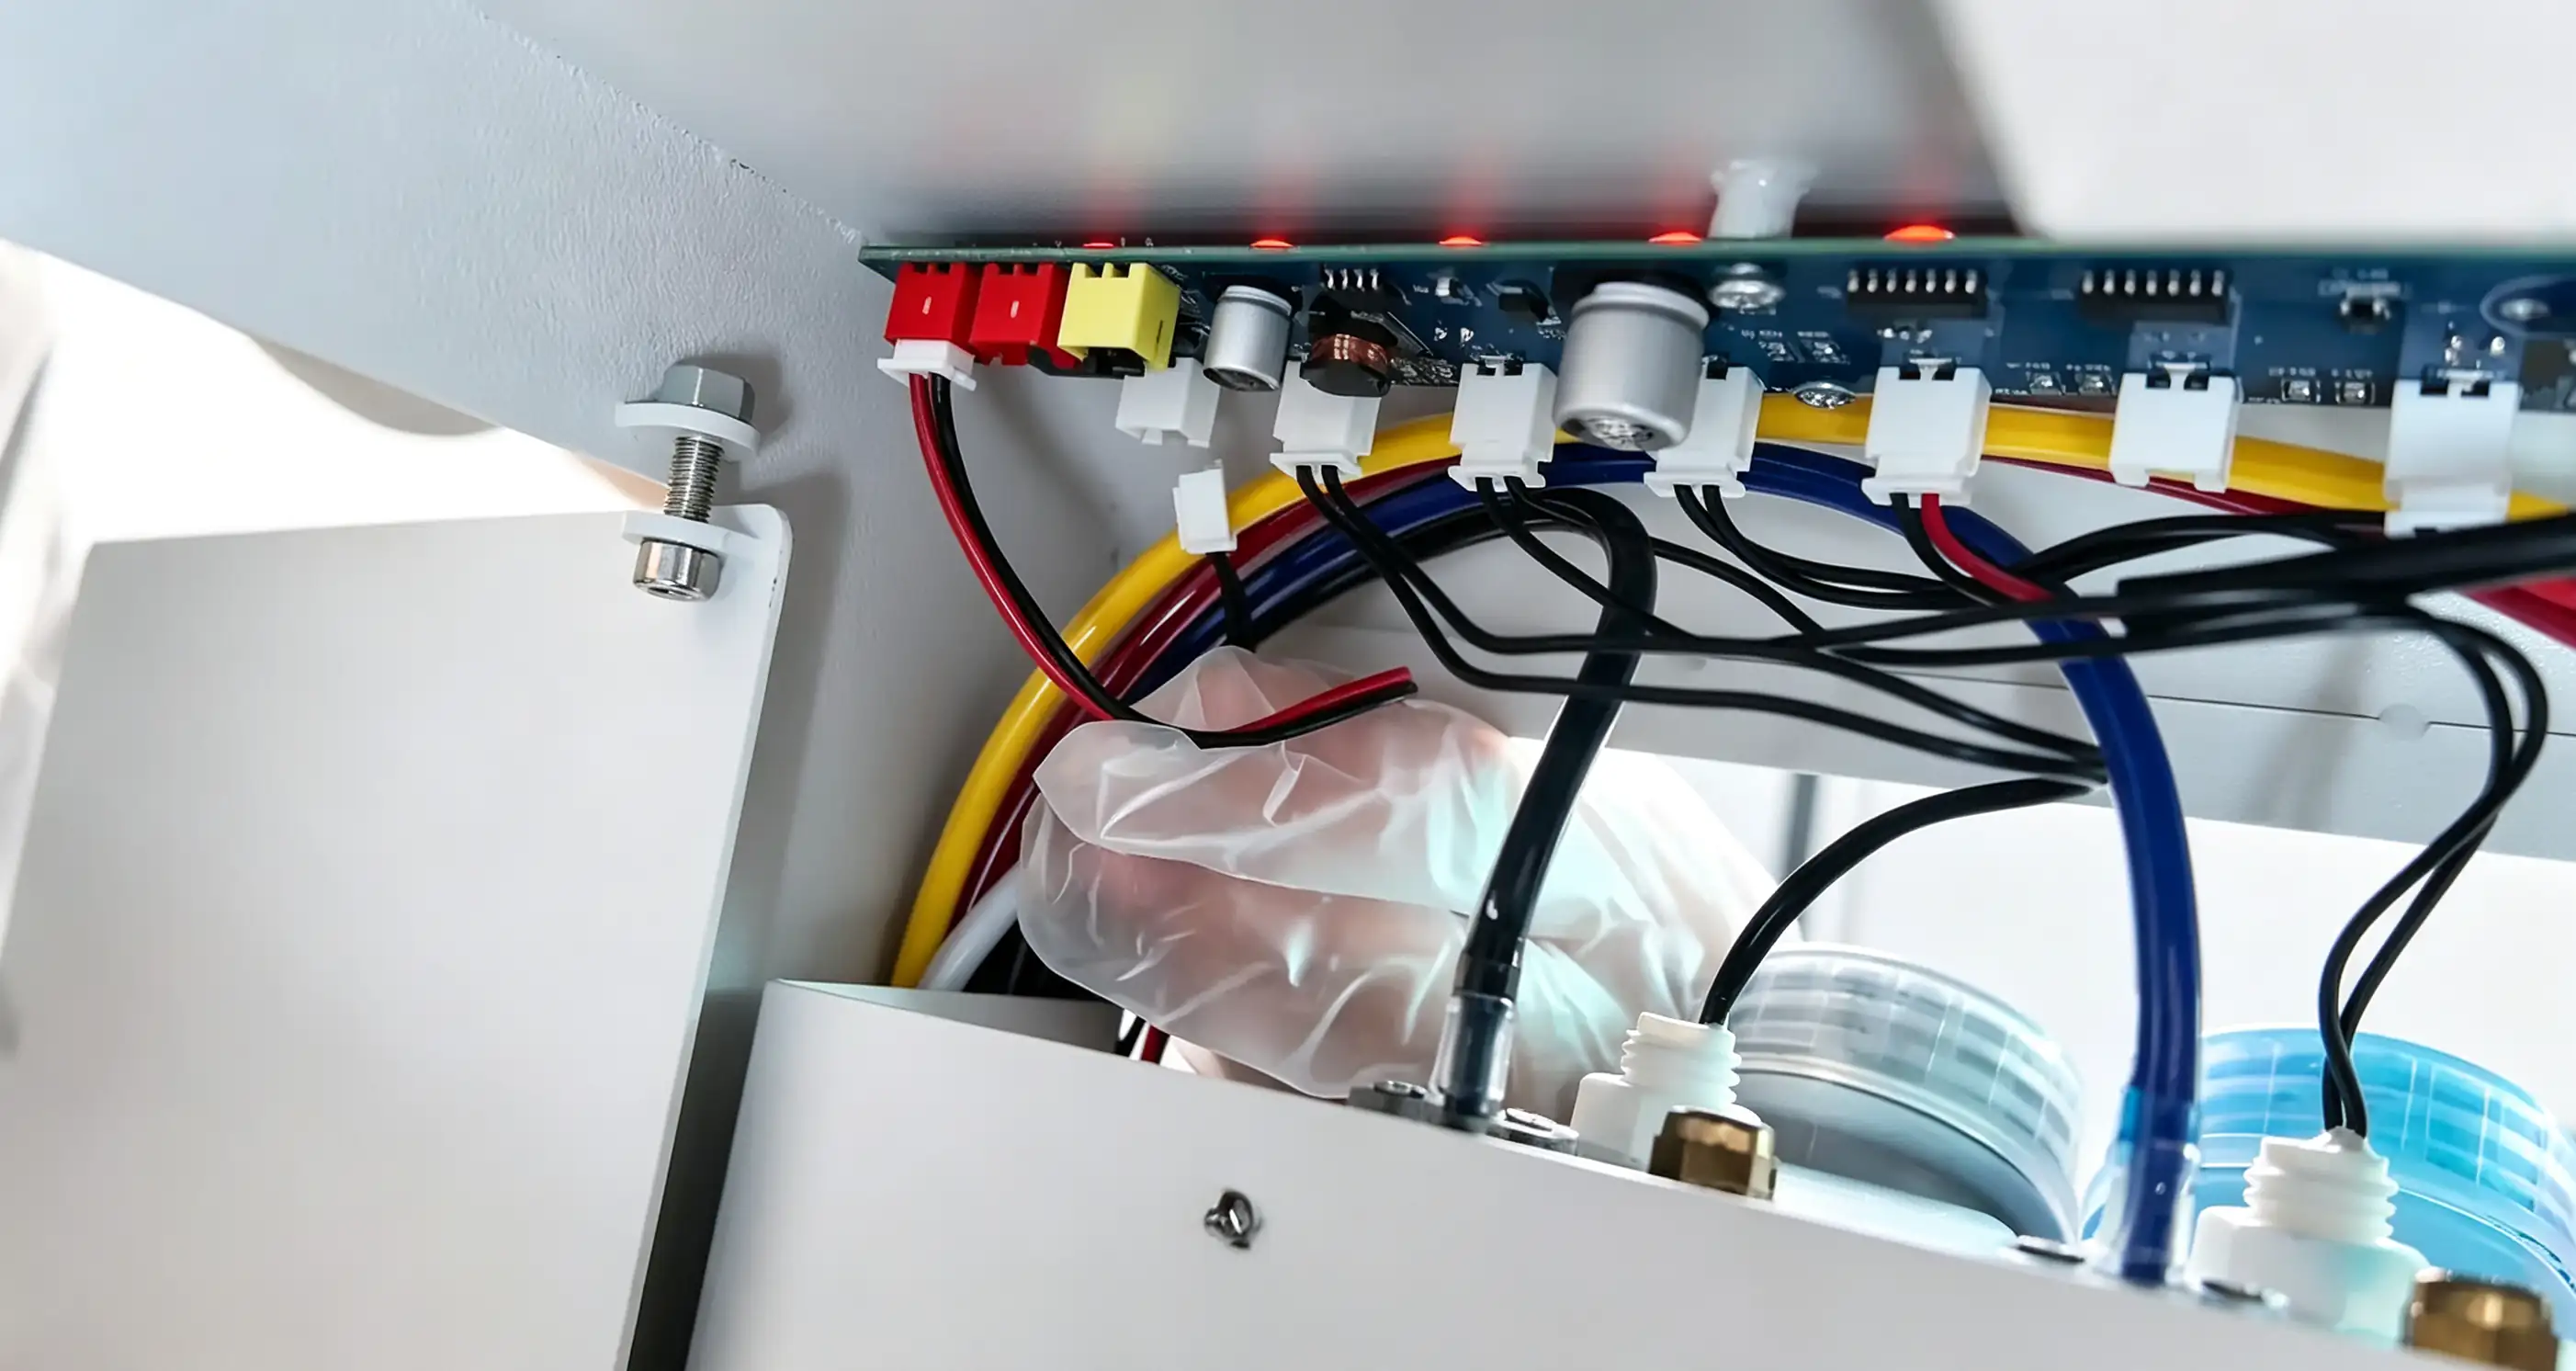
Step 4: Disconnect the two power plugs from the ink box one by one
- Disconnecting: Taking the replacement of the first white ink cartridge as an example, before removing the white ink cartridge, first take out the black and blue ink cartridges located on the left side of the white one. Then slightly tilt the white ink cartridge to the right to remove it. After removing the white cartridge, place the black and blue cartridges back into their positions, and then disconnect the two power plugs from the ink box one by one.
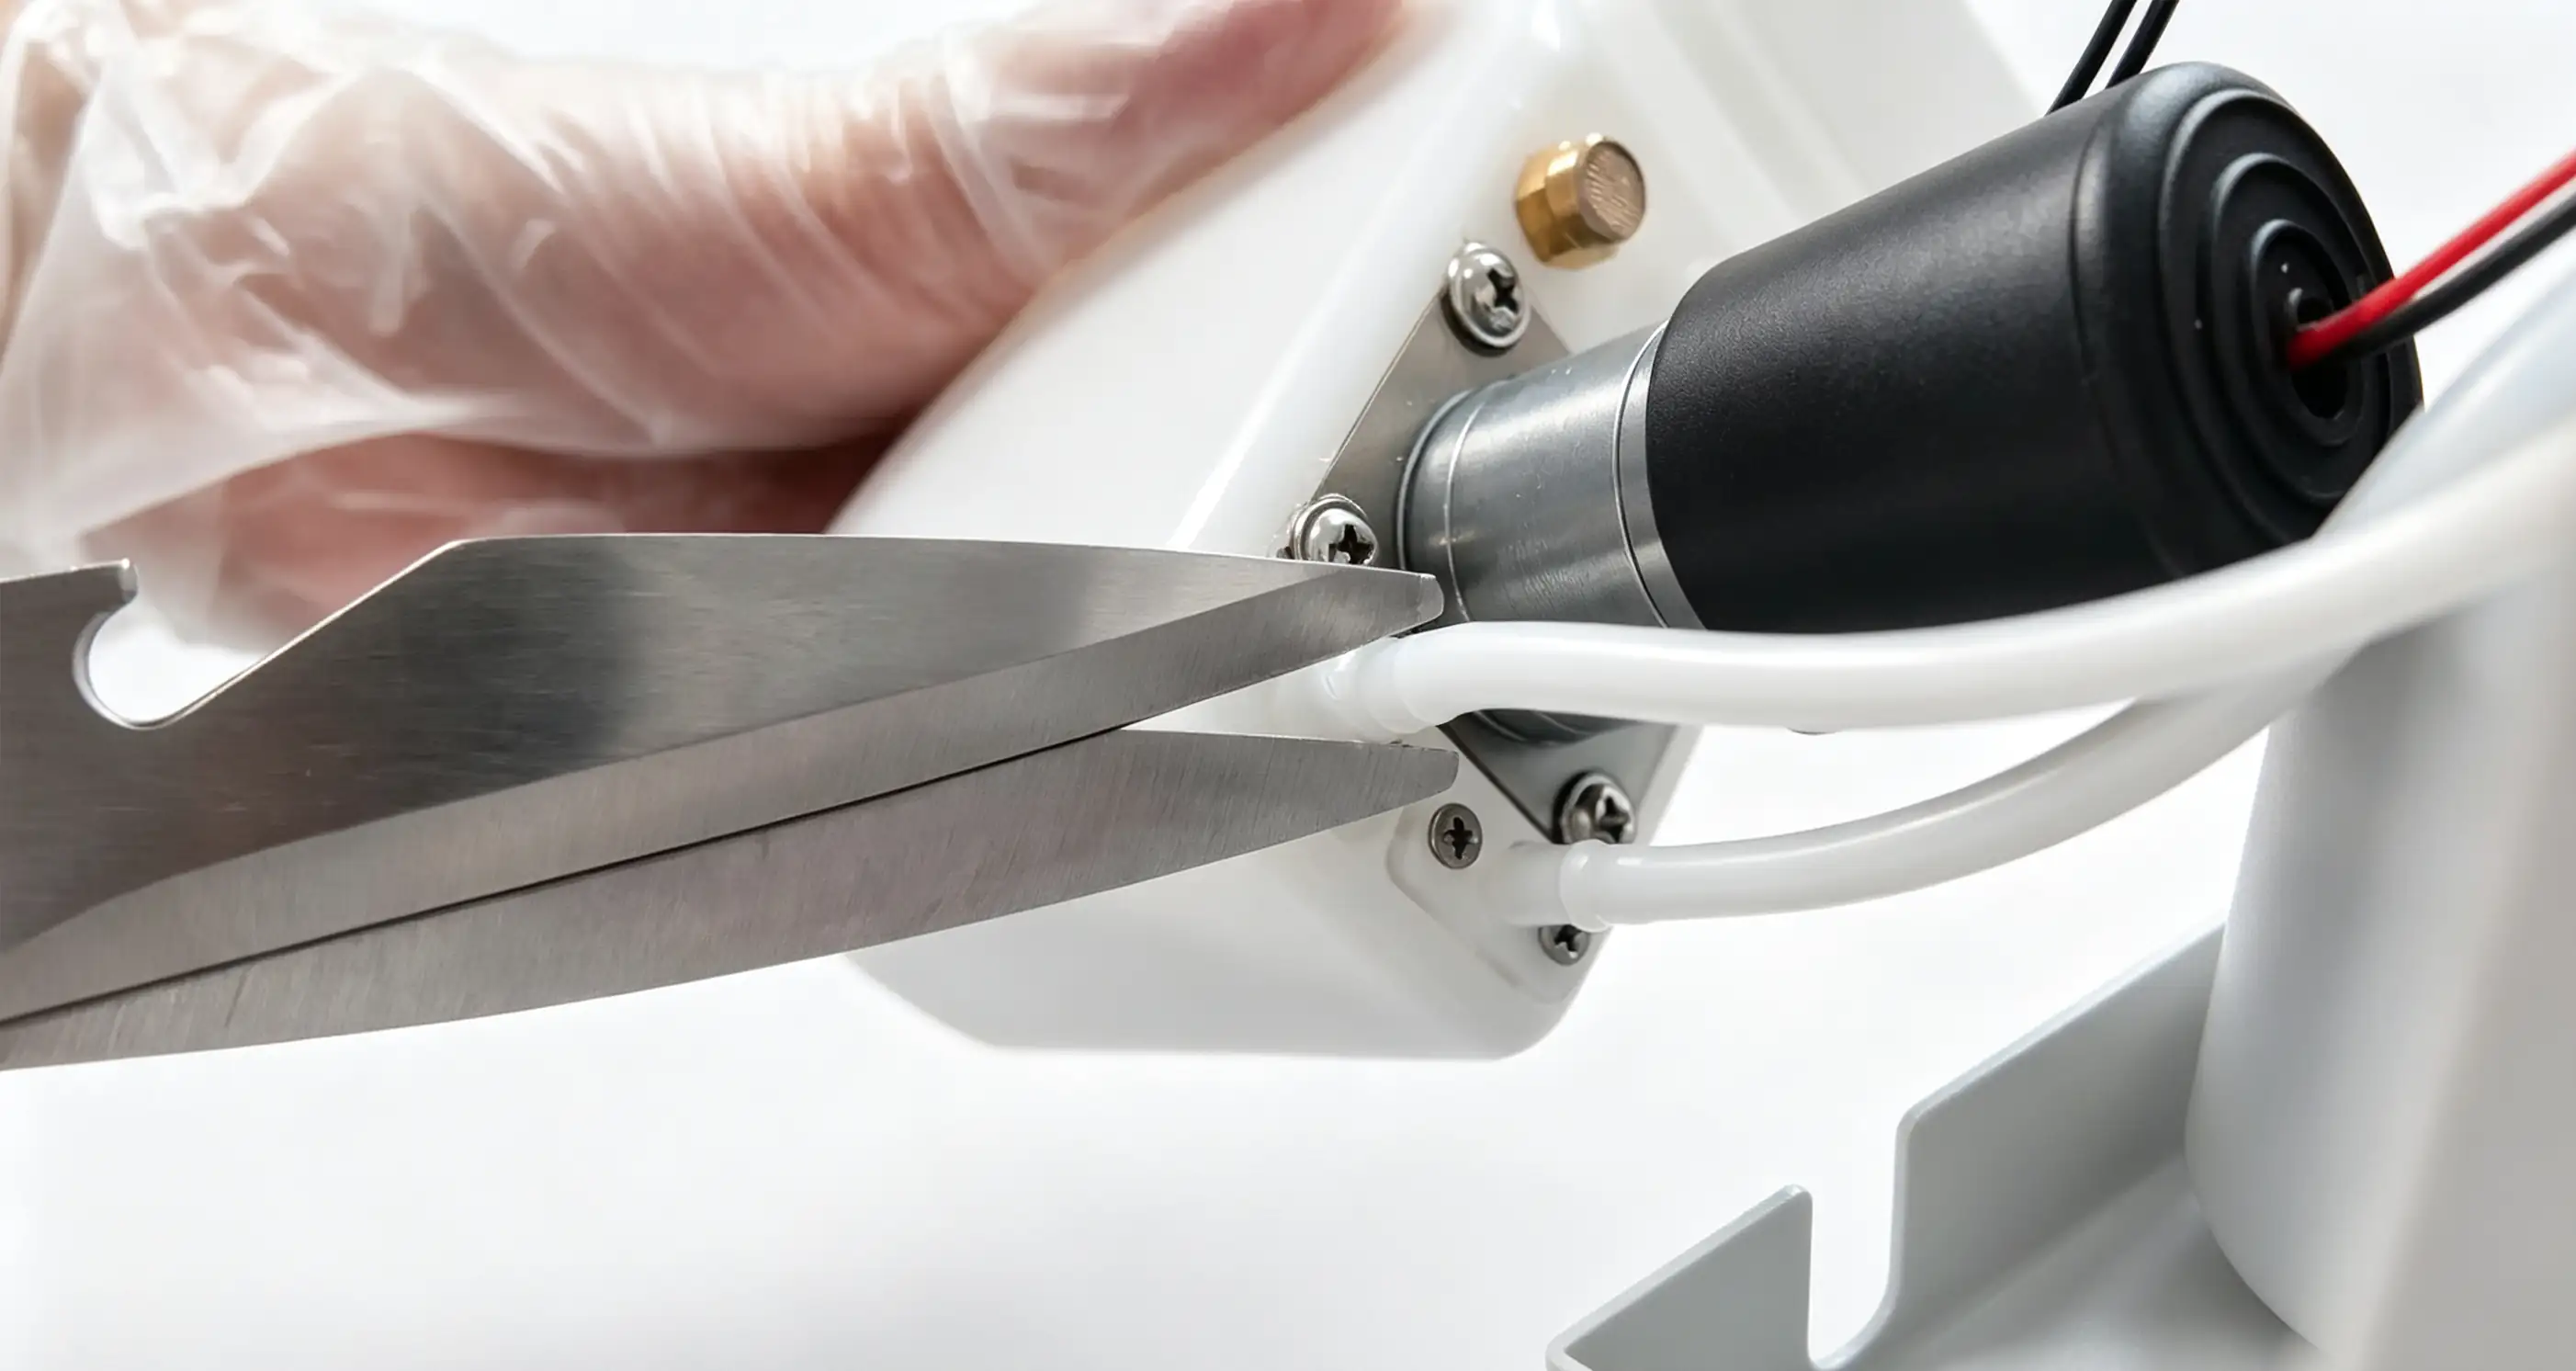
Step 1: Use scissors to gently pry open the connection at the bottom of the ink tube
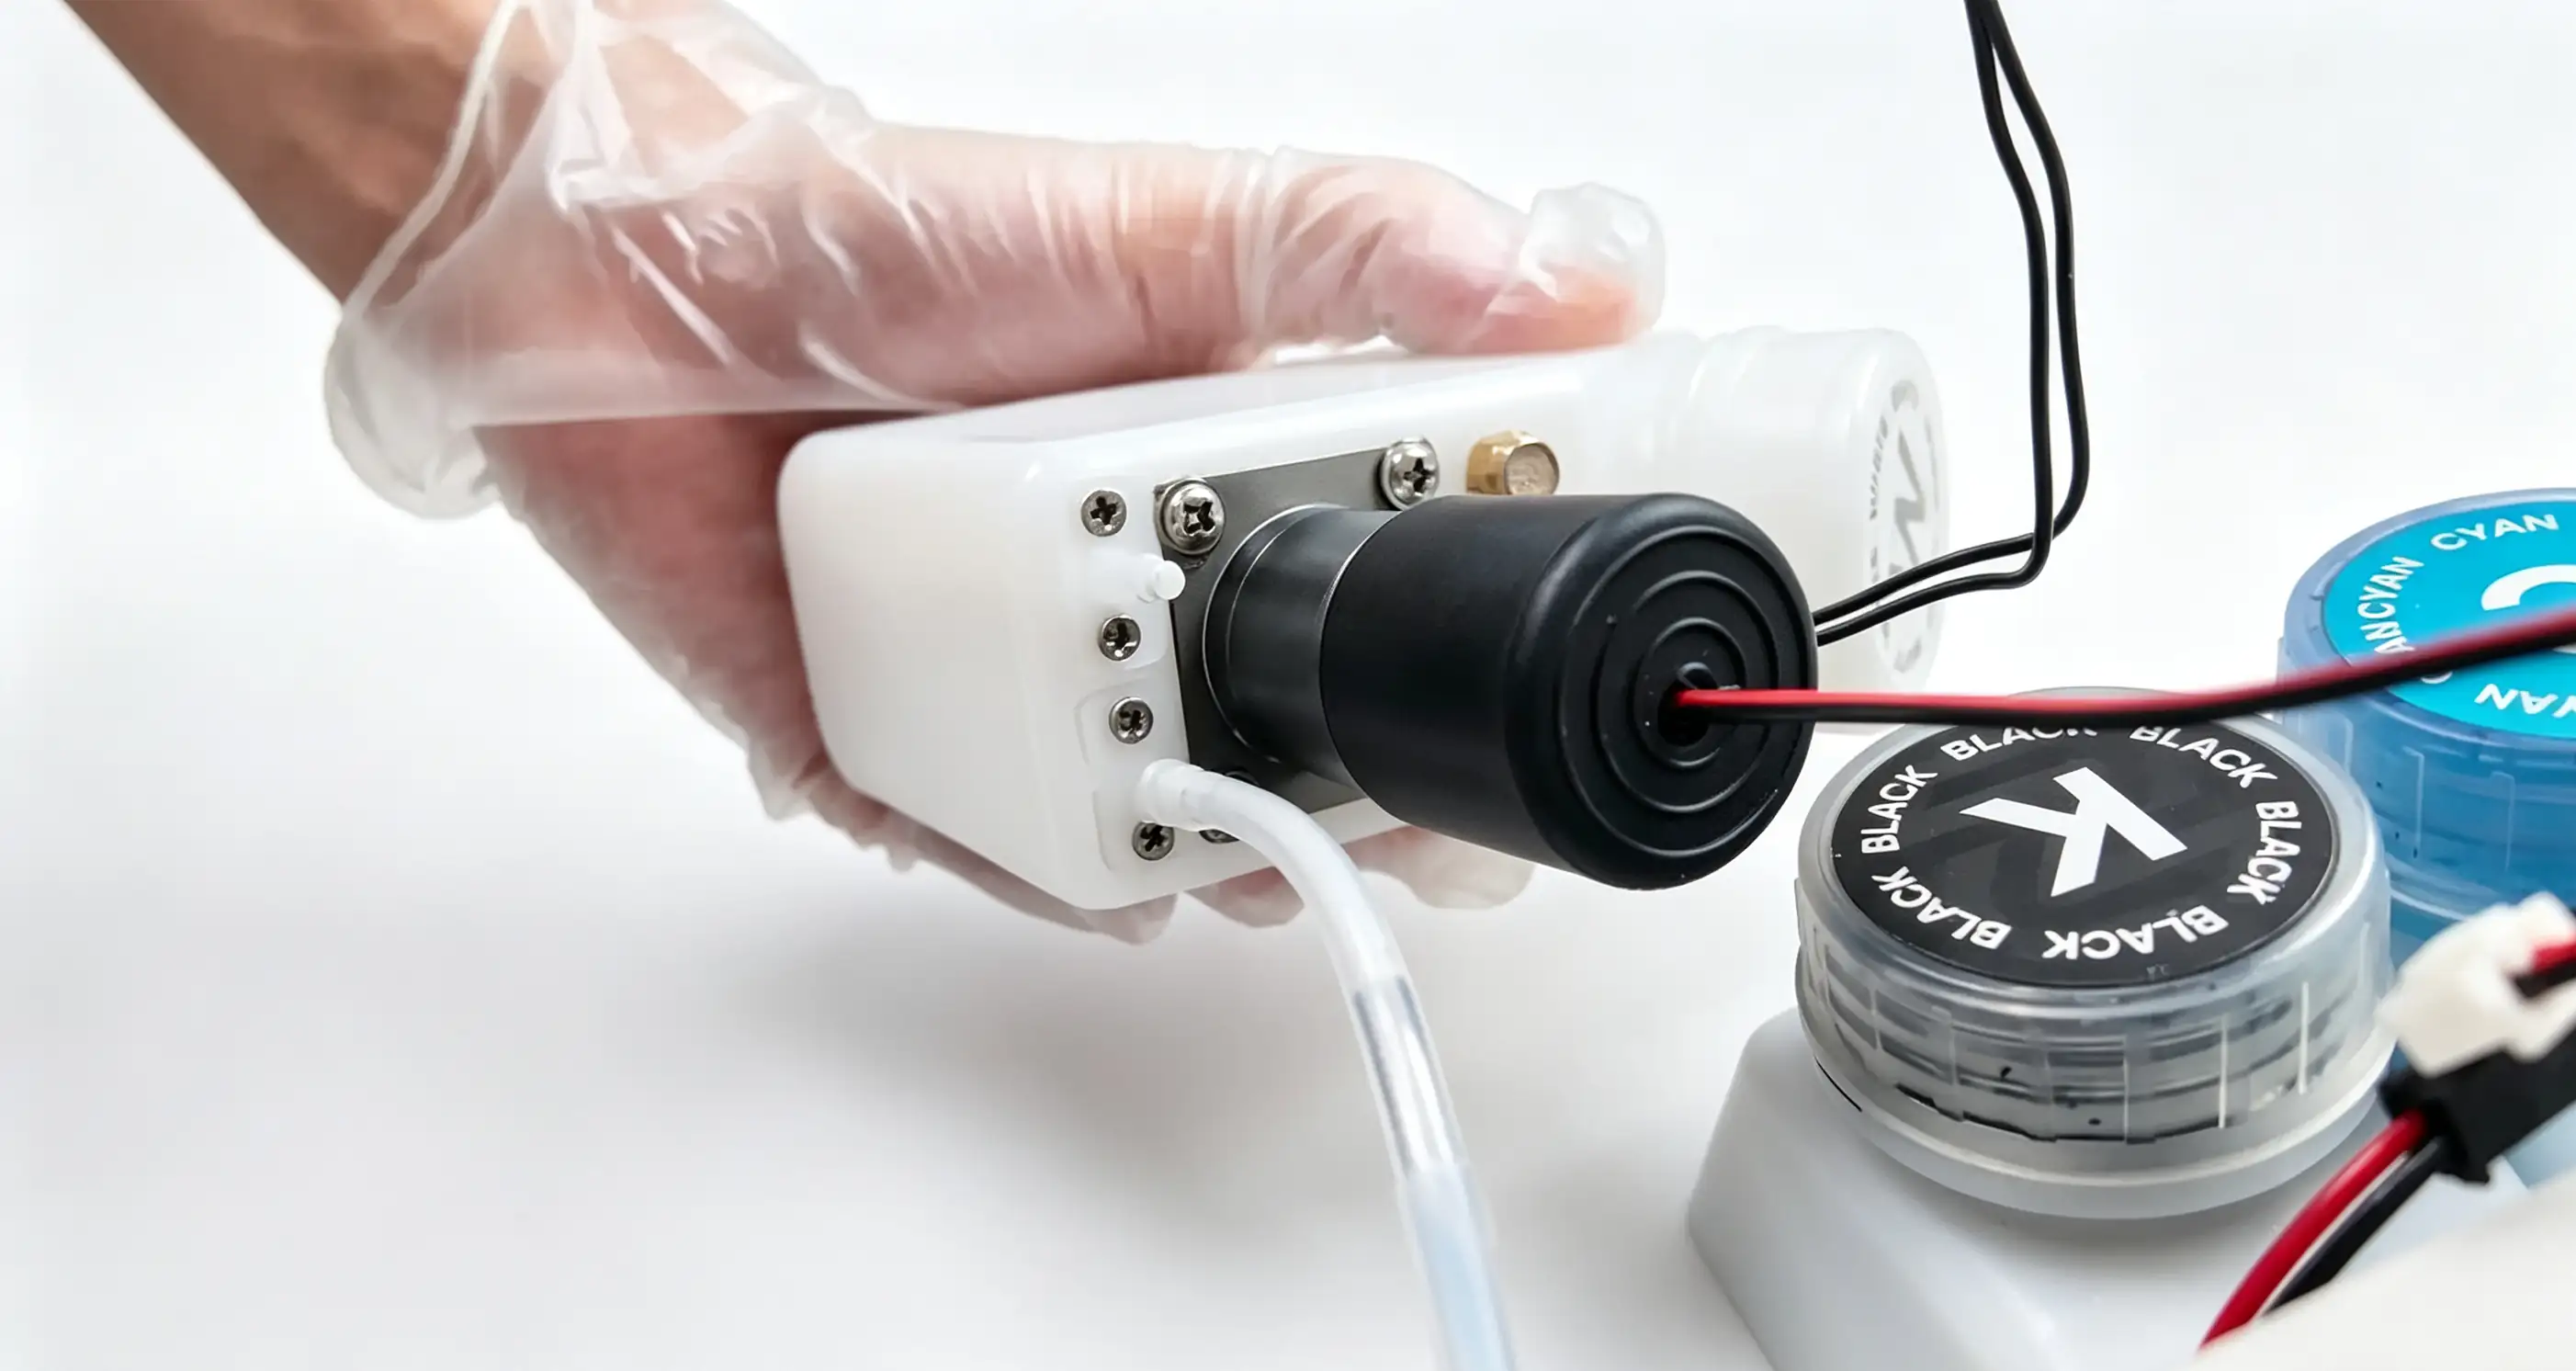
Step 2: Remove the old white ink bottle
- Remove the old bottle: Use scissors to gently pry open the connection at the bottom of the ink tube, then remove the old white ink bottle.
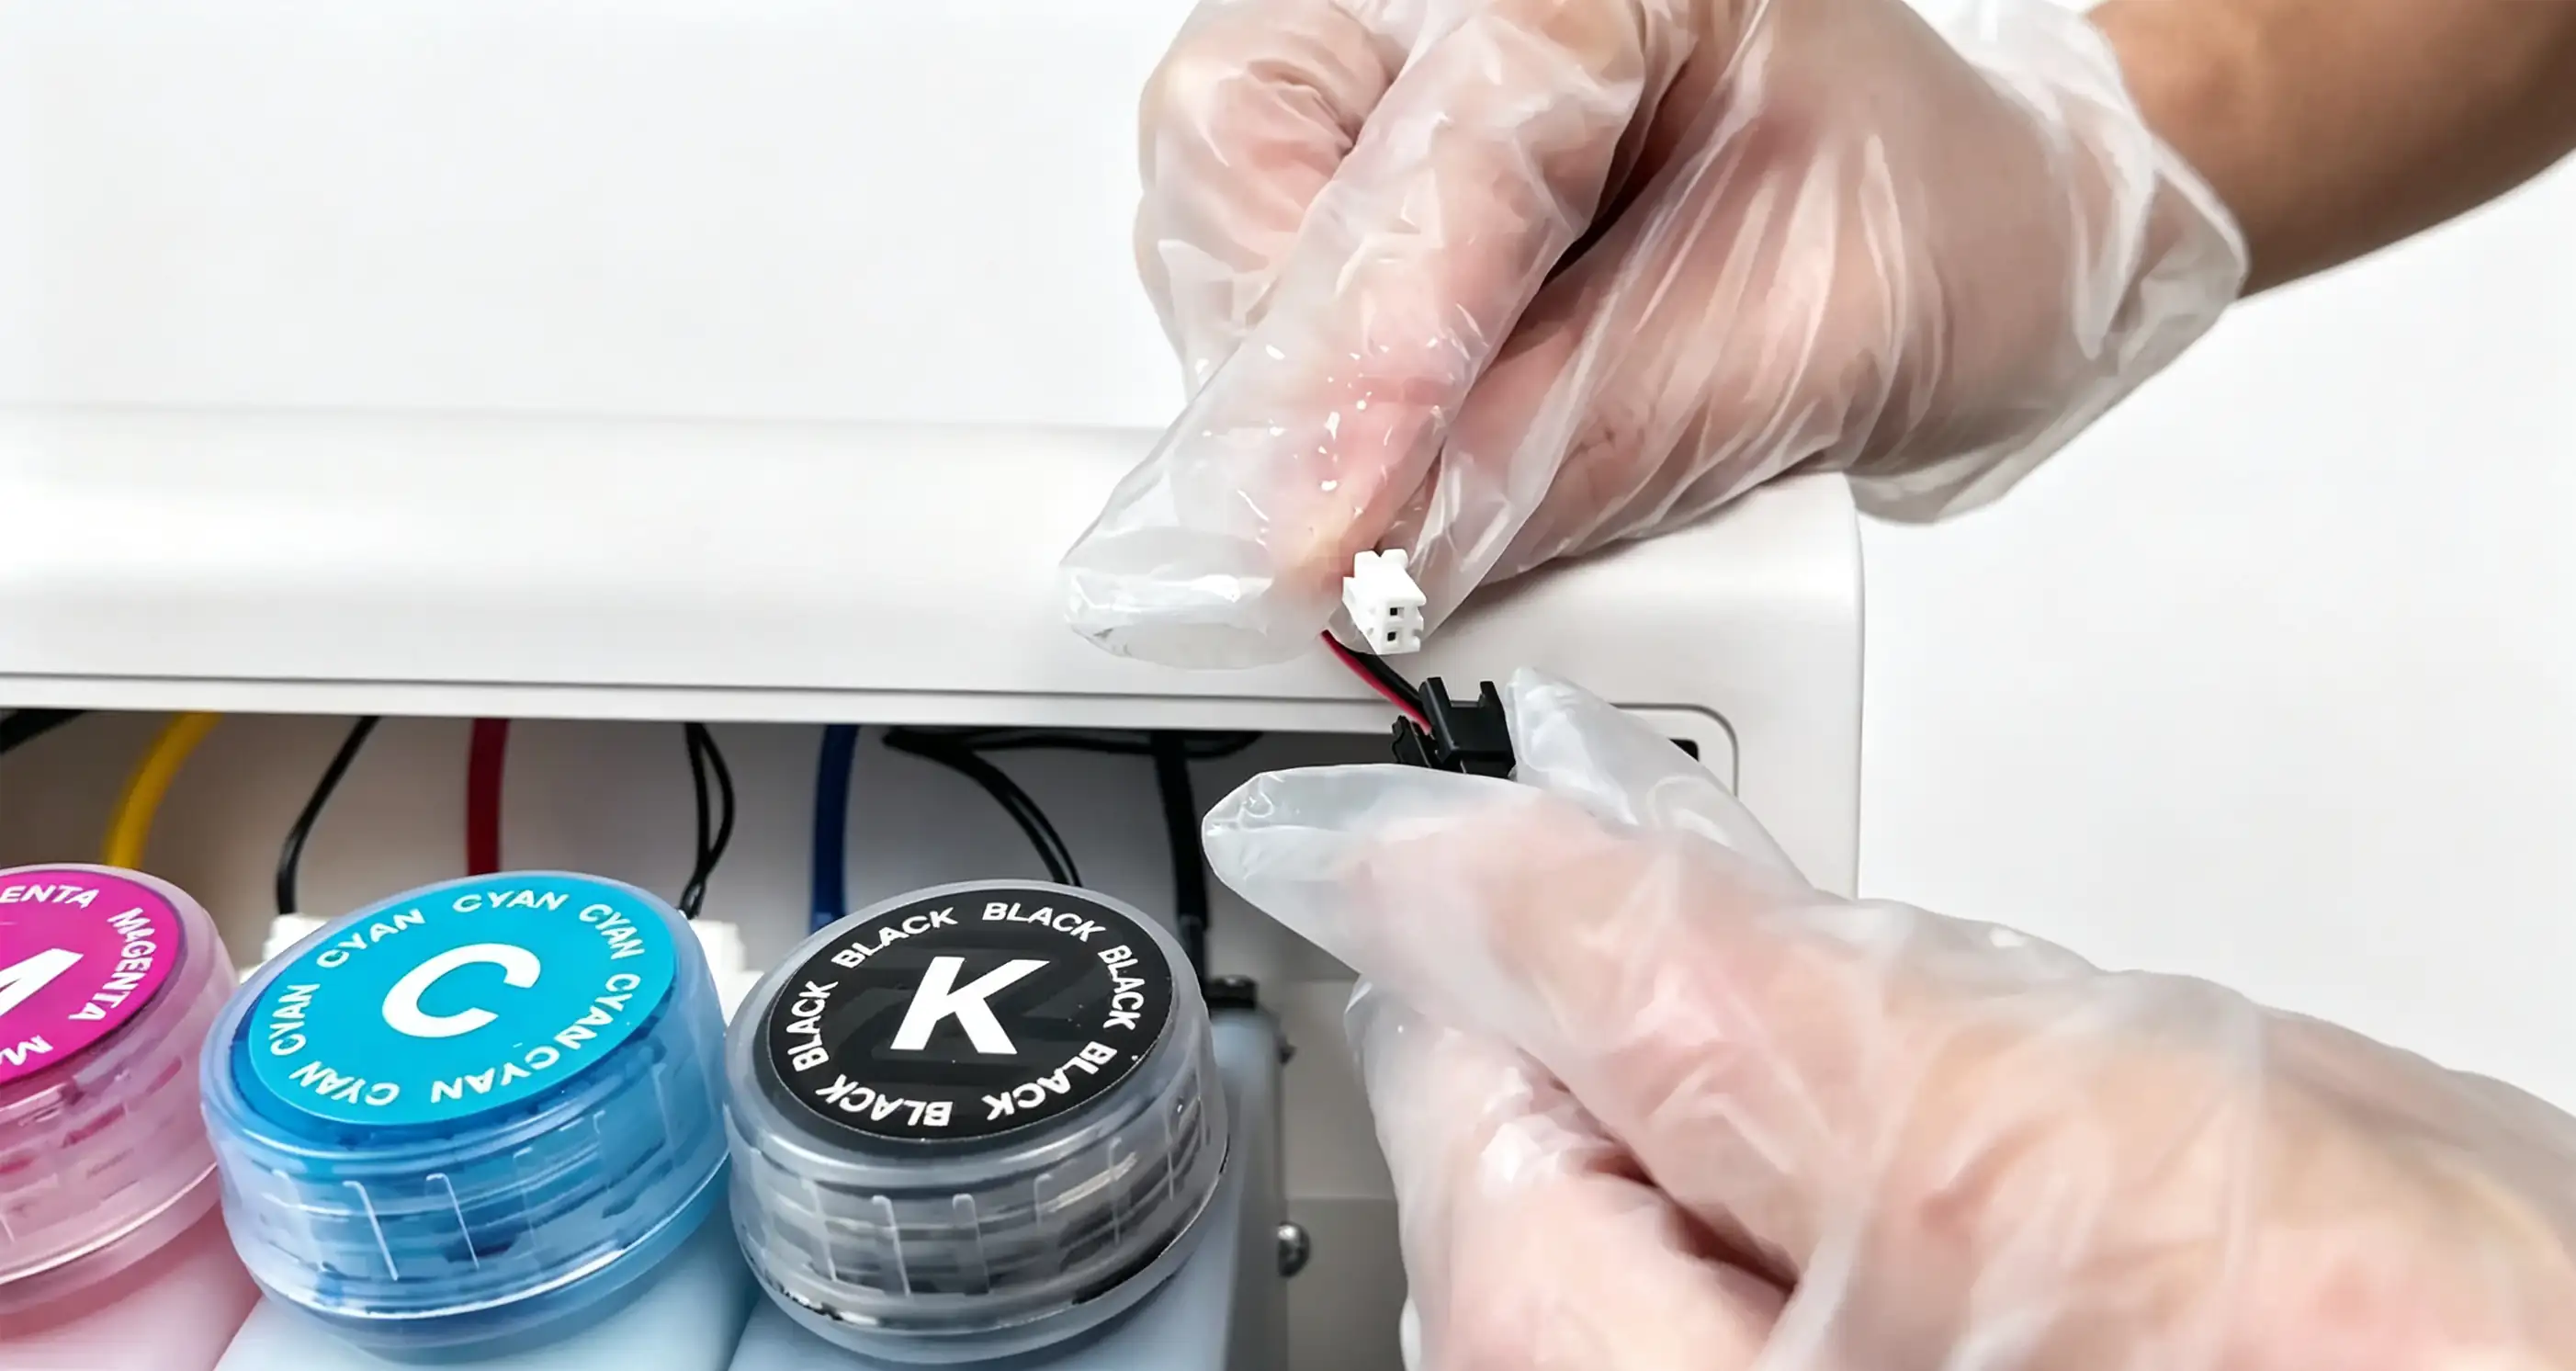
Step 1: Reinsert the ink tube into the connector at the top of the cartridge
Step 2: Reconnect both power plugs to their respective ports on the printer
Step 3: Reconnect both power plugs to their respective ports on the printer
-
Install the new cartridge: Place the new white ink cartridge in position and reinsert the ink tube into the connector at the top of the cartridge; then, reconnect both power plugs to their respective ports on the printer.
-
Replace in sequence: Follow the order from left to right (black, blue, red, yellow), and replace the remaining ink cartridges using the same method. Afterward, reattach the cover plate.
Note: The connection ports for each cartridge are different; do not mix them up!
Step 2: Reconnect both power plugs to their respective ports on the printer
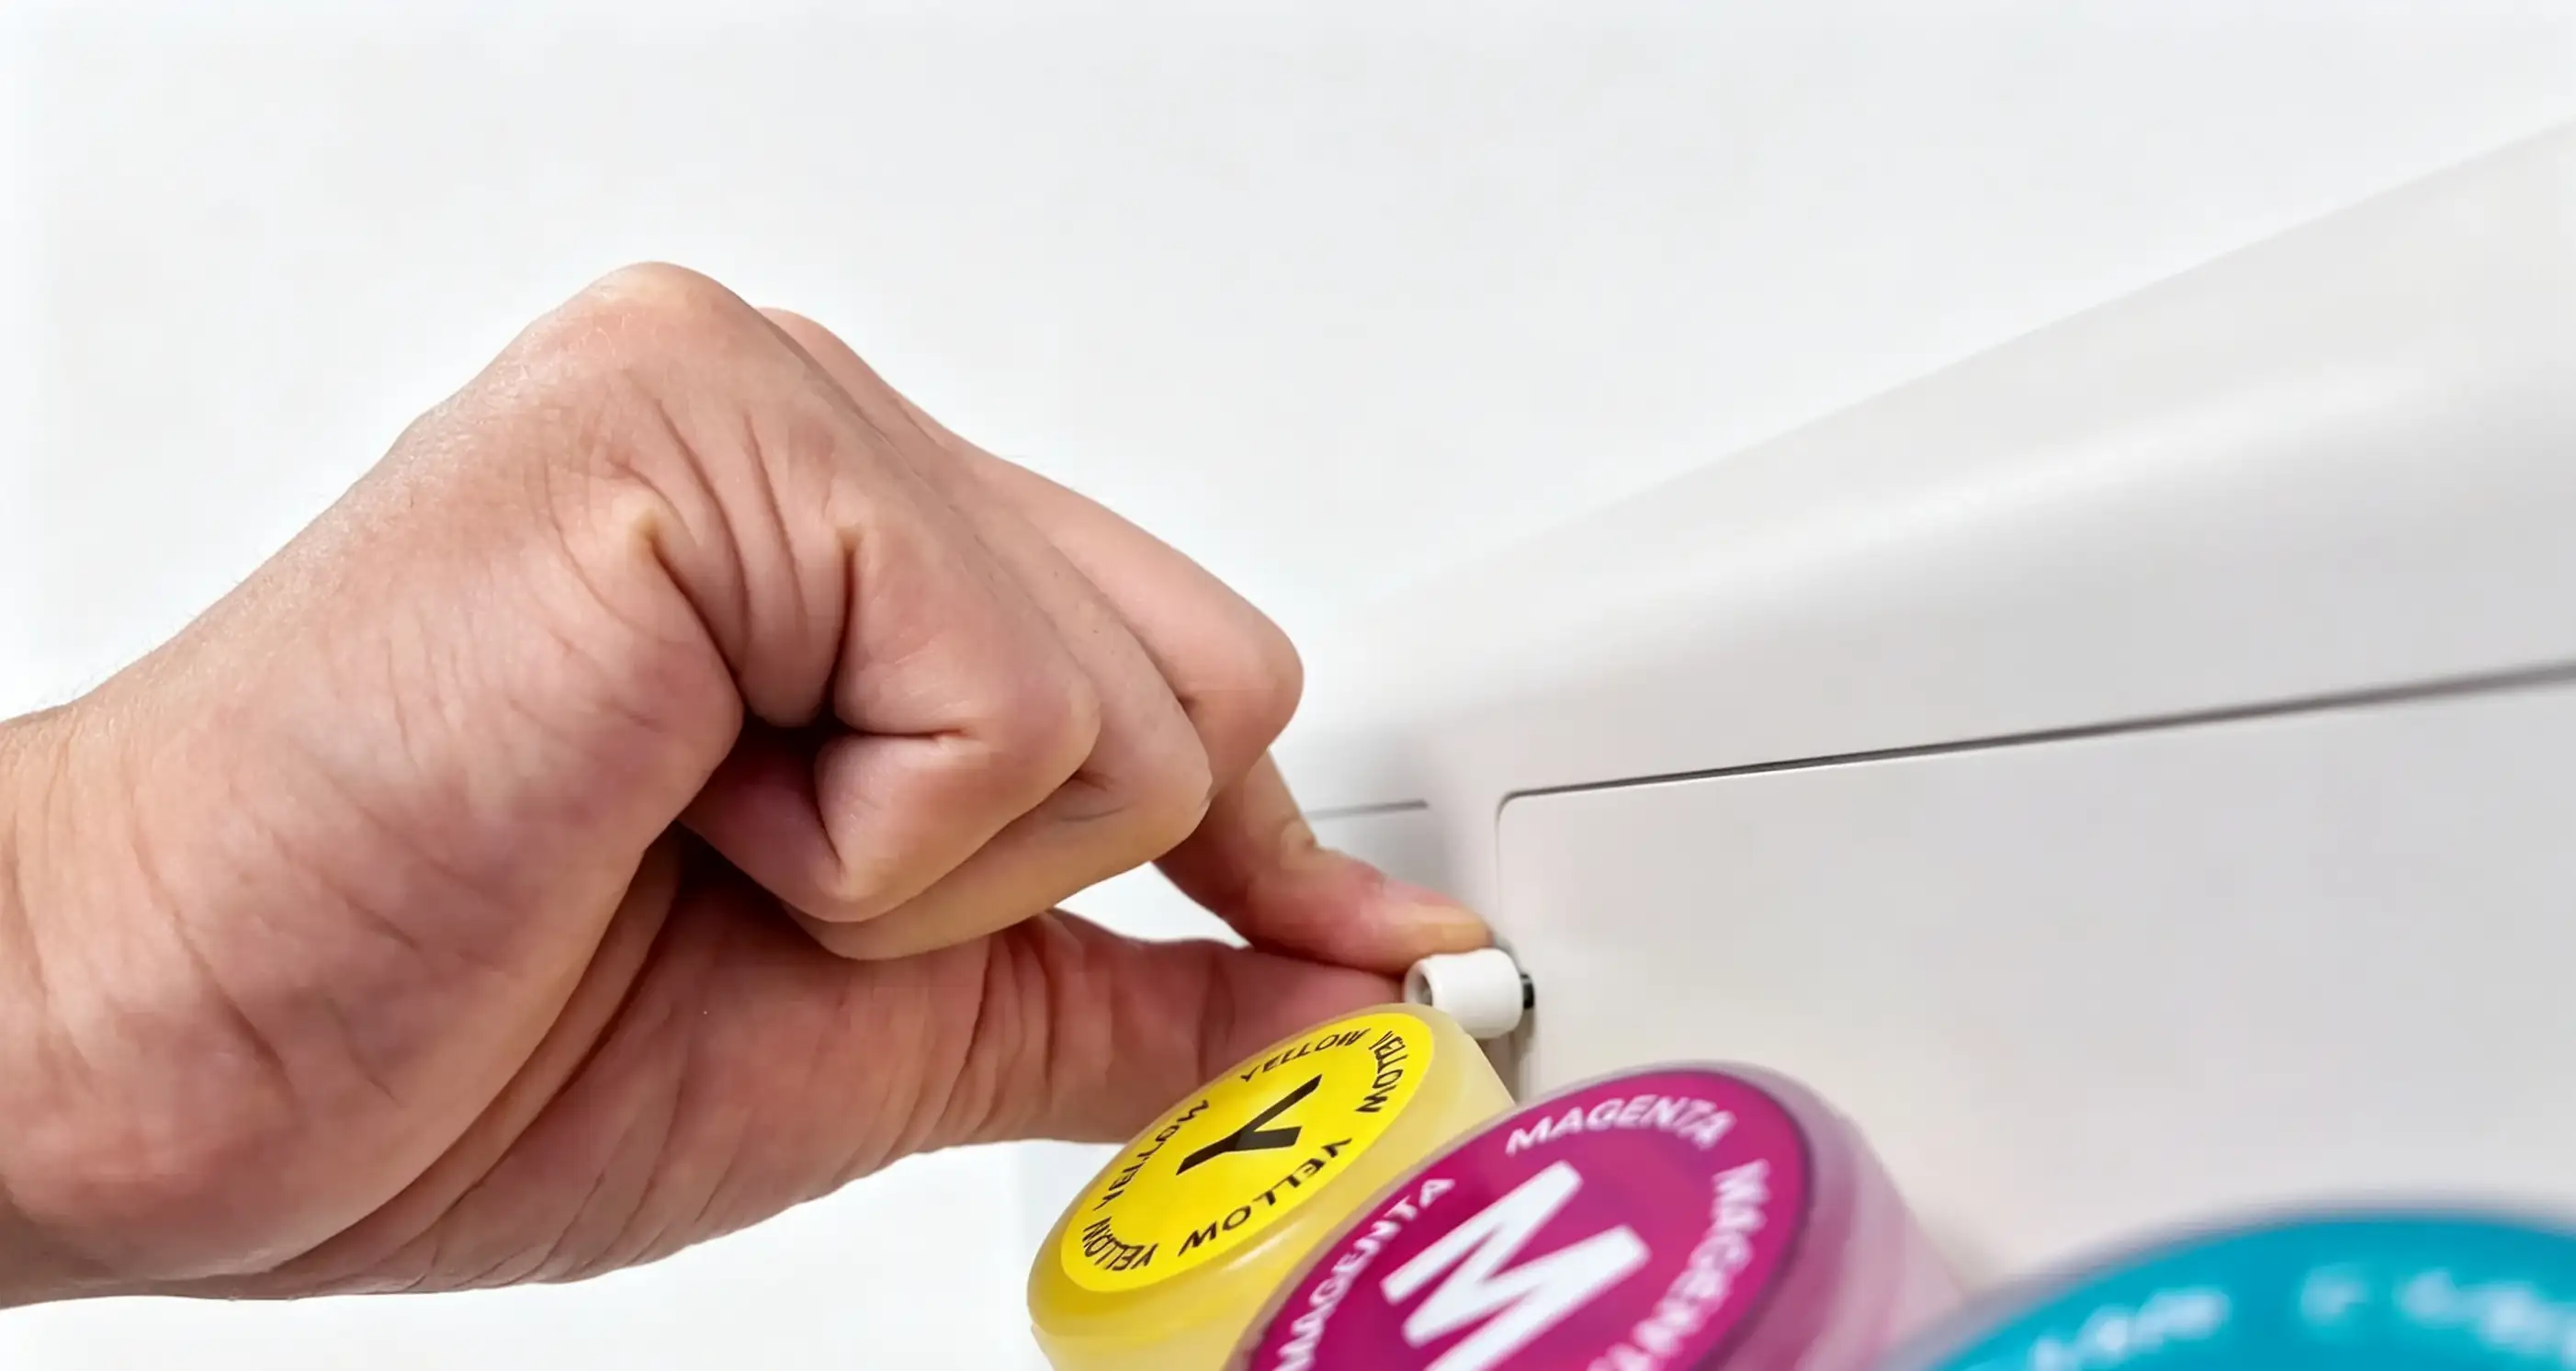
Step 3: Reconnect both power plugs to their respective ports on the printer
- After replacing the ink cartridge, reinstall the cover plate.