¶ Preparation
Tools: New grating bar, short-handled Phillips screwdriver, PVC gloves.
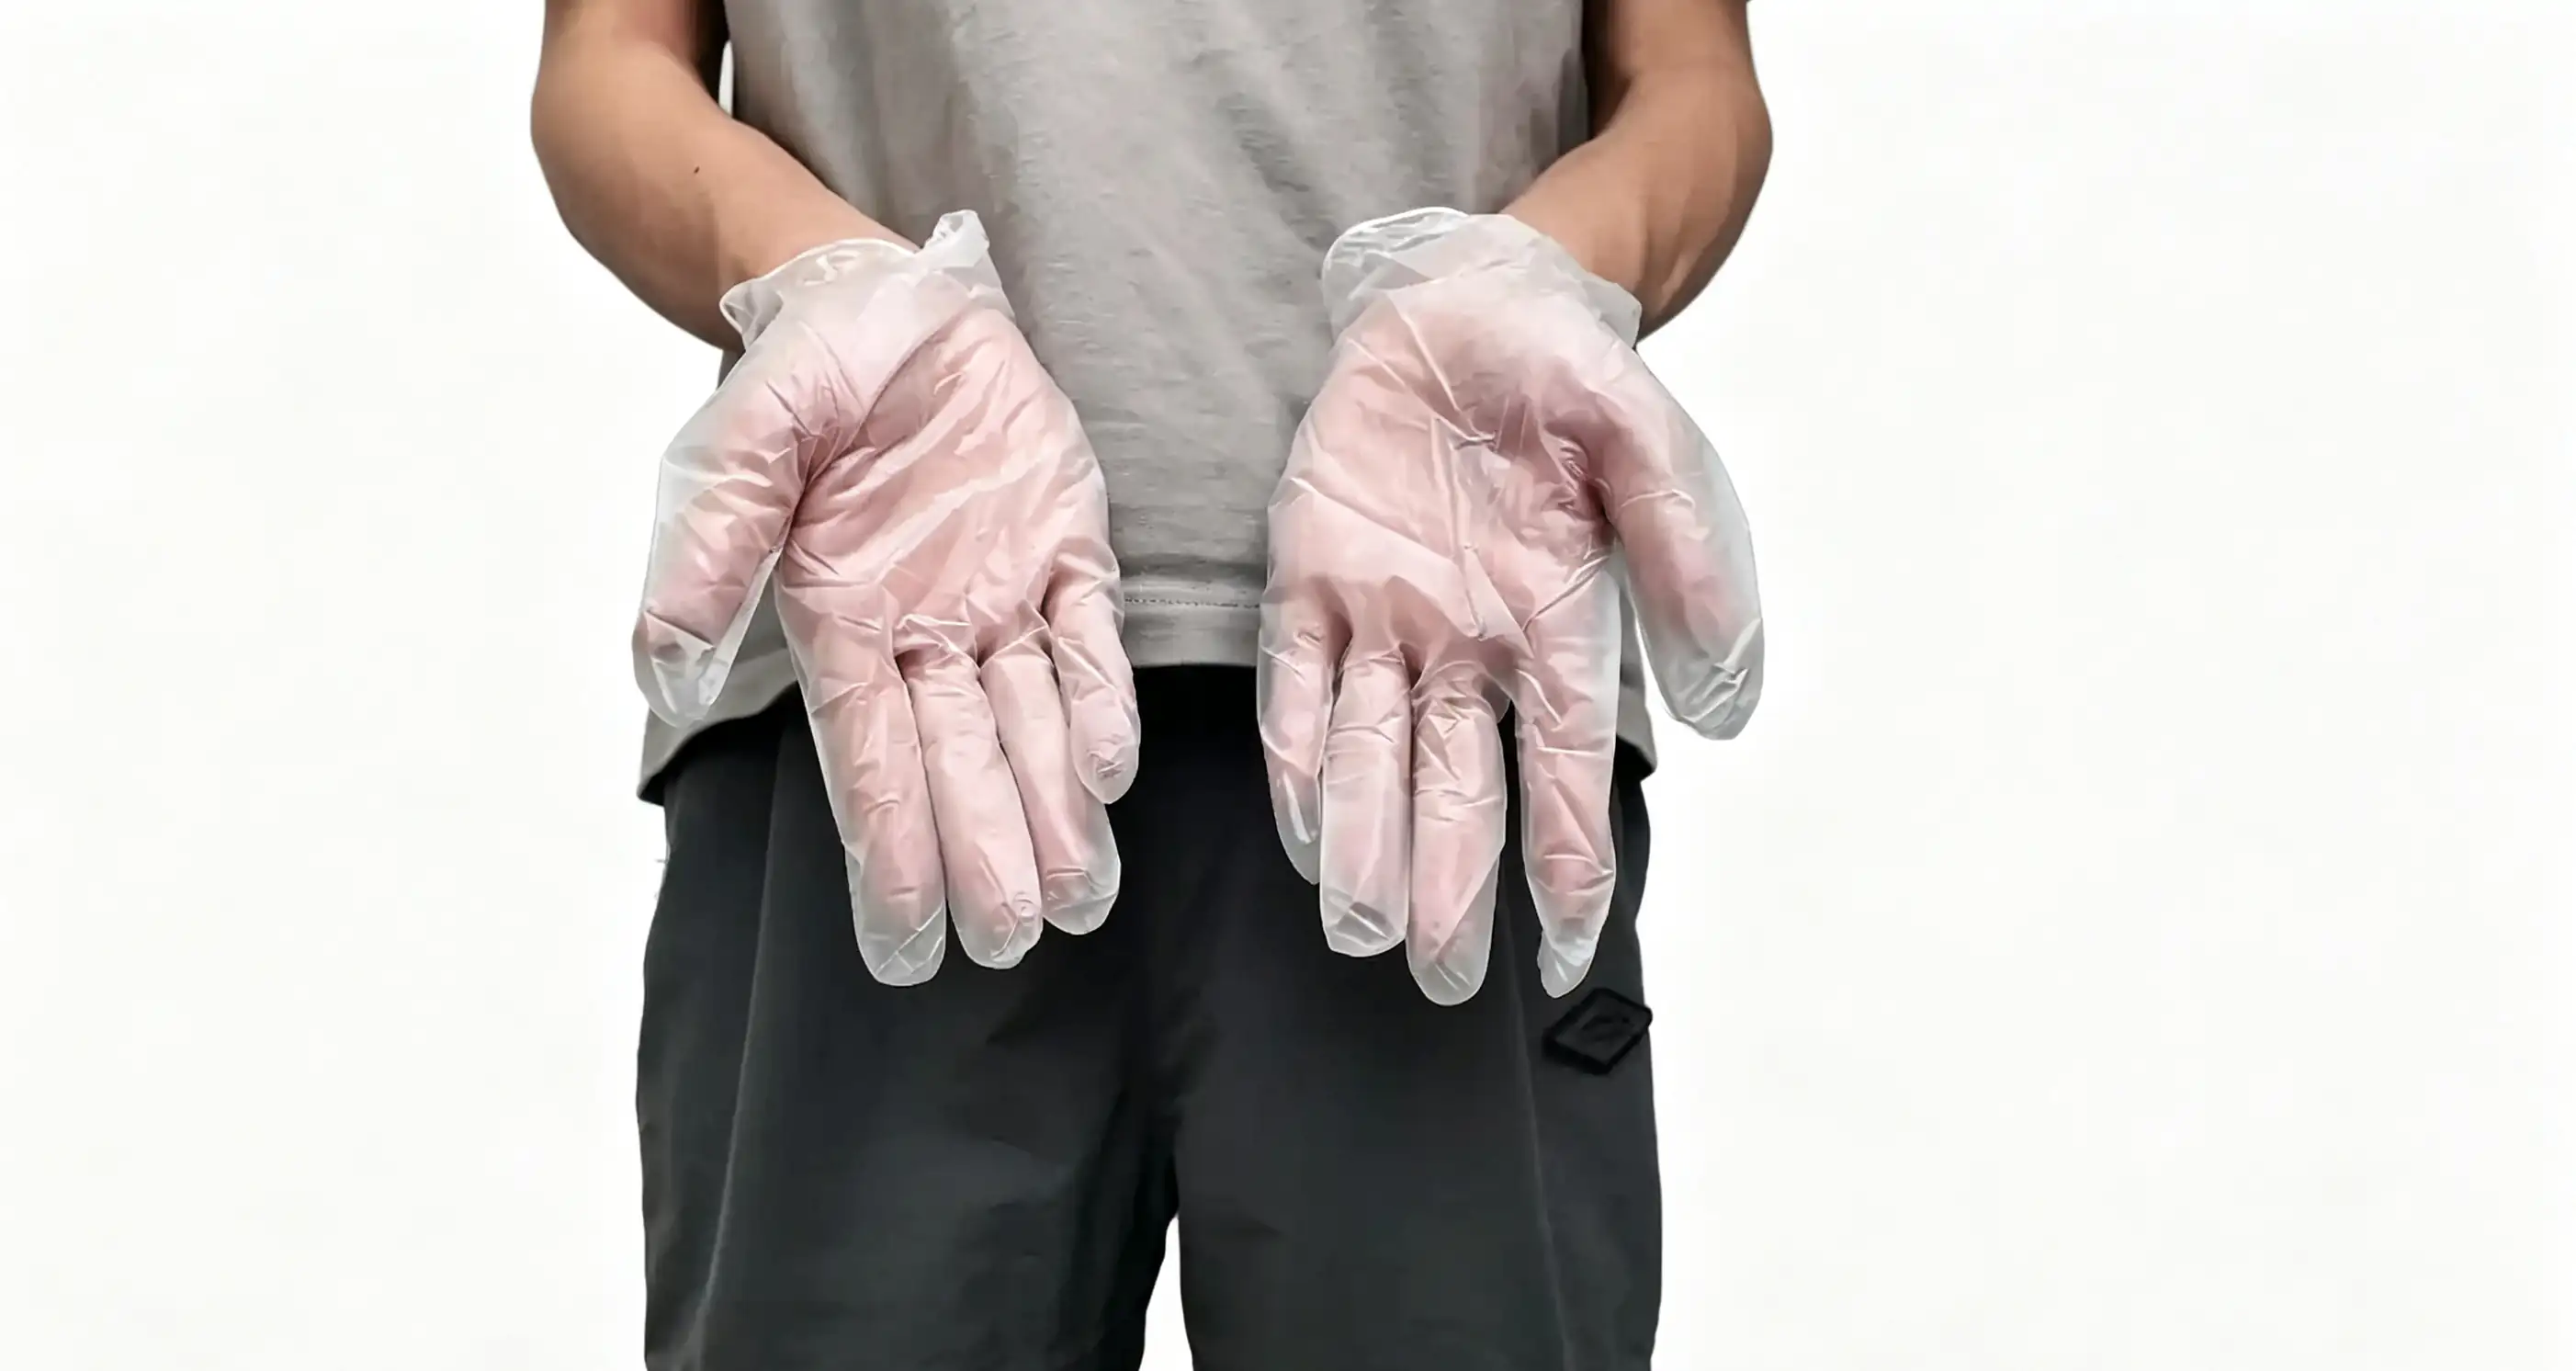
Safety precautions: It is recommended to wear PVC gloves before operation to prevent oil or sweat from contaminating equipment components .
¶ Procedure
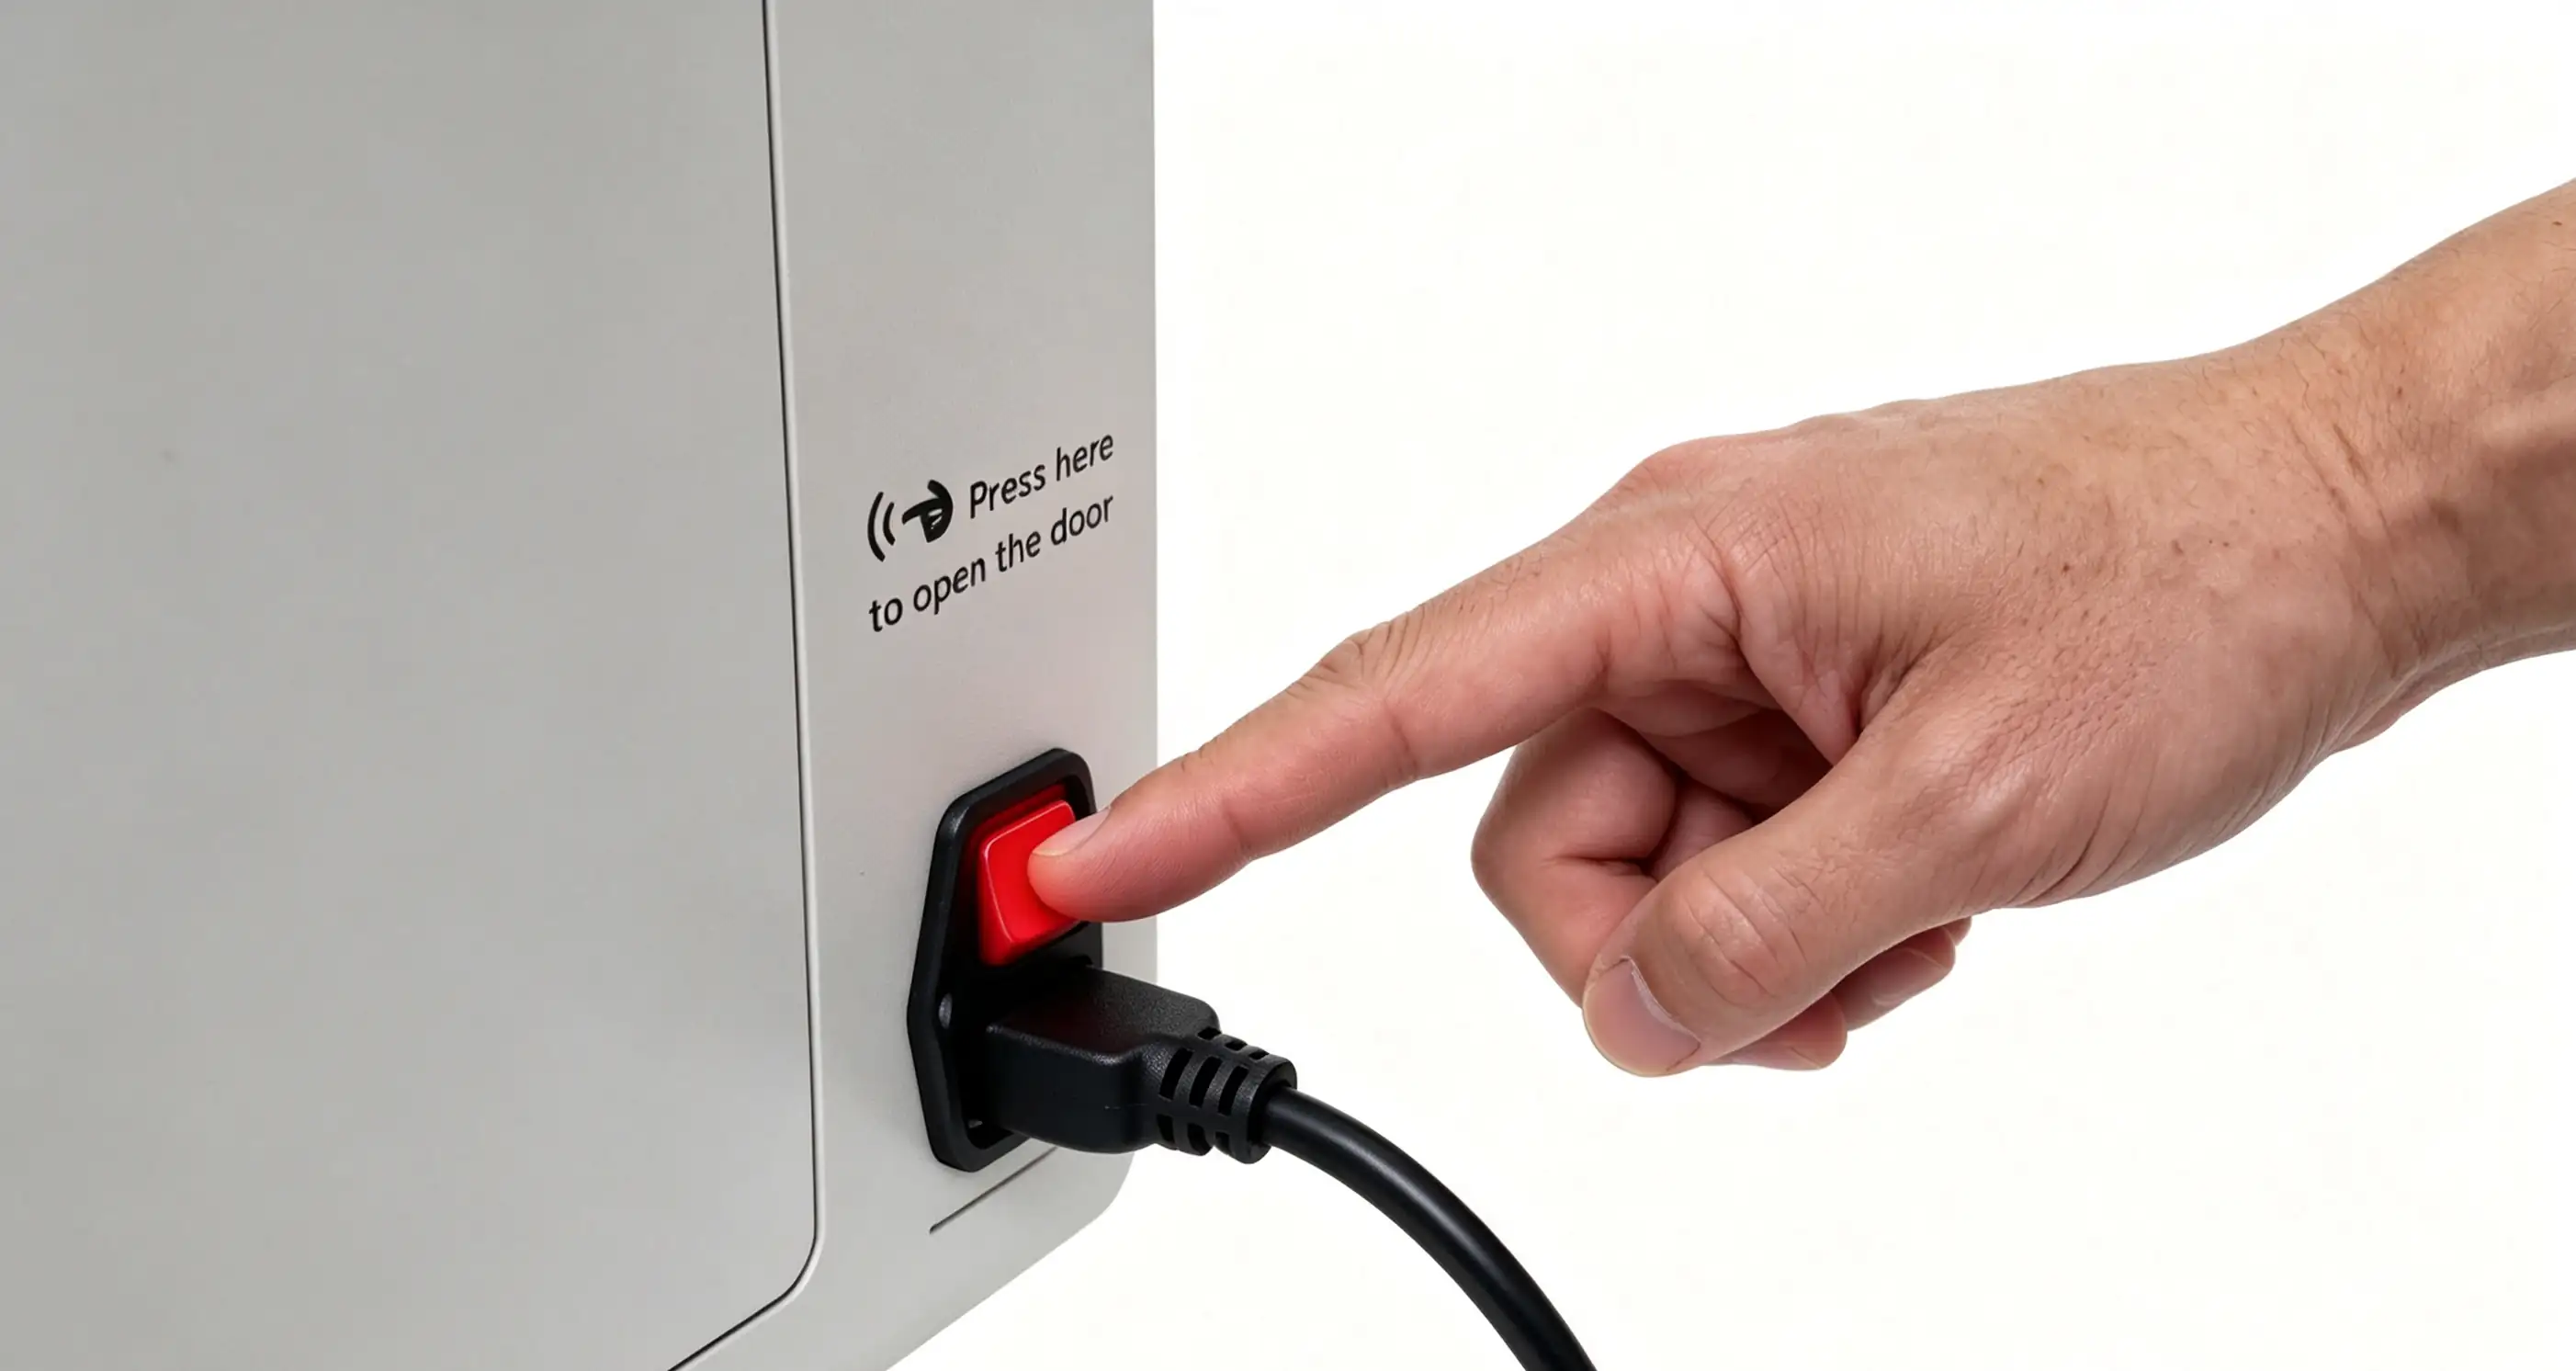
Step 1: Turn off the device power
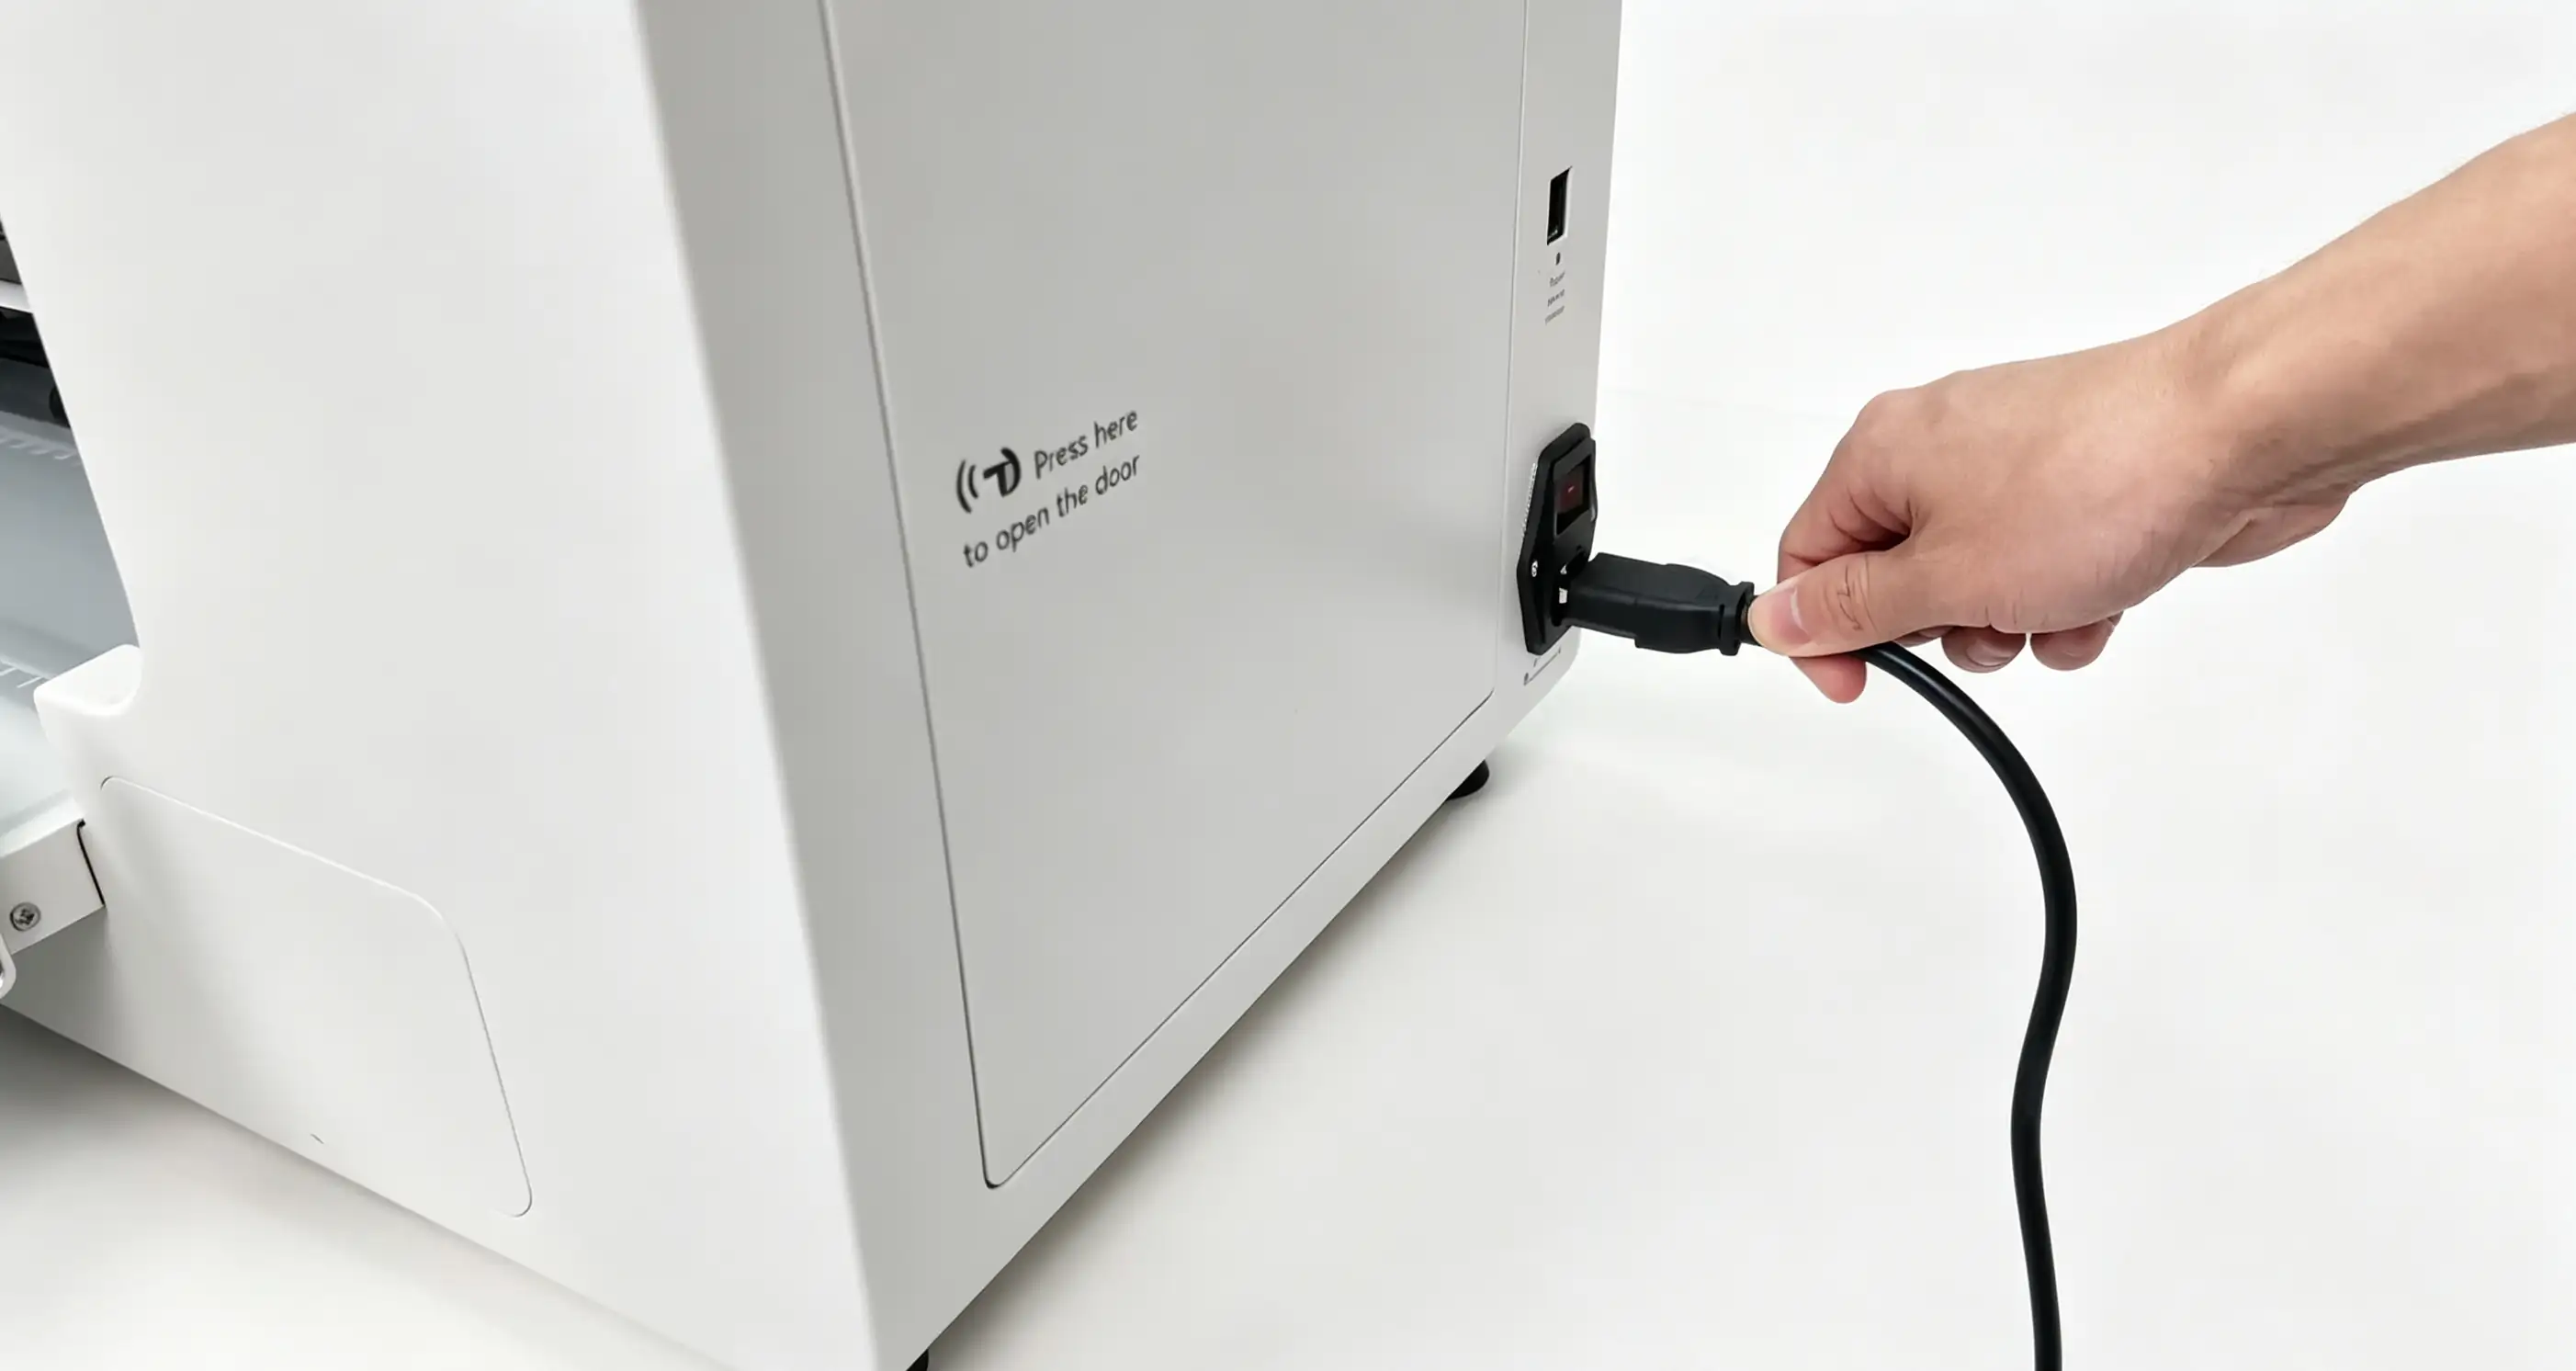
Step 2: Unplug the printer's power cord
- Turn off the printer power switch and unplug the power cord from the outlet.
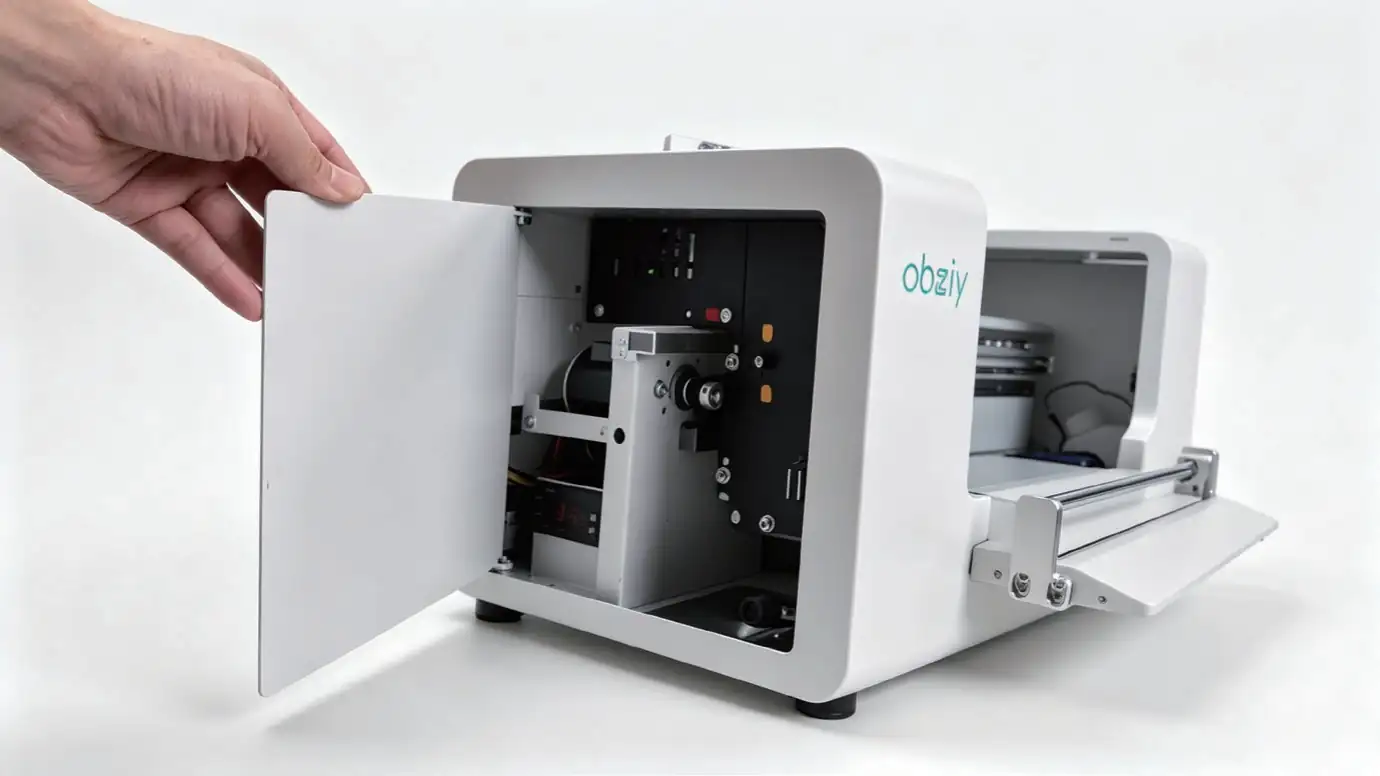
Step 1: Open the left door of the printer
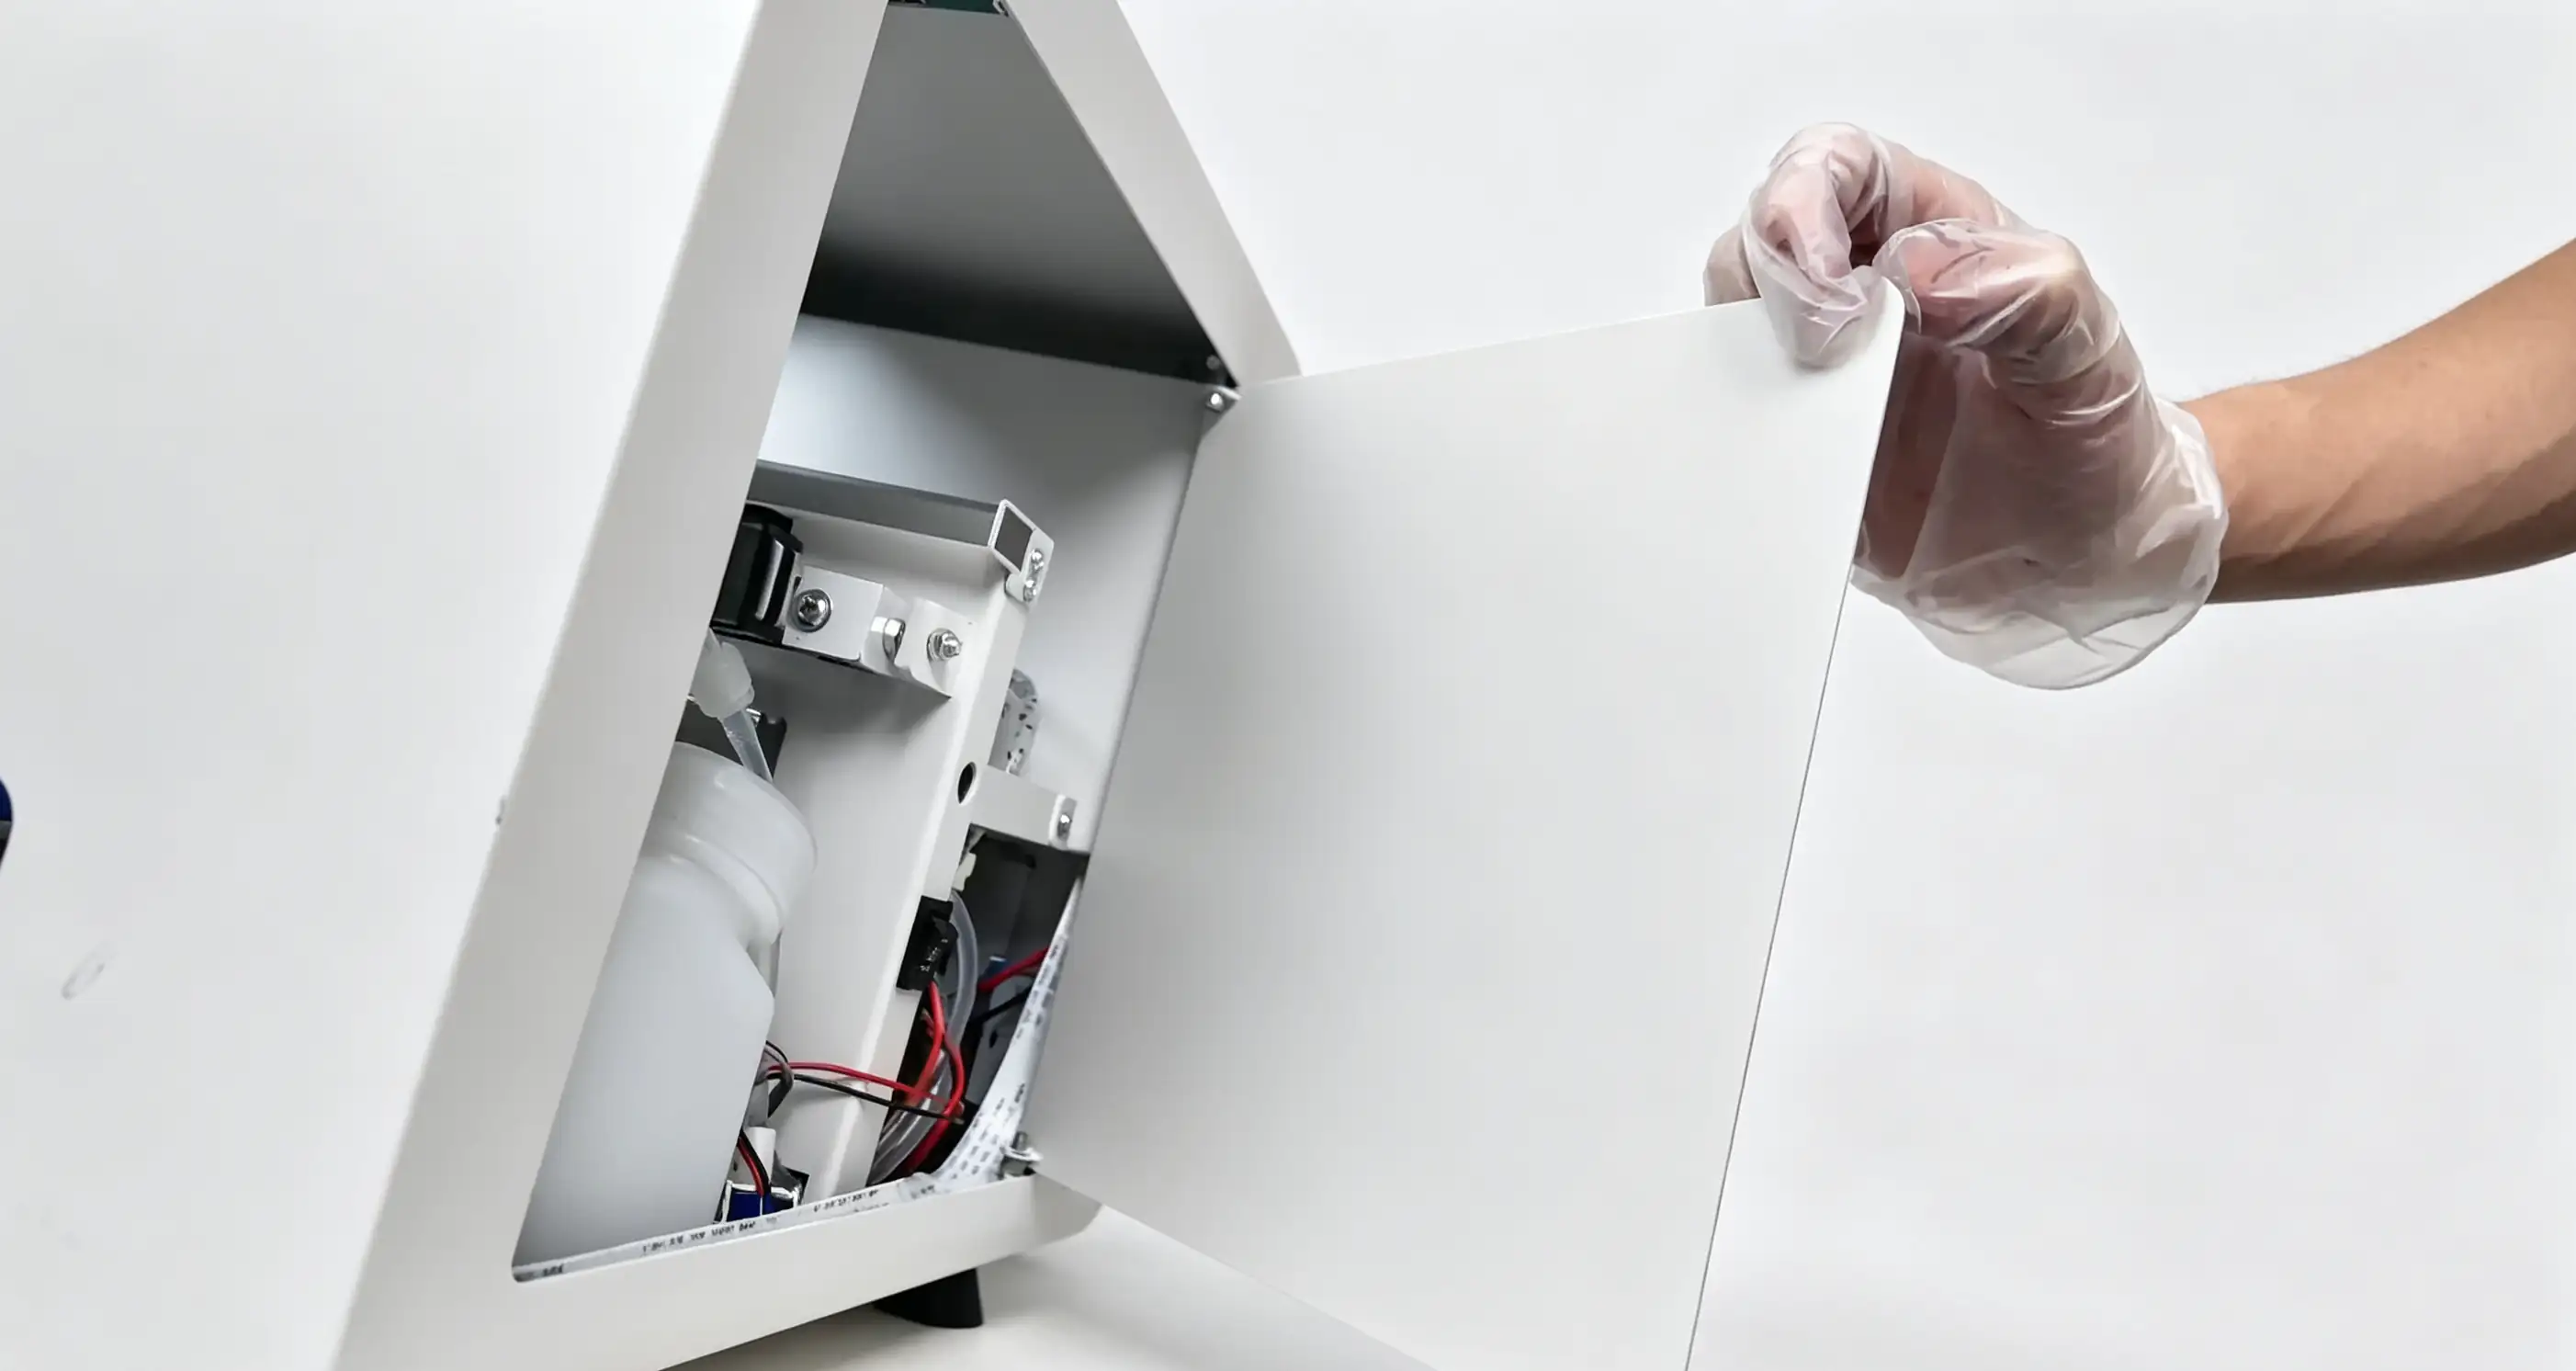
Step 2: Open the right door of the printer
- Open the access doors on both sides of the printer.
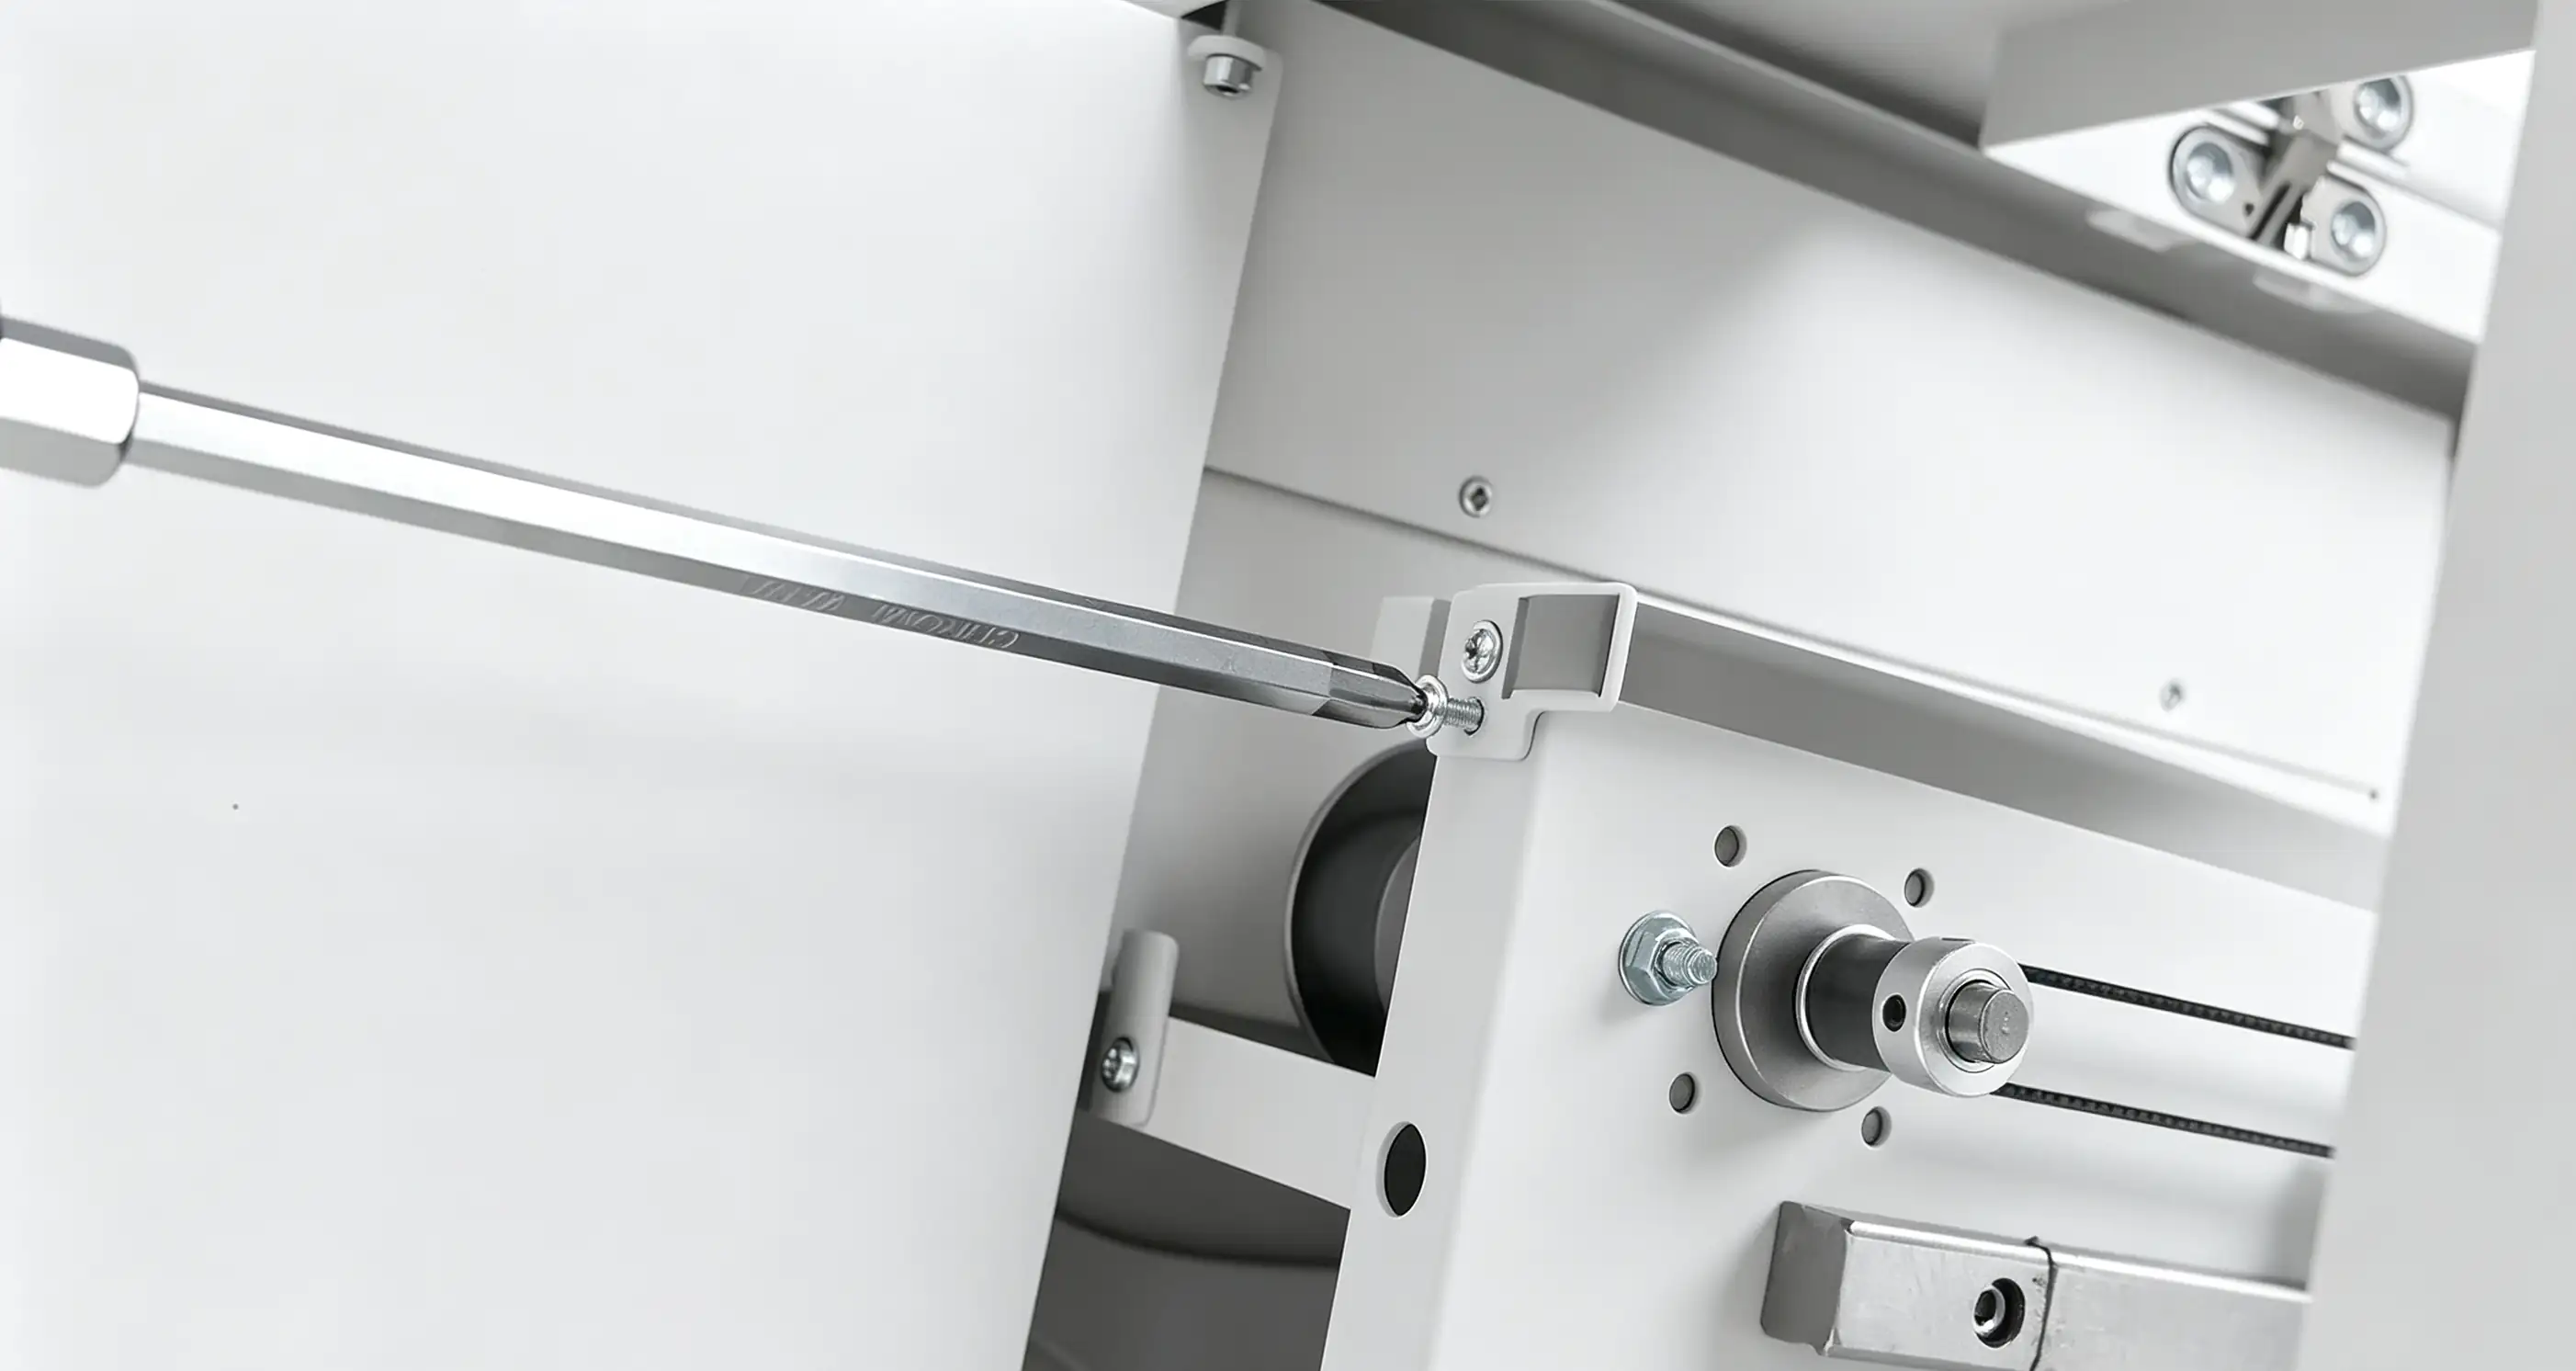
Step 1: Unscrew the left grating bar screw
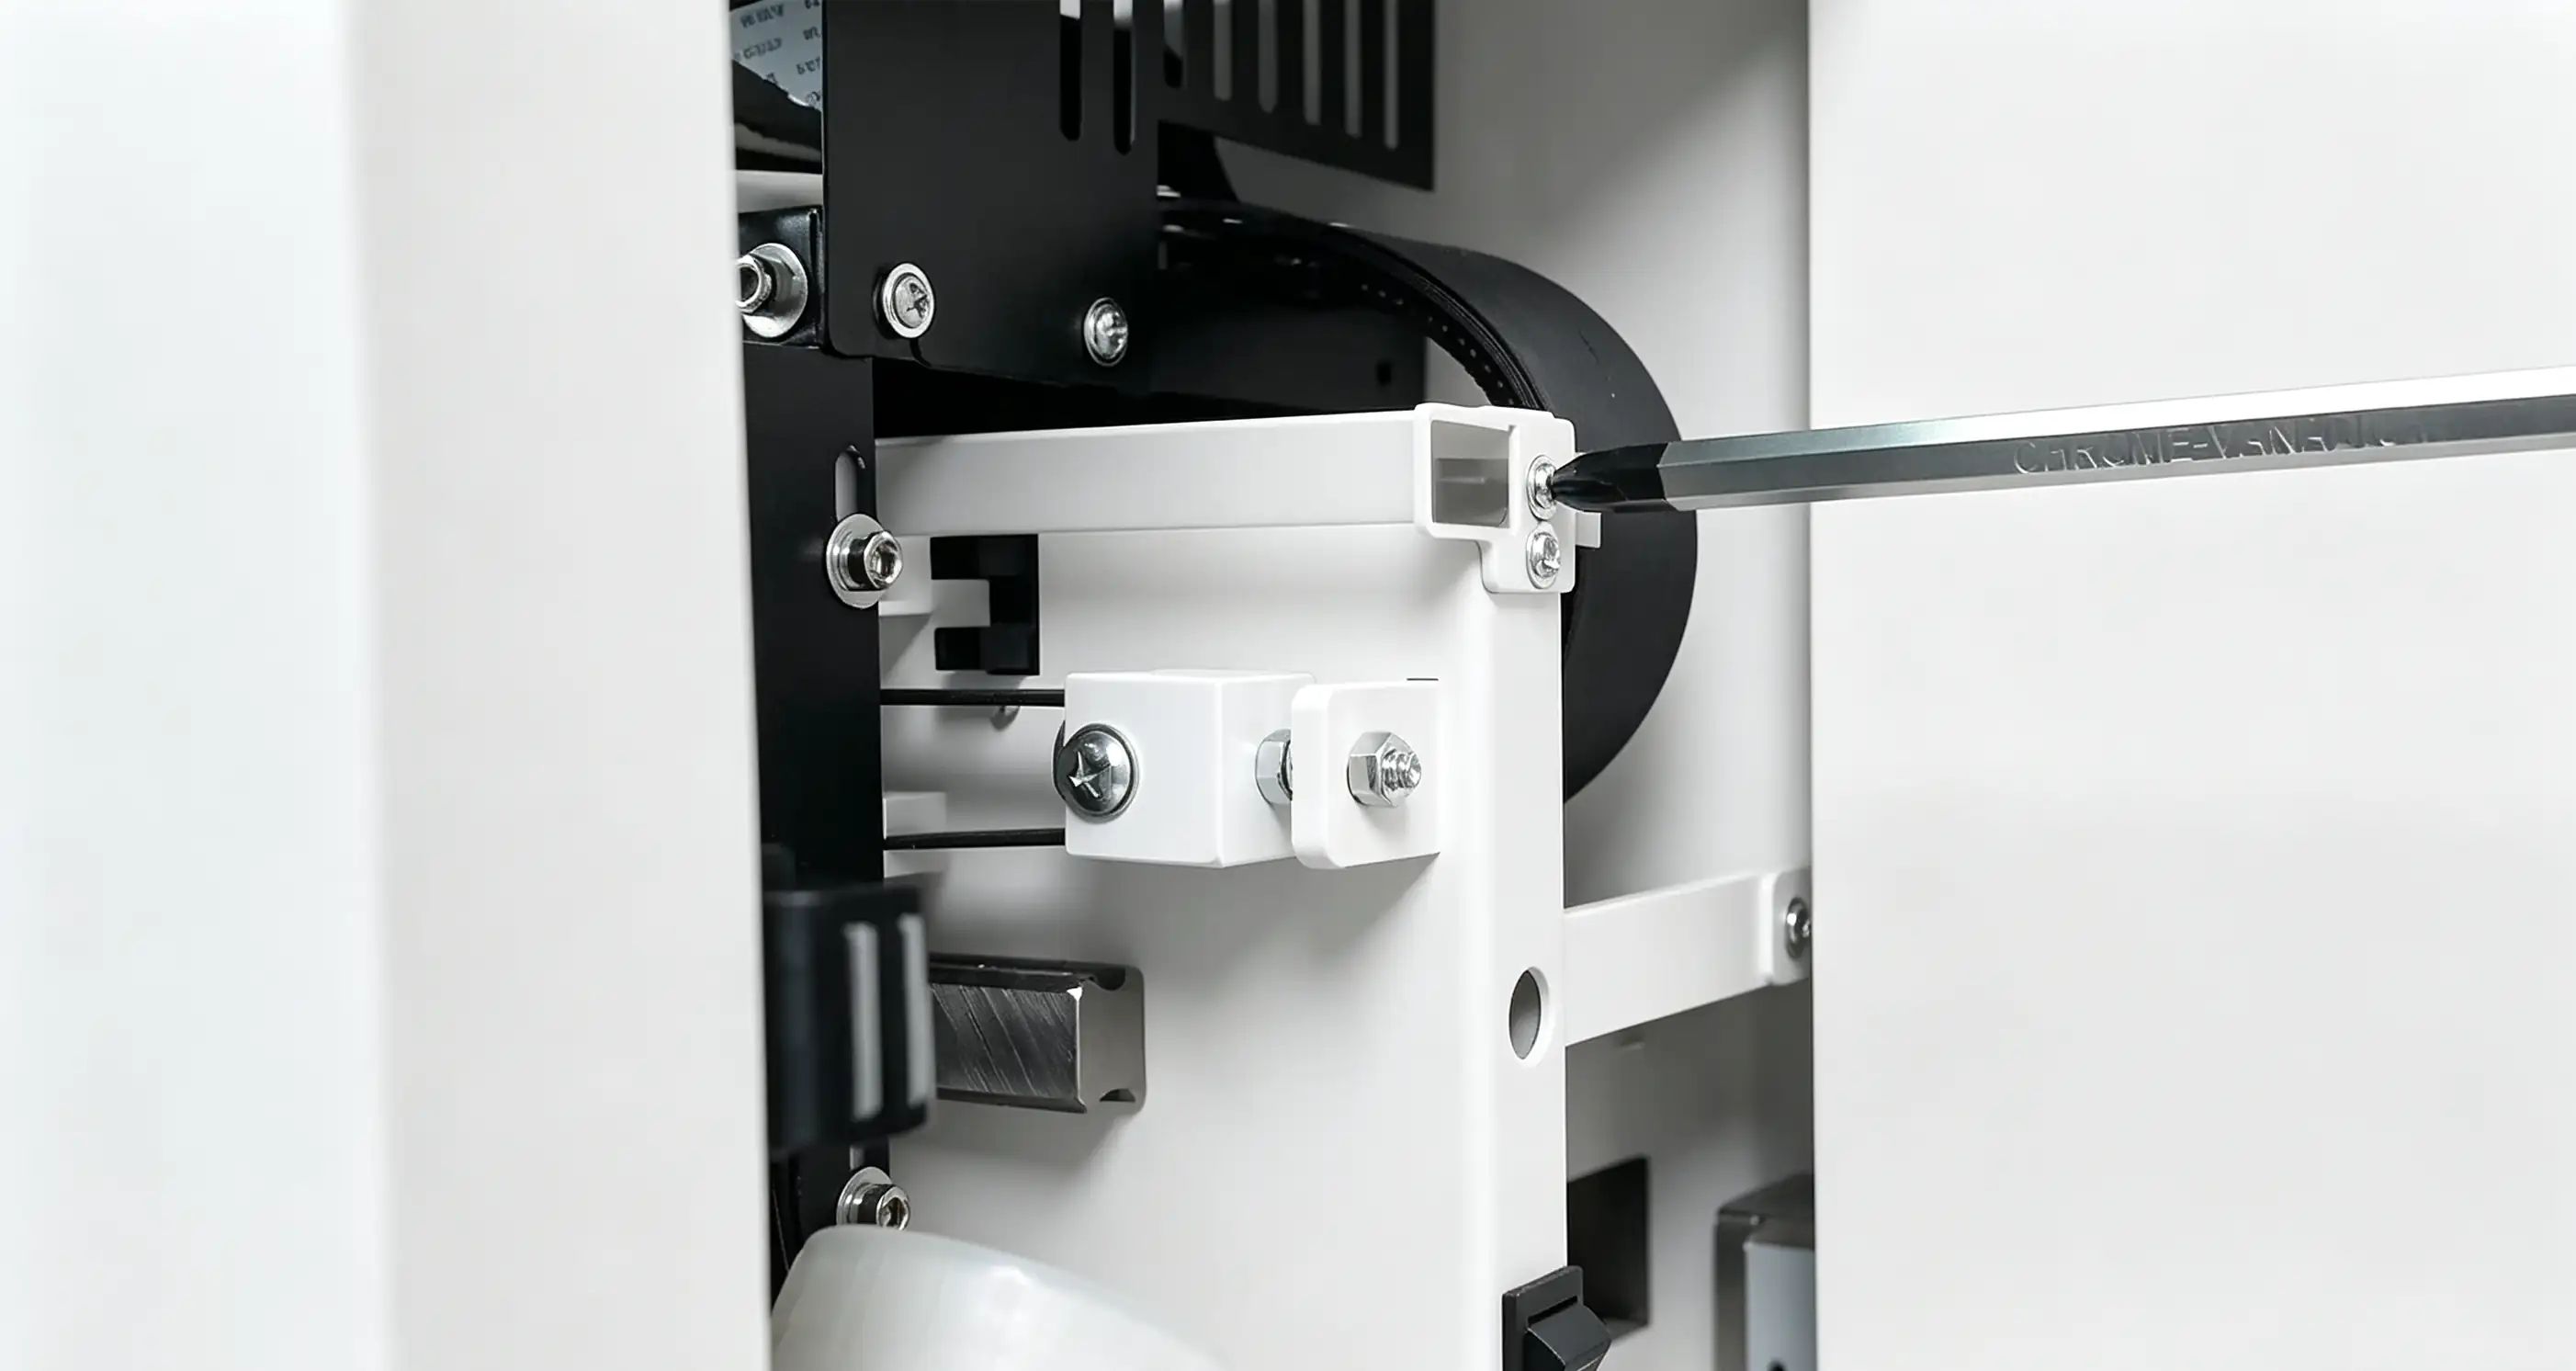
Step 2: Unscrew the right grating bar screw
- Use a Phillips screwdriver to remove the screws securing the end pieces on both sides of the scanning bar, then detach the scanning bar from the mounting brackets.
¶ Installing the New Scanning Bar
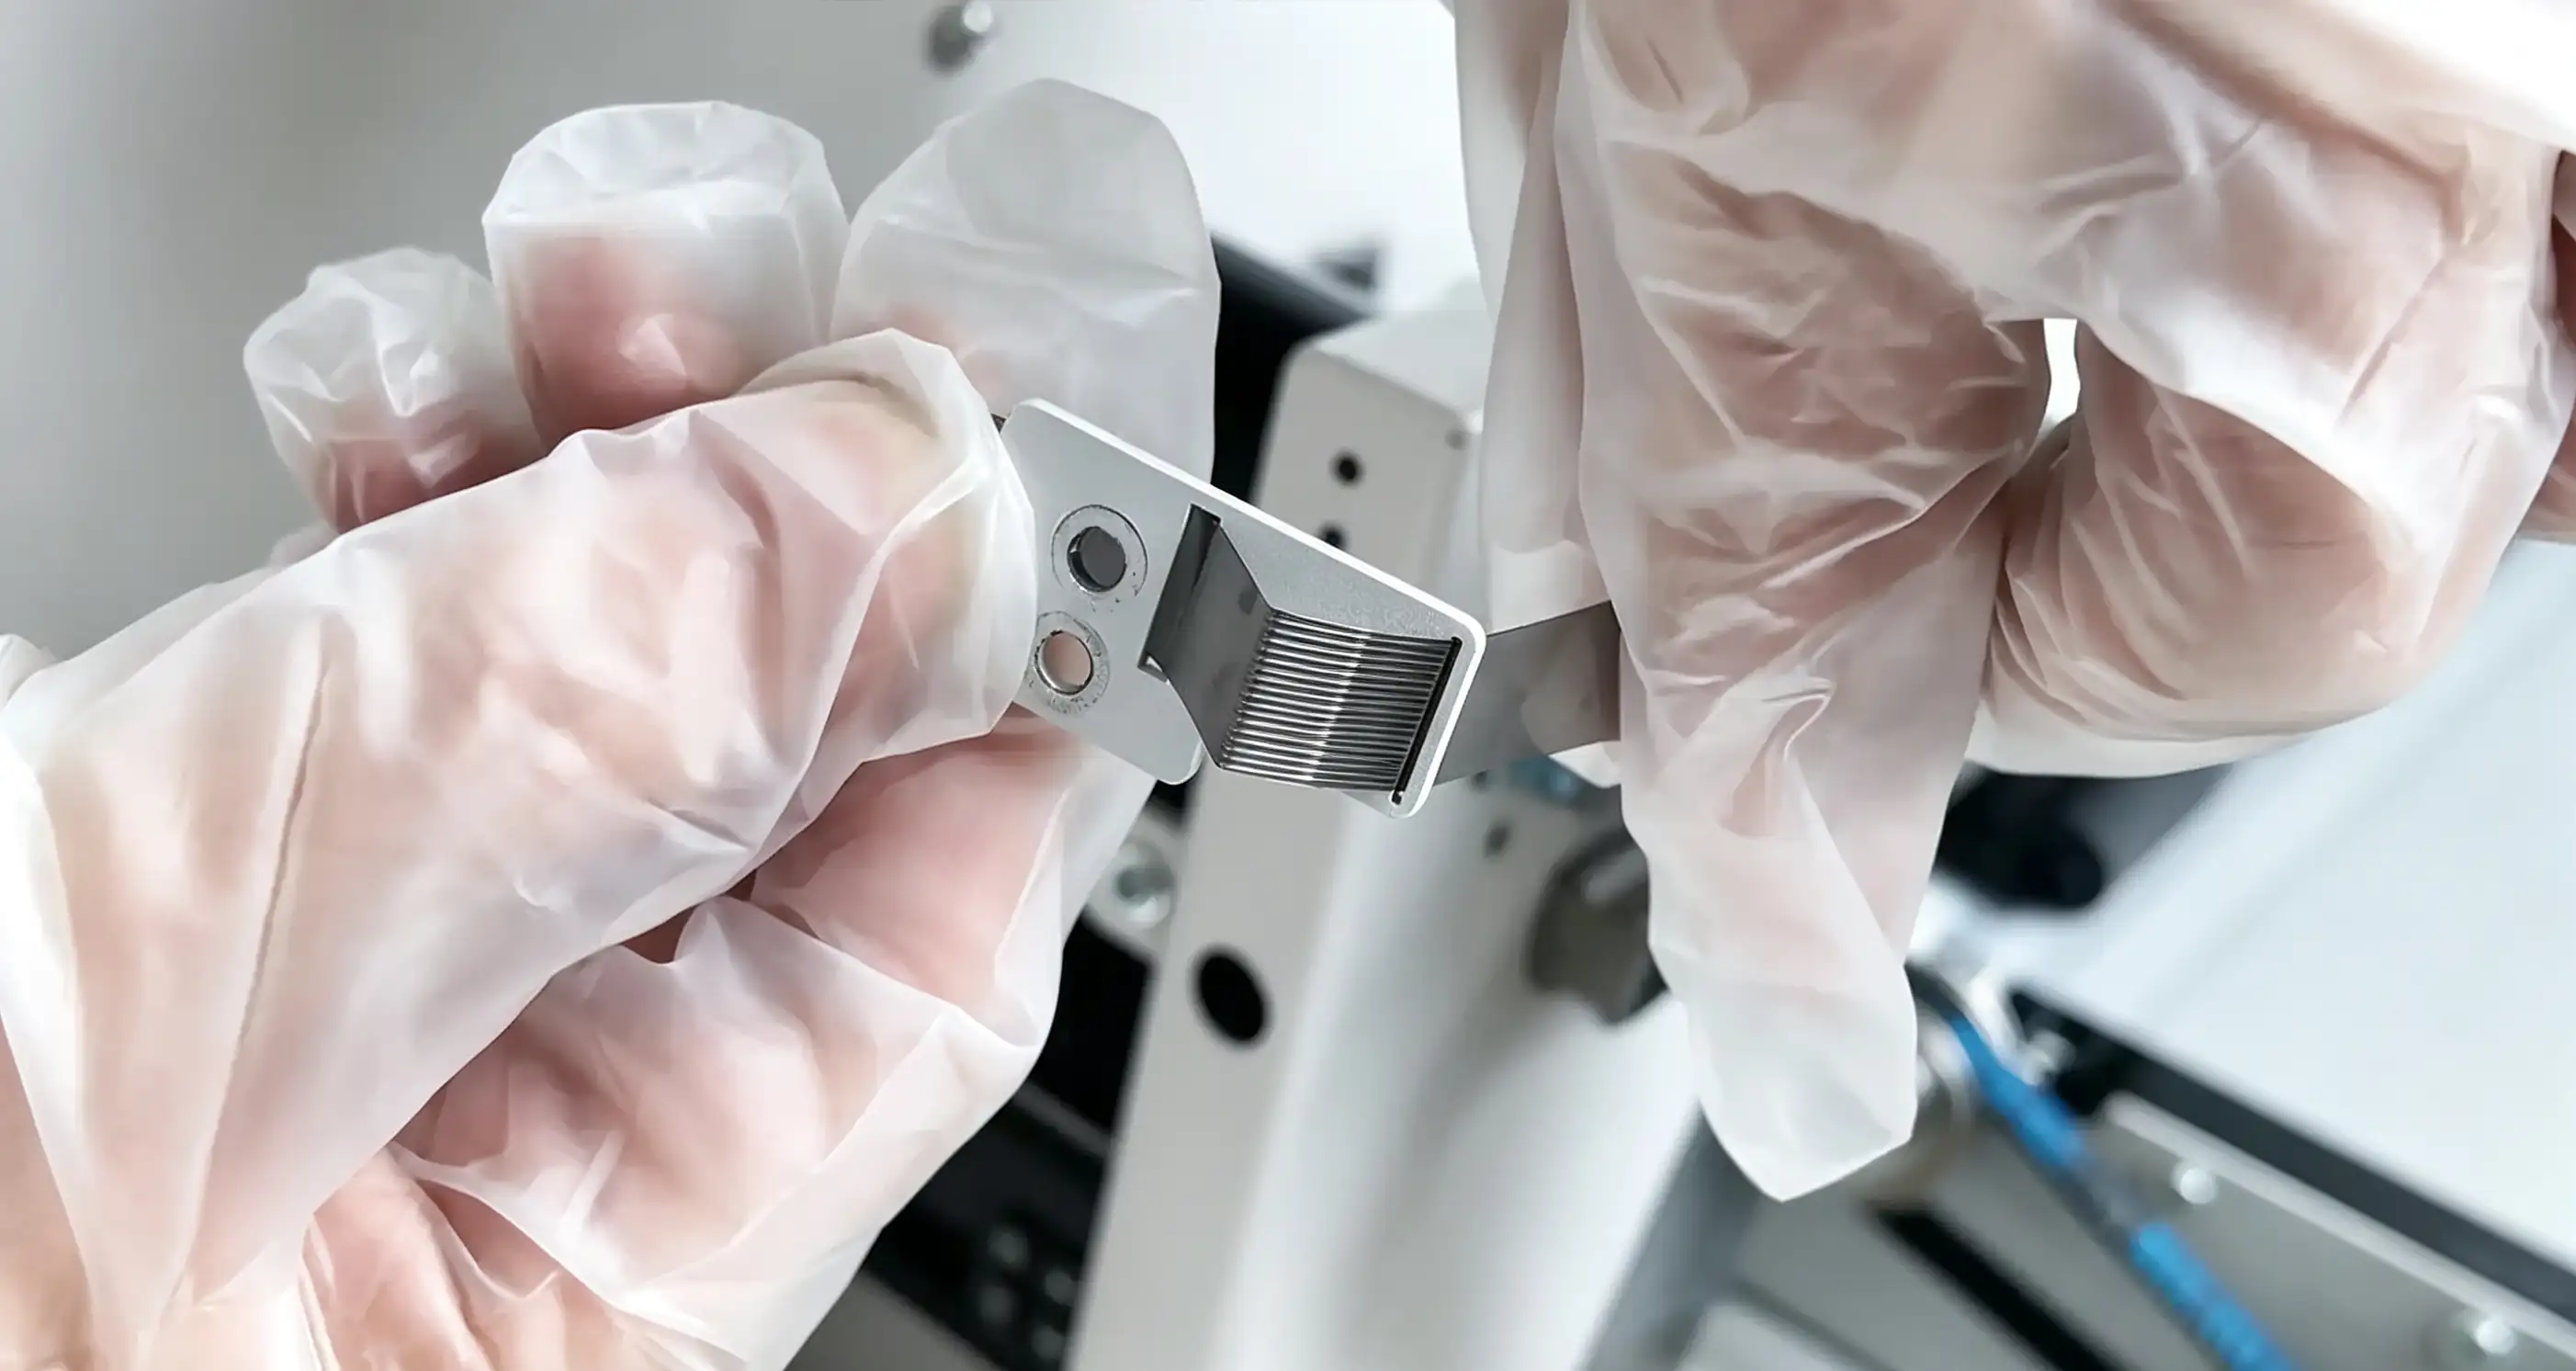
Step 1: New grating bar inserted into firmware
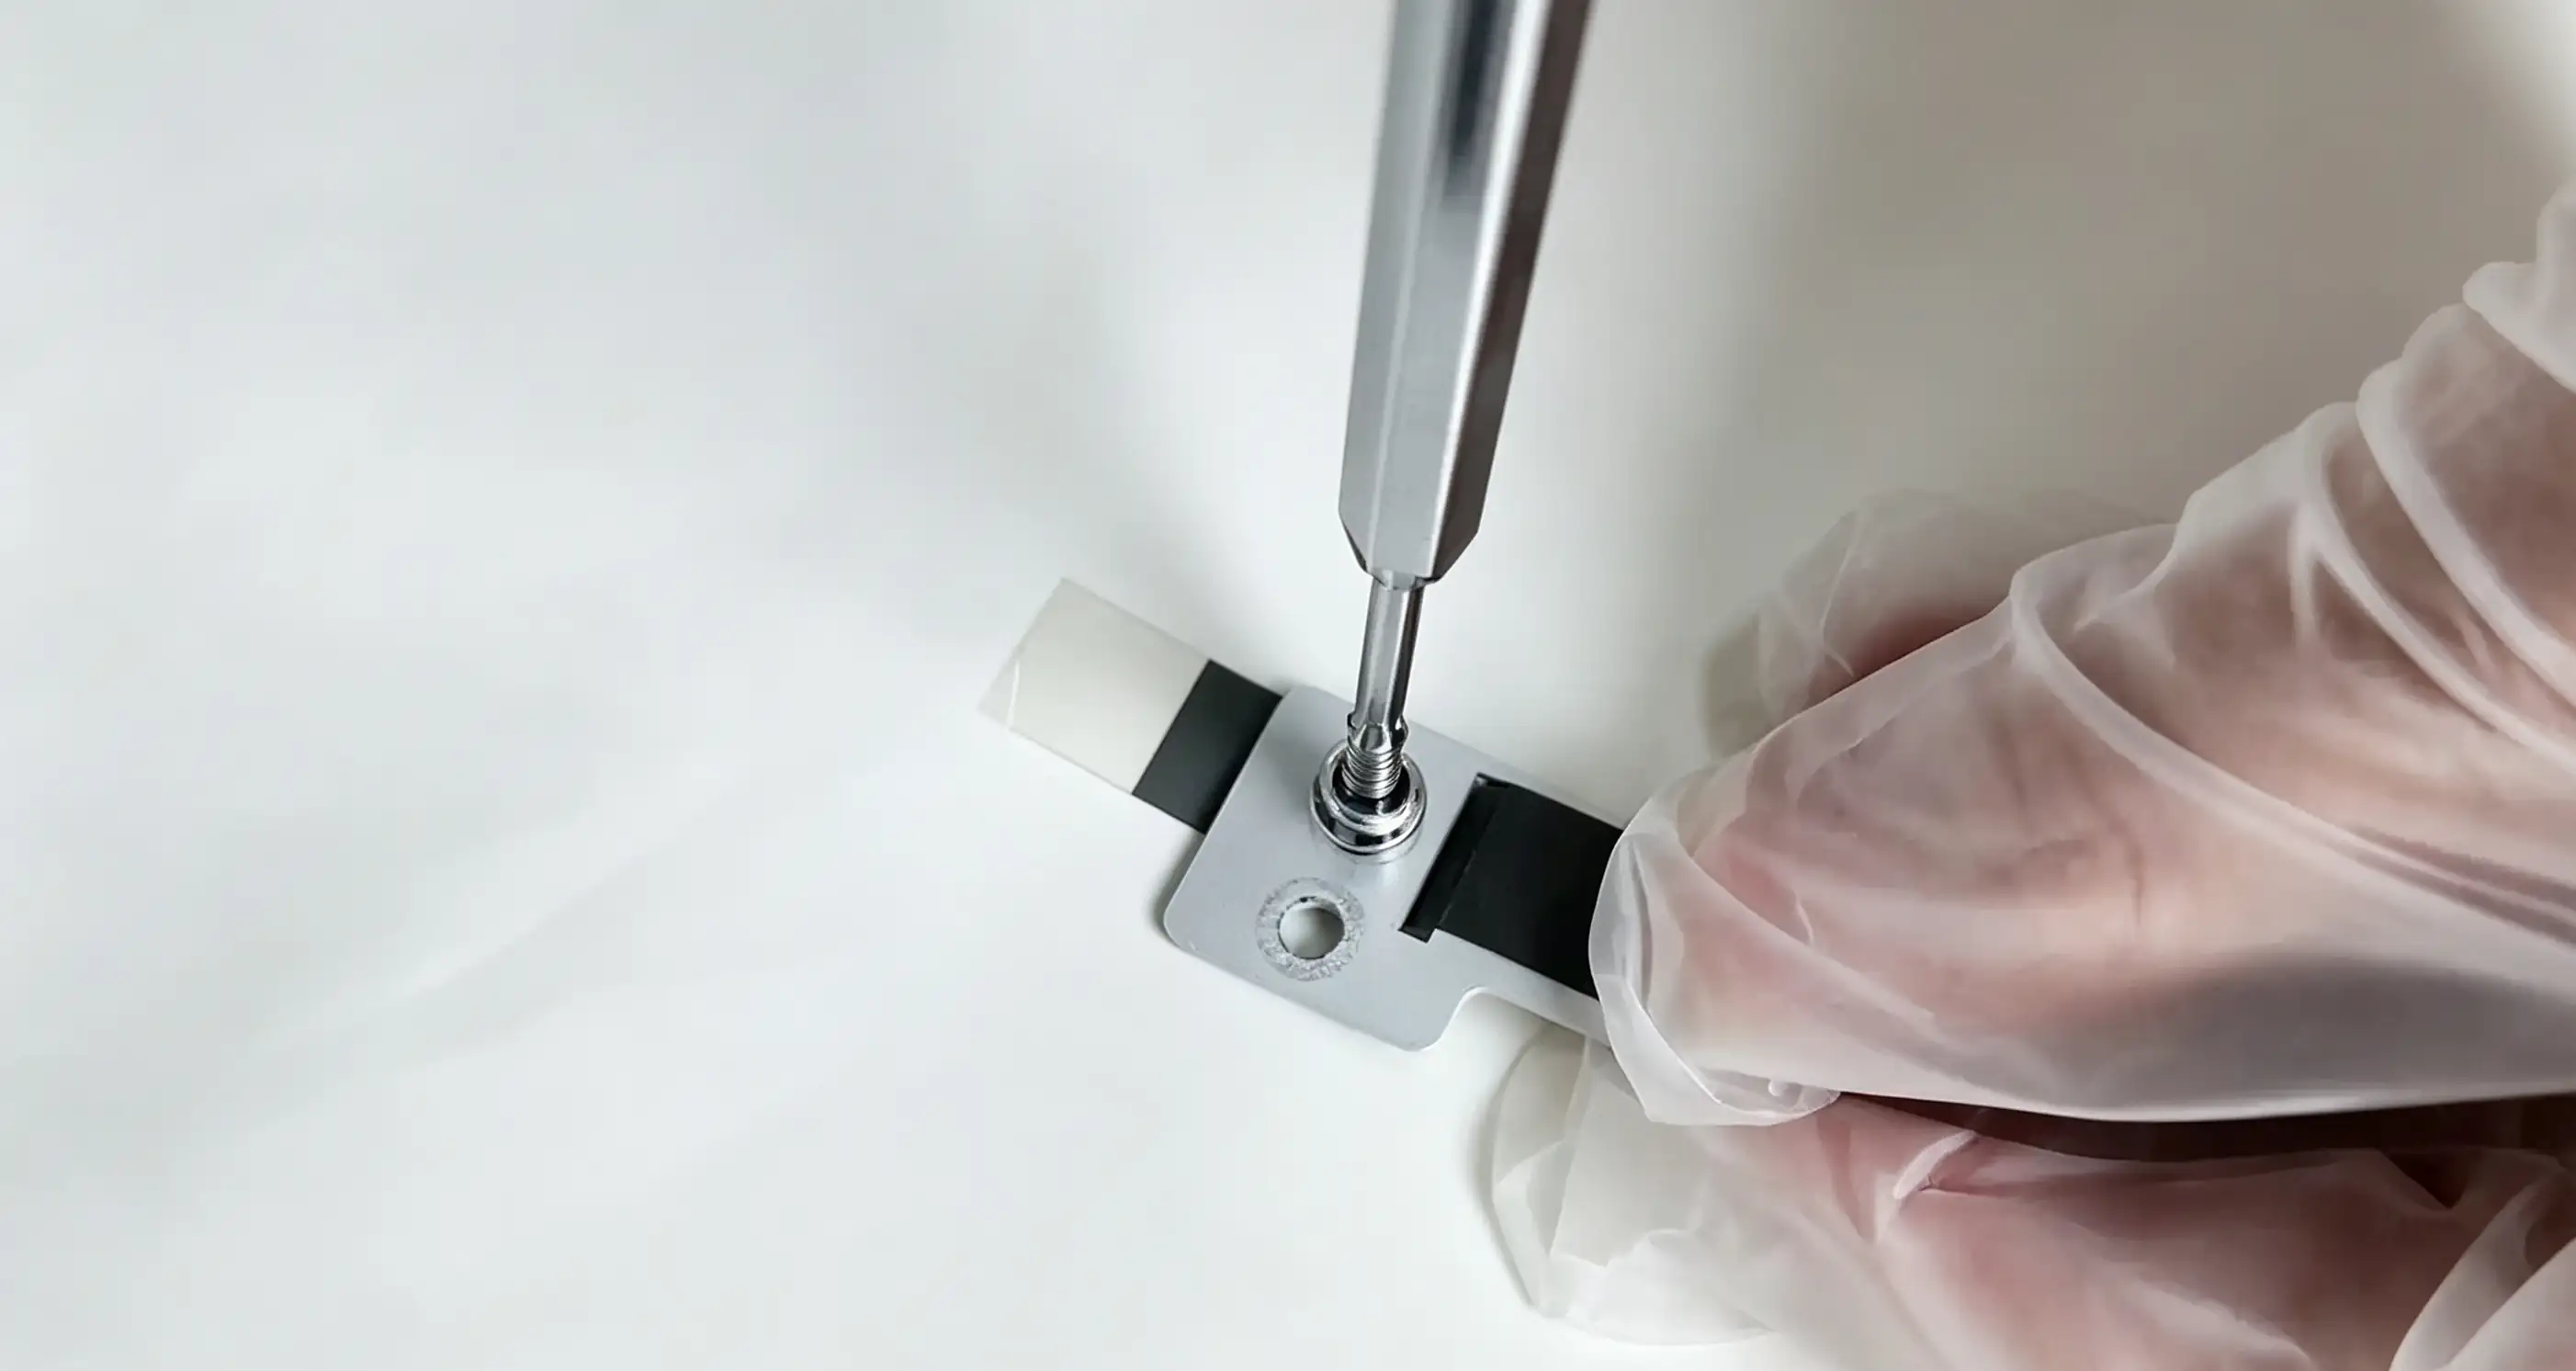
Step 2: Drill holes in the grating bars on the desktop
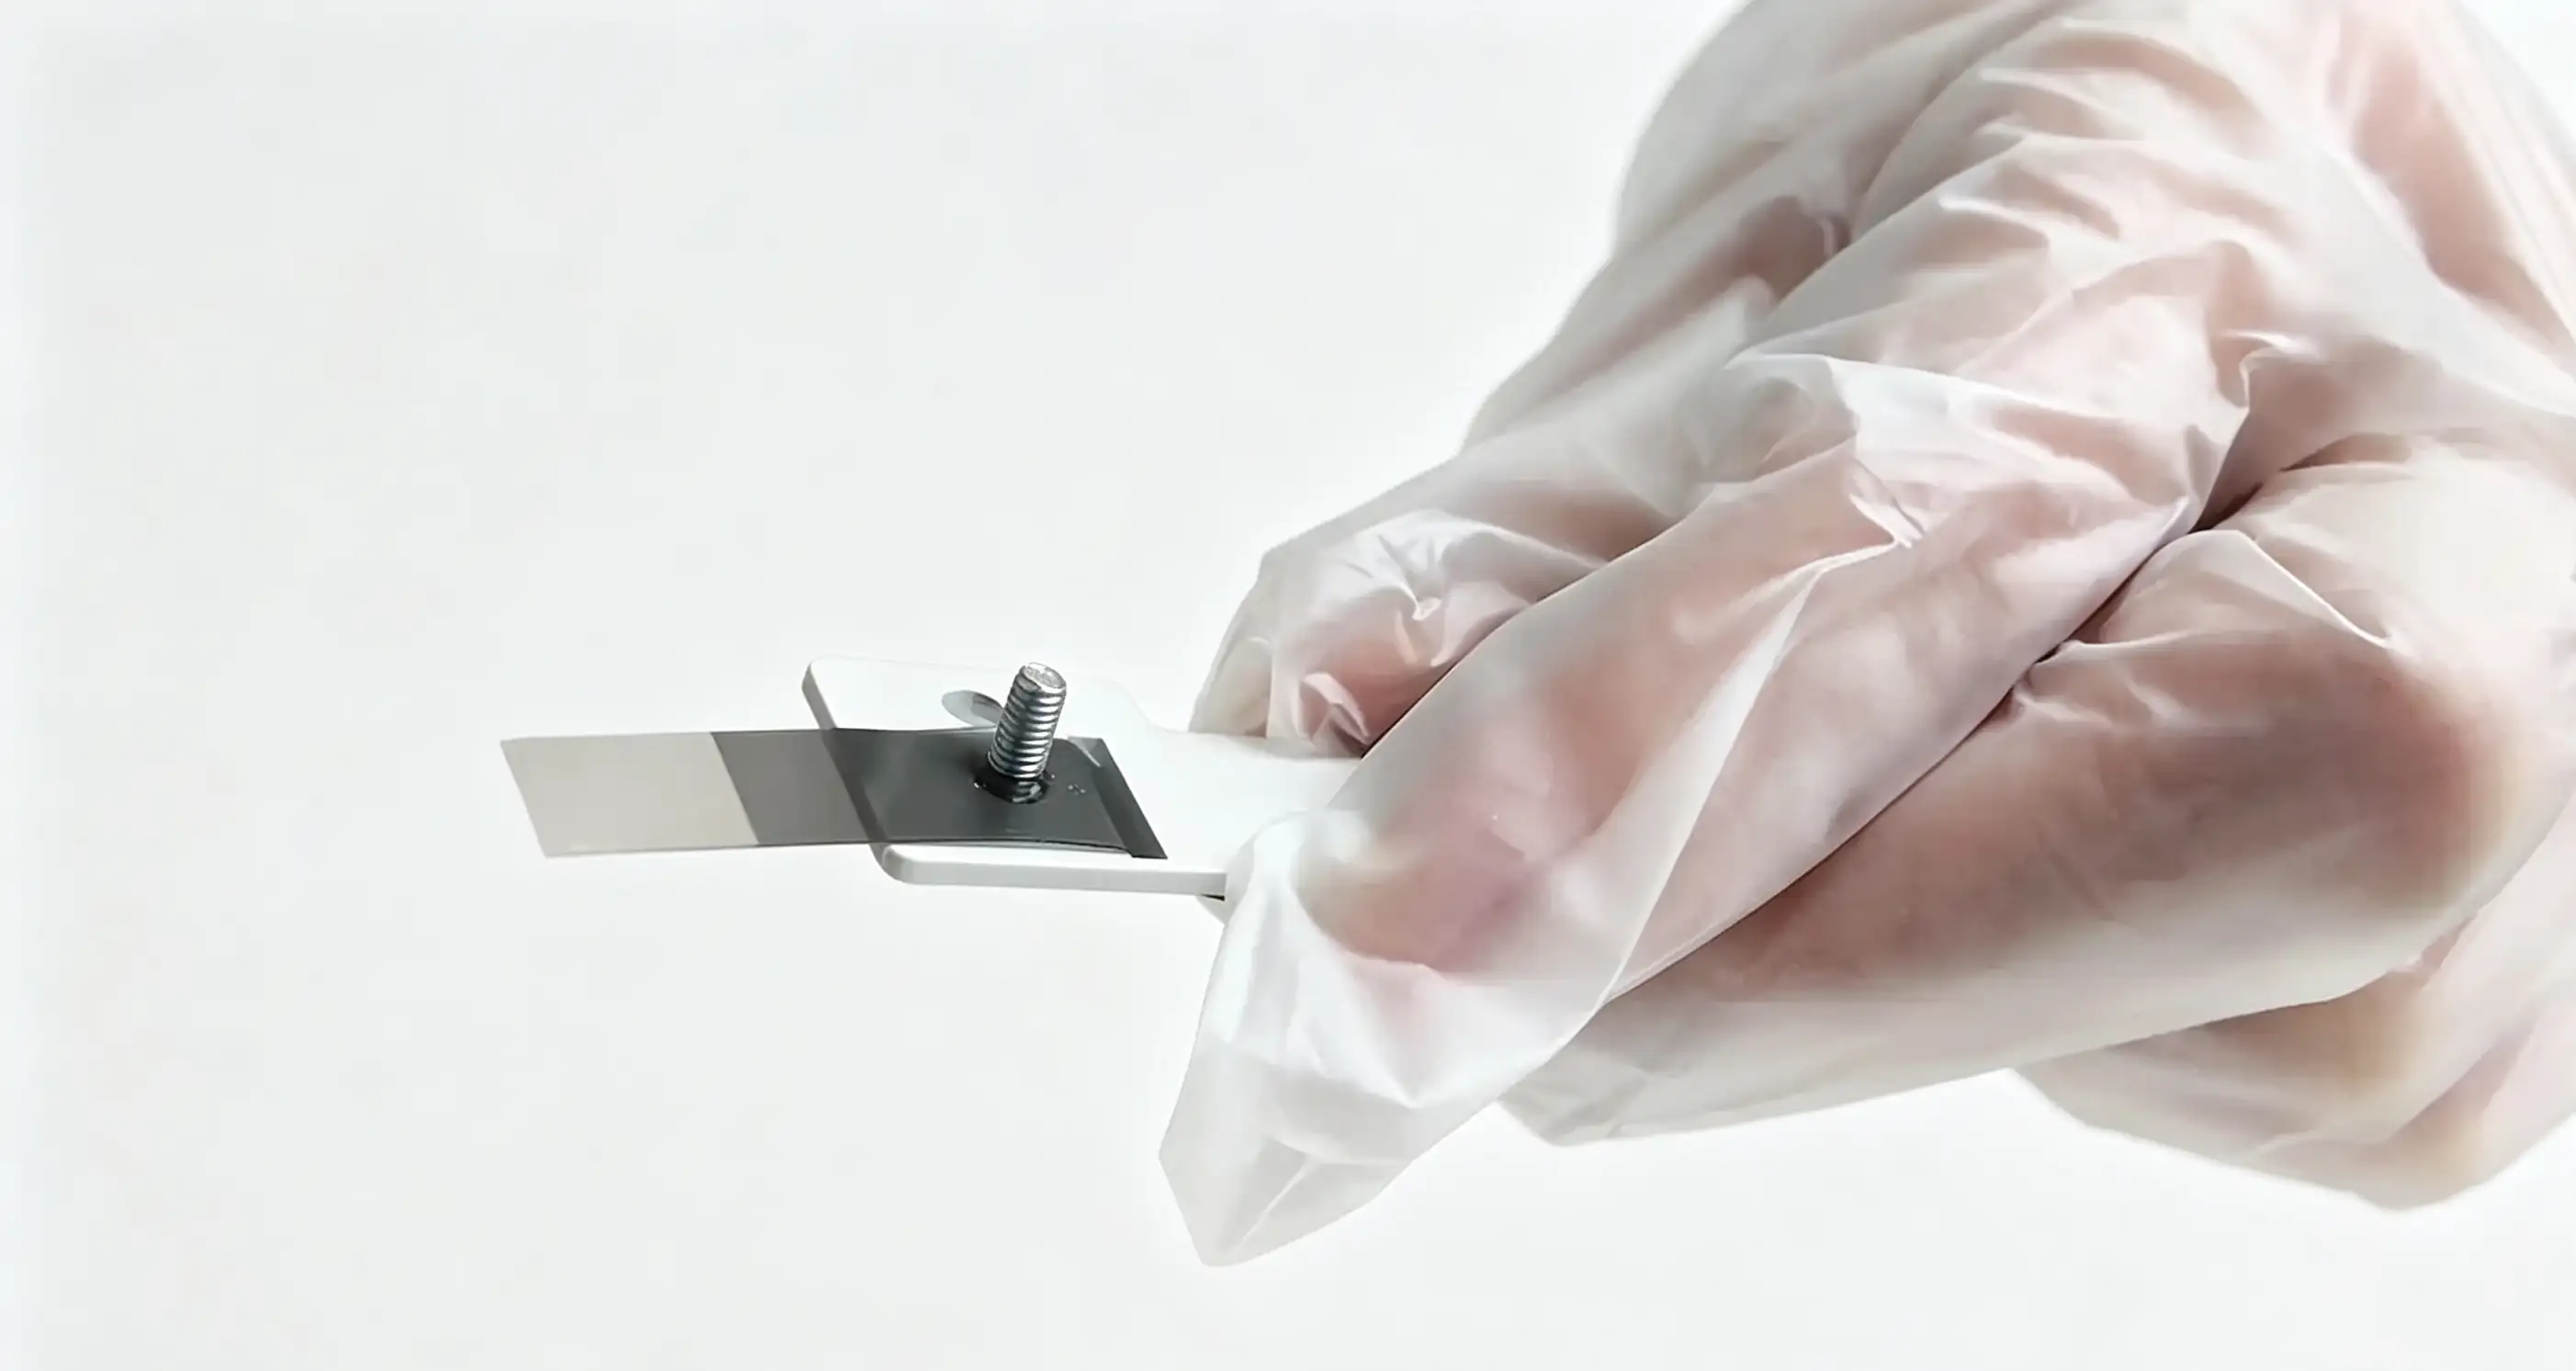
Step 3: Align the hole and secure the screw
- Insert the new grating bar into the mounting bracket. For the first end, you can first drill holes on the grating bar on a workbench, then align the holes and secure with screws.
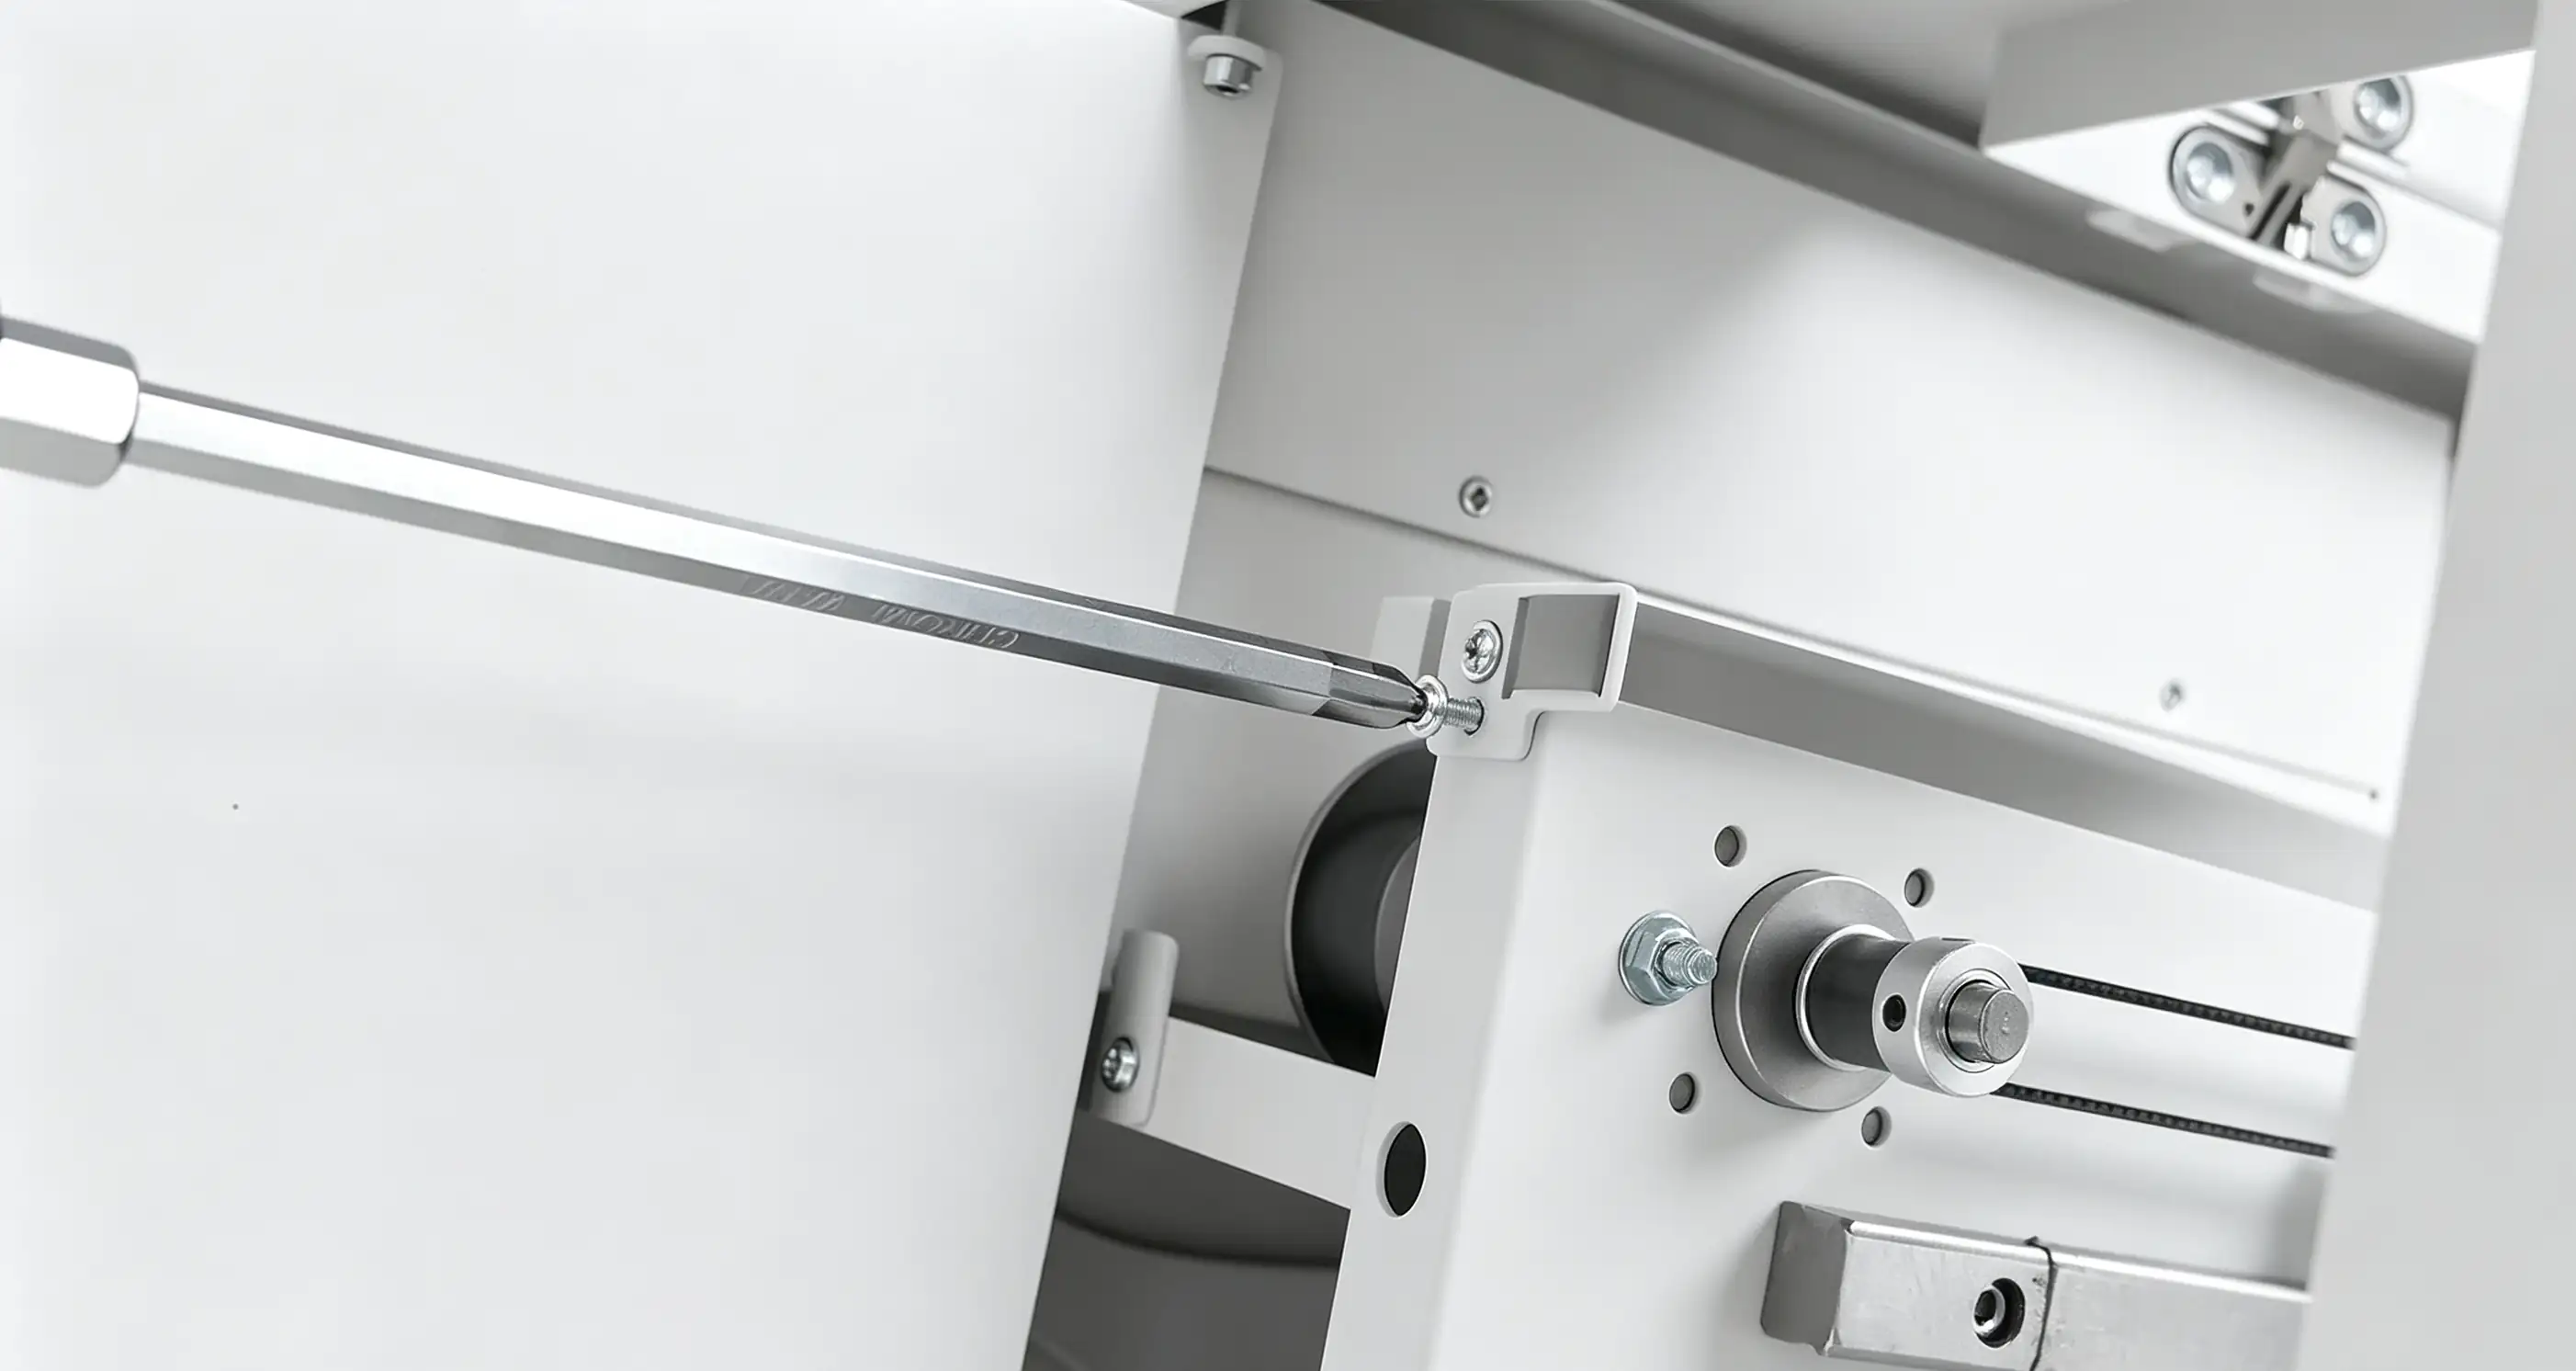
- Align both side brackets properly. Make sure to tighten the grating bar completely before securing the screws. Since this end of the grating bar has not been pre-drilled, ensure that the grating remains centered within the clip while screwing.
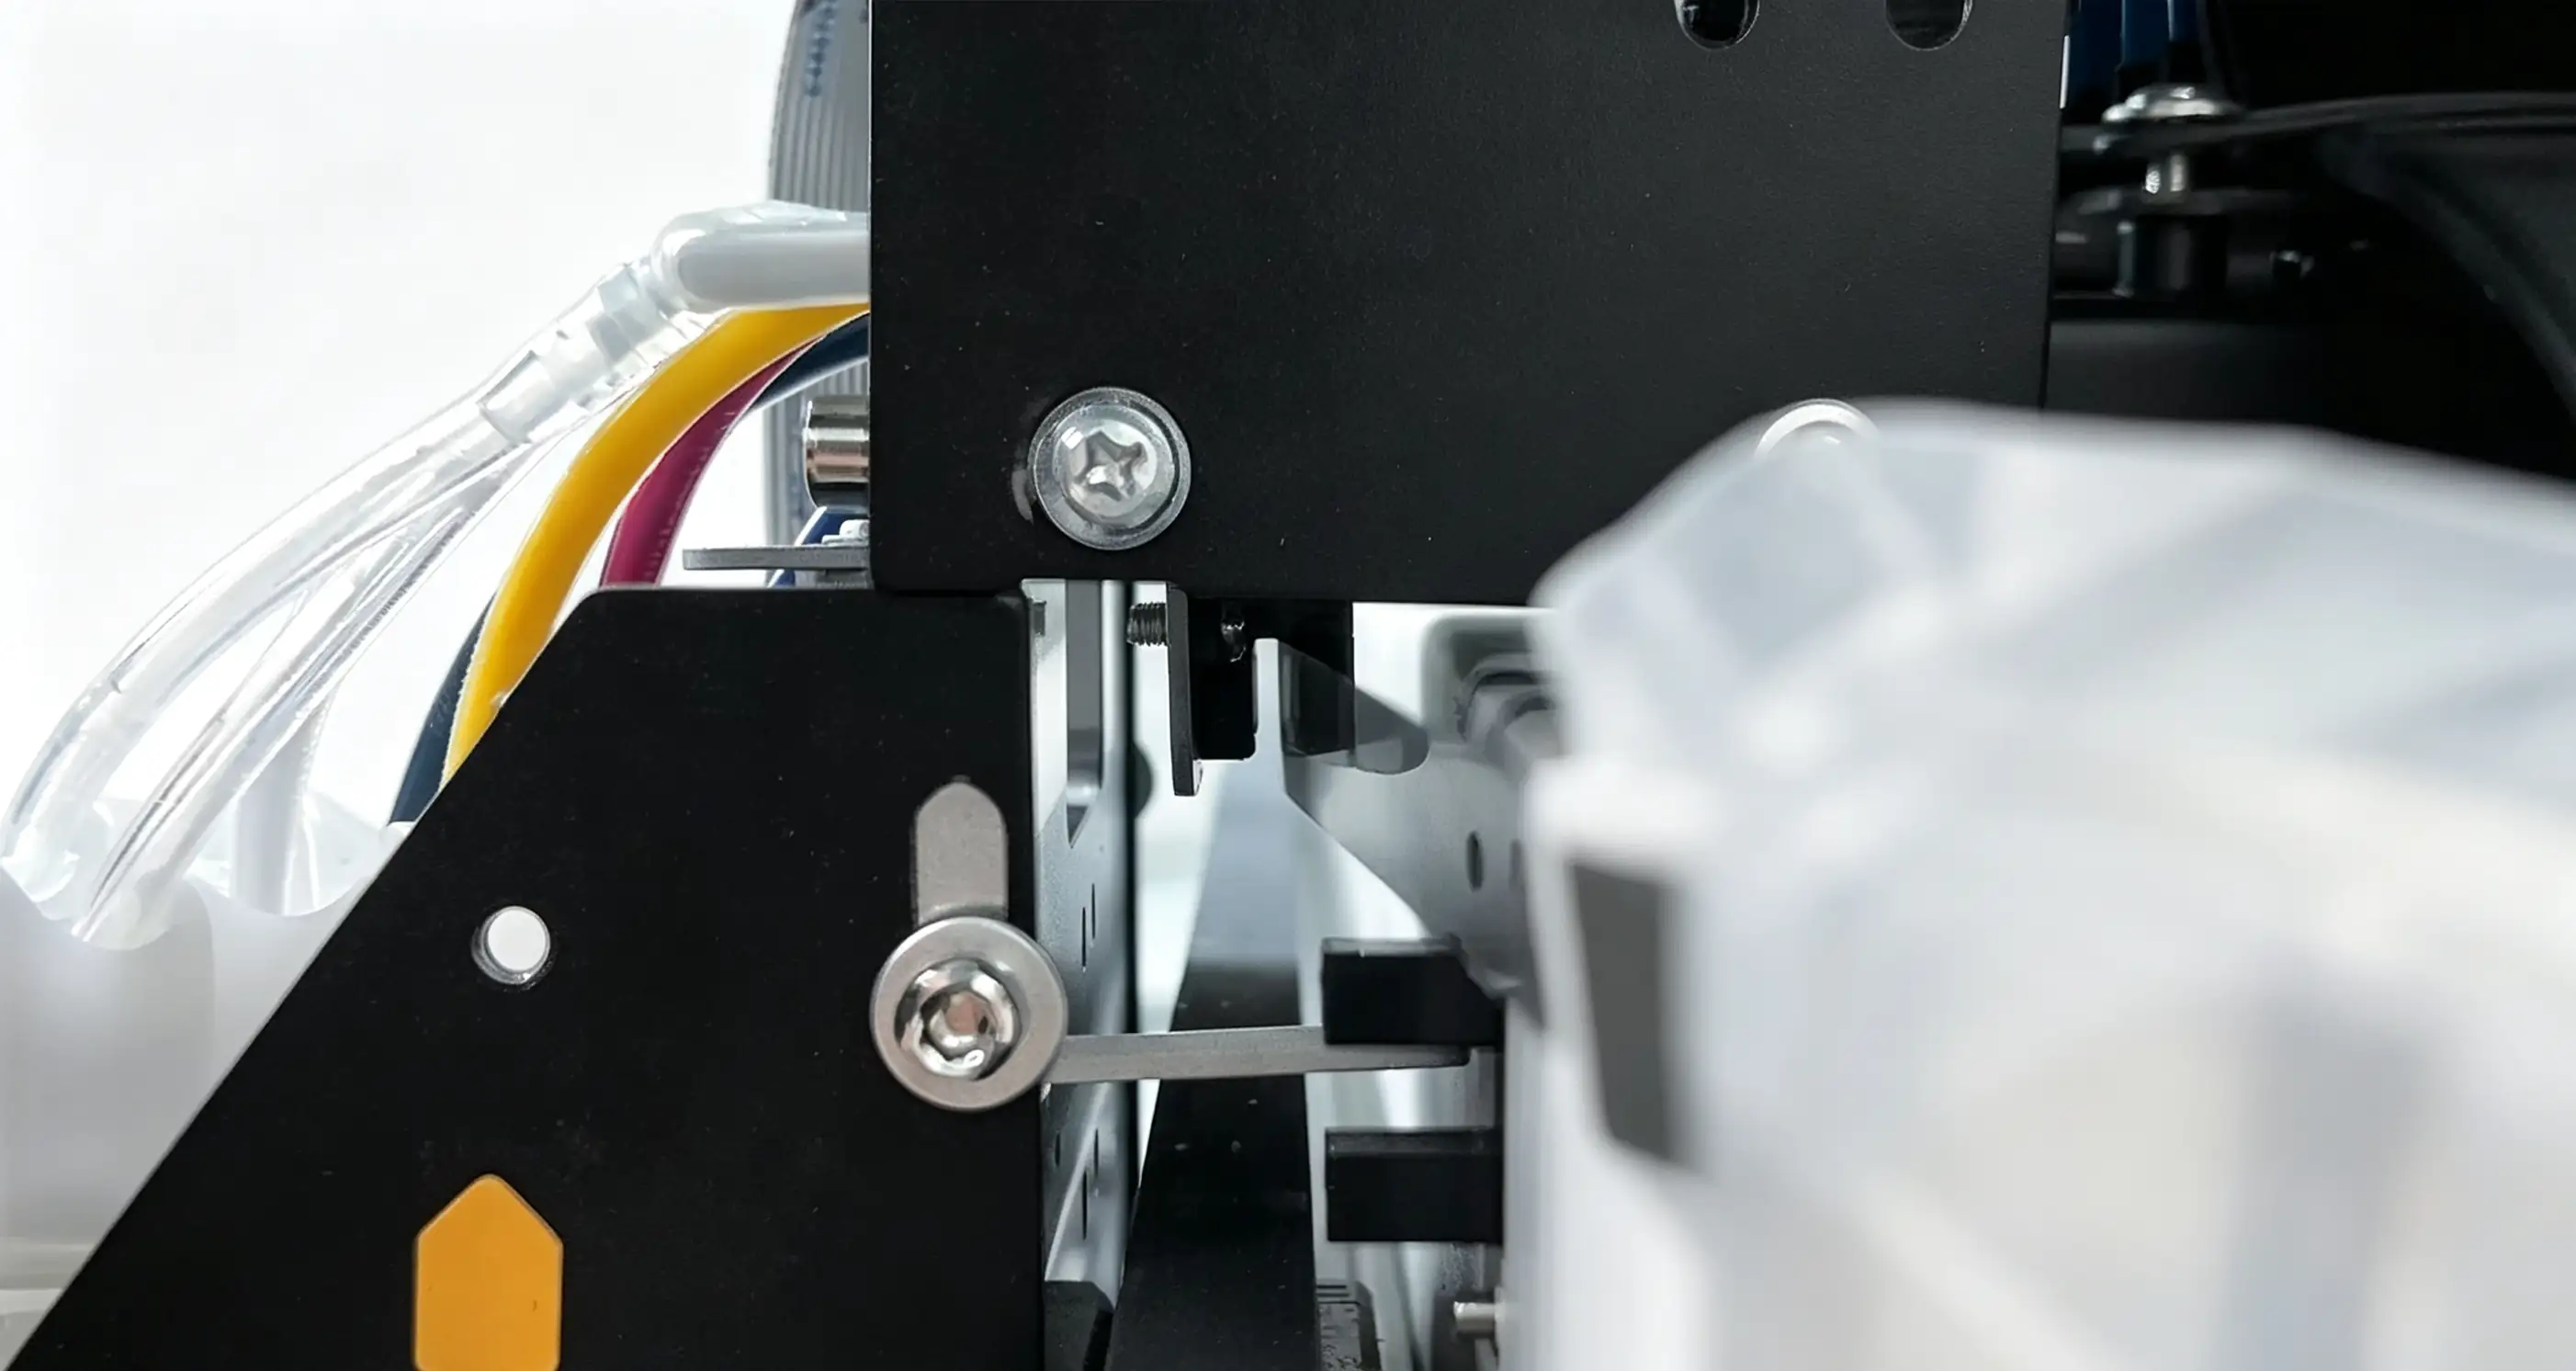
- Gently move the grating bar by hand so that it is positioned at the center of the photoelectric sensor.