¶ How to Configure Your Device
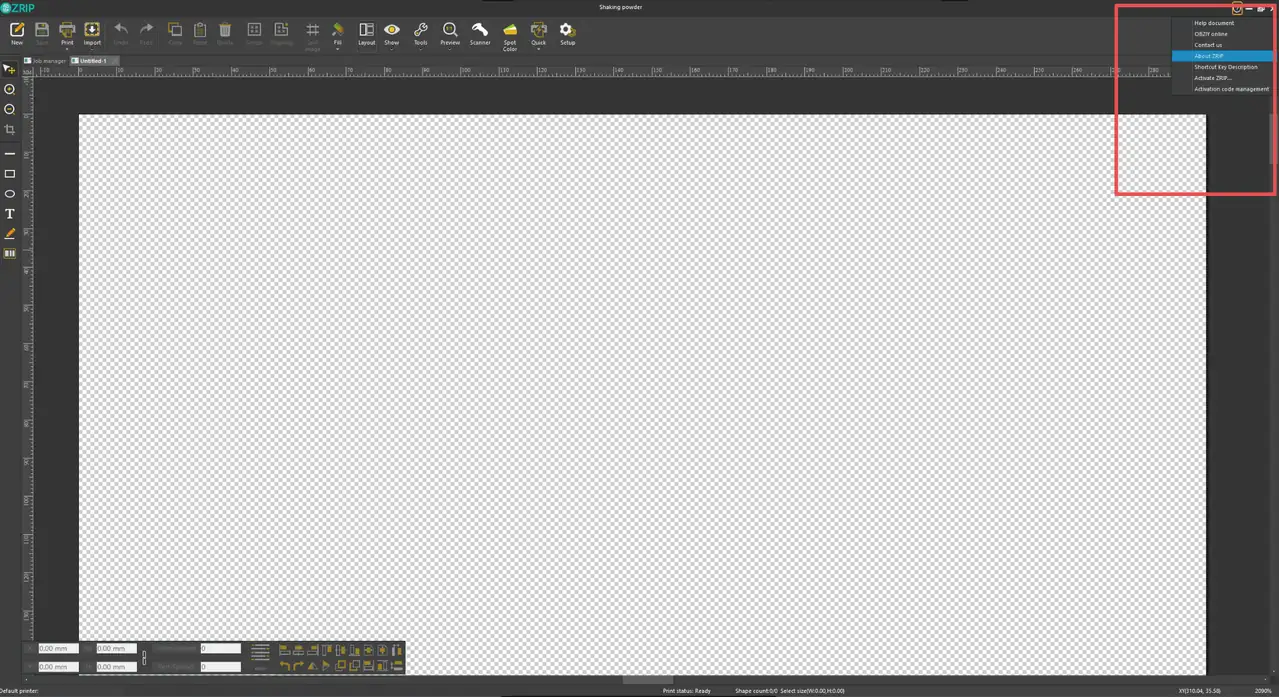
After connecting the obziy DTF printer to the software, you may configure device parameters within the program.
Click the icon at the top-right corner of the software homepage to open the Settings window.
¶ Canvas Interface
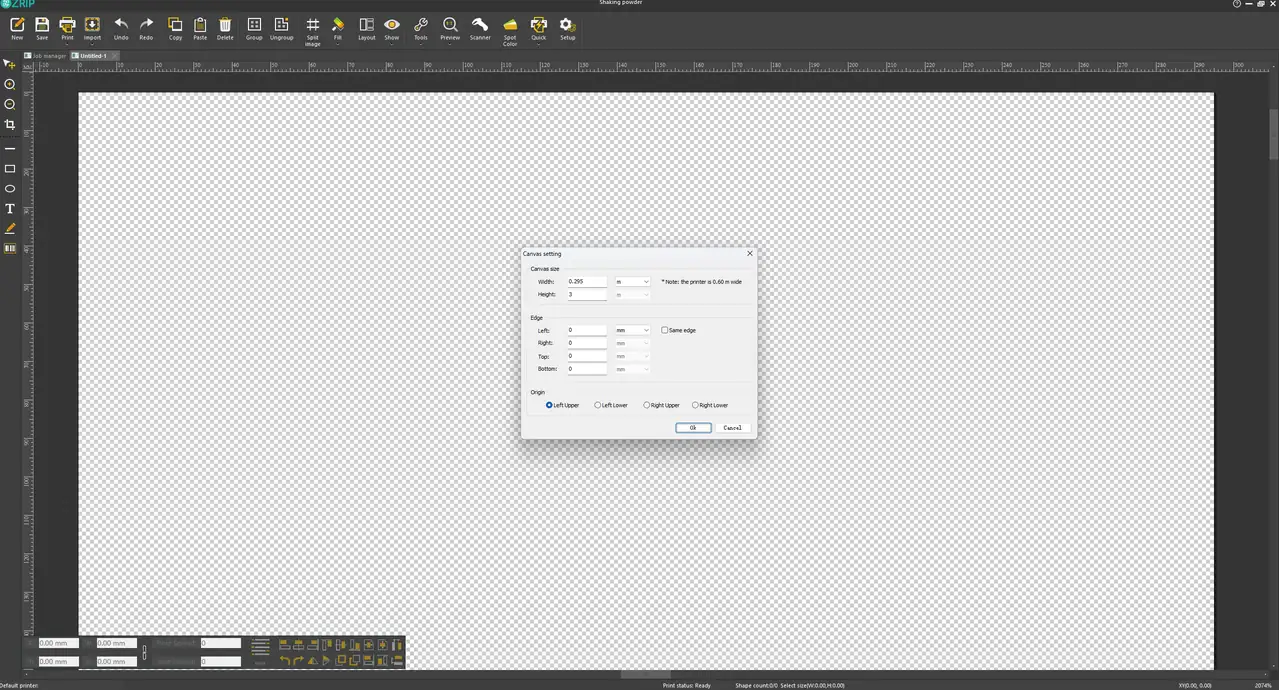
- New Canvas: You can create multiple canvases to design your printing artwork.
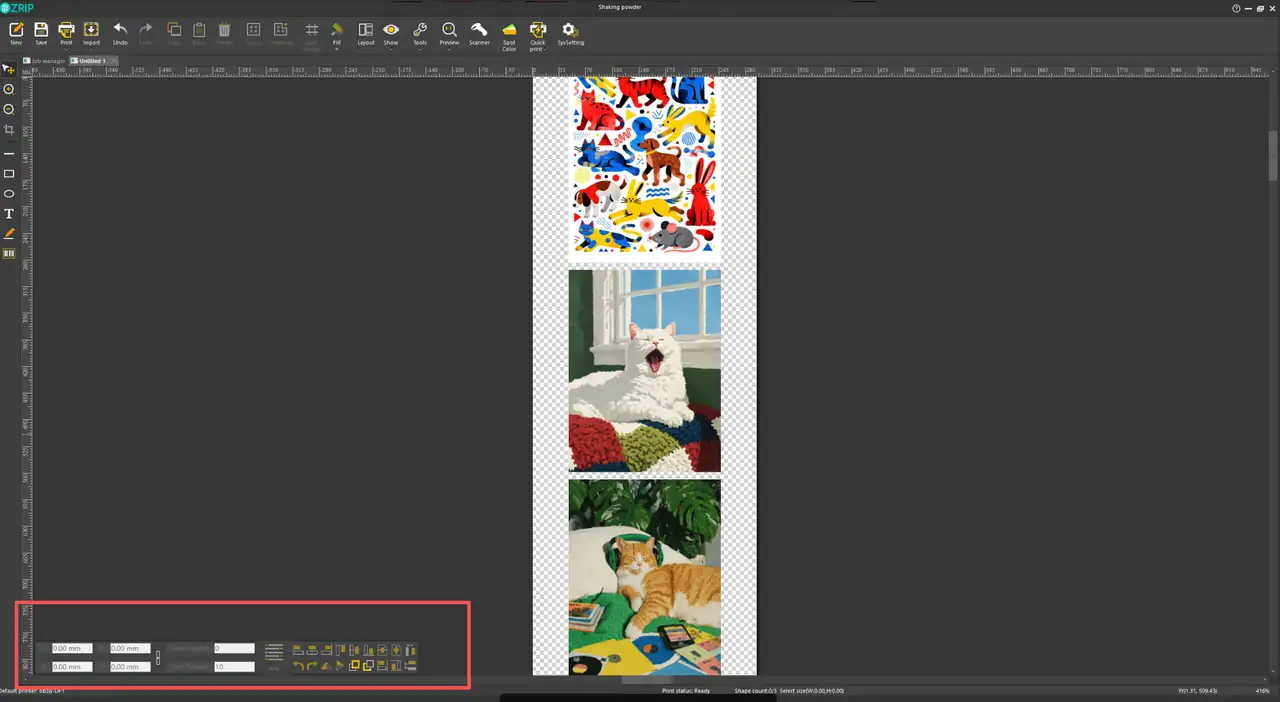
- Import: Import pre-designed image files.
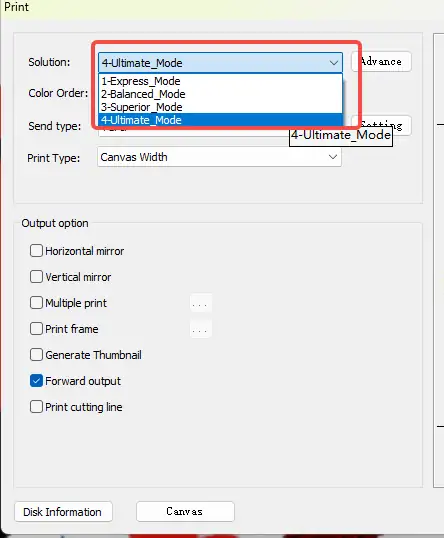
- Print: Select your desired print mode here to start printing jobs.
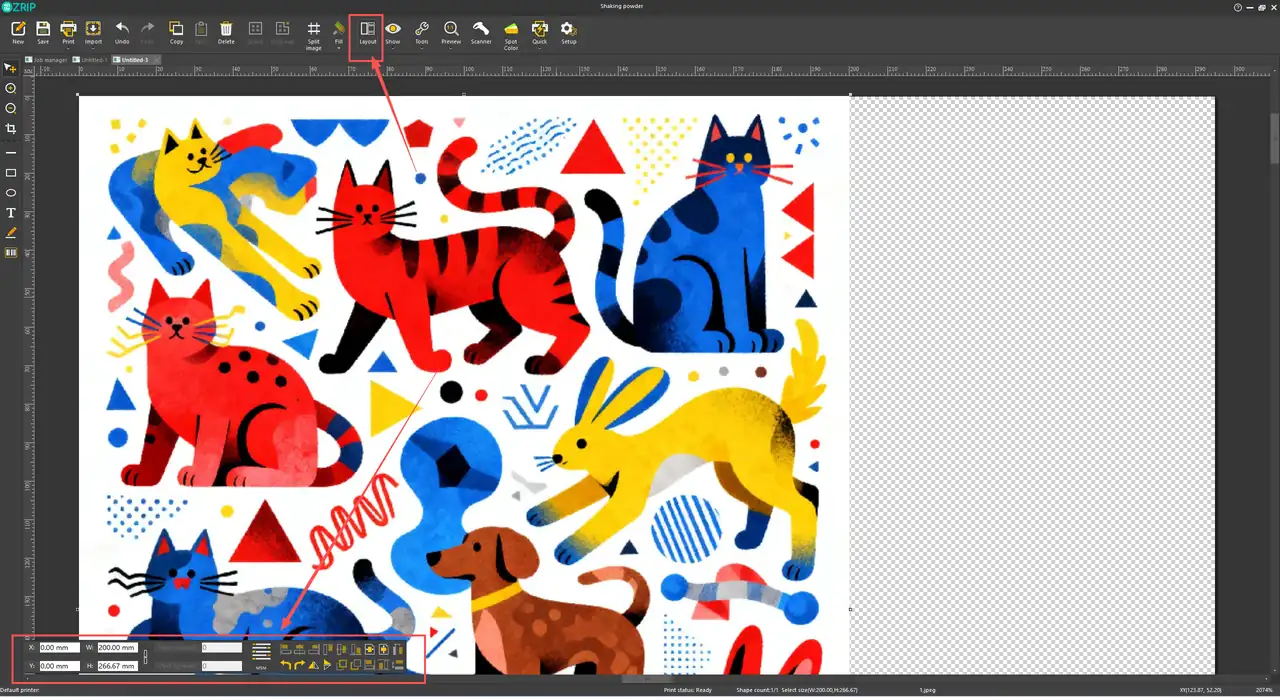
- Layout Tools: Arrange and layout printing graphics on the canvas.
¶ Settings Interface
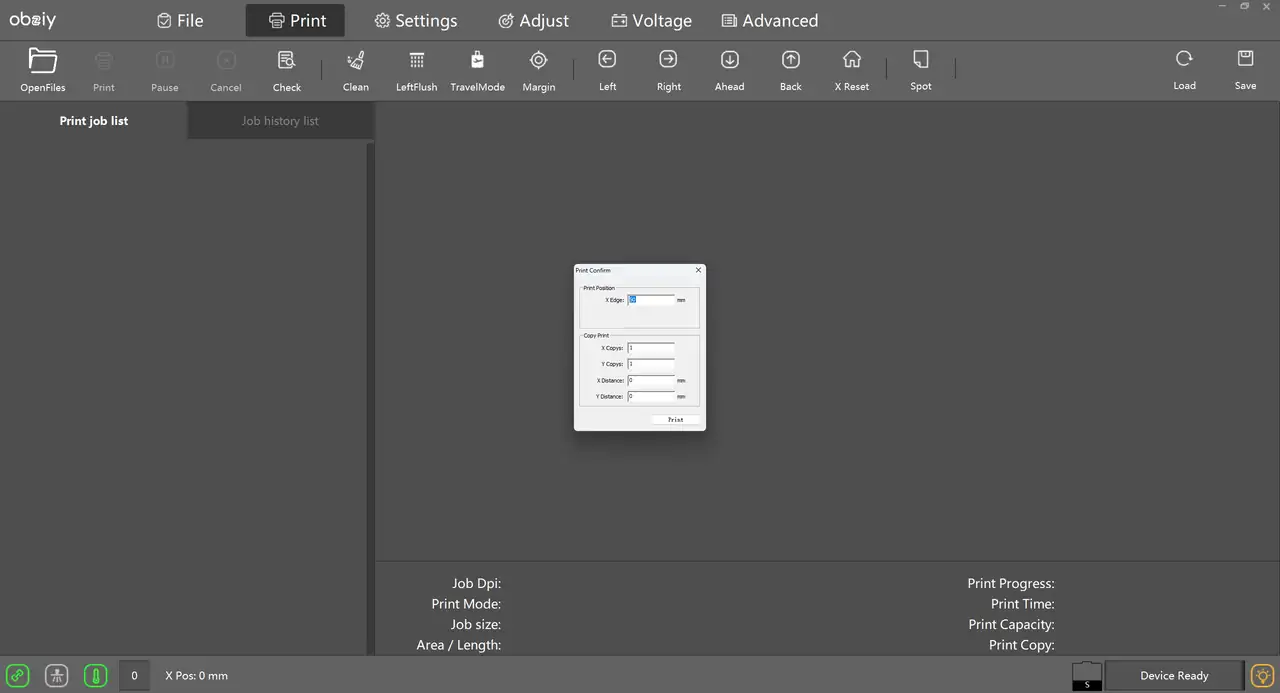
- Nozzle Check: Click to print a test strip for inspecting print head status, to confirm whether cleaning is required or direct printing is available.
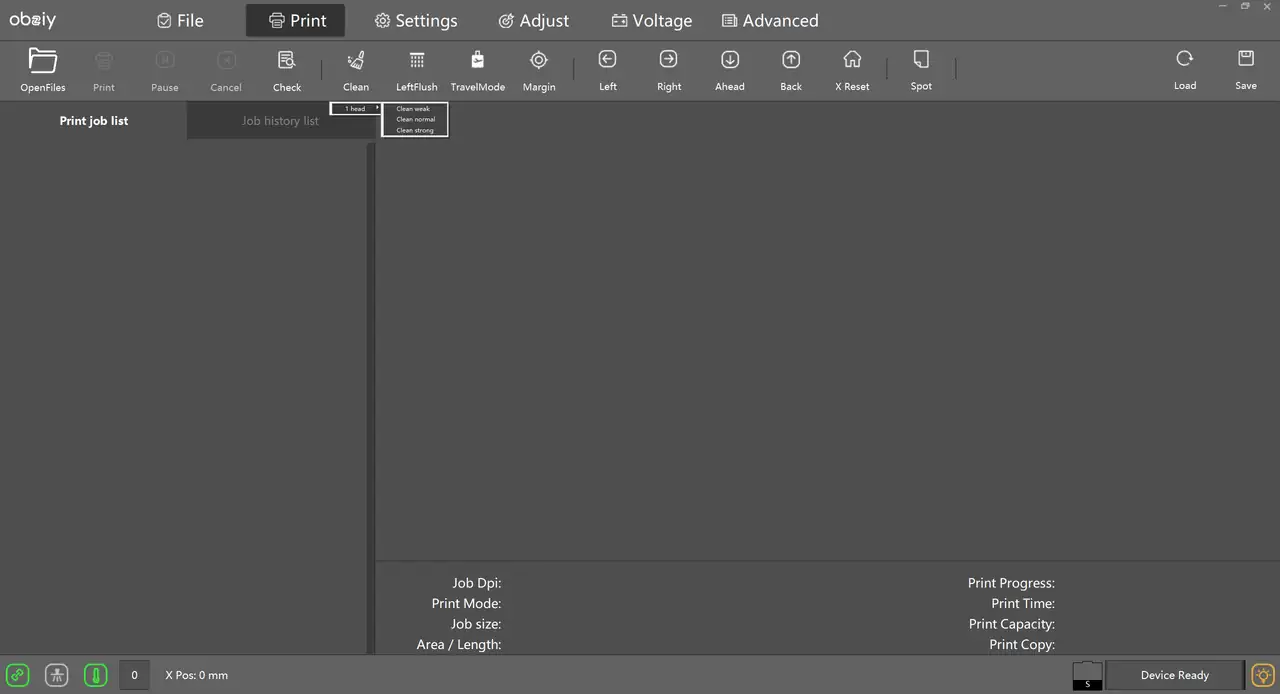
- Cleaning: Three cleaning modes are available: Strong, Medium, Weak. Select according to actual needs (e.g., run Strong Cleaning if the machine has been idle for a full day; execute once after Travel Mode).
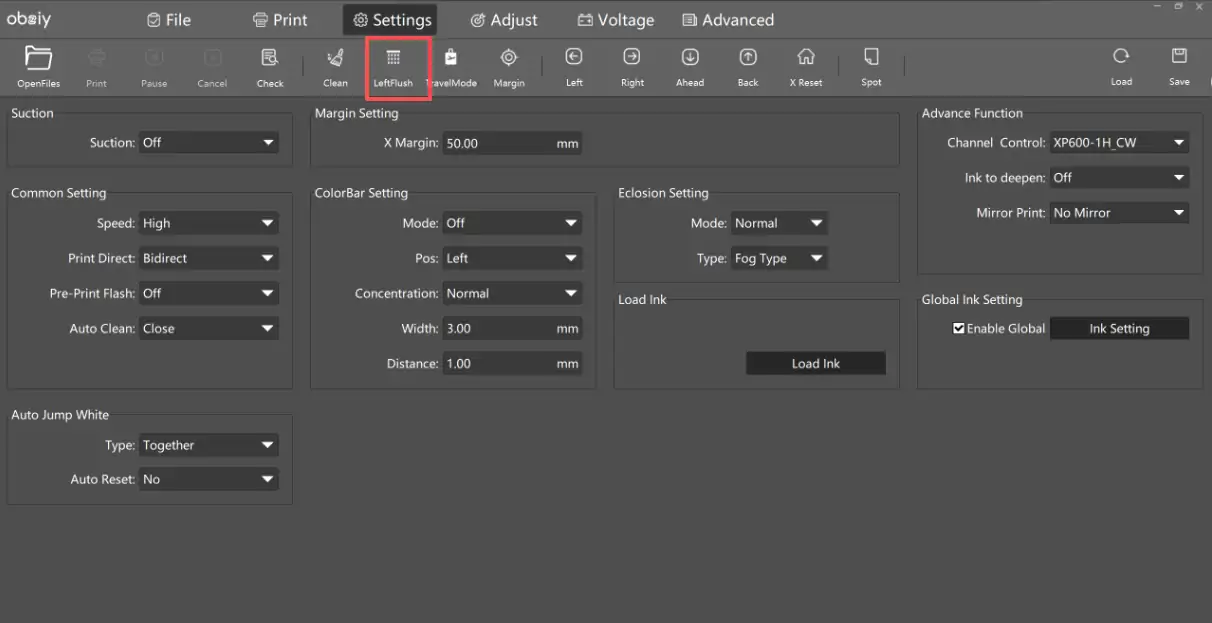
- Flushing Mode: When enabled, you will hear a soft dripping & buzzing sound; the print head sprinks ink rapidly to prevent white/color ink nozzle clogging caused by dried ink.
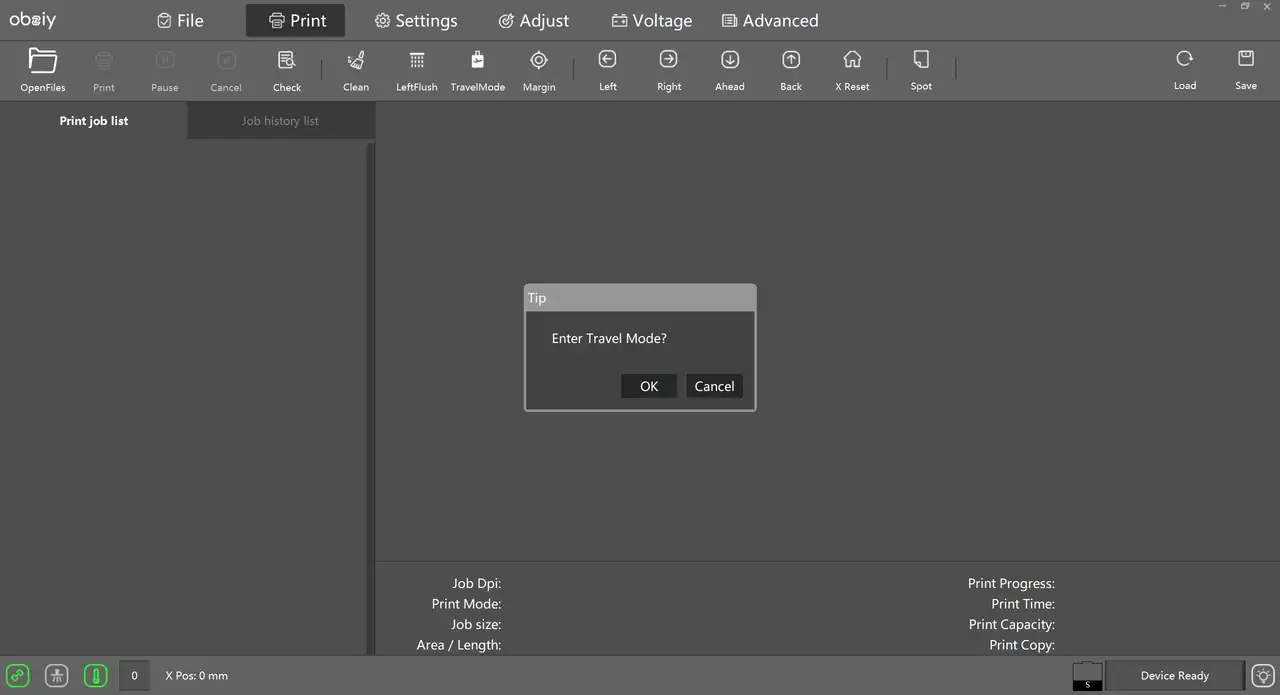
- Travel Mode: After activation, the ink pump draws humidifier liquid into the ink pad. The ink lift tray rises to hold the print head fully immersed in humidifier liquid to avoid nozzle clogging during standby. Enable this after finishing printing jobs. If the printer screen fails to respond after disconnecting the PC, you must disable Travel Mode again in ZRIP software before next use.
Note: Power supply must remain connected for Travel Mode to work.
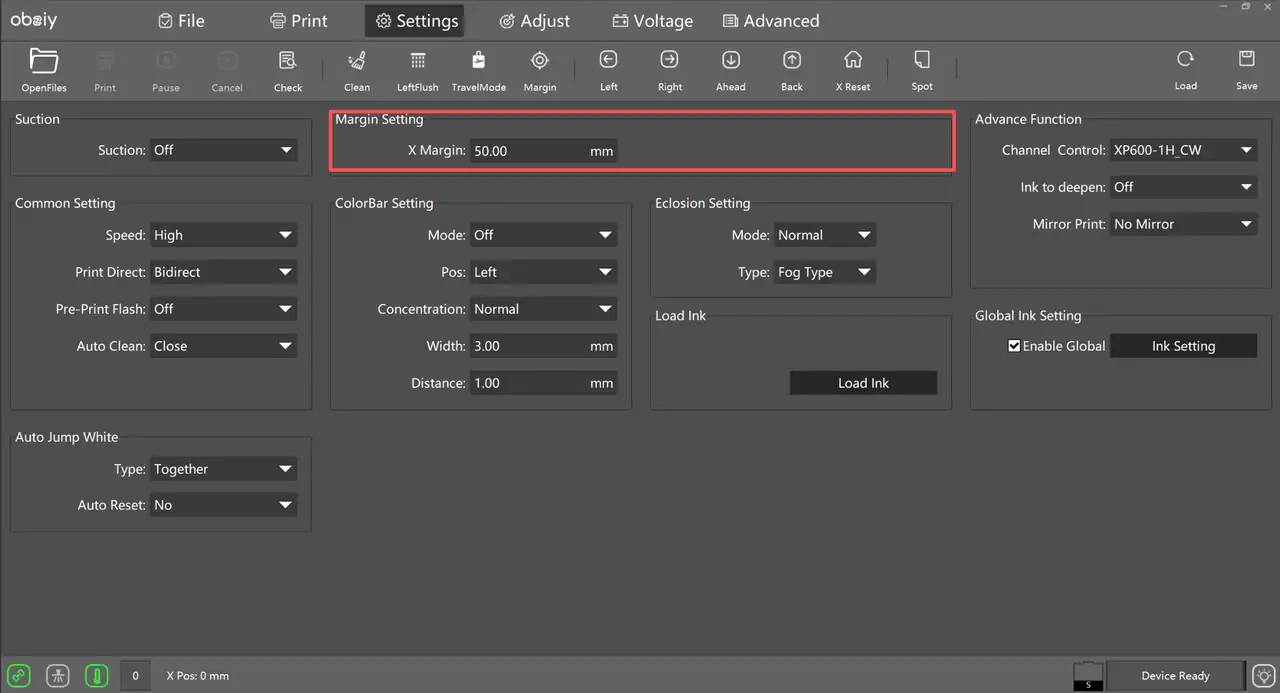
5. Margin: Defines the blank gap between the left edge of transfer film and the right outlet edge. Click to set the value corresponding to the current print head position as margin value.
Manual input via below field is recommended after film centering: 50.5mm for 11.8-inch transfer film; 10mm for 15-inch film.
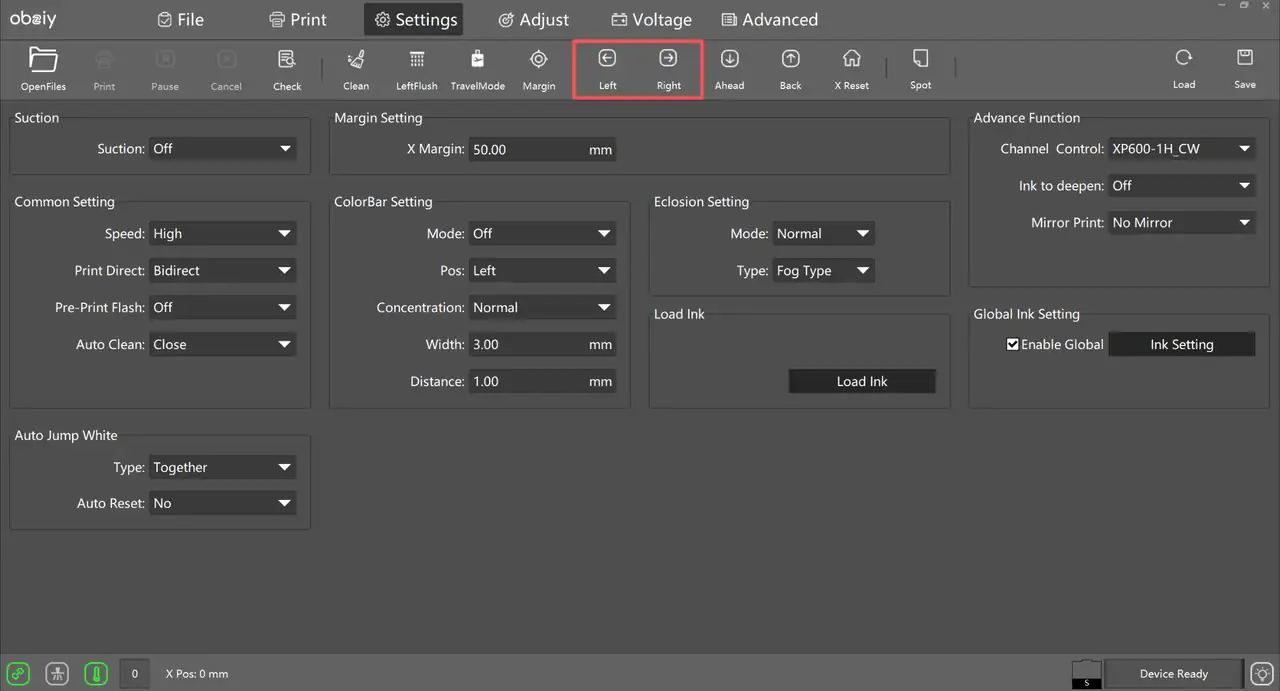
6. Left Shift / Right Shift: Move the print head horizontally left or right.
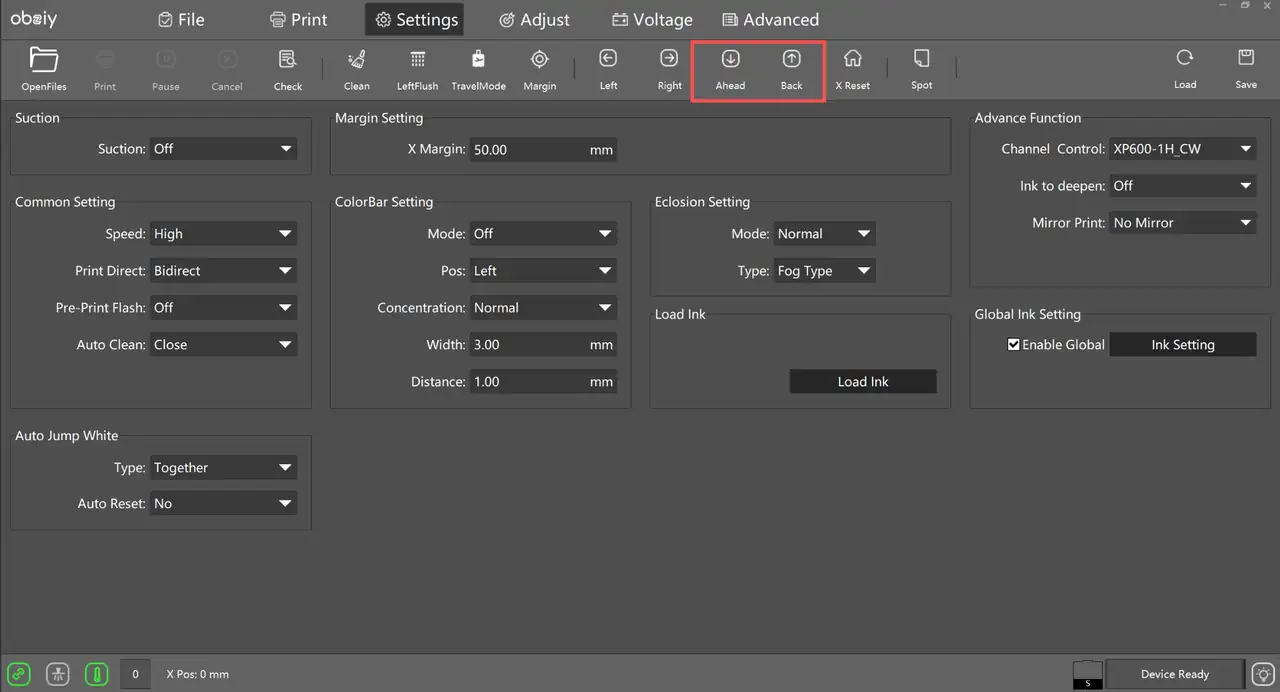
- Feed / Rewind: Move transfer film forward or backward.
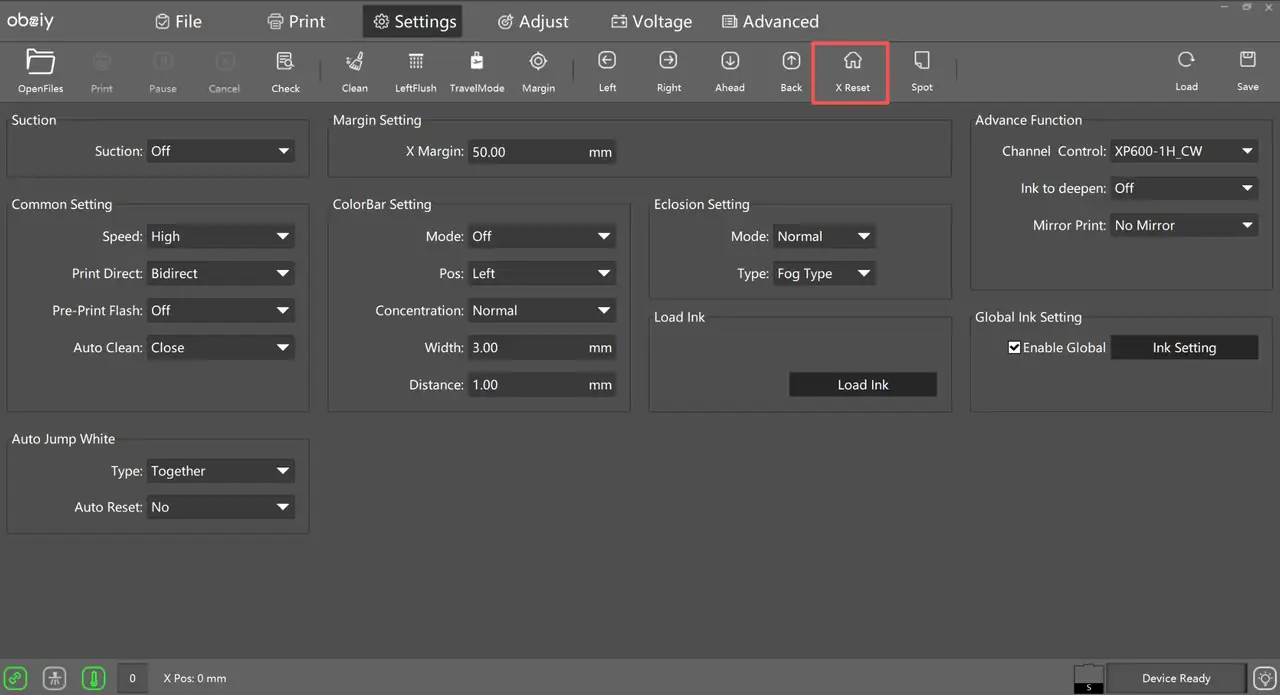
- X Reset: Reset print head to initial home position.
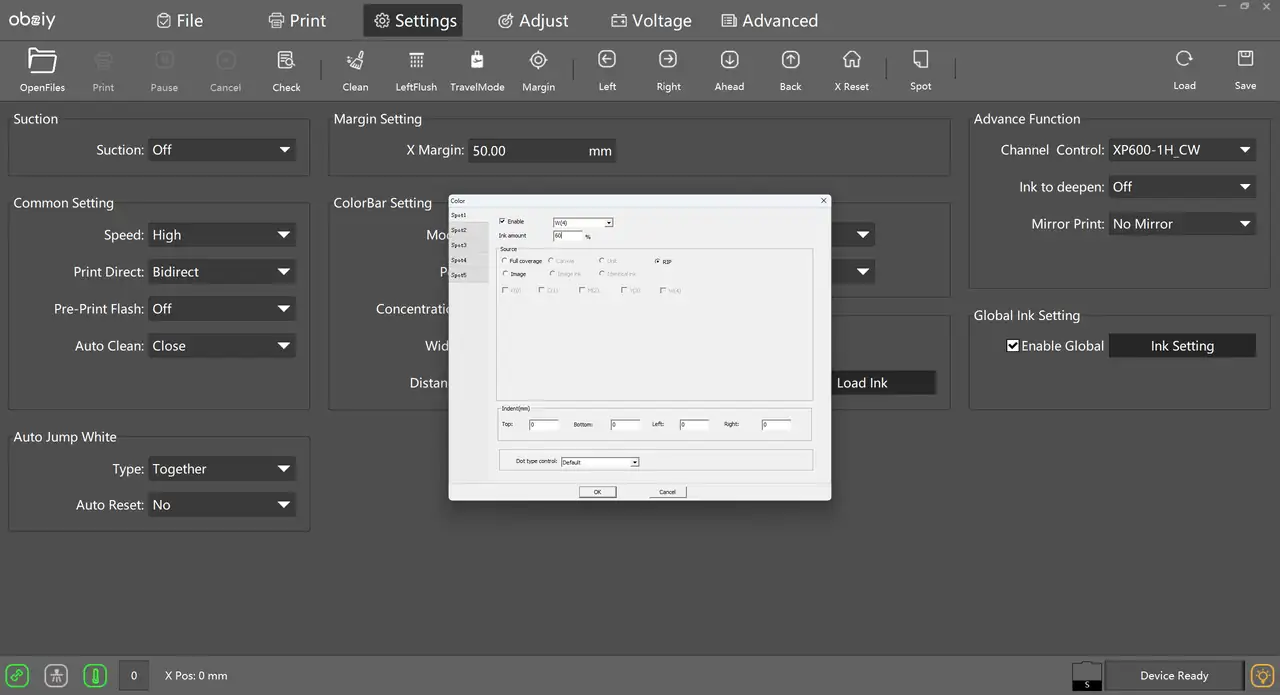
- White Ink Control: Adjust percentage value to control white ink density & thickness (60% recommended).
- Full Fill: Fill the entire graphic area with solid white ink at 100% coverage.
- RIP White Underlayer: Automatically generate a white ink underlayer beneath graphics, with intelligent blank area recognition.
- Scale Adjustment: Shrink or expand the overall white ink layer horizontally left/right.
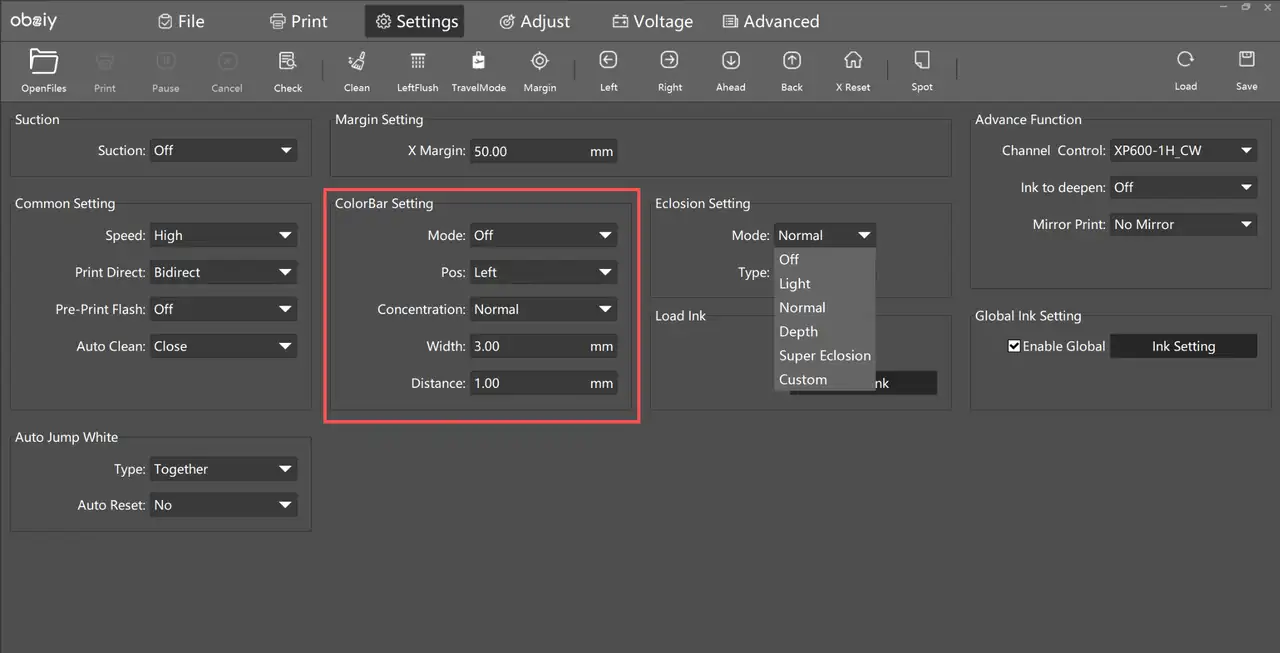
- Strip Test Setting: A test strip printed synchronously beside graphics, featuring full CMYK + white ink channels. It integrates four core mass-production functions: humidification anti-clog, nozzle self-test, color monitoring, and powder drying auxiliary. Disable this function for small-volume printing.
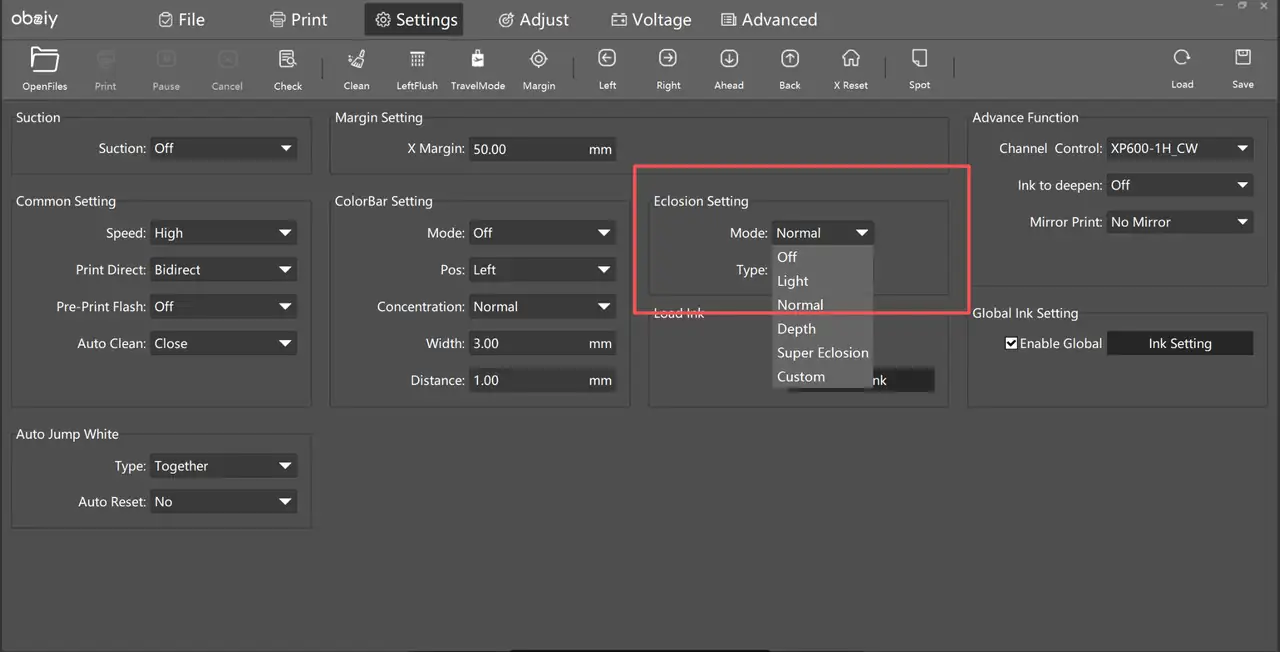
- Feather Setting: Printing uses multi-pass horizontal overprinting. Motor paper feed and print head precision deviation will cause horizontal banding, streaks, shade unevenness at pass boundaries. The feather algorithm scatters ink dots at pass overlaps and transitions ink volume gradually to eliminate hard joint lines.
- Functions: ① Eliminate pass banding, water ripples and shade streaks; ② Compensate paper feed error, frame shake and print offset.
- Lower feather strength: Sharper edges, faster printing speed, but banding & streaks appear easily.
- Higher feather strength: Smoother transition with no stripes, yet fine details turn faint, ink consumption rises and printing slows down.
- Ink Priming: The system automatically injects ink into print head nozzles after clicking. Observe ink filling completion via visual inspection after enabling.
- Bottom Left Status Icons:
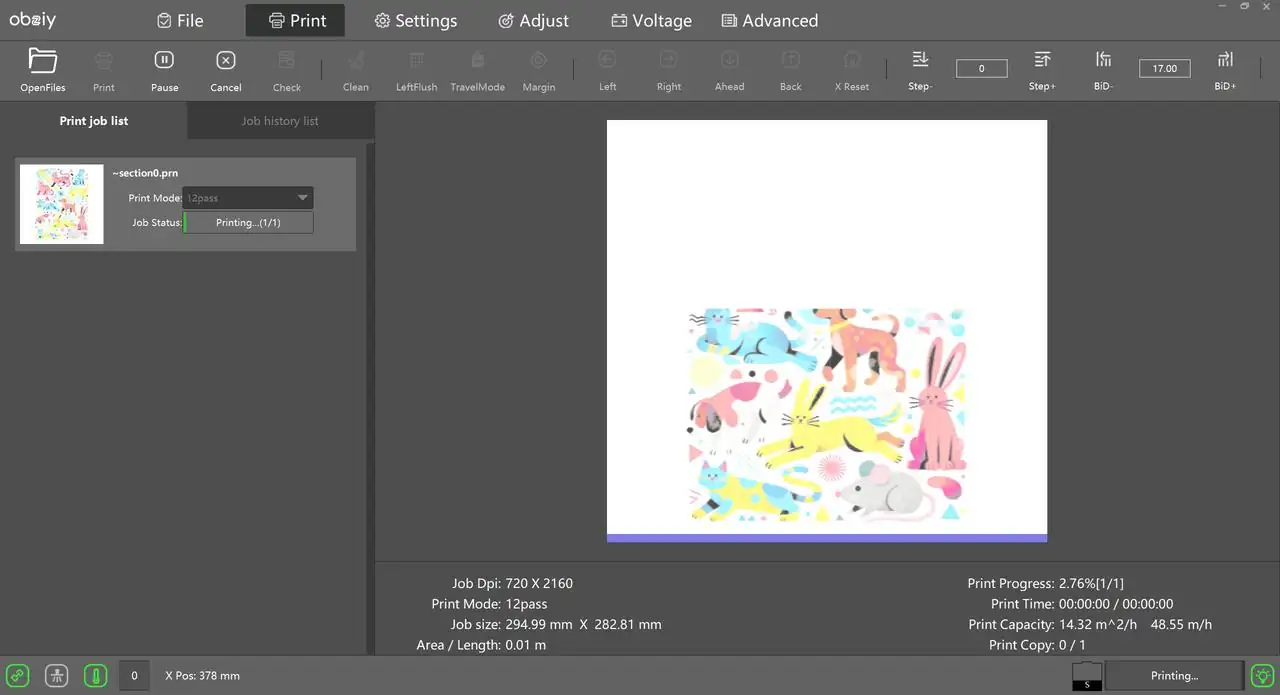
- Green chain icon: PC-printer connection indicator; green = connected, red = disconnected.
- hermometer icon: Print head temperature display.
- X Position: Real-time coordinate of print head carriage on X-axis.
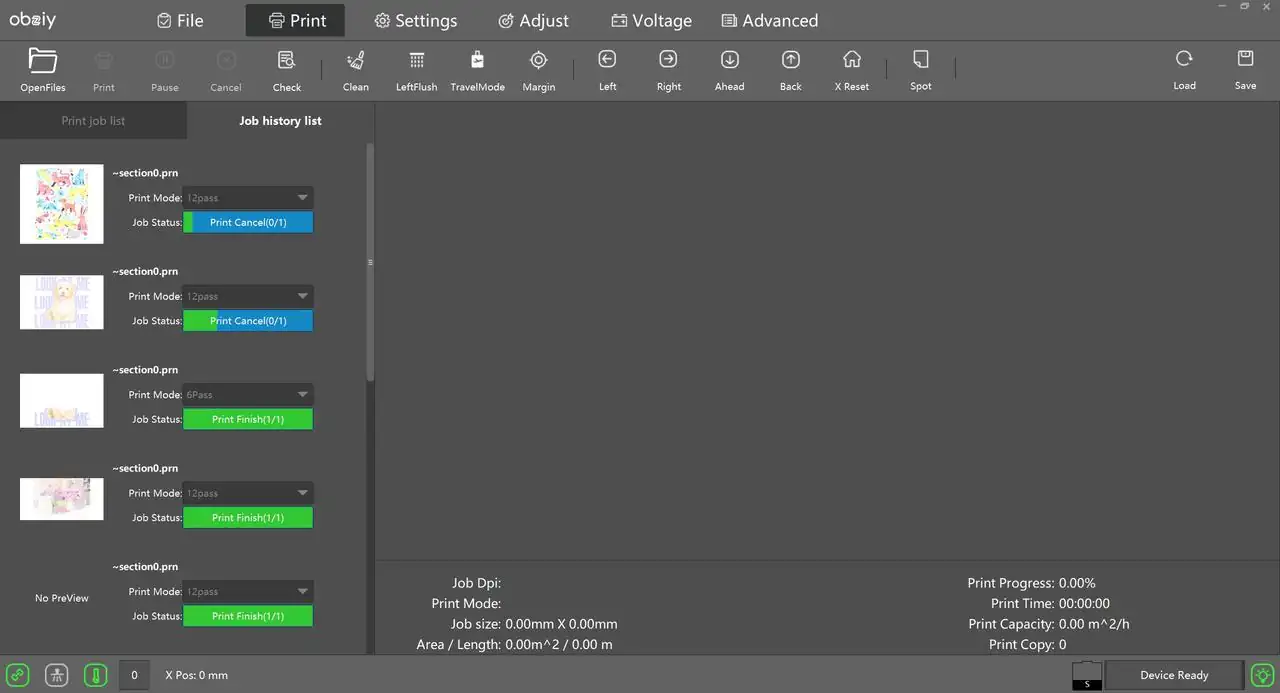
- Print Queue: View detailed information of submitted print jobs.
- Calibration: You may manually calibrate the print head as needed.After moving, disassembling or reassembling the printer, follow the step-by-step procedure to calibrate and adjust the print head position.