¶ Maintenance Plan
| Task | Daily Beginning | Daily End | Weekly | As Needed |
|---|---|---|---|---|
| Turn on White InkCirculation | ✔️ | |||
| Nozzle Detect | ✔️ | |||
| Print head Cleaning | ✔️ | |||
| Clean Around the Print head | ✔️ | |||
| Clean Capping | ✔️ | |||
| Station Top | ✔️ | |||
| Empty Waste InkBottle | ✔️ | |||
| Clean Pinch Roller | ✔️ | |||
| Fill Ink | ✔️ | |||
| The Capping StationMaintenance | ✔️ | |||
| Ink CartridgesReplacement | Every 3 Months |
¶ Non-woven fabric for cleaning print heads
- Move the print head to the far left, then open the left side door. Using the viewing mirror below, you can clearly inspect the condition of the print head.
-
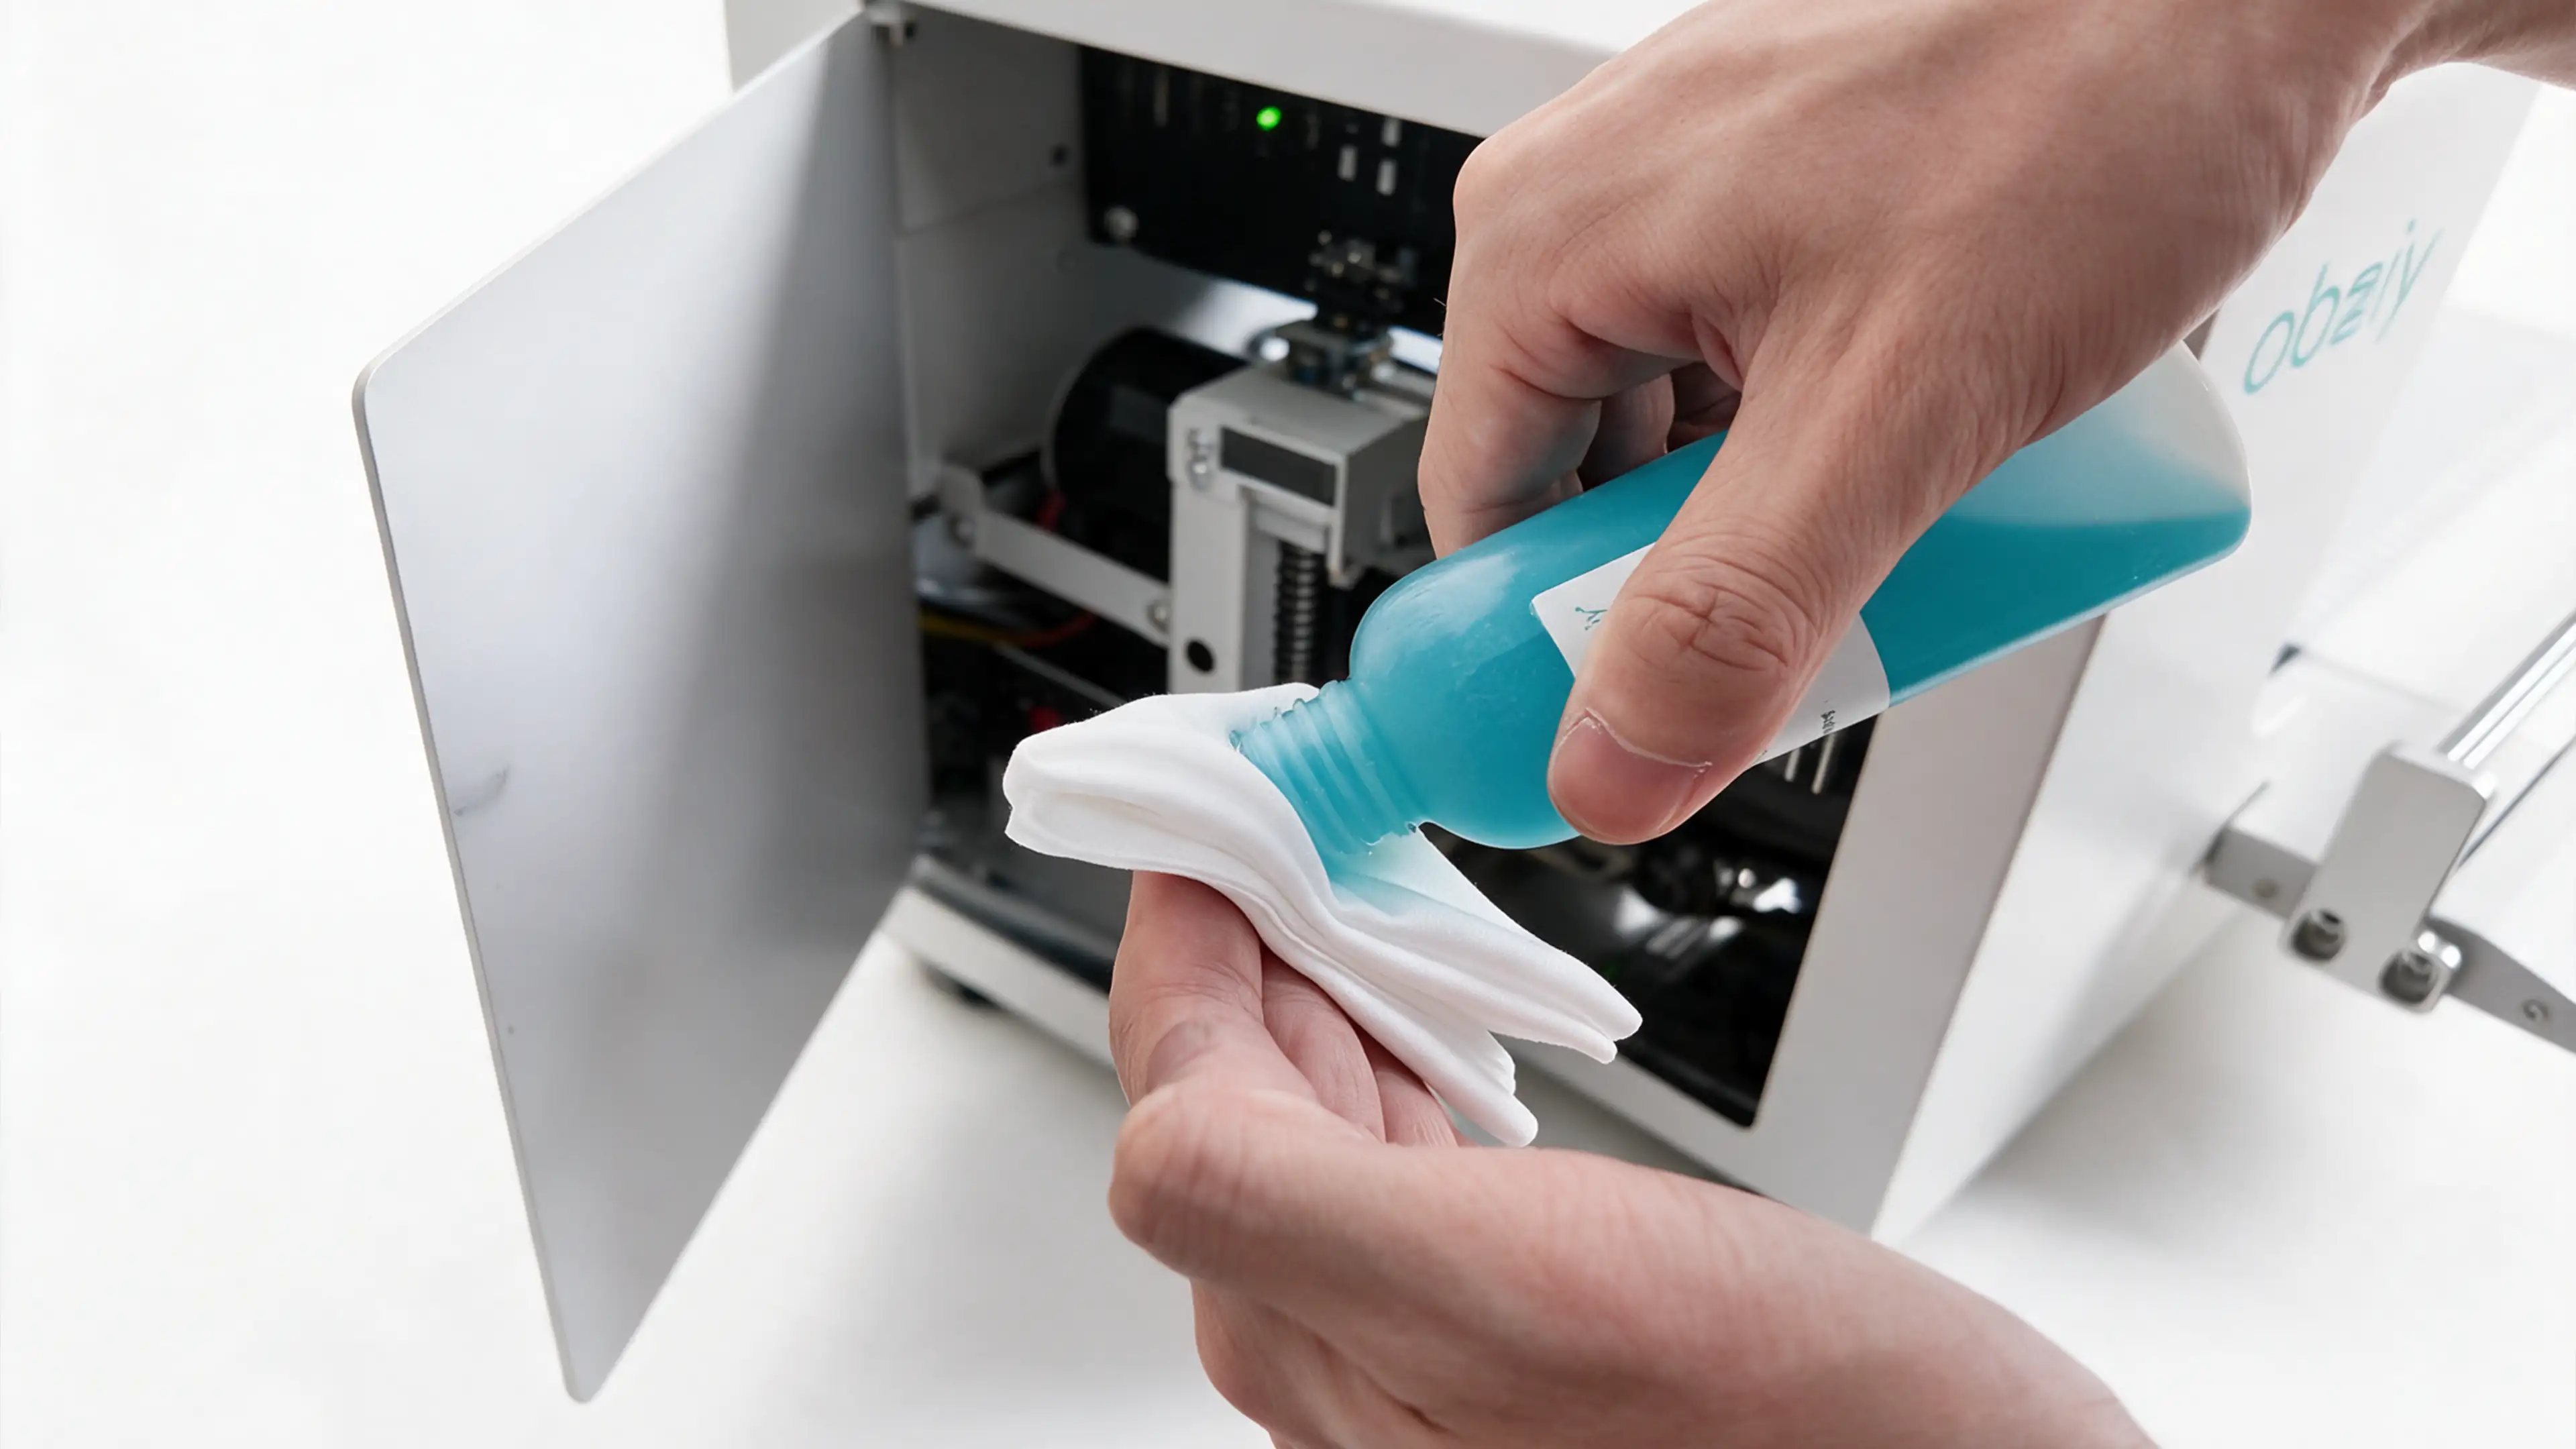
If ink stains are found around the print head, fold one corner of a non-woven cloth and apply a small amount of dedicated cleaning solution. Gently wipe the surface of the print head in a single direction—never rub back and forth. After each wipe, switch to a clean section of the cloth to prevent re-depositing dirt onto the print head.
-
If dried ink residue is present on the edge of the print head or around the nozzle, use a cleaning sponge rod dipped in cleaning solution and hold it on the stain for 10 to 20 seconds until the ink softens. Then gently wipe away the residue with a non-woven cloth. Afterward, return the carriage to its home position and perform a nozzle check to confirm that the printed lines are normal.
This effectively prevents clogging of the print head caused by ink residue buildup. To ensure proper operation of the device, it is recommended to perform a routine inspection of the print head every two to three days.
¶ Sponge rod for cleaning print head
- When dry ink residue appears around the edge of the print head or near the nozzles, dip the sponge rod into the cleaning solution, moisten it, then gently scrape against the bottle opening to remove excess liquid.
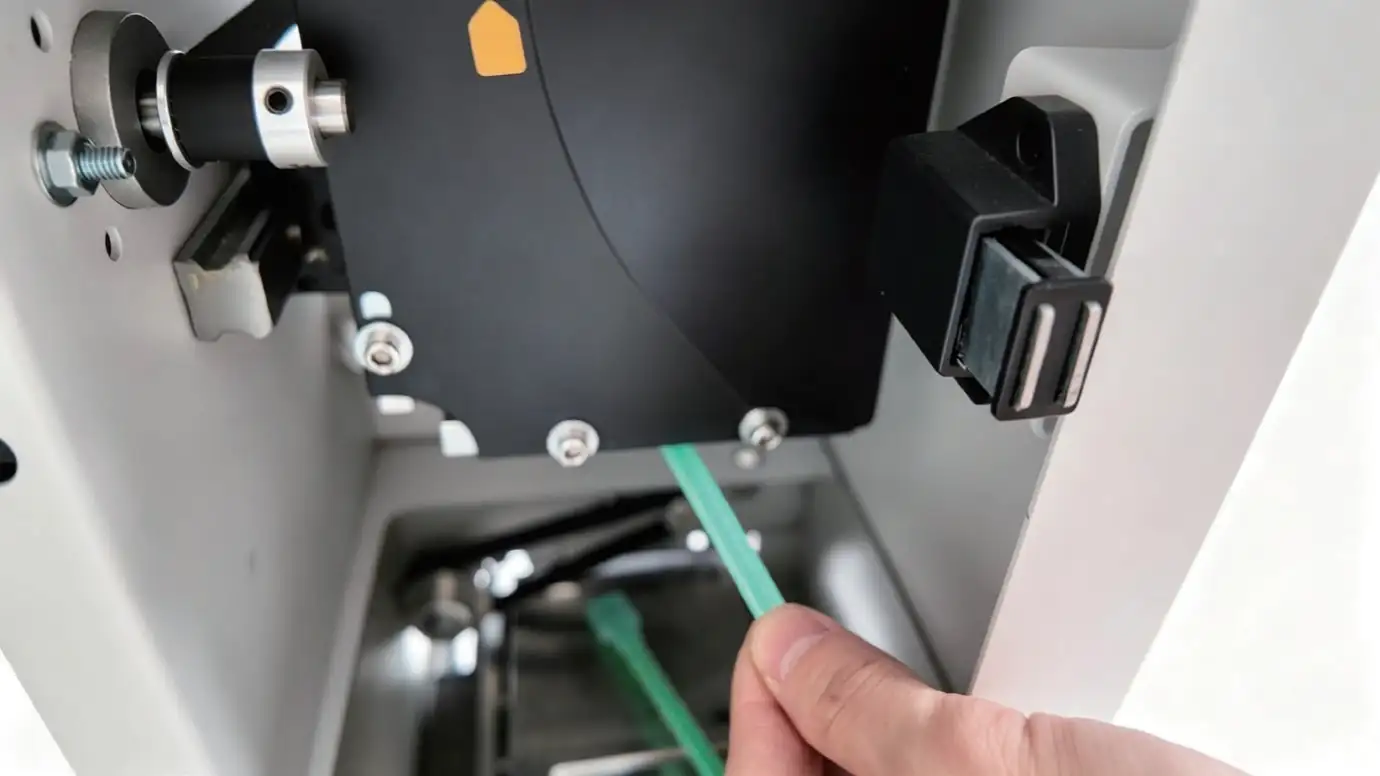
- Place a damp sponge rod on the dried ink stain and leave it for 10–20 seconds to allow the cleaning solution to fully soften the stubborn ink. Once softened, gently roll or wipe the sponge rod in the same direction to remove dirt from the nozzle surface. Replace the sponge rod after each wipe—use only one rod per cleaning session to prevent cross-contamination. For any remaining ink residue, use a non-woven cloth for more thorough cleaning.
¶ Soak the print head in cleaning solution
- Slowly pour the moisturizing solution into the ink pad, ensuring it is completely filled so that the nozzle remains fully submerged. This ensures optimal dissolution. It is recommended to keep the nozzle immersed for approximately 8 hours to allow the moisturizing solution to thoroughly soften dried ink residue.
- After soaking, run the cleaning procedure and print a test strip. If the printhead condition improves but has not fully returned to normal, a second soaking treatment is recommended.